
dlib安装测试
1.在vs2019+Anaconda+python3.7环境下安装
打开Anaconda prompt选定一个python环境,安装cmake和boost
pip install cmake -i https://pypi.tuna.tsinghua.edu.cn/simple
pip install boost -i https://pypi.tuna.tsinghua.edu.cn/simple
2.编译dlib。
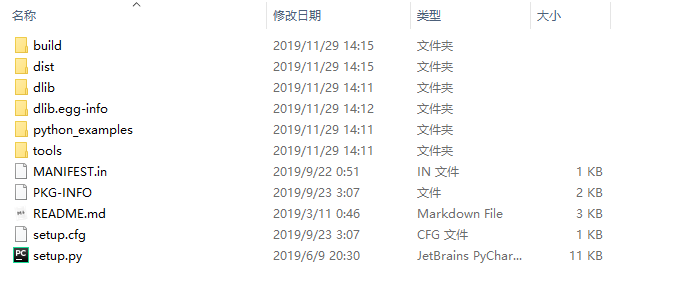
从官网下载python3.7 dlib源文件。
https://pypi.org/project/dlib/#files
在Anaconda prompt中输入pyhton setup.py install,进行编译。
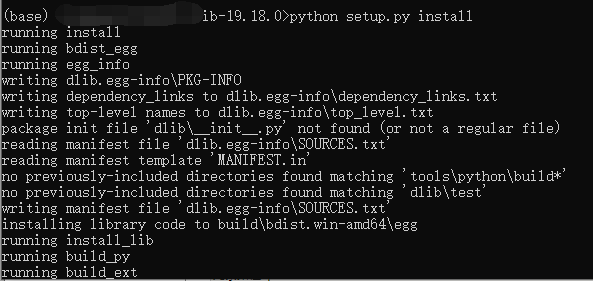
等待结束dlib编译成功。
3.安装opencv
pip install opencv-python==3.4.1.15 -i https://pypi.tuna.tsinghua.edu.cn/simple
pip install opencv-contrib-python==3.4.1.15 -i https://pypi.tuna.tsinghua.edu.cn/simple
4.下载人脸关键点检测模型
https://gitee.com/sclu/face-detect-opencv

5.打开jupyter选择安装dlib的python环境,import dlib进行测试
 1 import numpy as np
 2 import cv2
 3 import dlib
 4
 5 detector = dlib.get_frontal_face_detector()
 6 predictor = dlib.shape_predictor('E:/shape_predictor_68_face_landmarks.dat')
 7
 8 # cv2读取图像
 9 img = cv2.imread("E:/test.jpg")
10
11 # 取灰度
12 img_gray = cv2.cvtColor(img, cv2.COLOR_RGB2GRAY)
13
14 # 人脸数rects
15 rects = detector(img_gray, 0)
16 for i in range(len(rects)):
17     landmarks = np.matrix([[p.x, p.y] for p in predictor(img,rects[i]).parts()])
18     for idx, point in enumerate(landmarks):
19         # 68点的坐标
20         pos = (point[0, 0], point[0, 1])
21         print(idx,pos)
22
23         # 利用cv2.circle给每个特征点画一个圈,共68个
24         cv2.circle(img, pos, 2, color=(0, 255, 0))
25         # 利用cv2.putText输出1-68
26         font = cv2.FONT_HERSHEY_SIMPLEX
27         cv2.putText(img, str(idx+1), pos, font, 0.3, (0, 0, 255), 1,cv2.LINE_AA)
28
29 cv2.namedWindow("img", 2)
30 cv2.imshow("img", img)
31 cv2.waitKey(0)


 浙公网安备 33010602011771号