
Gitlab添加K8S集群
介绍如何在Gitlab项目中添加K8S集群,以便使用K8S集群部署gitlab-runner帮我们运行gitlab的CI/CD。
参考官方文档:https://docs.gitlab.com/ee/user/project/clusters/add_remove_clusters.html#add-existing-cluster
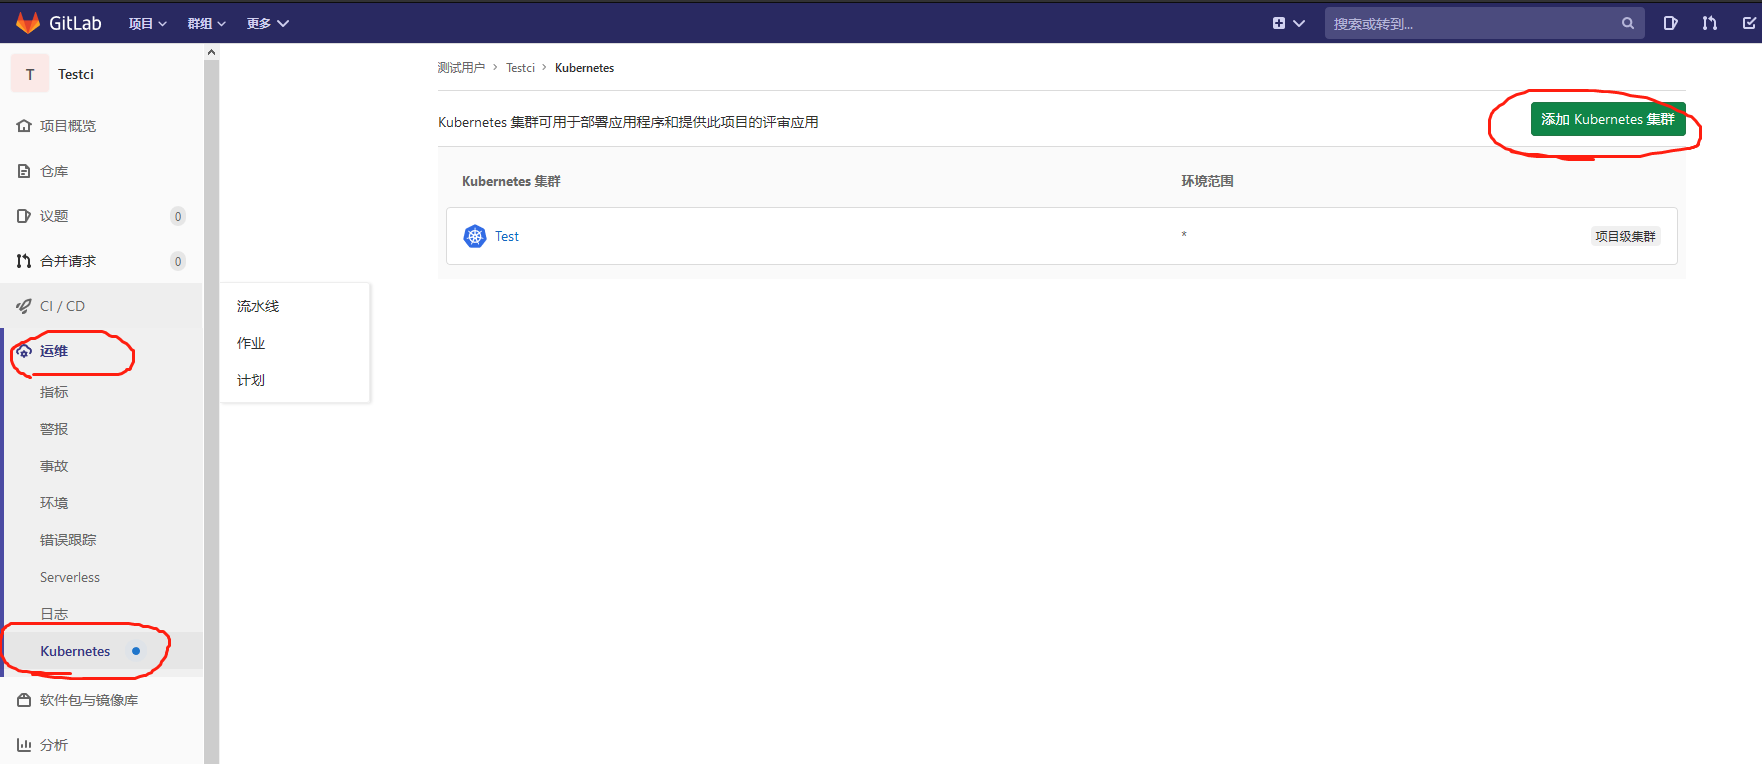
1.登入gitlab后,进入自己的项目主页,菜单栏 Operations => Kubernetes => Add Kubernetes cluster,选择页签 Add existing cluster。

2.只需要获取响应的值填录到该表单即可。Kubernetes cluster name集群名称随意填,Project namespace可不填。

2.1 获取API URL
运行以下命令得到输出值:
kubectl cluster-info | grep 'Kubernetes master' | awk '/http/ {print $NF}'
2.2 获取CA Certificate
运行以下命令得到输出值:
kubectl get secrets # 获取一个类似default-token-xxxxx的名称,填写在下面这个命令<secret name>
kubectl get secret <secret name> -o jsonpath="{['data']['ca\.crt']}" | base64 --decode
2.3 获取Token
创建文件gitlab-admin-service-account.yaml:
vim gitlab-admin-service-account.yaml

apiVersion: v1
kind: ServiceAccount
metadata:
  name: gitlab
  namespace: kube-system
---
apiVersion: rbac.authorization.k8s.io/v1beta1
kind: ClusterRoleBinding
metadata:
  name: gitlab-admin
roleRef:
  apiGroup: rbac.authorization.k8s.io
  kind: ClusterRole
  name: cluster-admin
subjects:
  - kind: ServiceAccount
    name: gitlab
    namespace: kube-system

kubectl apply -f gitlab-admin-service-account.yaml
kubectl -n kube-system describe secret $(kubectl -n kube-system get secret | grep gitlab | awk '{print $1}')
添加完成之后,可以在集群中安装你想用的插件了,例如gitlab-runner。
官方操作步骤:
Add existing cluster
If you have an existing Kubernetes cluster, you can add it to a project, group, or instance.
NOTE: Note: Kubernetes integration is not supported for arm64 clusters. See the issue Helm Tiller fails to install on arm64 cluster for details.
Existing Kubernetes cluster
To add a Kubernetes cluster to your project, group, or instance:
-
Navigate to your:
- Project's {cloud-gear} Operations > Kubernetes page, for a project-level cluster.
- Group's {cloud-gear} Kubernetes page, for a group-level cluster.
- Admin Area > {cloud-gear} Kubernetes page, for an instance-level cluster.
-
Click Add Kubernetes cluster.
-
Click the Add existing cluster tab and fill in the details:
-
Kubernetes cluster name (required) - The name you wish to give the cluster.
-
Environment scope (required) - The associated environment to this cluster.
-
API URL (required) - It's the URL that GitLab uses to access the Kubernetes API. Kubernetes exposes several APIs, we want the "base" URL that is common to all of them. For example,
https://kubernetes.example.comrather thanhttps://kubernetes.example.com/api/v1.Get the API URL by running this command:
kubectl cluster-info | grep 'Kubernetes master' | awk '/http/ {print $NF}' -
CA certificate (required) - A valid Kubernetes certificate is needed to authenticate to the cluster. We will use the certificate created by default.
-
List the secrets with
kubectl get secrets, and one should be named similar todefault-token-xxxxx. Copy that token name for use below. -
Get the certificate by running this command:
kubectl get secret <secret name> -o jsonpath="{['data']['ca\.crt']}" | base64 --decodeNOTE: Note: If the command returns the entire certificate chain, you need copy the root ca certificate at the bottom of the chain.
-
-
Token - GitLab authenticates against Kubernetes using service tokens, which are scoped to a particular
namespace. The token used should belong to a service account with cluster-admin privileges. To create this service account:-
Create a file called
gitlab-admin-service-account.yamlwith contents:apiVersion: v1 kind: ServiceAccount metadata: name: gitlab namespace: kube-system --- apiVersion: rbac.authorization.k8s.io/v1beta1 kind: ClusterRoleBinding metadata: name: gitlab-admin roleRef: apiGroup: rbac.authorization.k8s.io kind: ClusterRole name: cluster-admin subjects: - kind: ServiceAccount name: gitlab namespace: kube-system -
Apply the service account and cluster role binding to your cluster:
kubectl apply -f gitlab-admin-service-account.yamlYou will need the
container.clusterRoleBindings.createpermission to create cluster-level roles. If you do not have this permission, you can alternatively enable Basic Authentication and then run thekubectl applycommand as an admin:kubectl apply -f gitlab-admin-service-account.yaml --username=admin --password=<password>NOTE: Note: Basic Authentication can be turned on and the password credentials can be obtained using the Google Cloud Console.
Output:
serviceaccount "gitlab" created clusterrolebinding "gitlab-admin" created -
Retrieve the token for the
gitlabservice account:kubectl -n kube-system describe secret $(kubectl -n kube-system get secret | grep gitlab | awk '{print $1}')Copy the
<authentication_token>value from the output:Name: gitlab-token-b5zv4 Namespace: kube-system Labels: <none> Annotations: kubernetes.io/service-account.name=gitlab kubernetes.io/service-account.uid=bcfe66ac-39be-11e8-97e8-026dce96b6e8 Type: kubernetes.io/service-account-token Data ==== ca.crt: 1025 bytes namespace: 11 bytes token: <authentication_token>
NOTE: Note: For GKE clusters, you will need the
container.clusterRoleBindings.createpermission to create a cluster role binding. You can follow the Google Cloud documentation to grant access. -
-
GitLab-managed cluster - Leave this checked if you want GitLab to manage namespaces and service accounts for this cluster. See the Managed clusters section for more information.
-
Project namespace (optional) - You don't have to fill it in; by leaving it blank, GitLab will create one for you. Also:
- Each project should have a unique namespace.
- The project namespace is not necessarily the namespace of the secret, if you're using a secret with broader permissions, like the secret from
default. - You should not use
defaultas the project namespace. - If you or someone created a secret specifically for the project, usually with limited permissions, the secret's namespace and project namespace may be the same.
-
-
Finally, click the Create Kubernetes cluster button.
After a couple of minutes, your cluster will be ready to go. You can now proceed to install some pre-defined applications.

 浙公网安备 33010602011771号