cat conftest.py
import pytest
import logging
from playwright.sync_api import sync_playwright
#logging.basicConfig(level=logging.INFO)
@pytest.fixture(scope="session")
def page():
with sync_playwright() as p:
browser = p.chromium.launch(headless=True)
pg = browser.new_page()
yield pg
browser.close()
# 添加报告文件名时间戳
import datetime
import os
import pytest
from pathlib import Path
# 1. 先建好输出目录
REPORT_DIR = Path(__file__).parent/"reports"
#REPORT_DIR = Path(__file__)/"reports"
REPORT_DIR.mkdir(exist_ok=True)
# 2. 在 pytest 启动阶段把 --html 动态改掉
def pytest_configure(config):
"""命令行没指定 --html 时,自动给它塞一个带时间戳的 html 路径"""
if not config.option.htmlpath: # 用户没手动给 --html
now = datetime.datetime.now().strftime("%Y%m%d_%H%M%S")
config.option.htmlpath = str(REPORT_DIR / f"report_{now}.html")
#
# conftest.py
import datetime
from pathlib import Path
import pytest
@pytest.fixture(scope="session", autouse=True)
#@pytest.fixture(scope="class", autouse=True)
def session_work():
"""会话级前置/后置"""
root = Path(__file__).parent
report_dir = root / "reports"
report_dir.mkdir(exist_ok=True)
start = datetime.datetime.now()
print(f"\n==== 会话开始 {start:%Y-%m-%d %H:%M:%S} ====")
yield # 分割线:前面是前置,后面是后置
end = datetime.datetime.now()
print(f"\n==== 会话结束 {end:%H:%M:%S},耗时 {(end-start).total_seconds():.2f}s ====")
# Playwright 进行页面自动化测试时,使用 pytest 的 fixture 功能来初始化登录系统,并在测试后关闭连接
# ========== 新增开始 ==========
from pages.login_page import LoginPage
#@pytest.fixture(scope="session")
@pytest.fixture(scope="class")
def logged_in_page(page):
"""已登录的 page,整个会话只登录一次;老测试继续用 page,新测试用 logged_in_page"""
login_url = "http://epl-web-testing.evermodel.ai/login"
#login_url = "http://epl-web-dev.evermodel.ai/login"
page.goto(login_url, timeout=60_000) # 1. 先登录页
page.wait_for_load_state("networkidle") # 2. 等页面完全加载
# 3. 执行登录(复用你原来的 LoginPage,一行不改)
LoginPage(page).login("admin", "123456")
# 4. 等登录完成(等你原来脚本里判断的“模块管理”出来)
# //*[@id="app"]/section/aside/div/div[2]/ul[2]/li[2]/span[2]/span
# page.wait_for_selector('//*[@id="app"]/section/aside/div/div[2]/ul[2]/li[1]/span[2]/span',state='visible', timeout=20_000)
#page.wait_for_selector('//*[@id="app"]/section/aside/div/div[2]/ul[2]/li[2]/span[2]/span',state='visible', timeout=20000)
#page.wait_for_selector('//*[@id="app"]/section/aside/div/div[2]/ul[1]/li[1]/span[2]/span',state='visible', timeout=20000)
yield page # 5. 把已登录页交出去
# ========== 新增结束 ==========

cat README.md
#、打开网页,登录
#登录要是需要验证码,可以先配置万能验证码。
把“登录”这一步骤封装成独立的函数(或 fixture),测试用例里直接调用/引用即可,再也不用每次都写一遍登录代码。
打开->go()
填输文本->fill()
点击按钮->click()
获取页面返回的文本信息->text()
其他:
点击->展开下拉框->单选,多选
#
#playwright 默认超时时间: Timeout 30000ms exceeded,可以根据具体情况自行设定超时时间
#项目说明文档
#1、跳过测试文件
# pytestmark = pytest.mark.skip(reason="This test file is skipped for now")
#2、指定测试用例顺序
# @pytest.mark.order(1)
#3、指定测试用例,执行顺序、优先级
# @pytest.mark.order 装饰器来指定测试用例的执行顺序。数字越小,优先级越高 pip install pytest-order
# @pytest.mark.dependency 装饰器来指定测试用例之间的依赖关系 @pytest.mark.dependency(depends=["test_first"]) pip install pytest-dependency
@pytest.mark.order(1)
@allure.severity(allure.severity_level.BLOCKER)
pytest-order 插件和 Allure 报告中的优先级是两个不同的概念,它们并不直接相关。pytest-order 插件用于控制测试用例的执行顺序,而 Allure 报告中的优先级是用于标记测试用例的重要程度
管理测试用例的重要性和紧急程度
CKER:核心功能,必须优先测试。
CRITICAL:重要功能,优先测试。
NORMAL:正常功能,按顺序测试。
MINOR:次要功能,时间和资源允许时测试。
TRIVIAL:非常不重要的功能,最后测试。
@pytest.mark.skip(reason="No need to run this test")
#pytest.fixture ,用于提供测试函数的前置条件或后置条件
#、功能需求:软件需要实现哪些功能。
#、用户场景:用户在使用软件时可能会遇到哪些场景。
#、非功能需求:如性能、安全性、可用性等。

cat requirements.txt
#1、ubuntu >= 22.02
装最小图形栈(headless 必备)
apt install -y \
libx11-xcb1 libxcomposite1 libxcursor1 libxdamage1 libxi6 libxtst6 \
libnss3 libasound2 libatk1.0-0 libcups2 libxrandr2 libpangocairo-1.0-0 \
libgtk-3-0 libxss1 libgbm1 libxshmfence1 fonts-liberation fonts-noto-cjk
#
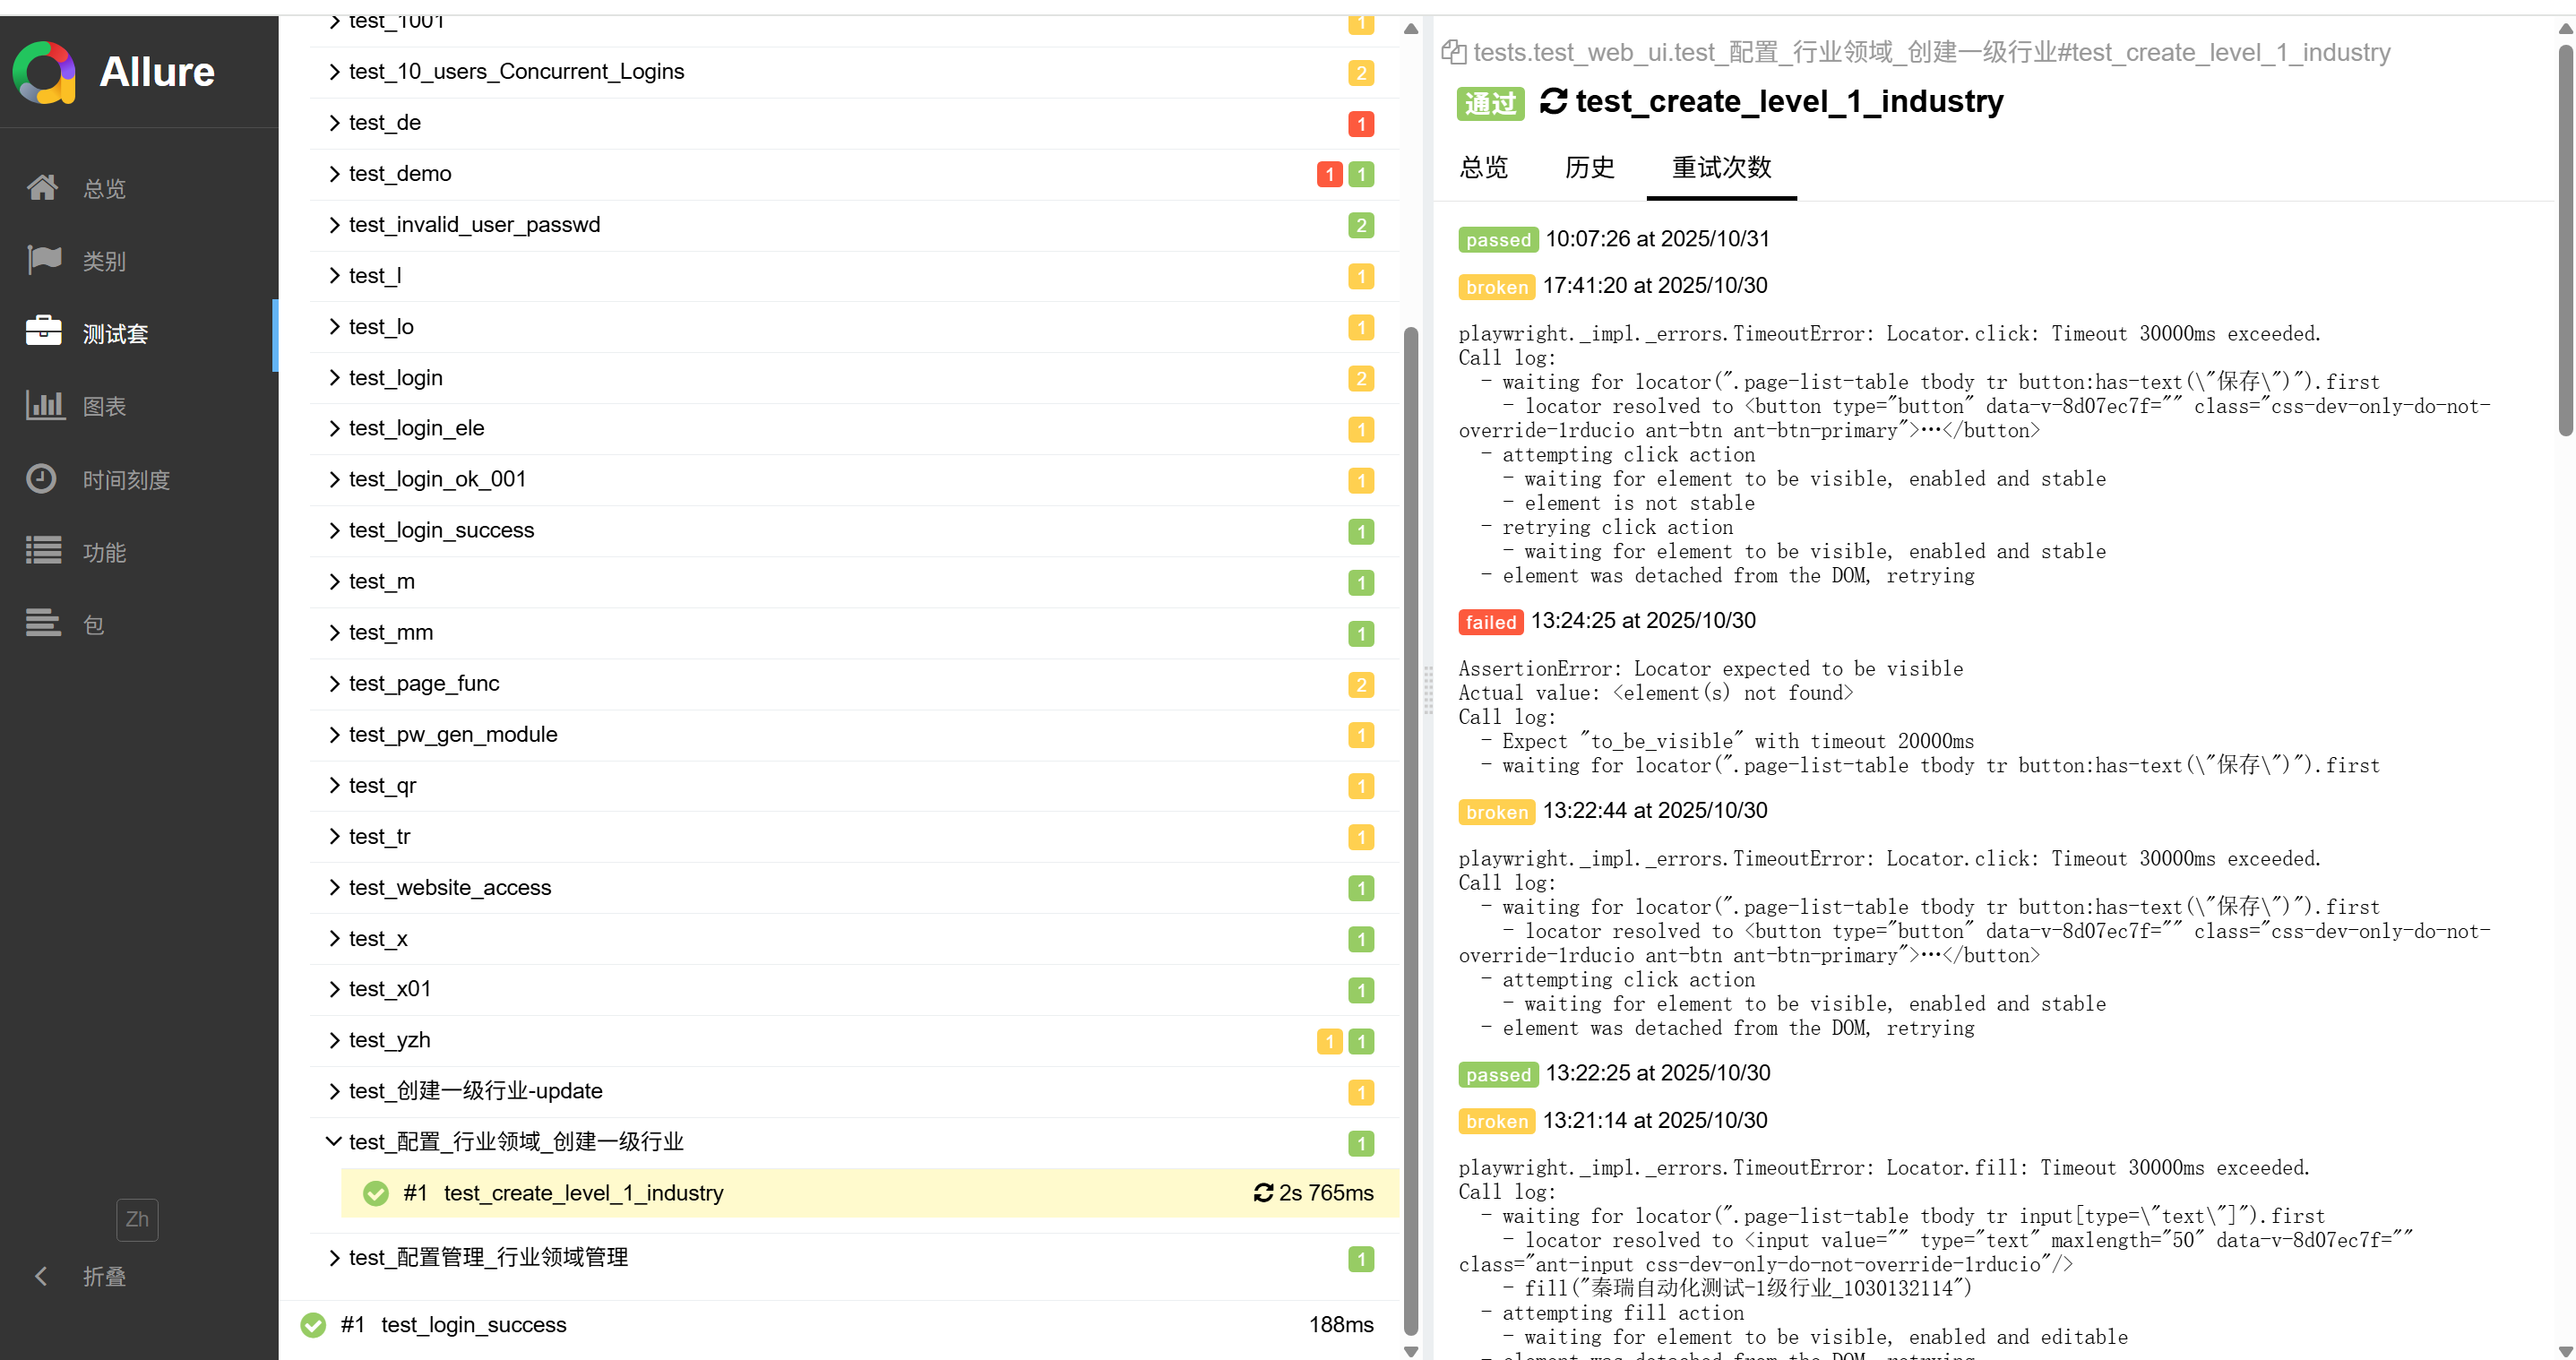
apt-get install allure
allure 工具 下载安装
https://github.com/allure-framework/allure2/releases
allure generate reports/allure-results -o reports/allure-report --clean
allure serve allure-results -h 192.168.200.150
发布allURE测试报告
allure serve /root/automation_test_framework/reports/allure-results -h 192.168.200.150
#2、python >= 3.10
#+++++++++++++++++++++++++++++++++++++++++++++++++++++++++++++++++++++++++++++++++++++++++++++++++++++++++++++++++++++++++++++++++++++++
#关于python 版本 用3.10 pytest-html 报告没有详细信息,所有换低版本3.8
#安装 pip install pytest-allure-adaptor -i https://mirrors.tuna.tsinghua.edu.cn/pypi/web/simple 版本兼容问题,如下
#AttributeError: module 'collections' has no attribute 'Mapping'
#
#+++++++++++++++++++++++++++++++++++++++++++++++++++++++++++++++++++++++++++++++++++++++++++++++++++++++++++++++++++++++++++++++++++++++
#3、安装创建启用ven环境
apt install -y python3-pip python3-venv
python3 -m venv ~/venv_auto
source ~/venv_auto/bin/activate
#4、在虚拟环境下配置pytest + playwright + allure 相关依赖
pip install -U pip pytest playwright pytest-html pytest-order pytest-allure-adaptor allure-python -i https://mirrors.tuna.tsinghua.edu.cn/pypi/web/simple
pip install pytest pytest-html pytest-dependency pytest-ordering
playwright install chromium # 自动下 headless shell


 浙公网安备 33010602011771号