SpringBoot 与Docker-compose 搭建RabbitMQ
SpringBoot 与Docker-compose 搭建RabbitMQ
一、 下载并且启动rabbitMQ
我们使用的是docker-compose, 对应的文件为:
version: '3.1'
services:
  rabbitmq:
    restart: always
    image: rabbitmq:management
    container_name: rabbitmq
    hostname: rabbit
    ports:
      - 5672:5672
      - 15672:15672
    environment:
      TZ: Asia/Shanghai
      RABBITMQ_DEFAULT_USER: rabbit
      RABBITMQ_DEFAULT_PASS: 123456
    volumes:
      - ./data:/var/lib/rabbitmq/mnesia
      - ./conf:/etc/rabbitmq
      - ./log:/var/log
这里有一点很重要,就是对应的插件一定要上,否则会报错。来到挂载文件夹:
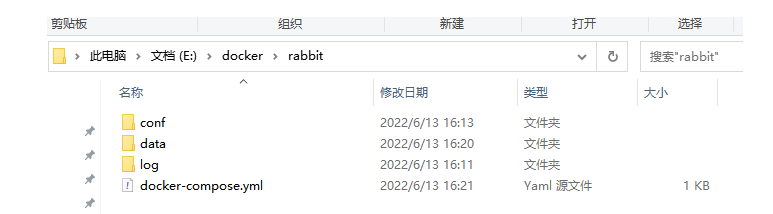
conf文件详情:
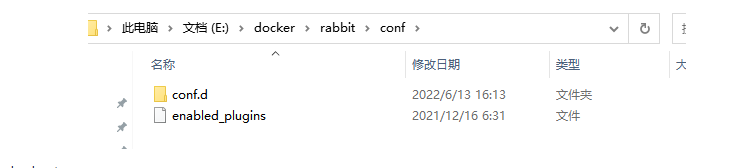
对应的enabled_plugins:
[rabbitmq_management,rabbitmq_prometheus].
如果文件和我一样,那么就可以去Docker启动了使用命令:
docker-compose up --build
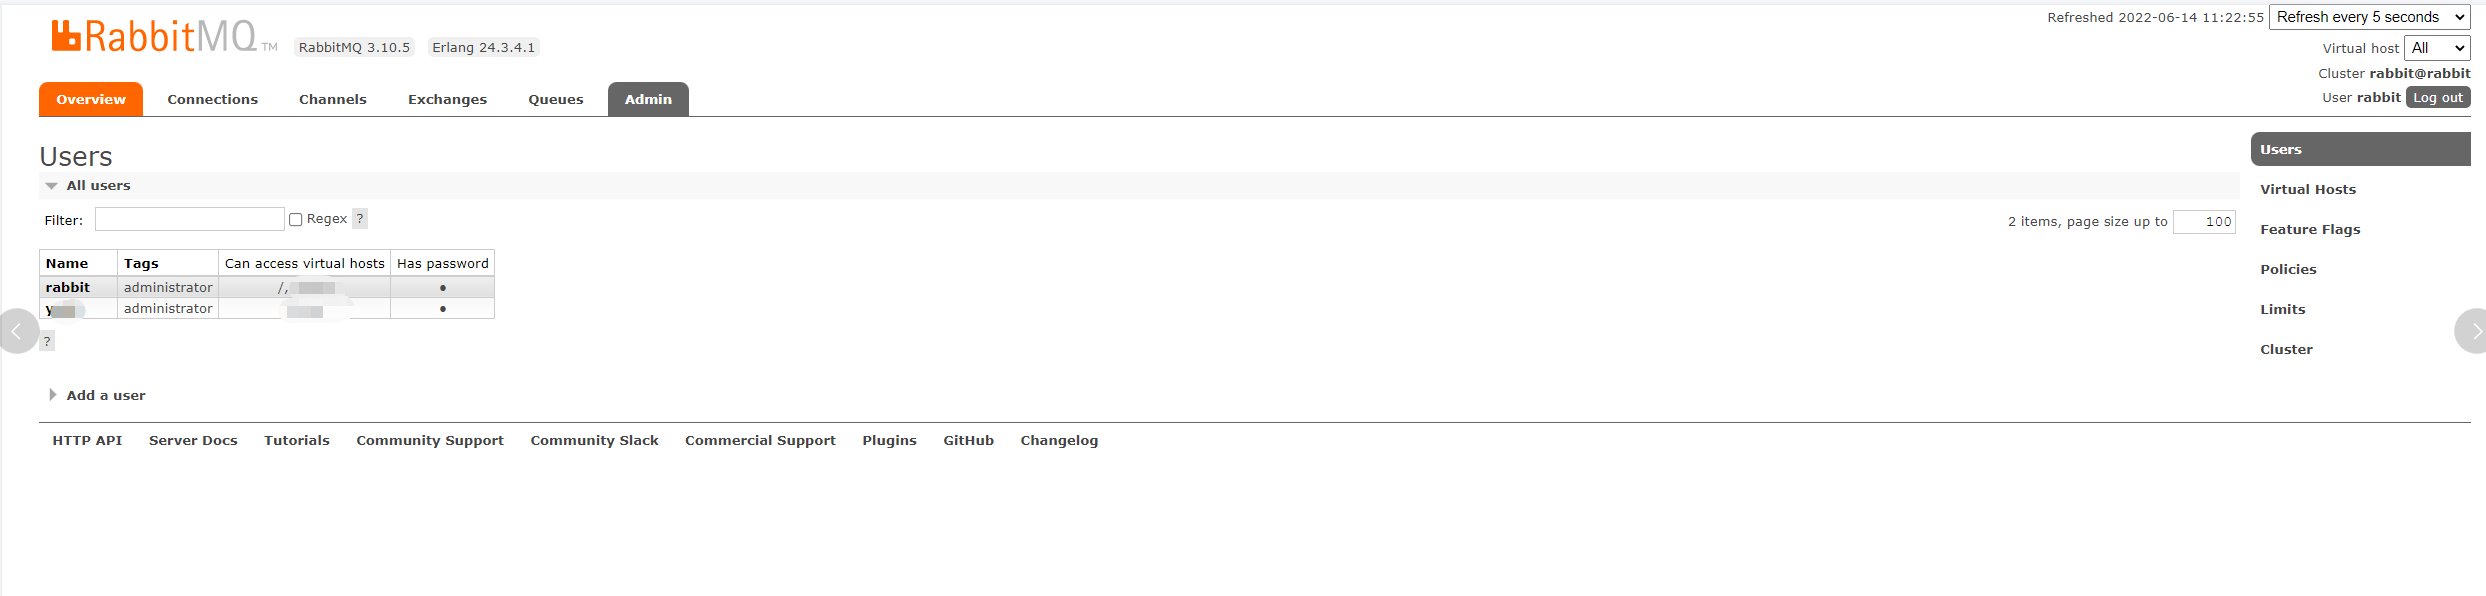
二、进入页面配置
登录地址:
http://localhost:15672
账号
RABBITMQ_DEFAULT_USER: rabbit
密码
RABBITMQ_DEFAULT_PASS: 123456
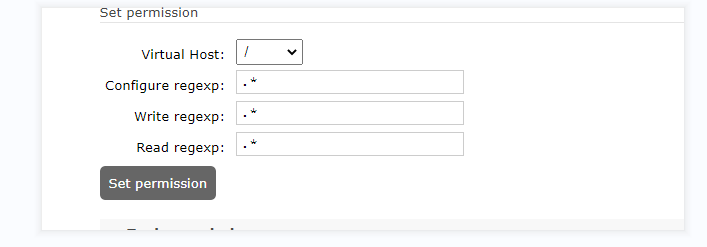
创建一个user:
创建一个虚拟机:
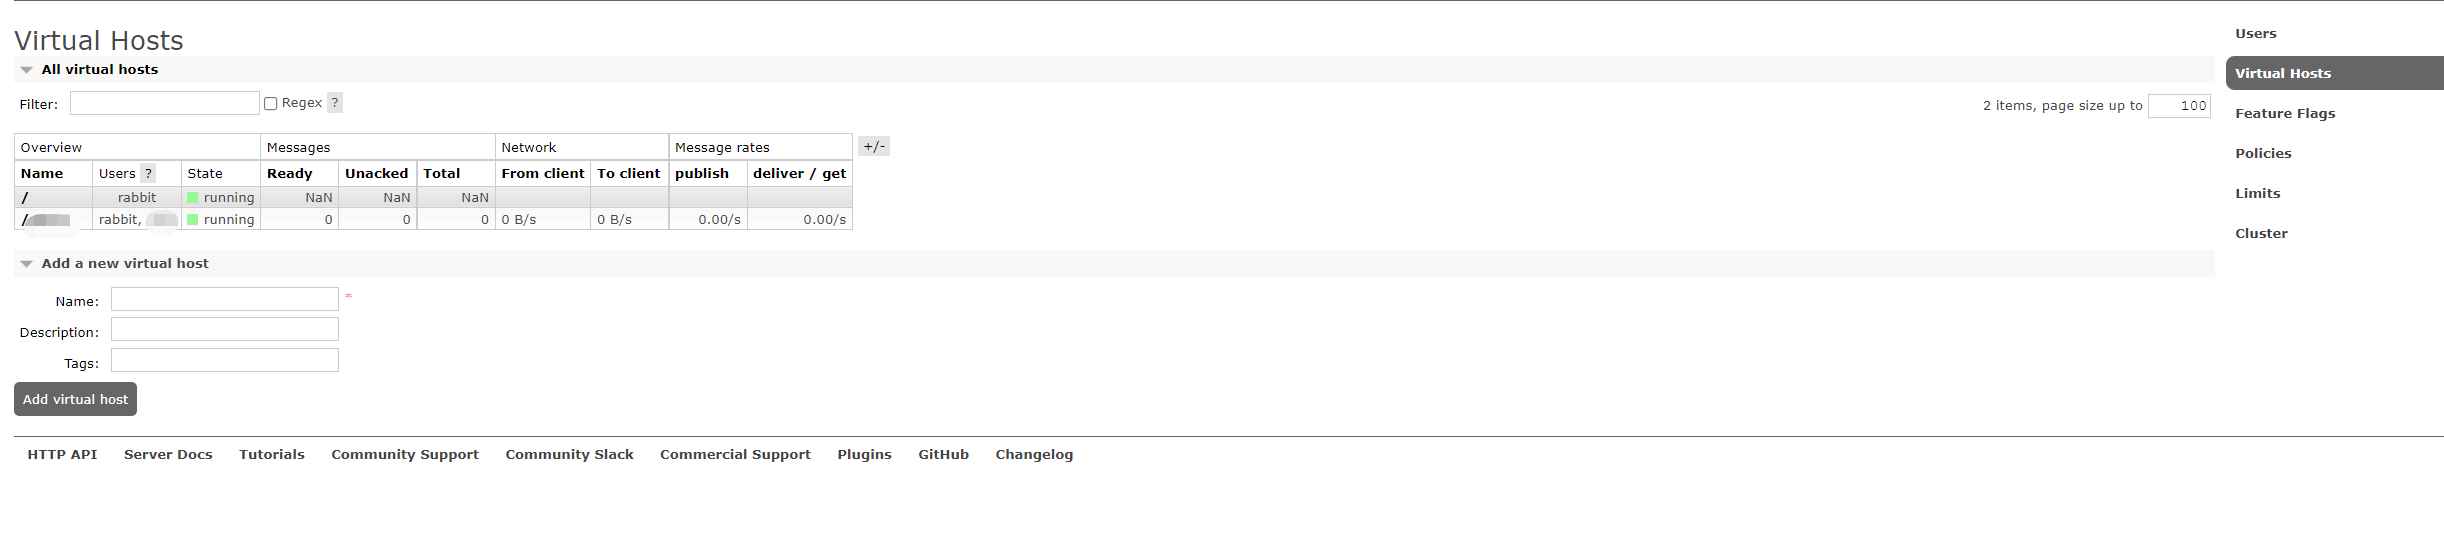
并且在user里面绑定用户;
三、整合springboot
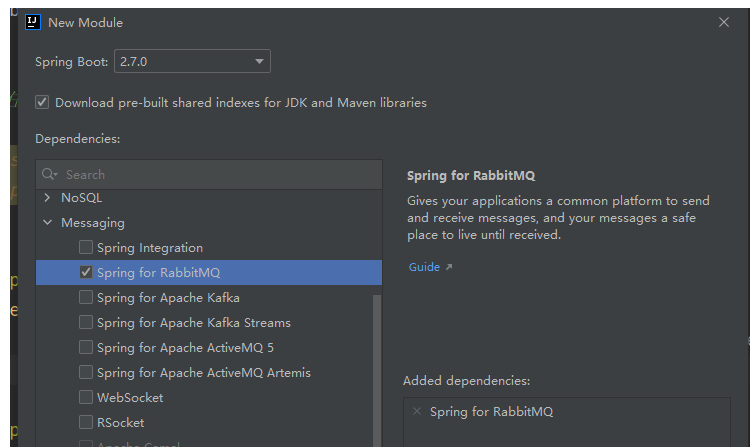
1、创建一个springboot项目
因为我是一个模块,所以我只勾选了messaging 然后选择finish:
2、模块依赖记得加入
因为我是一个模块,如果你是一个项目,则忽略这一步, 我得把模块坐标加入到启动类的pom中:
<dependency>
    <groupId>com.testMq</groupId>
    <artifactId>test_mq</artifactId>
    <version>0.0.1-SNAPSHOT</version>
</dependency>
对应springBoot启动类,你也需要在包扫描的位置加上,否则,你的config不会生效 例如:
@ComponentScan(basePackages = {

        "com.test.mq"
})
public class Application {


    public static void main(String[] args) {
        SpringApplication.run(Application.class, args);
    }
}
3、配置类
属性:
  rabbitmq:
    host: 192.168.110.193
    port: 5672
    username: testAdmin
    password: 123456
    virtual-host: /test
    connection-timeout: 15000
    listener:
      simple:
        concurrency: 1
        max-concurrency: 5
我是直接用注解方式去进行配置你的队列路由交换以及topic等等。
@Component
public class RabbitConsume {

    @RabbitListener(
            bindings =
            @QueueBinding(
                    exchange = @Exchange(value = "bindingExchange",
                            type = "topic"),
                    value = @Queue(value = "bindingQueue",
                            durable = "true"),
                    key = "binding.*"
            )
    )
    public void reveive(String msg) {
        System.out.println("收到的消息為:" + msg);
    }

}
生产者代码:
@Component
public class RabbitConsume {

    // bindings 广播模式,topic没用
    @RabbitListener(
            bindings =
            @QueueBinding(
                    exchange = @Exchange(value = "bindingExchange",
                            type = "topic"),
                    // 这里的Queue要注意了,如果你另外一个消费者也是选择这个Queue,那么默认是轮寻模式,就算你的key是不同的,也会随机走一个去消费
                    value = @Queue(value = "test_bindingQueue",
                            durable = "true"),

                    // 这里的key 就是路由,routingKey ,只有相同路由,或者a.*下路由就会消费
                    key = "test_bindingQueue"
            )
    )
    public void reveive(String msg) {
        System.out.println("收到的消息為:" + msg);
    }


}
四、测试
请求接口,日志打印:


收到的消息為:hello 我發送了一條消息
五、结束
这个只是最简单的服务启动,以及跑通,用于简单demo,还有很多深入规则,这里就不做介绍了~

 浙公网安备 33010602011771号