
SpringBoot系统列 1 - HelloWorld!
学习SpringBoot系统列之HelloWorld!
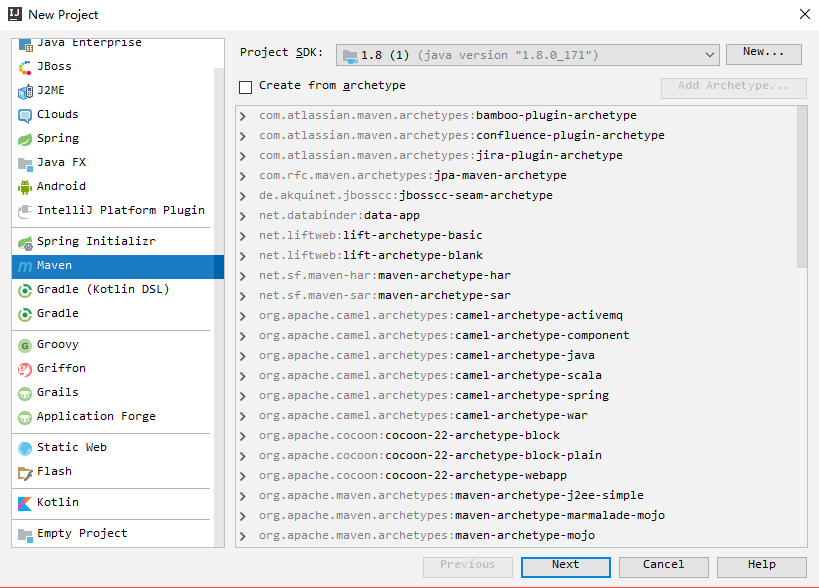
1.新建一个Maven项目
2.添加POM配置
<parent>
        <groupId>org.springframework.boot</groupId>
        <artifactId>spring-boot-starter-parent</artifactId>
        <version>2.0.1.RELEASE</version>
    </parent>
 <dependency>
            <groupId>org.springframework.boot</groupId>
            <artifactId>spring-boot-starter-web</artifactId>
        </dependency>
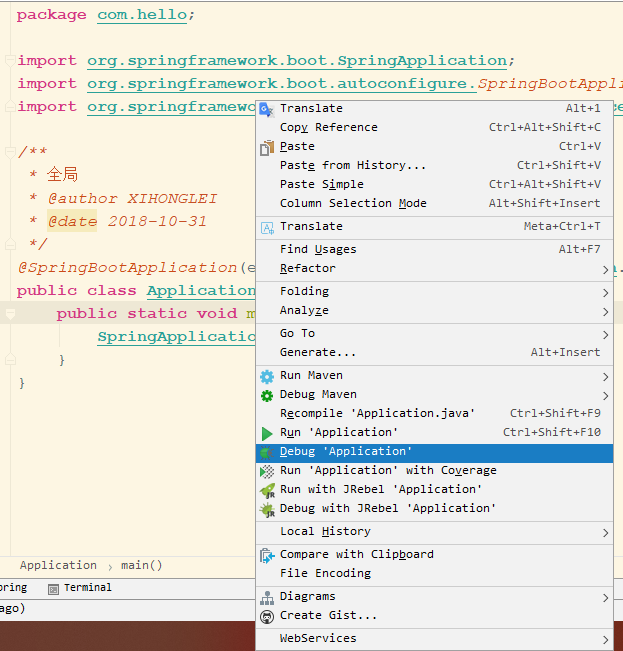
3.添加全局配置类Application.java
import org.springframework.boot.SpringApplication;
import org.springframework.boot.autoconfigure.SpringBootApplication;

/**
 * 全局
 * @author XIHONGLEI
 * @date 2018-10-31
 */
@SpringBootApplicationpublic class Application {
    public static void main(String[] args) {
        SpringApplication.run(Application.class, args);
    }
}
4.新建Contrlller
import com.hello.WebConfig;
import org.springframework.beans.factory.annotation.Autowired;
import org.springframework.web.bind.annotation.RequestMapping;
import org.springframework.web.bind.annotation.RestController;

@RestController
public class HelloController {

    @RequestMapping("hello")
    public String hello() {
        return "Hello World!";
    }
}
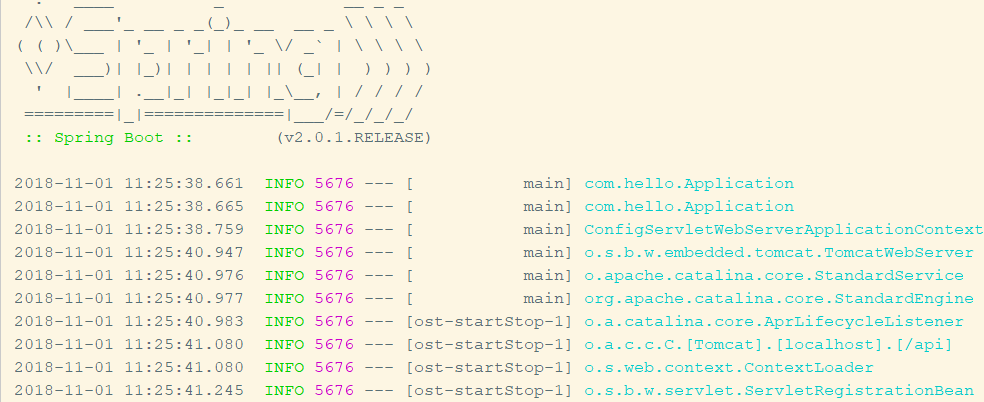
5.运行SpringBoot
运行结果:
6.浏览器访问

参考博客:
https://blog.csdn.net/valada/article/details/80892573
https://blog.csdn.net/forezp/article/details/70148833

 浙公网安备 33010602011771号