Spring Framework Tutorial – Hello World
Latest Update: 2014/05/21
This post shows how to build a Spring Hello World application.
The following are all steps required to make a Spring hello world program.
1. Set up development environment
IDE: Eclipse IDE for Java EE Developers. The latest version is Eclipse Kepler (4.3.2).
Here is the one you should download:

2. Create a "Dynamic Web Project"
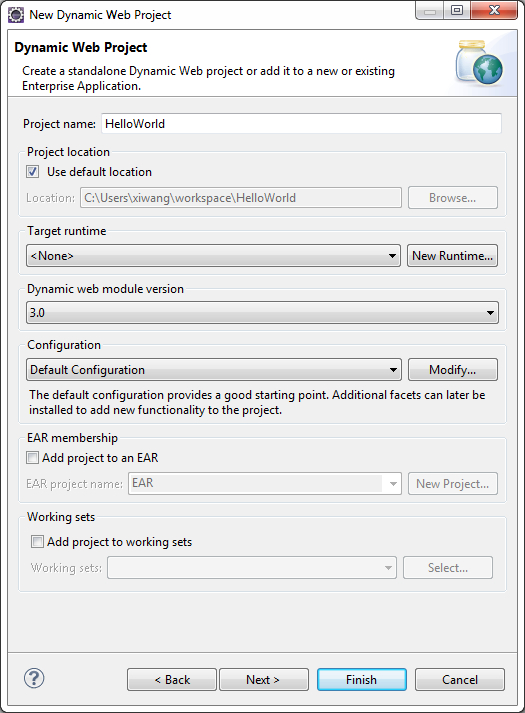
Create a dynamic web project by using the default setting.
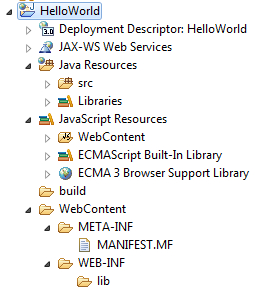
After creation, the project explorer view should show:
3. Create a index.jsp file
Create an .jsp file named with "index.jsp" under "WebContent" directory. Right click "webContent" --> New --> JSP File. Change the code generated to be the following:
<%@ page language="java" contentType="text/html; charset=ISO-8859-1"
    pageEncoding="ISO-8859-1"%>
<!DOCTYPE html PUBLIC "-//W3C//DTD HTML 4.01 Transitional//EN" "http://www.w3.org/TR/html4/loose.dtd">
<html>
<head>
<meta http-equiv="Content-Type" content="text/html; charset=ISO-8859-1">
<title>Hello World </title>
</head>
<body>

<h1>
Hello World
</h1>
</body>
</html>
|
4. Create a new server
As a web project runs on an HTTP server, a new server should be setup to hold the web project.
Download Tomcat 7.0 here. Download the core Zip version, and unzip it to a directory (remember this directory). In your eclipse, create a new Server.
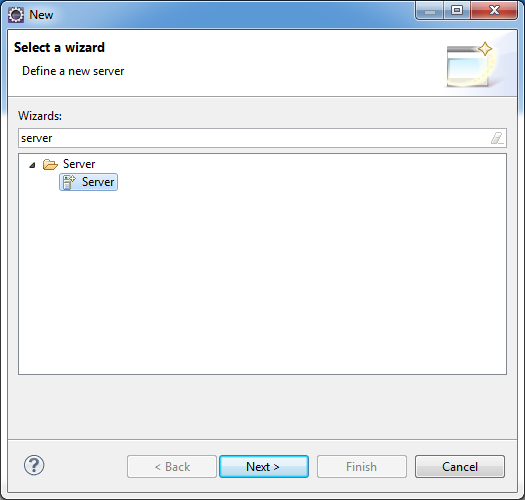
Select the directory where you unzipped the tomcat.
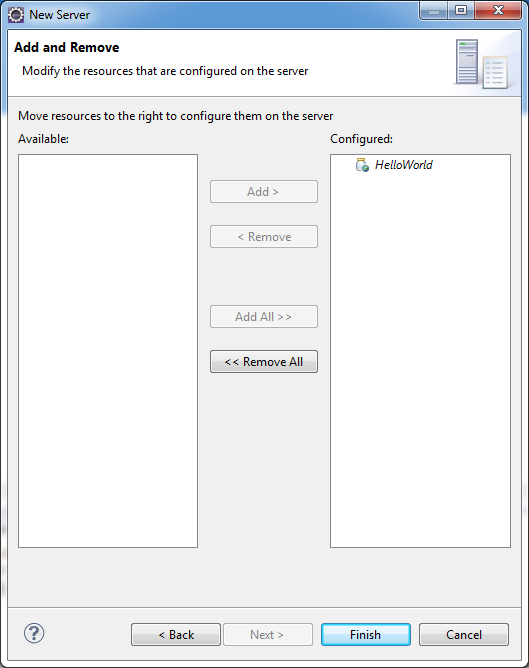
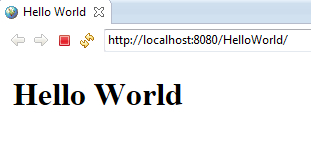
Run the project on server, and you should have a welcome page as follows:
5. Add Spring Framework support
Download: Spring Framework 3.1.0.RELEASE is the current production release (requires Java 1.5+)
From: http://www.springsource.org/download
Add the following jar files to "WebContent/WEB-INF/lib" directory.
commons-logging-1.1.1.jar
commons-logging-api-1.1.1.jar
spring-asm-3.2.0.M1.jar
spring-beans-x.jar
spring-content-x.jar
spring-core-x.jar
spring-expression-x.jar
spring-instrument-x.jar
spring-web-x.jar
spring-webmvc-x.jar
6. Create Spring MVC
Change web.xml file to be the following:
<?xml version="1.0" encoding="UTF-8"?>
<web-app xmlns:xsi="http://www.w3.org/2001/XMLSchema-instance" xmlns="http://java.sun.com/xml/ns/javaee" xmlns:web="http://java.sun.com/xml/ns/javaee/web-app_2_5.xsd" xsi:schemaLocation="http://java.sun.com/xml/ns/javaee http://java.sun.com/xml/ns/javaee/web-app_2_5.xsd" id="WebApp_ID" version="2.5">
  <display-name>HelloSpring</display-name>

   <servlet>
    <servlet-name>springapp</servlet-name>
    <servlet-class>org.springframework.web.servlet.DispatcherServlet</servlet-class>
    <load-on-startup>1</load-on-startup>
  </servlet>

  <servlet-mapping>
    <servlet-name>springapp</servlet-name>
    <url-pattern>*.htm</url-pattern>
  </servlet-mapping>

  <welcome-file-list>
    <welcome-file>index.html</welcome-file>
    <welcome-file>index.htm</welcome-file>
    <welcome-file>index.jsp</welcome-file>
    <welcome-file>default.html</welcome-file>
    <welcome-file>default.htm</welcome-file>
    <welcome-file>default.jsp</welcome-file>
  </welcome-file-list>
</web-app>
|
Create springapp-servlet.xml file under WEB-INF direction and copy the following to it:
<?xml version="1.0" encoding="UTF-8"?>

<beans xmlns="http://www.springframework.org/schema/beans"
       xmlns:xsi="http://www.w3.org/2001/XMLSchema-instance"
       xsi:schemaLocation="http://www.springframework.org/schema/beans
       http://www.springframework.org/schema/beans/spring-beans-2.5.xsd">

  <!-- the application context definition for the springapp DispatcherServlet -->

  <bean name="/hello.htm" class="springapp.web.HelloController"/>

</beans>
|
Create a class inside "Java Resources" as follows:
package springapp.web;

import javax.servlet.http.HttpServletRequest;
import javax.servlet.http.HttpServletResponse;

import org.springframework.web.servlet.ModelAndView;
import org.springframework.web.servlet.mvc.Controller;

public class HelloController implements Controller {

	@Override
	public ModelAndView handleRequest(HttpServletRequest arg0, HttpServletResponse arg1) throws Exception {
		// TODO Auto-generated method stub
		return new ModelAndView("hello.jsp");
	}

}
|

If you want to post syntax highlighted code and let me or someone else review it, please put the code inside <pre><code> and </code></pre> tags.
For example:
<pre><code>
String foo = "bar";
</code></pre>
-
http://pkjavacode.wordpress.com/ james
-
http://ngloom.me/ NGloom

 浙公网安备 33010602011771号