
Harbor 安装在k8s-企业容器镜像仓库
Harbor 安装在k8s-企业容器镜像仓库
本小节目的是要在k8s 集群上安装一个 harbor镜像仓库。
准备工作
参考官网文档需要的准备工作。
Prerequisites
- Kubernetes cluster 1.10+
- Helm 2.8.0+
- High available ingress controller (Harbor does not manage the external endpoint)
- High available PostgreSQL 9.6+ (Harbor does not handle the deployment of HA of database)
- High available Redis (Harbor does not handle the deployment of HA of Redis)
- PVC that can be shared across nodes or external object storage
- k8s 集群,参考前面小节:集群的安装
- 安装 helm,关于 helm官文档,官方准备了一个脚本拉取运行即可
#拉取官方准备的安装 sh脚本
curl -fsSL -o get_helm.sh https://raw.githubusercontent.com/helm/helm/main/scripts/get-helm-3
chmod 700 get_helm.sh
#运行脚本
./get_helm.sh
#稍后既可以看到成功信息
- helm 添加仓库,也可以添加其他仓库
#添加 harbor仓库
 helm repo add harbor  https://helm.goharbor.io
#查看仓库 harbor 最新四条信息
helm search repo harbor -l |  grep harbor/harbor  | head  -4
- 从仓库拉取 harbor
 #拉取harbor
helm pull harbor/harbor --version 1.13.0
#当前目录就可以看到 harbor-1.13.0.tgz,解压
  tar zxvf harbor-1.13.0.tgz  harbor
  #进入解压文件,修改 values.yml
  cd harbor
  [root@localhost harbor]# ls
Chart.yaml  LICENSE  README.md  templates  values.yaml
- 安装一个 NFS,配置存储卷自动分配 PV
点击查看代码
#服务器安装,本节点安装 ip :192.168.10.109
yum install nfs-utils
#创建🎉文件
[root@k8s ~]# mkdir -p /data/share
[root@k8s ~]# chmod 666 /data/share
#配置
[root@k8s ~]# vim /etc/exports
/data/share 192.168.4.0/24(rw,sync,insecure,no_subtree_check,no_root_squash)
[root@k8s ~]# exportfs -rv
exporting 192.168.10.0/24:/data/share
#启动服务nfs、rpcbind
[root@k8s ~]# systemctl start rpcbind
[root@k8s ~]# systemctl enable rpcbind
[root@k8s ~]# rpcinfo -p localhost
   program vers proto   port  service
    100000    4   tcp    111  portmapper
    100000    3   tcp    111  portmapper
    100000    2   tcp    111  portmapper
    100000    4   udp    111  portmapper
    100000    3   udp    111  portmapper
    100000    2   udp    111  portmapper
[root@k8s ~]# systemctl start nfs
[root@k8s ~]# systemctl enable nfs
Created symlink from /etc/systemd/system/multi-user.target.wants/nfs-server.service to /usr/lib/systemd/system/nfs-server.service.
[root@k8s ~]#
其他节点安装 nfs-utils
#其他节点安装 nfs-utils
[root@k8sv23-n11-136 ~]# yum install -y nfs-utils
#验证是否找nfs服务器
[root@k8sv23-n11-136 ~]# showmount -e 192.168.10.109
Export list for 192.168.10.109:
/data/share 192.168.10.0/24
- 配置 nfs-storage.yaml ,并运行
点击查看代码
apiVersion: storage.k8s.io/v1
kind: StorageClass
metadata:
  name: nfs-storage
  annotations:
    storageclass.kubernetes.io/is-default-class: "true"
provisioner: nfs-provisioner
parameters:
  archiveOnDelete: "true" ##删除 pv,pv内容是否备份

---
apiVersion: apps/v1
kind: Deployment
metadata:
  name: nfs-client-provisioner
  labels:
    app: nfs-client-provisioner
  namespace: default
spec:
  replicas: 1
  strategy:
    type: Recreate
  selector:
    matchLabels:
      app: nfs-client-provisioner
  template:
    metadata:
      labels:
        app: nfs-client-provisioner
    spec:
      serviceAccountName: nfs-client-provisioner
      containers:
        - name: nfs-client-provisioner
          image: registry.cn-hangzhou.aliyuncs.com/lfy_k8s_images/nfs-subdir-external-provisioner:v4.0.2
          volumeMounts:
            - name: nfs-client-root
              mountPath: /persistentvolumes
          env:
            - name: PROVISIONER_NAME
              value: nfs-provisioner
            - name: NFS_SERVER
              value: 192.168.10.109
            - name: NFS_PATH
              value: /data/share
      volumes:
        - name: nfs-client-root
          nfs:
            server: 192.168.10.109
            path: /data/share

---
apiVersion: v1
kind: ServiceAccount
metadata:
  name: nfs-client-provisioner
  namespace: default

---
kind: ClusterRole
apiVersion: rbac.authorization.k8s.io/v1
metadata:
  name: nfs-client-provisioner-runner
rules:
  - apiGroups:
      - ""
    resources:
      - nodes
    verbs:
      - get
      - list
      - watch
  - apiGroups:
      - ""
    resources:
      - persistentvolumes
    verbs:
      - get
      - list
      - watch
      - create
      - delete
  - apiGroups:
      - ""
    resources:
      - persistentvolumeclaims
    verbs:
      - get
      - list
      - watch
      - update
  - apiGroups:
      - storage.k8s.io
    resources:
      - storageclasses
  verbs:
      - get
      - list
      - watch
  - apiGroups:
      - ""
    resources:
      - events
    verbs:
      - create
      - update
      - patch

---
kind: ClusterRoleBinding
apiVersion: rbac.authorization.k8s.io/v1
metadata:
  name: run-nfs-client-provisioner
subjects:
  - kind: ServiceAccount
    name: nfs-client-provisioner
    namespace: default
roleRef:
  kind: ClusterRole
  name: nfs-client-provisioner-runner
  apiGroup: rbac.authorization.k8s.io

---
kind: Role
apiVersion: rbac.authorization.k8s.io/v1
metadata:
  name: leader-locking-nfs-client-provisioner
  namespace: default
rules:
  - apiGroups:
      - ""
    resources:
      - endpoints
    verbs:
      - get
      - list
      - watch
      - create
      - update
      - patch

---
kind: RoleBinding
apiVersion: rbac.authorization.k8s.io/v1
metadata:
  name: leader-locking-nfs-client-provisioner
  namespace: default
subjects:
  - kind: ServiceAccount
    name: nfs-client-provisioner
    namespace: default
roleRef:
  kind: Role
  name: leader-locking-nfs-client-provisioner
  apiGroup: rbac.authorization.k8s.io
上面配置信息定义了一个 StorageClass 注意名称 nfs-storeage,Deployment :template 内的 ip和 path.
运行创建管理 nfs的 pod
kubectl apply -f nfs-storage.yaml
安装 harbor
前面 helm 已经拉取了 harbor的安装文件 helm pull harbor/harbor --version 1.13.0 ,解压该文件进入解压目录
修改 values.yaml,与harbor相关的所有配置项都在 values.yaml 中
- 修改 values.yaml
1.修改 hostname,自己定义的域名
2.修改 expose.type:nodePort,关闭 tls
expose:
  # Set how to expose the service. Set the type as "ingress", "clusterIP", "nodePort" or "loadBalancer"
  # and fill the information in the corresponding section
  type: nodePort
  tls:
    enabled: false
3.持久卷修改storageClass ,修改前面定义nfs-storage
 persistentVolumeClaim:
    registry:
      existingClaim: ""
      storageClass: "nfs-storage"
  jobservice:
      jobLog:
        existingClaim: ""
        storageClass: "nfs-storage"
database:
      existingClaim: ""
      storageClass: "nfs-storage"
redis:
      existingClaim: ""
      storageClass: "nfs-storage"
trivy:
      existingClaim: ""
      storageClass: "nfs-storage"
4.如有必要修改拉取镜像
image:
  repository: goharbor/harbor-core
  tag: v2.9.0
  pullPolicy: IfNotPresent
#修改成
image:
  repository: registry.cn-hangzhou.aliyuncs.com/goharbor/harbor-core
  tag: v2.9.0
  pullPolicy: IfNotPresent
保存退出。
- 运行,先创建空间名harbor,然后安装到集群
kubectl create namespace harbor
helm install harbor harbor/harbor -n harbor -f values.yaml
- 验证是否成功
[root@localhost harbor]# kubectl get all -n harbor
NAME                                     READY   STATUS    RESTARTS      AGE
pod/harbor-core-dd4685475-c7zgk          1/1     Running   0             16m
pod/harbor-database-0                    1/1     Running   0             16m
pod/harbor-jobservice-6c66bb9d57-krsm7   1/1     Running   3 (15m ago)   16m
pod/harbor-nginx-5d8587ff4f-2r4pg        1/1     Running   0             16m
pod/harbor-portal-686894df76-v4smn       1/1     Running   0             16m
pod/harbor-redis-0                       1/1     Running   0             16m
pod/harbor-registry-769d975f5-q4dn2      2/2     Running   0             16m
pod/harbor-trivy-0                       1/1     Running   0             16m

NAME                        TYPE        CLUSTER-IP      EXTERNAL-IP   PORT(S)             AGE
service/harbor              NodePort    10.10.62.127    <none>        80:30002/TCP        16m
service/harbor-core         ClusterIP   10.10.171.109   <none>        80/TCP              16m
service/harbor-database     ClusterIP   10.10.184.53    <none>        5432/TCP            16m
service/harbor-jobservice   ClusterIP   10.10.160.166   <none>        80/TCP              16m
service/harbor-portal       ClusterIP   10.10.154.112   <none>        80/TCP              16m
service/harbor-redis        ClusterIP   10.10.108.253   <none>        6379/TCP            16m
service/harbor-registry     ClusterIP   10.10.7.18      <none>        5000/TCP,8080/TCP   16m
service/harbor-trivy        ClusterIP   10.10.154.182   <none>        8080/TCP            16m

NAME                                READY   UP-TO-DATE   AVAILABLE   AGE
deployment.apps/harbor-core         1/1     1            1           16m
deployment.apps/harbor-jobservice   1/1     1            1           16m
deployment.apps/harbor-nginx        1/1     1            1           16m
deployment.apps/harbor-portal       1/1     1            1           16m
deployment.apps/harbor-registry     1/1     1            1           16m

NAME                                           DESIRED   CURRENT   READY   AGE
replicaset.apps/harbor-core-dd4685475          1         1         1       16m
replicaset.apps/harbor-jobservice-6c66bb9d57   1         1         1       16m
replicaset.apps/harbor-nginx-5d8587ff4f        1         1         1       16m
replicaset.apps/harbor-portal-686894df76       1         1         1       16m
replicaset.apps/harbor-registry-769d975f5      1         1         1       16m

NAME                               READY   AGE
statefulset.apps/harbor-database   1/1     16m
statefulset.apps/harbor-redis      1/1     16m
statefulset.apps/harbor-trivy      1/1     16m
[root@localhost harbor]#
我们可以看到
service/harbor NodePort 10.10.62.127
集群任意节点都在监听 30002 端口, 指令登录
#编辑添加/etc/docker/daeom.json
{
  "insecure-registries": ["192.168.10.109:30002"]
}
---------
#编辑添加/etc/hosts
192.168.10.109  core.harbor.ant.com
---------
[root@localhost postgres]# docker login  http://192.168.10.109:30002
Username: admin
Password:
WARNING! Your password will be stored unencrypted in /root/.docker/config.json.
Configure a credential helper to remove this warning. See
https://docs.docker.com/engine/reference/commandline/login/#credentials-store

Login Succeeded
[root@localhost postgres]#
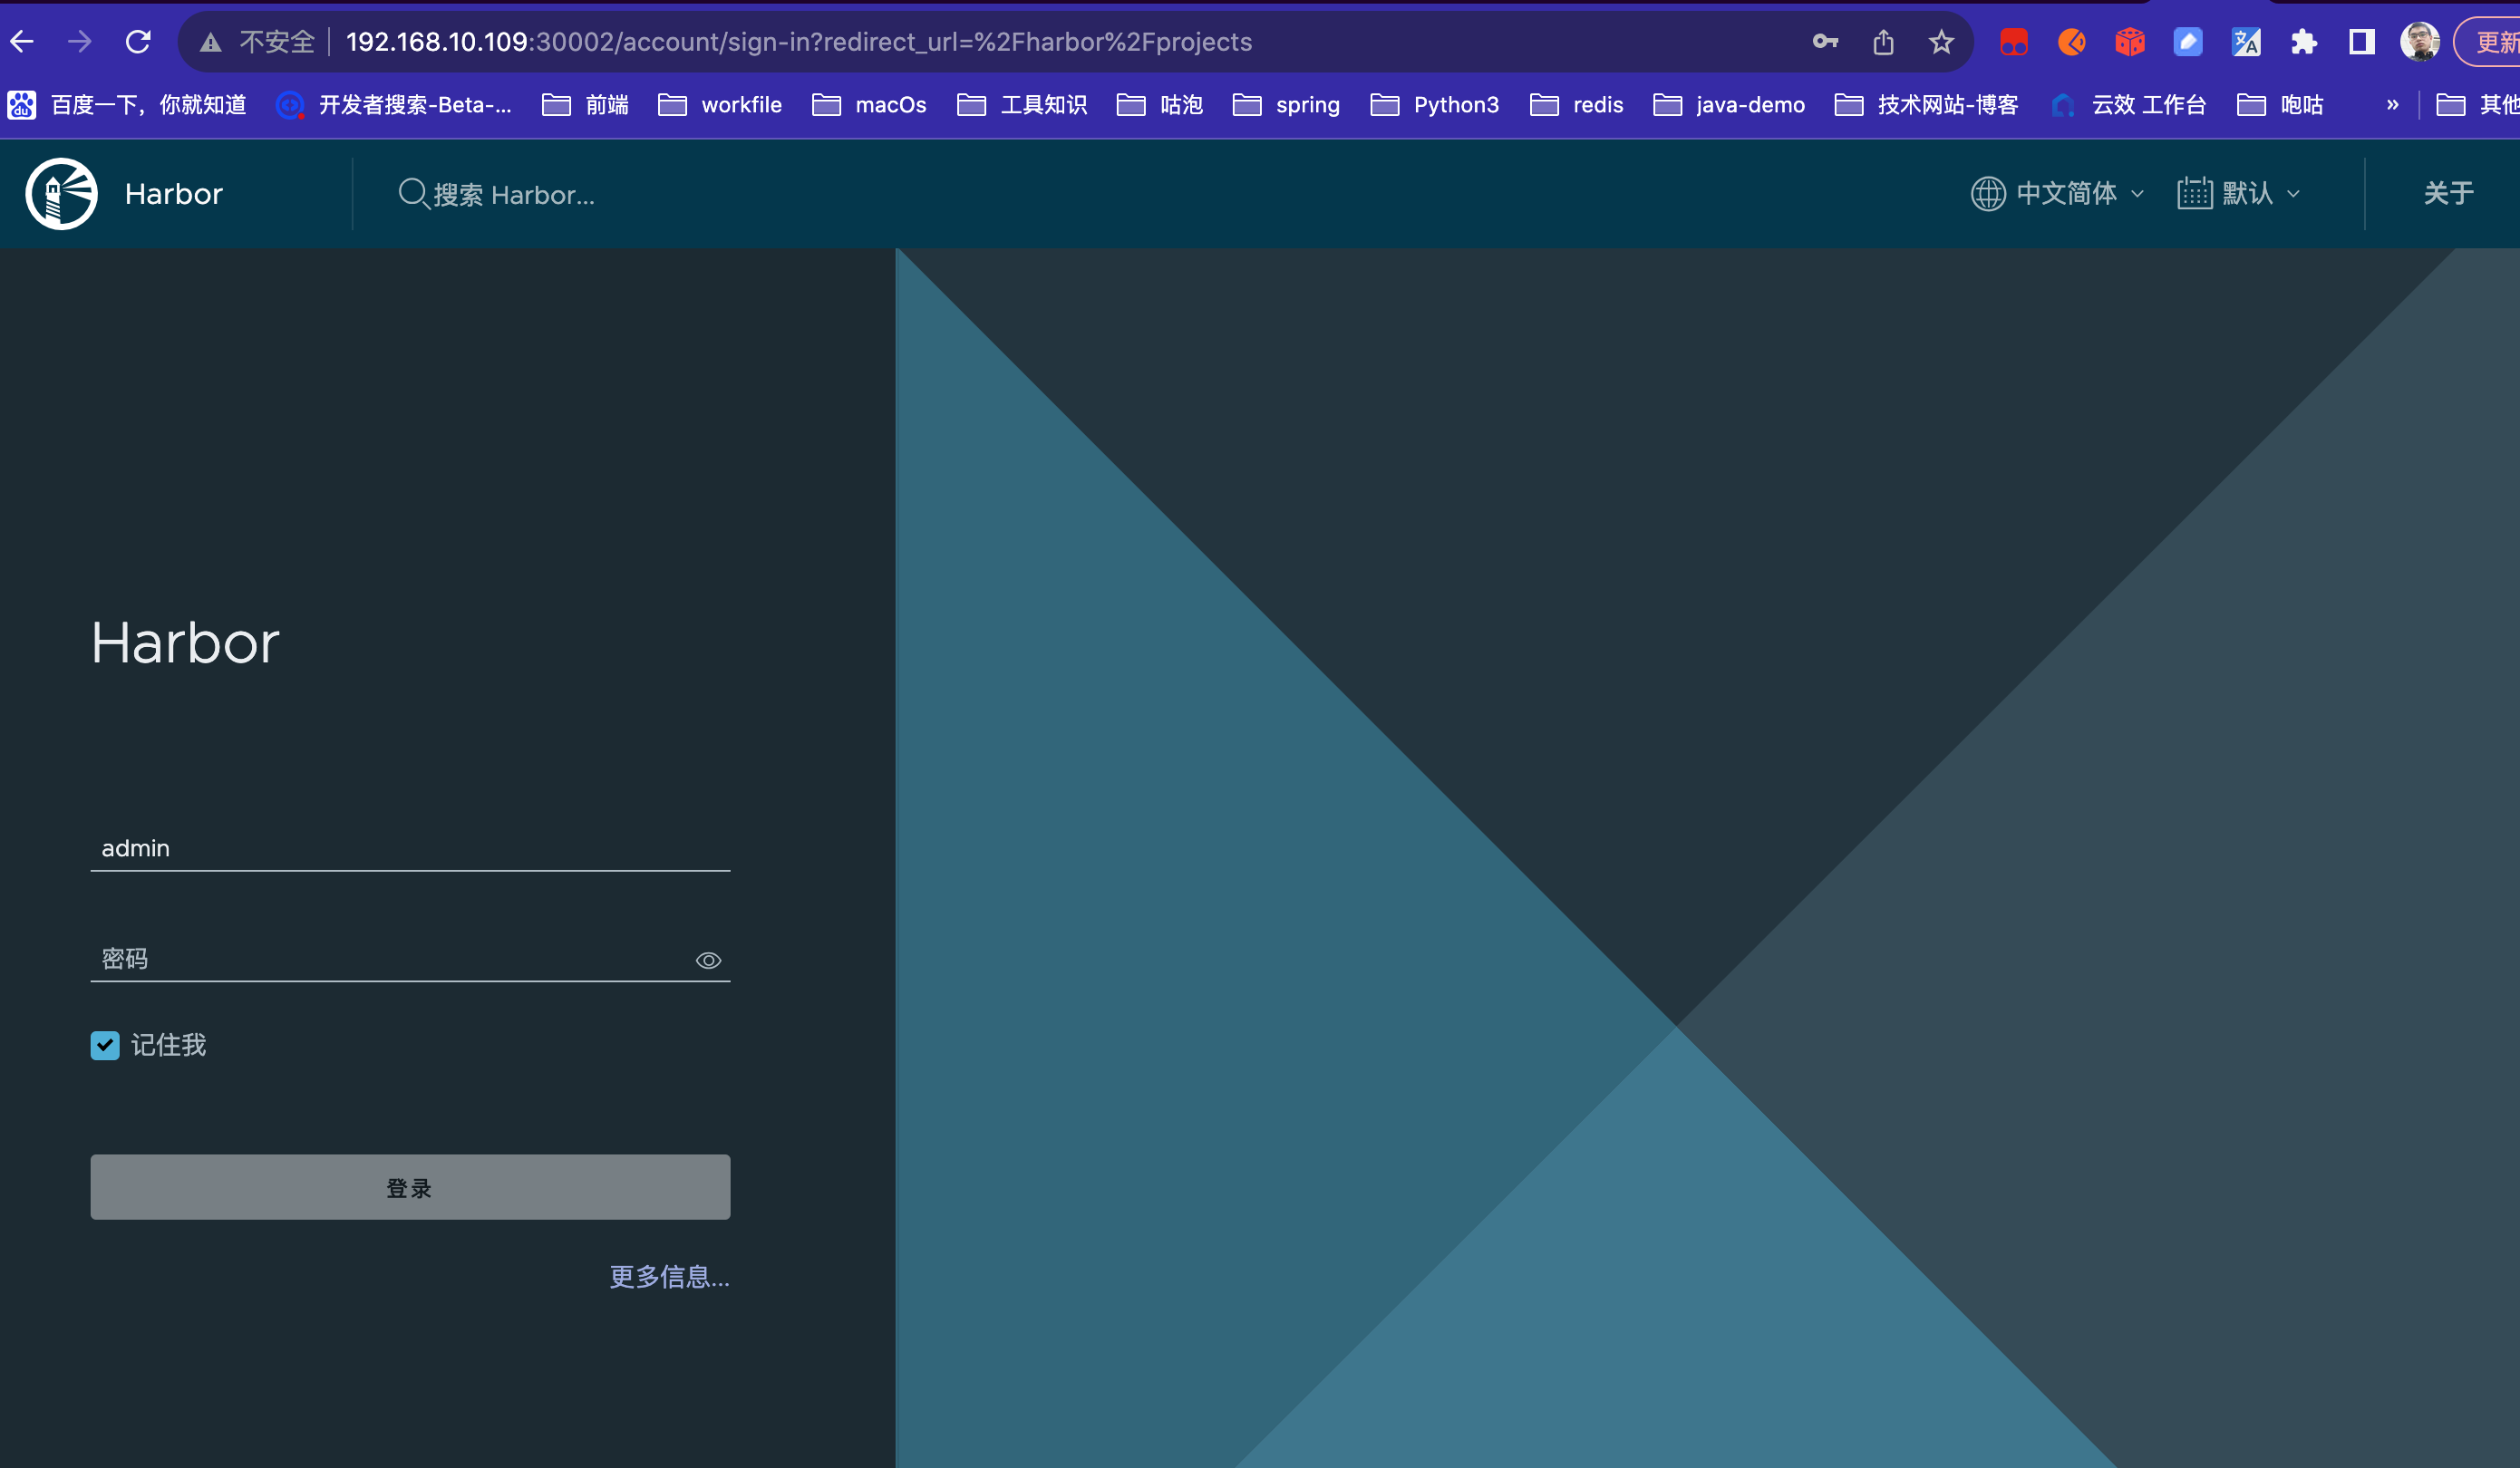
浏览器访问:http://192.168.10.109:30002/ 访问成功 :登录 :admin Harbor12345
*使用一下,推个镜像看看
#看一下有哪些镜像k8s  是 jar包镜像
[root@localhost testk8s]# docker images
REPOSITORY                 TAG              IMAGE ID       CREATED        SIZE
paketobuildpacks/run       base-cnb         f2e5000af0cb   2 months ago   87.1MB
paketobuildpacks/builder   base             050ed48532b2   43 years ago   1.31GB
k8s                        0.0.1-SNAPSHOT   0918fc41de57   43 years ago   229MB
# 打上标签192.168.10.109:30002/test/test:0.0.1-SNAPSHOT,这是 harbor 的仓库路径必须先准备好
[root@localhost testk8s]# docker tag k8s:0.0.1-SNAPSHOT 192.168.10.109:30002/test/test:0.0.1-SNAPSHOT
[root@localhost testk8s]# docker images
REPOSITORY                       TAG              IMAGE ID       CREATED        SIZE
paketobuildpacks/run             base-cnb         f2e5000af0cb   2 months ago   87.1MB
192.168.10.109:30002/test/test   0.0.1-SNAPSHOT   0918fc41de57   43 years ago   229MB
k8s                              0.0.1-SNAPSHOT   0918fc41de57   43 years ago   229MB
paketobuildpacks/builder         base             050ed48532b2   43 years ago   1.31GB
#之前已经登录过了,直接推送到已经创建好的test仓库
[root@localhost testk8s]# docker push 192.168.10.109:30002/test/test:0.0.1-SNAPSHOT
The push refers to repository [192.168.10.109:30002/test/test]
1dc94a70dbaa: Pushed
........
548a79621a42: Pushed
0.0.1-SNAPSHOT: digest: sha256:9677f96b93961047ac6f54a3b0c718f6ebc9cccb94ef5622beaa3c93291bae8c size: 5325
登录 harbor 面板查看

总结及问题
1.pod 启动失败,可以查看pod运行状态或者日志信息
2.当 pod一致卡在容器创建状态时,考虑添加节点,本次实验刚开始 7个worker节点(2cpu,4G,30G),后面添加到 10 个 worker 节点
#玩坏了卸载重置
helm uninstall  harbor
#删除命名空间 pod,pvc 都会删除
[root@localhost harbor]# kubectl delete namespace harbor
namespace "harbor" deleted

#查看有问题的harbor pod
[root@localhost ~]# kubectl get pods -n harbor
NAME                               READY   STATUS             RESTARTS          AGE
harbor-core-677b64bbc8-8dfbm       0/1     CrashLoopBackOff   133 (2m33s ago)   13h
harbor-database-0                  0/1     CrashLoopBackOff   105 (3m39s ago)   13h
harbor-jobservice-8fd5dd97-jpcrb   0/1     CrashLoopBackOff   136 (3m13s ago)   13h
harbor-portal-686894df76-cwlk9     1/1     Running            0                 13h
harbor-redis-0                     1/1     Running            0                 13h
harbor-registry-6694dd76c7-m7dtl   2/2     Running            0                 13h
harbor-trivy-0                     0/1     CrashLoopBackOff   140 (3m23s ago)   13h

#查看 pod 状态信息,找到事件信息
[root@localhost ~]# kubectl describe pod -n harbor harbor-trivy-0
Name:         harbor-trivy-0
Namespace:    harbor
........
Events:
  Type     Reason   Age                   From     Message
  ----     ------   ----                  ----     -------
  Normal   Pulled   56m (x130 over 11h)   kubelet  Container image "goharbor/trivy-adapter-photon:v2.9.0" already present on machine
  Warning  BackOff  88s (x3425 over 11h)  kubelet  Back-off restarting failed container
------------------

#查看 pod内部运行日志
[root@localhost ~]# kubectl logs -n harbor harbor-trivy-0 -c trivy
Appending internal tls trust CA to ca-bundle ...
find: '/etc/harbor/ssl': No such file or directory
Internal tls trust CA appending is Done.
{"built_at":"unknown","commit":"none","level":"info","msg":"Starting harbor-scanner-trivy","time":"2023-09-15T00:59:47Z","version":"dev"}
{"level":"warning","msg":"trivy cache dir does not exist","path":"/home/scanner/.cache/trivy","time":"2023-09-15T00:59:47Z"}
{"level":"fatal","msg":"Error: checking config: creating trivy cache dir: mkdir /home/scanner/.cache/trivy: permission denied","time":"2023-09-15T00:59:47Z"}
--------------------------
#移除 pod
kubectl delete pod  harbor-trivy-0
#移除该 pod 的 pvc
kubectl delete pvc data-harbor-trivy-0 -n harbor

----清除 pvc/pv----
kubectl delete pod task-pv-pod
kubectl delete pvc task-pv-claim
kubectl delete pv task-pv-volume
--------

 浙公网安备 33010602011771号