Hive学习之路 (四)Hive的连接3种连接方式
一、CLI连接
进入到 bin 目录下,直接输入命令:
[hadoop@hadoop3 ~]$ hive
SLF4J: Class path contains multiple SLF4J bindings.
SLF4J: Found binding in [jar:file:/home/hadoop/apps/apache-hive-2.3.3-bin/lib/log4j-slf4j-impl-2.6.2.jar!/org/slf4j/impl/StaticLoggerBinder.class]
SLF4J: Found binding in [jar:file:/home/hadoop/apps/hadoop-2.7.5/share/hadoop/common/lib/slf4j-log4j12-1.7.10.jar!/org/slf4j/impl/StaticLoggerBinder.class]
SLF4J: See http://www.slf4j.org/codes.html#multiple_bindings for an explanation.
SLF4J: Actual binding is of type [org.apache.logging.slf4j.Log4jLoggerFactory]
Logging initialized using configuration in jar:file:/home/hadoop/apps/apache-hive-2.3.3-bin/lib/hive-common-2.3.3.jar!/hive-log4j2.properties Async: true
Hive-on-MR is deprecated in Hive 2 and may not be available in the future versions. Consider using a different execution engine (i.e. spark, tez) or using Hive 1.X releases.
hive> show databases;
OK
default
myhive
Time taken: 6.569 seconds, Fetched: 2 row(s)
hive>
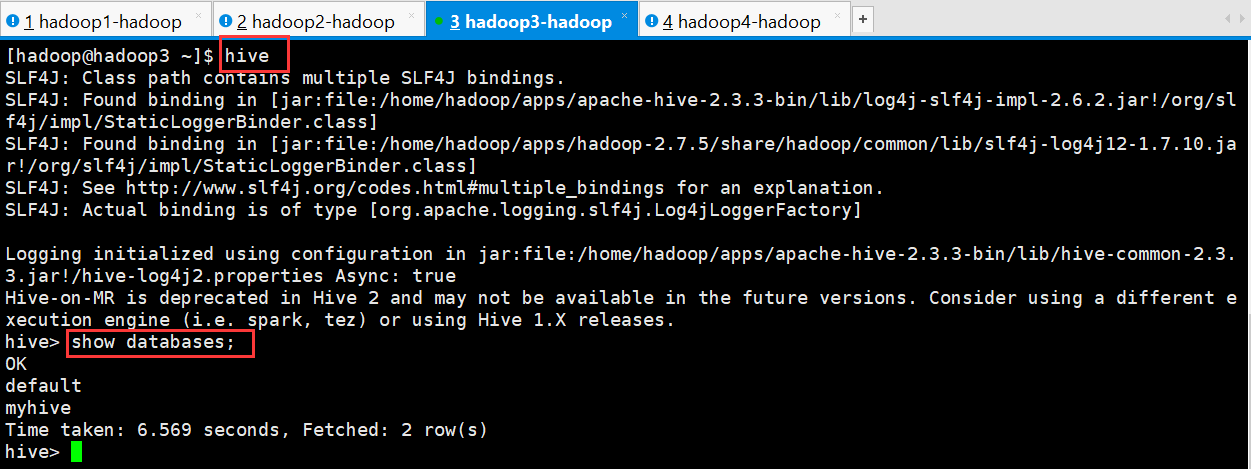
启动成功的话如上图所示,接下来便可以做 hive 相关操作
补充:
1、上面的 hive 命令相当于在启动的时候执行:hive --service cli
2、使用 hive --help,可以查看 hive 命令可以启动那些服务
3、通过 hive --service serviceName --help 可以查看某个具体命令的使用方式
二、HiveServer2/beeline
在现在使用的最新的 hive-2.3.3 版本中:都需要对 hadoop 集群做如下改变,否则无法使用
1、修改 hadoop 集群的 hdfs-site.xml 配置文件
加入一条配置信息,表示启用 webhdfs
<property>
 <name>dfs.webhdfs.enabled</name>
 <value>true</value>
</property>
2、修改 hadoop 集群的 core-site.xml 配置文件
加入两条配置信息:表示设置 hadoop 的代理用户
<property>
 <name>hadoop.proxyuser.hadoop.hosts</name>
 <value>*</value>
</property>
<property>
 <name>hadoop.proxyuser.hadoop.groups</name>
 <value>*</value>
</property>
配置解析:
hadoop.proxyuser.hadoop.hosts 配置成*的意义,表示任意节点使用 hadoop 集群的代理用户 hadoop 都能访问 hdfs 集群,hadoop.proxyuser.hadoop.groups 表示代理用户的组所属
以上操作做好了之后(最好重启一下HDFS集群),请继续做如下两步:
第一步:先启动 hiveserver2 服务
启动方式,(假如是在 hadoop3 上):
启动为前台:hiveserver2
[hadoop@hadoop3 ~]$ hiveserver2
2018-04-04 10:21:49: Starting HiveServer2
SLF4J: Class path contains multiple SLF4J bindings.
SLF4J: Found binding in [jar:file:/home/hadoop/apps/apache-hive-2.3.3-bin/lib/log4j-slf4j-impl-2.6.2.jar!/org/slf4j/impl/StaticLoggerBinder.class]
SLF4J: Found binding in [jar:file:/home/hadoop/apps/hadoop-2.7.5/share/hadoop/common/lib/slf4j-log4j12-1.7.10.jar!/org/slf4j/impl/StaticLoggerBinder.class]
SLF4J: See http://www.slf4j.org/codes.html#multiple_bindings for an explanation.
SLF4J: Actual binding is of type [org.apache.logging.slf4j.Log4jLoggerFactory]
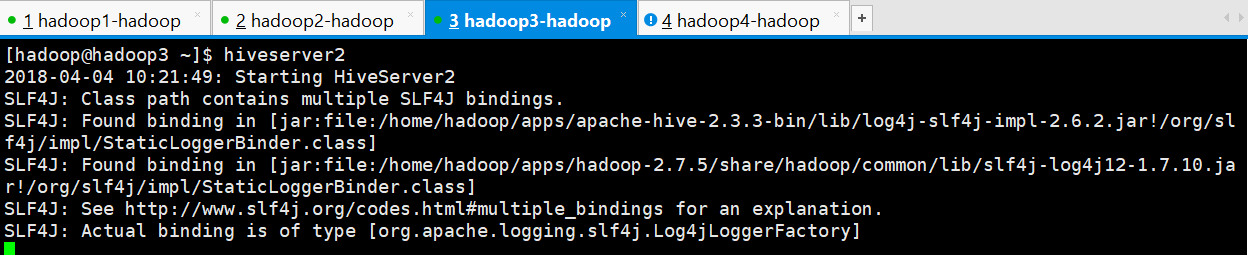
启动会多一个进程

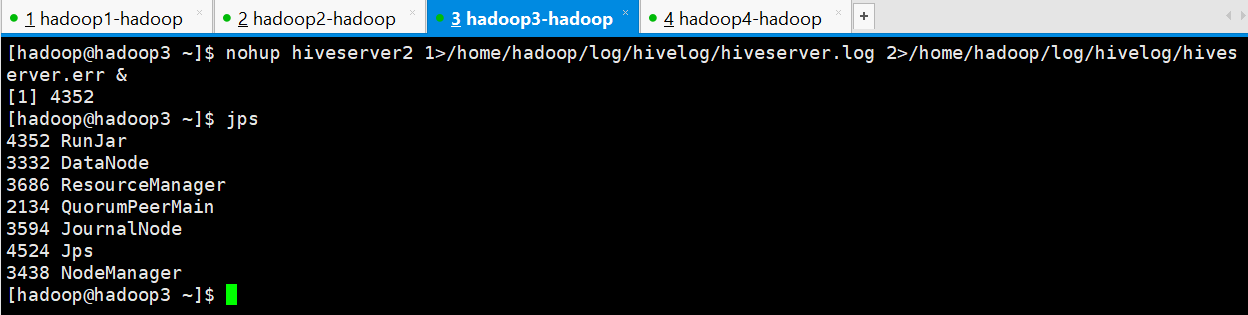
启动为后台:
nohup hiveserver2 1>/home/hadoop/hiveserver.log 2>/home/hadoop/hiveserver.err &
或者:nohup hiveserver2 1>/dev/null 2>/dev/null &
或者:nohup hiveserver2 >/dev/null 2>&1 &
以上 3 个命令是等价的,第一个表示记录日志,第二个和第三个表示不记录日志
命令中的 1 和 2 的意义分别是:
1:表示标准日志输出
2:表示错误日志输出 如果我没有配置日志的输出路径,日志会生成在当前工作目录,默认的日志名称叫做: nohup.xxx
[hadoop@hadoop3 ~]$ nohup hiveserver2 1>/home/hadoop/log/hivelog/hiveserver.log 2>/home/hadoop/log/hivelog/hiveserver.err &
[1] 4352
[hadoop@hadoop3 ~]$
PS:nohup 命令:如果你正在运行一个进程,而且你觉得在退出帐户时该进程还不会结束, 那么可以使用 nohup 命令。该命令可以在你退出帐户/关闭终端之后继续运行相应的进程。 nohup 就是不挂起的意思(no hang up)。 该命令的一般形式为:nohup command &
第二步:然后启动 beeline 客户端去连接:
执行命令:
[hadoop@hadoop3 ~]$ beeline -u jdbc:hive2//hadoop3:10000 -n hadoop
SLF4J: Class path contains multiple SLF4J bindings.
SLF4J: Found binding in [jar:file:/home/hadoop/apps/apache-hive-2.3.3-bin/lib/log4j-slf4j-impl-2.6.2.jar!/org/slf4j/impl/StaticLoggerBinder.class]
SLF4J: Found binding in [jar:file:/home/hadoop/apps/hadoop-2.7.5/share/hadoop/common/lib/slf4j-log4j12-1.7.10.jar!/org/slf4j/impl/StaticLoggerBinder.class]
SLF4J: See http://www.slf4j.org/codes.html#multiple_bindings for an explanation.
SLF4J: Actual binding is of type [org.apache.logging.slf4j.Log4jLoggerFactory]
scan complete in 1ms
scan complete in 2374ms
No known driver to handle "jdbc:hive2//hadoop3:10000"
Beeline version 2.3.3 by Apache Hive
beeline>
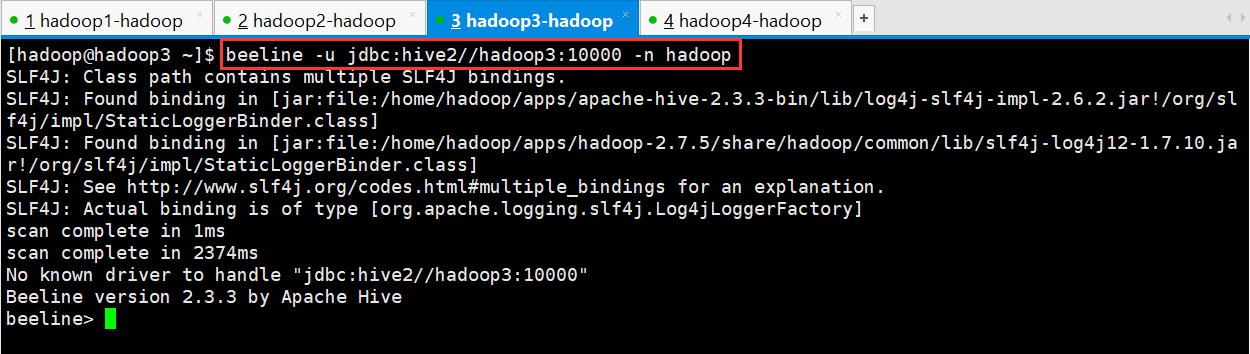
-u : 指定元数据库的链接信息
-n : 指定用户名和密码
另外还有一种方式也可以去连接:
先执行 beeline
然后按图所示输入:!connect jdbc:hive2://hadoop02:10000
按回车,然后输入用户名,这个 用户名就是安装 hadoop 集群的用户名
[hadoop@hadoop3 ~]$ beeline
SLF4J: Class path contains multiple SLF4J bindings.
SLF4J: Found binding in [jar:file:/home/hadoop/apps/apache-hive-2.3.3-bin/lib/log4j-slf4j-impl-2.6.2.jar!/org/slf4j/impl/StaticLoggerBinder.class]
SLF4J: Found binding in [jar:file:/home/hadoop/apps/hadoop-2.7.5/share/hadoop/common/lib/slf4j-log4j12-1.7.10.jar!/org/slf4j/impl/StaticLoggerBinder.class]
SLF4J: See http://www.slf4j.org/codes.html#multiple_bindings for an explanation.
SLF4J: Actual binding is of type [org.apache.logging.slf4j.Log4jLoggerFactory]
Beeline version 2.3.3 by Apache Hive
beeline> !connect jdbc:hive2://hadoop3:10000
Connecting to jdbc:hive2://hadoop3:10000
Enter username for jdbc:hive2://hadoop3:10000: hadoop
Enter password for jdbc:hive2://hadoop3:10000: ******
Connected to: Apache Hive (version 2.3.3)
Driver: Hive JDBC (version 2.3.3)
Transaction isolation: TRANSACTION_REPEATABLE_READ
0: jdbc:hive2://hadoop3:10000>
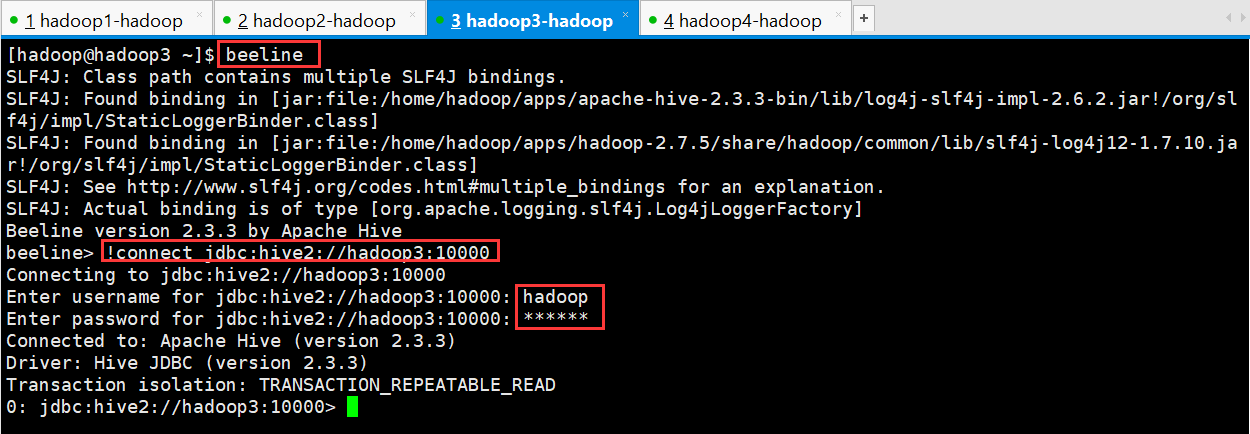
接下来便可以做 hive 操作
三、Web UI
1、 下载对应版本的 src 包:apache-hive-2.3.2-src.tar.gz
2、 上传,解压
tar -zxvf apache-hive-2.3.2-src.tar.gz
3、 然后进入目录${HIVE_SRC_HOME}/hwi/web,执行打包命令:
jar -cvf hive-hwi-2.3.2.war *
在当前目录会生成一个 hive-hwi-2.3.2.war
4、 得到 hive-hwi-2.3.2.war 文件,复制到 hive 下的 lib 目录中
cp hive-hwi-2.3.2.war ${HIVE_HOME}/lib/
5、 修改配置文件 hive-site.xml
<property>
 <name>hive.hwi.listen.host</name>
 <value>0.0.0.0</value>
 <description>监听的地址</description>
</property>
<property>
 <name>hive.hwi.listen.port</name>
 <value>9999</value>
 <description>监听的端口号</description>
</property>
<property>
 <name>hive.hwi.war.file</name>
 <value>lib/hive-hwi-2.3.2.war</value>
 <description>war 包所在的地址</description>
</property>
6、 复制所需 jar 包
1、cp ${JAVA_HOME}/lib/tools.jar ${HIVE_HOME}/lib
2、再寻找三个 jar 包,都放入${HIVE_HOME}/lib 目录:
commons-el-1.0.jar
jasper-compiler-5.5.23.jar
jasper-runtime-5.5.23.jar
不然启动 hwi 服务的时候会报错。
7、 安装 ant
1、 上传 ant 包:apache-ant-1.9.4-bin.tar.gz
2、 解压 tar -zxvf apache-ant-1.9.4-bin.tar.gz -C ~/apps/
3、 配置环境变量 vi /etc/profile 在最后增加两行: export ANT_HOME=/home/hadoop/apps/apache-ant-1.9.4 export PATH=$PATH:$ANT_HOME/bin 配置完环境变量别忘记执行:source /etc/profile
4、 验证是否安装成功

8、上面的步骤都配置完,基本就大功告成了。进入${HIVE_HOME}/bin 目录:
${HIVE_HOME}/bin/hive --service hwi
或者让在后台运行: nohup bin/hive --service hwi > /dev/null 2> /dev/null &
9、 前面配置了端口号为 9999,所以这里直接在浏览器中输入: hadoop02:9999/hwi
10、至此大功告成


 浙公网安备 33010602011771号