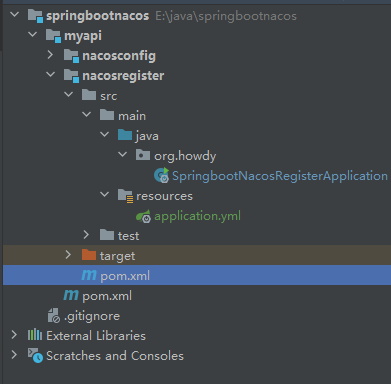
- 接上一篇集成配置中心,本文介绍注册中心,目录结构如下
![]()
- 在nacosregister的pom.xml文件中添加引用
 <dependency>
            <groupId>com.alibaba.cloud</groupId>
            <artifactId>spring-cloud-starter-alibaba-nacos-discovery</artifactId>
            <version>2.2.3.RELEASE</version>
        </dependency>
server:
  port: 9090   #启动端口号  命令行注入
spring:
  application:
    name: mytask-register
  cloud:
    nacos: # nacos服务地址
      discovery:
        server-addr: 127.0.0.1:8848
package org.howdy;

import org.springframework.boot.SpringApplication;
import org.springframework.boot.autoconfigure.SpringBootApplication;
import org.springframework.cloud.client.discovery.EnableDiscoveryClient;

/**
 * Hello world!
 *
 */
@SpringBootApplication
@EnableDiscoveryClient //可以省略,不添加
public class SpringbootNacosRegisterApplication
{
    public static void main( String[] args )
    {
        System.out.println( "Hello SpringbootNacosRegisterApplication!" );
        SpringApplication.run(SpringbootNacosRegisterApplication.class,args);
    }
}
- 操作完成后,启动项目,在nacos服务管理界面,显示注册的服务
![]()


 浙公网安备 33010602011771号