
requests与CURL的相互转换
主要记录一下requests模块发送的请求与CURL命令发送请求之间的相互转换。
requests代码转为CURL命令
安装curlify模块:
pip3 install curlify -i https://pypi.douban.com/simple
github地址及使用
https://github.com/ofw/curlify
实例
import curlify
import requests

rep = requests.get("https://www.baidu.com")
ret1 = curlify.to_curl(rep.request)
print(ret1)
# 这种形式,需要输出成一个二进制文件,后面需要再加上 --output (文件名)
"""
curl -X GET -H 'Accept: */*' -H 'Accept-Encoding: gzip, deflate' -H 'Connection: keep-alive' -H 'User-Agent: python-requests/2.23.0' https://www.baidu.com/
"""

ret2 = curlify.to_curl(rep.request,compressed=True)
print(ret2)
"""
curl -X GET -H 'Accept: */*' -H 'Accept-Encoding: gzip, deflate' -H 'Connection: keep-alive' -H 'User-Agent: python-requests/2.23.0' --compressed https://www.baidu.com/
"""
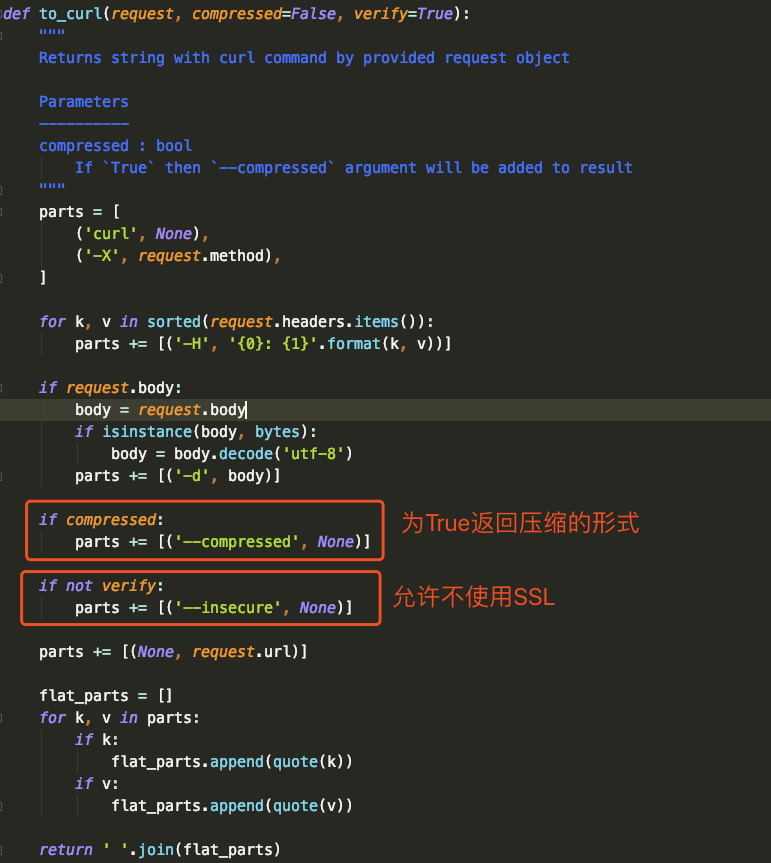
源码及参数说明
源码中to_curl有2个参数:compressed(默认为False),verify(默认为True):
CURL命令转为requests代码
github有一个curlconverter工具很好用:https://github.com/NickCarneiro/curlconverter
实例1 使用node环境
如下curl命令:
curl --request POST --url https://open.workec.com/auth/accesstoken --header 'cache-control: no-cache' --header 'content-type: application/json' --data '{ 'appId': appId, 'appSecret': 'appSecret'}'
由于这个工具使用node.js写的,因从我们得使用npm安装它:
$ npm install --save curlconverter
安装完毕后创建一个名为 curl_test.js的测试文件,里面的内容如下:
var curlcon = require("curlconverter");

ret = curlcon.toPython("curl --request POST --url https://open.workec.com/auth/accesstoken --header 'cache-control: no-cache' --header 'content-type: application/json' --data '{ 'appId': appId, 'appSecret': 'appSecret'}'")

console.log(ret)
然后在终端执行 node curl_test.js
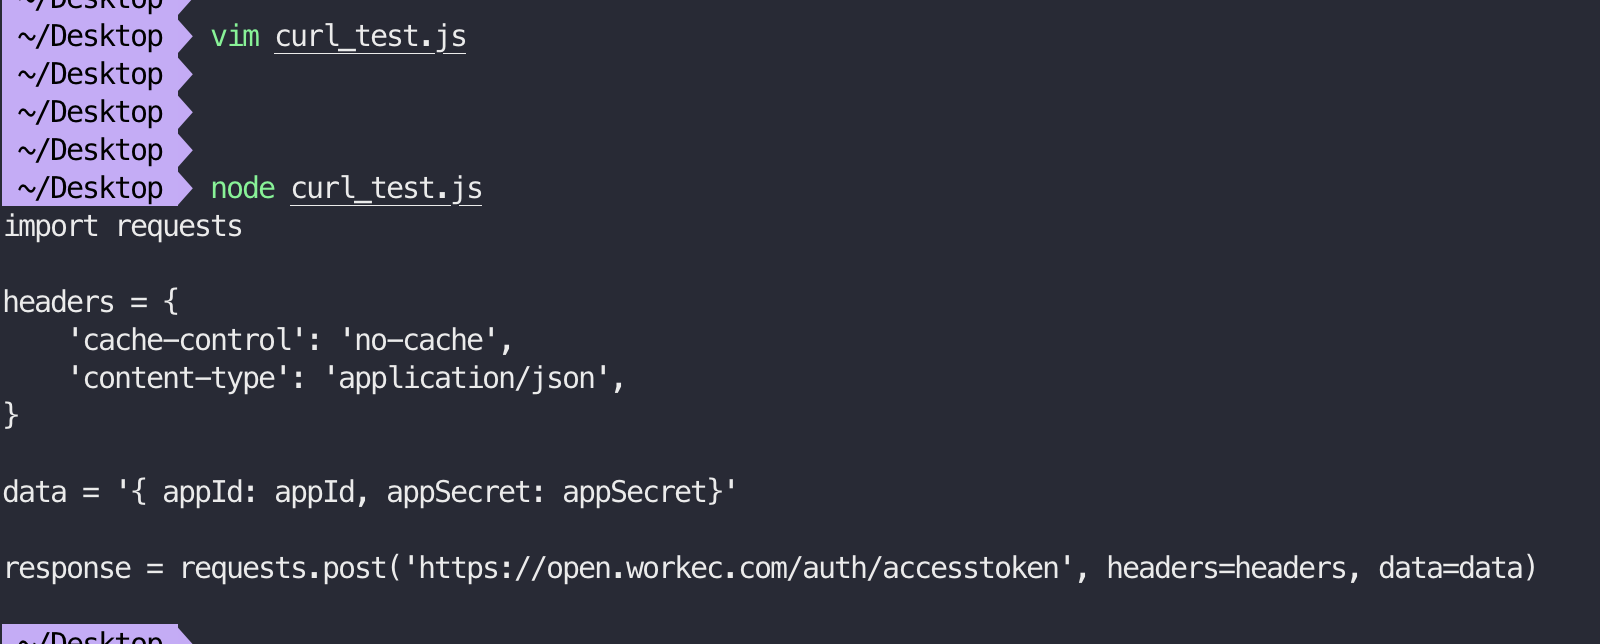
可以看到:终端打印出了转换后的结果。
实例2 使用项目提供的在线工具
还是实例1的curl命令,我们使用在线工具转换为requests代码效果如下:
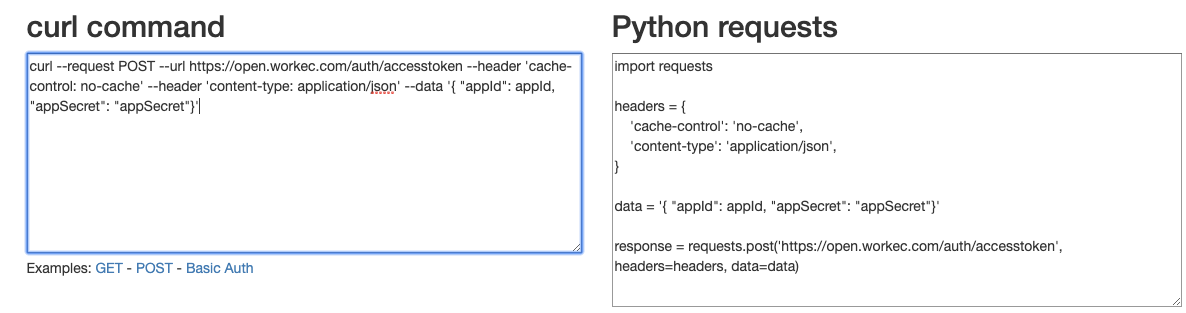
import requests

headers = {
    'cache-control': 'no-cache',
    'content-type': 'application/json',
}

data = '{ "appId": appId, "appSecret": "appSecret"}'

response = requests.post('https://open.workec.com/auth/accesstoken', headers=headers, data=data)

 浙公网安备 33010602011771号