
Nginx自建SSL证书部署HTTPS网站
一、创建SSL相关证书
1.安装Nginx(这里为了测试使用yum安装,实际看具体情况)
[root@localhost ~]# yum install nginx -y  #默认yum安装已经支持SSL,如果是自己编译的可以通过 nginx -V 查看当前Nginx是否支持SSL
[root@localhost ~]# cd /etc/nginx/
[root@localhost nginx]# mkdir ssl
[root@localhost nginx]# cd ssl/
2.生成一个RSA密钥
[root@localhost ssl]#  openssl genrsa -des3 -out nginx.key 1024  #实际使用中看服务器性能,如果足够好也可以使用4096位秘钥
Generating RSA private key, 1024 bit long modulus
.......++++++
...++++++
e is 65537 (0x10001)
Enter pass phrase for nginx.key:                 #输入密码,自定义,不少于4个字符
Verifying - Enter pass phrase for nginx.key:     #确认密码
3.生成一个证书请求
[root@localhost ssl]# openssl req -new -key nginx.key -out nginx.csr
Enter pass phrase for nginx.key:                             #输入刚刚创建的秘密码
You are about to be asked to enter information that will be incorporated
into your certificate request.
What you are about to enter is what is called a Distinguished Name or a DN.
There are quite a few fields but you can leave some blank
For some fields there will be a default value,
If you enter '.', the field will be left blank.
-----
Country Name (2 letter code) [XX]:CN                      #国家名称
State or Province Name (full name) []:ShangHai            #省
Locality Name (eg, city) [Default City]:ShangHai          #市
Organization Name (eg, company) [Default Company Ltd]:ACBC     #公司
Organizational Unit Name (eg, section) []:Tech     #部门
Common Name (eg, your name or your server's hostname) []:*.mydomain.com       #注意,此处应当填写你要部署的域名,如果是单个则直接添加即可,如果不确定,使用*,表示可以对所有mydomain.com的子域名做认证
Email Address []:admin@mydomain.com    #以域名结尾即可

Please enter the following 'extra' attributes
to be sent with your certificate request
A challenge password []:        #是否设置密码,可以不写直接回车
An optional company name []:    #其他公司名称 可不写
4.创建不需要输入密码的RSA证书,否则每次reload、restart都需要输入密码
[root@localhost ssl]# openssl rsa -in nginx.key -out nginx_nopass.key
Enter pass phrase for nginx.key:        #之前RSA秘钥创建时的密码
writing RSA key
5.签发证书(由于是测试自己签发,实际应该将自己生成的csr文件提交给SSL认证机构认证)
[root@localhost ssl]# openssl x509 -req -days 3650 -in nginx.csr  -signkey nginx.key -out nginx.crt
Signature ok
subject=/C=CN/ST=ShangHai/L=ShangHai/O=ACBC/OU=Tech/CN=*.mydomain.com/emailAddress=admin@mydomain.com
Getting Private key
Enter pass phrase for nginx.key:          #RSA创建时的密码
二、配置Nginx
1、修改配置文件(注意域名,特别是443)
# For more information on configuration, see:
#   * Official English Documentation: http://nginx.org/en/docs/
#   * Official Russian Documentation: http://nginx.org/ru/docs/

user nginx;
worker_processes auto;
error_log /var/log/nginx/error.log;
pid /run/nginx.pid;
# Load dynamic modules. See /usr/share/doc/nginx/README.dynamic.
include /usr/share/nginx/modules/*.conf;

events {
    worker_connections 1024;
}

http {
    log_format  main  '$remote_addr - $remote_user [$time_local] "$request" '
                      '$status $body_bytes_sent "$http_referer" '
                      '"$http_user_agent" "$http_x_forwarded_for"';
    access_log  /var/log/nginx/access.log  main;

    sendfile            on;
    tcp_nopush          on;
    tcp_nodelay         on;
    keepalive_timeout   65;
    types_hash_max_size 2048;

    include             /etc/nginx/mime.types;
    default_type        application/octet-stream;

    include /etc/nginx/conf.d/*.conf;
    server {
        listen       80 default_server;
        listen       [::]:80 default_server;
        server_name  test.mydomain.com;     #配置自己的域名 注意要以自己申请证书时填写的域名一致
        root         /usr/share/nginx/html;

        # Load configuration files for the default server block.
        include /etc/nginx/default.d/*.conf;

        location / {
        }

        error_page 404 /404.html;
            location = /40x.html {
        }

        error_page 500 502 503 504 /50x.html;
            location = /50x.html {
        }
    }

# Settings for a TLS enabled server.
    server {
        listen       443 ssl http2 default_server;
        listen       [::]:443 ssl http2 default_server;
        server_name  test.mydomain.com;   #与申请时的域名保持一致,否则会报错
        root         /usr/share/nginx/html;

        ssl_certificate "/etc/nginx/ssl/nginx.crt";   #
        ssl_certificate_key "/etc/nginx/ssl/nginx_nopass.key";
        ssl_session_cache shared:SSL:1m;
        ssl_session_timeout  10m;
        ssl_ciphers HIGH:!aNULL:!MD5;
        ssl_prefer_server_ciphers on;

        # Load configuration files for the default server block.
        include /etc/nginx/default.d/*.conf;

        location / {
        }

        error_page 404 /404.html;
            location = /40x.html {
        }

        error_page 500 502 503 504 /50x.html;
            location = /50x.html {
        }
    }

}
#配置简介
ssl_certificate证书其实是个公钥,它会被发送到连接服务器的每个客户端,ssl_certificate_key私钥是用来解密的,所以它的权限要得到保护但nginx的主进程能够读取。当然私钥和证书可以放在一个证书文件中,这种方式也只有公钥证书才发送到client。
ssl_session_timeout 客户端可以重用会话缓存中ssl参数的过期时间,内网系统默认5分钟太短了,可以设成30m即30分钟甚至4h。
ssl_protocols指令用于启动特定的加密协议,nginx在1.1.13和1.0.12版本后默认是ssl_protocols SSLv3 TLSv1 TLSv1.1 TLSv1.2,TLSv1.1与TLSv1.2要确保OpenSSL >= 1.0.1 ,SSLv3 现在还有很多地方在用但有不少被攻击的漏洞。
ssl_ciphers选择加密套件,不同的浏览器所支持的套件(和顺序)可能会不同。这里指定的是OpenSSL库能够识别的写法,你可以通过 openssl -v cipher ‘RC4:HIGH:!aNULL:!MD5’(后面是你所指定的套件加密算法) 来看所支持算法。
ssl_prefer_server_ciphers on设置协商加密算法时,优先使用我们服务端的加密套件,而不是客户端浏览器的加密套件。
2.启动服务
[root@localhost nginx]# nginx -t
nginx: the configuration file /etc/nginx/nginx.conf syntax is ok
nginx: configuration file /etc/nginx/nginx.conf test is successful
[root@localhost nginx]# echo "This test page" > /usr/share/nginx/html/test.html  #创建一个测试页面
[root@localhost nginx]# systemctl restart nginx
3.测试
绑定 test.mydomain.com域名对应的IP到客户端

使用HTTP协议访问

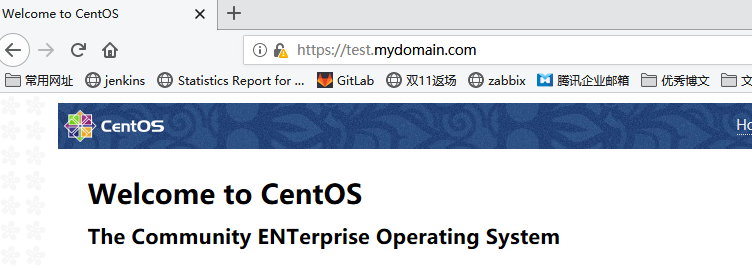
使用HTTPS协议访问

有个警告,正常,应用我们的证书没有经过认证,点击高级,点击继续前往

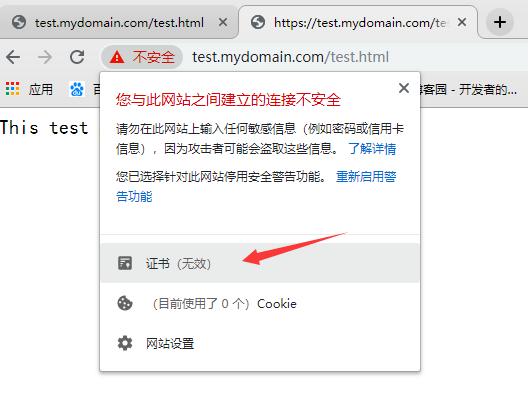
从结果看,HTTPS配置成功
4.有时候我们希望无论是HTTP或者HTTPS协议都通过HTTPS访问,可以做如下配置
    server {
        listen       80 default_server;
        listen       [::]:80 default_server;
        server_name  test.mydomain.com;
        root         /usr/share/nginx/html;

        # Load configuration files for the default server block.
        include /etc/nginx/default.d/*.conf;
        return   301 https://$server_name$request_uri;    #在80监听端口 配置跳转
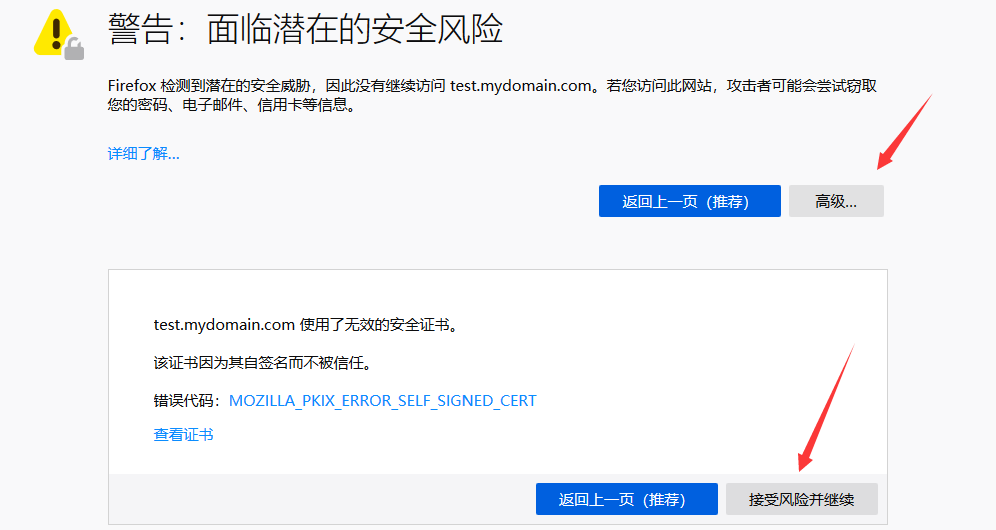
在使用HTTP协议访问,为避免缓存的影响,我们可以换一个浏览器

输入URL后回车,跳转到HTTPS了, 点击高级-->接受风险并继续
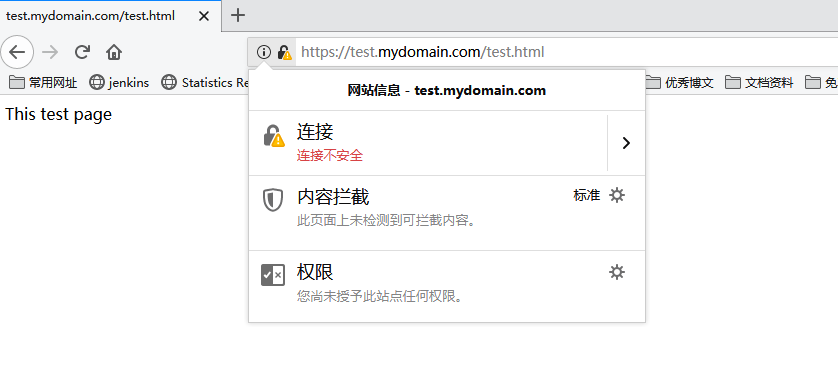
结果为:
三、配置Nginx使用HTTPS代理后端Tomcat服务
1.下载Tomcat,并测试是否访问正常
[root@localhost nginx]# cd /mnt/
[root@localhost mnt]# tar xf apache-tomcat-7.0.96.tar.gz
[root@localhost mnt]# cd apache-tomcat-7.0.96/bin/
[root@localhost bin]# ./startup.sh
[root@localhost bin]# curl -I http://172.16.150.132:8080  #如果在他为200 OK则正常
2.配置Nginx代理到Tomcat
Nginx代理可以分为两种情况
1.全代理
2.只代理动态请求,静态请求本地或者代理到其他静态服务器上,即动静分离
我们先配置第一种情况:全代理
[root@localhost bin]# cd /etc/nginx/
[root@localhost nginx]# vim nginx.conf
    server {
        listen       443 ssl http2 default_server;
        listen       [::]:443 ssl http2 default_server;
        server_name  test.mydomain.com;
        root         /usr/share/nginx/html;

        ssl_certificate "/etc/nginx/ssl/nginx.crt";
        ssl_certificate_key "/etc/nginx/ssl/nginx_nopass.key";
        ssl_session_cache shared:SSL:1m;
        ssl_session_timeout  10m;
        ssl_ciphers HIGH:!aNULL:!MD5;
        ssl_prefer_server_ciphers on;

        # Load configuration files for the default server block.
        include /etc/nginx/default.d/*.conf;

        location / {
           proxy_pass http://localhost:8080;    #使用proxy_pass 直接代理
        }


[root@localhost bin]# cd /etc/nginx/
[root@localhost nginx]# vim nginx.conf
[root@localhost nginx]# systemctl restart nginx
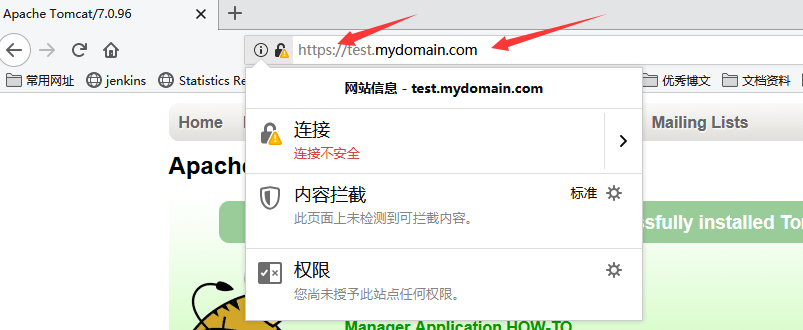
访问测试一下,直接使用HTTP协议

没有问题
动静分离配置
[root@localhost nginx]# vim  nginx.conf
        location / {    #删除之前的8080代理
            index index.html index.htm;
       }

        location ~ \.(jsp|jspx|do|action)(\/.*)?$ {
           proxy_set_header real_ip $remote_addr;
           proxy_pass http://localhost:8080;
        }

[root@localhost nginx]# nginx -t
[root@localhost nginx]# systemctl restart nginx
访问HTML文件
访问JSP文件

3.生产其他常见配置
proxy_set_header Host $http_host;                       #避免http请求中丢失Host头部的情况下Host不被重写的失误
proxy_set_header X-Forwarded-For $http_x_forwarded_for; #代表客户端,也就是HTTP的请求端真实的IP
proxy_set_header X-Real-IP $remote_addr;                #将$remote_addr的值放进变量X-Real-IP中,此变量名可变,$remote_addr的值为客户端的ip
add_header Access-Control-Allow-Origin *;                 #表示允许访问的外域请求
add_header Access-Control-Allow-Headers X-Requested-With; #首部字段用于预检请求的响应。其指明了实际请求中允许携带的首部字段。
add_header Access-Control-Allow-Methods GET,POST,OPTIONS; #首部字段用于预检请求的响应。其指明了实际请求所允许使用的 HTTP 方法。
add_header Strict-Transport-Security "max-age=31536000; includeSubdomains; preload";  #防止中间人攻击
add_header X-Frame-Options:ALLOW-FROM http://www.growingio.com; # 避免点击劫持 (clickjacking) 的攻击
add_header X-Content-Type-Options nosniff;                 #不允许浏览器任何猜测的行为

ssi on;  #开启SSI
ssi_silent_errors on;
ssi_types *;

proxy_redirect http:// $scheme://;   #修改从被代理服务器传来的应答头中的"Location"和"Refresh"字段,将http修改为https
port_in_redirect on;                 #告诉nginx,遇到跳转的时候,不要加上自己的端口号

#可配置参数由openssl 的ciphers定义  openssl ciphers -v #查看支持的配置参数
ssl_ciphers 'ECDHE-ECDSA-AES256-GCM-SHA384:ECDHE-RSA-AES256-GCM-SHA384:ECDHE-ECDSA-CHACHA20-POLY1305:ECDHE-RSA-CHACHA20-POLY1305:ECDHE-ECDSA-AES128-GCM-SHA256:ECDHE-RSA-AES128-GCM-SHA256:ECDHE-ECDSA-AES256-SHA384:ECDHE-RSA-AES256-SHA384:ECDHE-ECDSA-AES128-SHA256:ECDHE-RSA-AES128-SHA256';
ssl_stapling on; #启用或禁用 服务器对OCSP响应的装订 #检验证书合法性的在线查询服务
ssl_stapling_verify on; #启用或禁用服务器对OCSP响应的验证
#如果启用了ssl_stapling,则以file PEM格式 指定具有受信任CA证书的证书,用于验证客户端证书和OCSP响应。 顺序为 站点证书、中间证书(1张或多张)、根证书
ssl_trusted_certificate /path/to/file;

#使用Diffie-Hellman方法让访问者的浏览器和服务器安全的交换密钥
#使用 openssl dhparam -out /usr/ssl/dhparam.pem 2048 命令生成需要的pem文件 其中默认为1024位
ssl_dhparam /etc/ssl/certs/dhparam.pem;


网站SSL配置检查:
    https://www.ssllabs.com/ssltest/
    https://myssl.com/myssl.com
网站SSL证书有效期检测脚本:
#! /usr/bin/env bash
function verified_for_certificate(){
host=$1
port=${2:-"443"}
end_date=`echo | timeout 6 openssl s_client -servername ${host} -connect ${host}:${port} 2>/dev/null |
openssl x509 -noout -dates | grep notAfter | awk -F "=" '{print $NF}'`
if [ -n "$end_date" ];then
# 把时间转换为时间戳
end_date_seconds=`date '+%s' --date "$end_date"`
# 获取当前时间
now_seconds=`date '+%s'`
valid_days=$(echo "($end_date_seconds-$now_seconds)/24/3600" | bc)
echo "${host}剩余有效期天数为:${valid_days}天"
fi
}
function main(){
verified_for_certificate $1 $2
}
main $1 $2

 浙公网安备 33010602011771号