centos7安装lamp,php5.6,mysql5.7,xdebug
本文主要记录基于centos7安装lamp,php5.6,mysql5.7,httpd环境
主要记录如下
1.httpd
yum update -y
yum install -y wget vim net-tools
setenforce 0

yum install -y httpd
systemctl start httpd
systemctl enable httpd
firewall-cmd --zone=public --add-port=80/tcp --permanent
firewall-cmd --reload
2.php5.6
yum install -y epel-release
rpm -Uvh https://rpms.remirepo.net/enterprise/remi-release-7.rpm
yum install -y yum-utils
yum-config-manager --enable remi-php56
yum install -y php php-mysqlnd php-gd php-xml php-mbstring php-mcrypt php-cli php-pear
php -v
systemctl restart httpd
vim /var/www/html/info.php
<?php
phpinfo();
?>
测试
    http://ip:80/info.php
删除
    rm -f /var/www/html/info.php
3.mysql5.7
# 停止可能运行的MySQL服务
systemctl stop mysqld 2>/dev/null

# 卸载已安装的MySQL组件
yum remove -y mysql-community-server mysql-community-client mysql-community-libs mysql-community-common

# 删除残留文件和目录
rm -rf /var/lib/mysql
rm -rf /etc/my.cnf
rm -rf /var/log/mysqld.log

# 下载仓库包
wget https://dev.mysql.com/get/mysql57-community-release-el7-11.noarch.rpm
# 安装仓库(强制安装,忽略依赖问题)
rpm -ivh --force mysql57-community-release-el7-11.noarch.rpm
# 下载并导入MySQL官方GPG密钥
rpm --import https://repo.mysql.com/RPM-GPG-KEY-mysql-2022
# 验证密钥是否导入成功
rpm -qa gpg-pubkey* | grep mysql

# 安装MySQL 5.7(指定跳过GPG检查,防止仍有密钥问题)
yum install -y --nogpgcheck mysql-community-server
systemctl start mysqld
systemctl enable mysqld
systemctl status mysqld
grep 'temporary password' /var/log/mysqld.log
cat /var/log/mysqld.log | grep 'password'
A temporary password is generated for root@localhost: 0,l>qRfux2qO
ALTER USER 'root'@'localhost' IDENTIFIED BY 'Demo@2025';  # 必须包含大小写、数字、特殊字符
GRANT ALL PRIVILEGES ON *.* TO 'root'@'%' IDENTIFIED BY 'Demo@2025' WITH GRANT OPTION;
flush privileges;  # 刷新权限
firewall-cmd --zone=public --add-port=3306/tcp --permanent
firewall-cmd --reload
4.xdebug安装
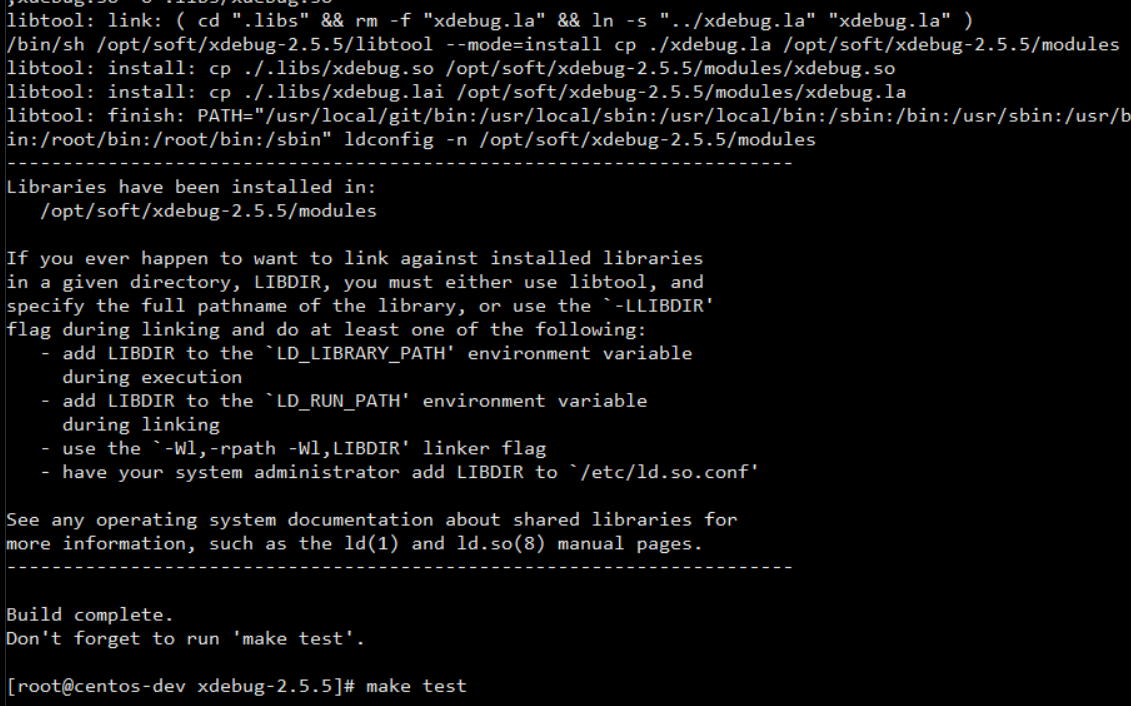
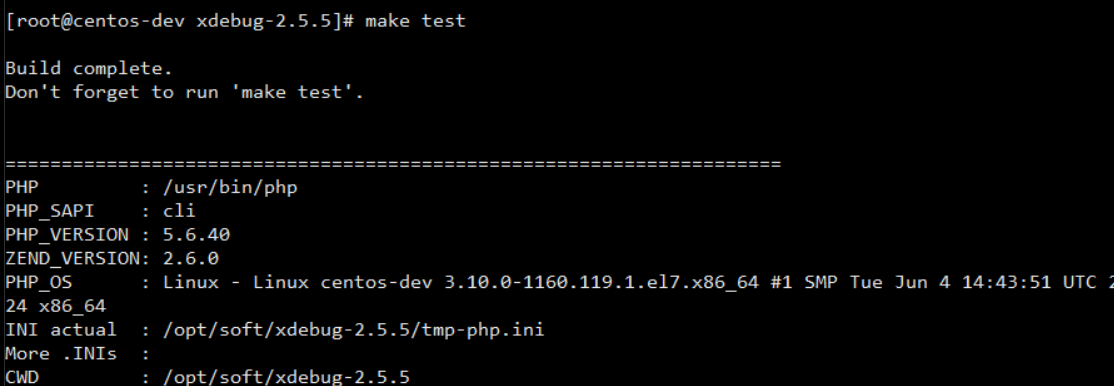
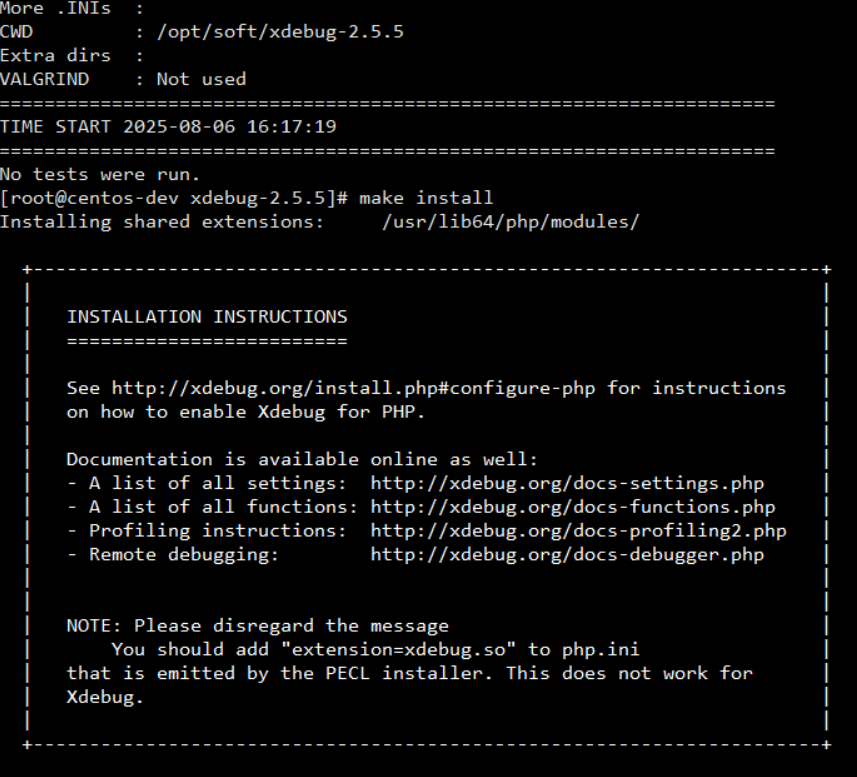
sudo install php-devel

下载xdebug
https://xdebug.org/download/historical
根据php版本,选择合适的xdebug版本
根据php版本号(5.6.40),故选择xdebug-2.5.5.tgz


wget https://xdebug.org/files/xdebug-2.5.5.tgz
tar - zxvf xdebug-2.5.5.tgz
cd xdebug-2.5.5

编译并安装 Xdebug:
使用phpize命令(它随php - devel包安装):
bash
phpize
./configure
make
sudo make install

配置 PHP.ini
找到 PHP.ini 文件
通常,PHP.ini 文件可能在/etc/php.ini或/etc/php.d/目录下。你可以使用以下命令查找:
bash
php - i | grep php.ini

配置 Xdebug
在php.ini文件中添加以下 Xdebug 配置(如果文件中有重复配置,可能需要修改或删除原配置):
ini
[xdebug]
zend_extension = /usr/lib64/php/modules/xdebug.so
xdebug.remote_enable = on
xdebug.remote_handler = dbgp
xdebug.remote_host = 127.0.0.1
xdebug.remote_port = 9003
xdebug.idekey = "netbeans - xdebug"
注意:/usr/lib64/php/modules/xdebug.so路径可能因系统不同而不同,你可能需要找到实际的 Xdebug 扩展路径。
重启服务
重启 Apache
使 PHP 配置生效,需要重启 Apache:
bash
sudo service httpd restart
验证 Xdebug 安装
在 NetBeans 中验证
打开 NetBeans,在项目属性或调试配置中,确保调试端口(9003)和 IDE 键值(netbeans - xdebug)与php.ini中的 Xdebug 配置匹配。
创建一个 PHP 项目并设置断点,尝试运行调试。如果调试能够正常工作,说明 Xdebug 安装和配置成功。
通过以上步骤,你应该能够在 CentOS 7 上安装和配置 Xdebug 到 PHP 5.6 环境中,并且可以在 NetBeans 中进行 PHP 调试
5.netbeans内存限制
通过以下命令找到netbeans.conf配置文件
sudo find / -name "netbeans.conf",结果如下
/usr/lib/apache-netbeans/etc/netbeans.conf
vi /usr/lib/apache-netbeans/etc/netbeans.conf
配置位置:详见红色加粗地方
# Licensed to the Apache Software Foundation (ASF) under one
# or more contributor license agreements.  See the NOTICE file
# distributed with this work for additional information
# regarding copyright ownership.  The ASF licenses this file
# to you under the Apache License, Version 2.0 (the
# "License"); you may not use this file except in compliance
# with the License.  You may obtain a copy of the License at
#
#   http://www.apache.org/licenses/LICENSE-2.0
#
# Unless required by applicable law or agreed to in writing,
# software distributed under the License is distributed on an
# "AS IS" BASIS, WITHOUT WARRANTIES OR CONDITIONS OF ANY
# KIND, either express or implied.  See the License for the
# specific language governing permissions and limitations
# under the License.

#
# Default locations of userdir and cachedir:
# (http://wiki.netbeans.org/FaqWhatIsUserdir)
#
# The following variables can be used for these options:
# - netbeans_default_userdir
# - netbeans_default_cachedir
# - netbeans_default_options
# - netbeans_jdkhome
#
# On Windows ${DEFAULT_USERDIR_ROOT} will be replaced by the launcher
# with "<AppData>\NetBeans", where <AppData> is users value of "AppData" key
# in Windows Registry under
# "HKCU\Software\Microsoft\Windows\CurrentVersion\Explorer\Shell Folders"
# and ${DEFAULT_CACHEDIR_ROOT} will be replaced by the launcher
# with "<Local AppData>\NetBeans\Cache" where <Local AppData> is user's
# value of "Local AppData" key in Windows Registry under
# "HKCU\Software\Microsoft\Windows\CurrentVersion\Explorer\Shell Folders"
#
# On Mac ${DEFAULT_USERDIR_ROOT} will be replaced by the launcher
# with "~/Library/Application Support/NetBeans" and
# ${DEFAULT_CACHEDIR_ROOT} with "~/Library/Caches/NetBeans"
#
# On other systems ${DEFAULT_USERDIR_ROOT} will be replaced by the launcher
# with "${HOME}/.netbeans" and ${DEFAULT_CACHEDIR_ROOT} with
# "${HOME}/.cache/netbeans".
#
# You can also use ${HOME} variable which will be replaced with
# user.home JVM system property value.
#
# NOTE: If you specify a non-default userdir path on command line
# (--userdir option) and don't specify a cachedir path (--cachedir option),
# cachedir will be in "<userdir>/var/cache".
#
# Cachedir must be different from userdir. The same cachedir and userdir
# would cause problems.
#
# ${BASEDIR} is replaced with the base directory of the NetBeans installation
#

netbeans_default_userdir="${DEFAULT_USERDIR_ROOT}/26"
netbeans_default_cachedir="${DEFAULT_CACHEDIR_ROOT}/26"

# Options used by NetBeans launcher by default:
# (can be overridden by explicit command line switches)
#
# Note that default -Xmx is selected for you by the JVM automatically.
# You can find these values in var/log/messages.log file in your userdir.
# The automatically selected value can be overridden by specifying -J-Xmx
# here or on the command line.
#
# 核心修改:添加内存限制参数 -J-Xms512m(初始内存)和 -J-Xmx2048m(最大内存2G)
netbeans_default_options="-J-XX:+UseStringDeduplication -J-Xss2m -J-Xms512m -J-Xmx2048m  -J-Djava.lang.Runtime.level=FINE -J-Dapple.laf.useScreenMenuBar=true -J-Dapple.awt.application.appearance=system -J-Dsun.java2d.noddraw=true -J-Dsun.java2d.dpiaware=true -J-Dplugin.manager.check.updates=false -J-Dnetbeans.extbrowser.manual_chrome_plugin_install=yes  -J--enable-native-access=ALL-UNNAMED -J--add-opens=java.base/java.net=ALL-UNNAMED -J--add-opens=java.base/java.lang.ref=ALL-UNNAMED -J--add-opens=java.base/java.lang=ALL-UNNAMED -J--add-opens=java.base/java.security=ALL-UNNAMED -J--add-opens=java.base/java.util=ALL-UNNAMED -J--add-opens=java.base/java.nio=ALL-UNNAMED -J--add-exports=java.base/sun.reflect.annotation=ALL-UNNAMED -J--add-opens=java.prefs/java.util.prefs=ALL-UNNAMED -J--add-opens=java.desktop/javax.swing.plaf.basic=ALL-UNNAMED -J--add-opens=java.desktop/javax.swing.text=ALL-UNNAMED -J--add-opens=java.desktop/javax.swing=ALL-UNNAMED -J--add-opens=java.desktop/java.awt=ALL-UNNAMED -J--add-opens=java.desktop/java.awt.event=ALL-UNNAMED -J--add-opens=java.desktop/sun.awt.X11=ALL-UNNAMED -J--add-opens=java.desktop/javax.swing.plaf.synth=ALL-UNNAMED -J--add-opens=java.desktop/com.sun.java.swing.plaf.gtk=ALL-UNNAMED -J--add-opens=java.desktop/com.sun.java.swing.plaf.windows=ALL-UNNAMED -J--add-opens=java.desktop/com.apple.laf=ALL-UNNAMED -J--add-opens=java.desktop/sun.awt.shell=ALL-UNNAMED -J--add-opens=java.desktop/sun.awt.im=ALL-UNNAMED -J--add-exports=java.desktop/sun.awt=ALL-UNNAMED -J--add-exports=java.desktop/java.awt.peer=ALL-UNNAMED -J--add-exports=java.desktop/com.sun.beans.editors=ALL-UNNAMED -J--add-exports=java.desktop/sun.swing=ALL-UNNAMED -J--add-exports=java.desktop/sun.awt.im=ALL-UNNAMED -J--add-exports=java.desktop/com.sun.java.swing.plaf.motif=ALL-UNNAMED -J--add-exports=java.desktop/com.apple.eio=ALL-UNNAMED -J--add-opens=jdk.compiler/com.sun.tools.javac.api=ALL-UNNAMED -J--add-opens=jdk.compiler/com.sun.tools.javac.code=ALL-UNNAMED -J--add-opens=jdk.compiler/com.sun.tools.javac.comp=ALL-UNNAMED -J--add-opens=jdk.compiler/com.sun.tools.javac.file=ALL-UNNAMED -J--add-opens=jdk.compiler/com.sun.tools.javac.jvm=ALL-UNNAMED -J--add-opens=jdk.compiler/com.sun.tools.javac.main=ALL-UNNAMED -J--add-opens=jdk.compiler/com.sun.tools.javac.model=ALL-UNNAMED -J--add-opens=jdk.compiler/com.sun.tools.javac.parser=ALL-UNNAMED -J--add-opens=jdk.compiler/com.sun.tools.javac.processing=ALL-UNNAMED -J--add-opens=jdk.compiler/com.sun.tools.javac.tree=ALL-UNNAMED -J--add-opens=jdk.compiler/com.sun.tools.javac.util=ALL-UNNAMED -J--add-exports=jdk.compiler/com.sun.tools.javac.api=ALL-UNNAMED -J--add-exports=jdk.compiler/com.sun.tools.javac.code=ALL-UNNAMED -J--add-exports=jdk.compiler/com.sun.tools.javac.comp=ALL-UNNAMED -J--add-exports=jdk.compiler/com.sun.tools.javac.file=ALL-UNNAMED -J--add-exports=jdk.compiler/com.sun.tools.javac.jvm=ALL-UNNAMED -J--add-exports=jdk.compiler/com.sun.tools.javac.main=ALL-UNNAMED -J--add-exports=jdk.compiler/com.sun.tools.javac.model=ALL-UNNAMED -J--add-exports=jdk.compiler/com.sun.tools.javac.parser=ALL-UNNAMED -J--add-exports=jdk.compiler/com.sun.tools.javac.processing=ALL-UNNAMED -J--add-exports=jdk.compiler/com.sun.tools.javac.tree=ALL-UNNAMED -J--add-exports=jdk.compiler/com.sun.tools.javac.util=ALL-UNNAMED -J--add-modules=jdk.jshell -J--add-opens=jdk.jshell/jdk.jshell=ALL-UNNAMED -J--add-exports=jdk.jshell/jdk.internal.jshell.debug=ALL-UNNAMED -J--add-exports=jdk.jdeps/com.sun.tools.classfile=ALL-UNNAMED -J--add-exports=jdk.jdeps/com.sun.tools.javap=ALL-UNNAMED -J--add-exports=jdk.internal.jvmstat/sun.jvmstat.monitor=ALL-UNNAMED -J--add-exports=jdk.internal.opt/jdk.internal.opt=ALL-UNNAMED -J--add-exports=java.management/sun.management=ALL-UNNAMED -J-XX:+IgnoreUnrecognizedVMOptions -J-javaagent:\"${BASEDIR}/ide/netbeans-javaagent.jar\""

# Default location of JDK:
# (set by installer or commented out if launcher should decide)
#
# It can be overridden on command line by using --jdkhome <dir>
# Be careful when changing jdkhome.
# There are two NetBeans launchers for Windows (32-bit and 64-bit) and
# installer points to one of those in the NetBeans application shortcut
# based on the Java version selected at installation time.
#
#netbeans_jdkhome="/path/to/jdk"

# Additional module clusters:
# using ${path.separator} (';' on Windows or ':' on Unix):
#
#netbeans_extraclusters="/absolute/path/to/cluster1:/absolute/path/to/cluster2"
6.其他附图

以上步骤安装成功

 浙公网安备 33010602011771号