SDN第一次上机作业
SDN第一次上机作业
1.安装mininet
(1). 参考链接1
(2). 参考链接2我主要是参考这个博客来做的
(3).
如果ubantu没有安装git,需要安装git
apt install git
获取源码
git clone git://github.com/mininet/mininet
获取源码树并安装Mininet
cat INSTALL
切换到mininet文件下
cd mininet
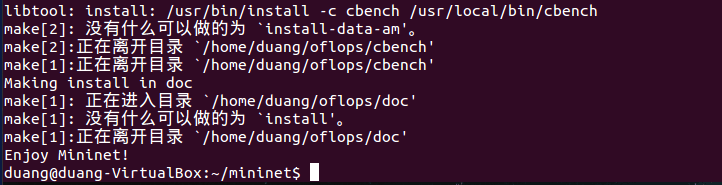
完整安装命令
./util/install.sh -a
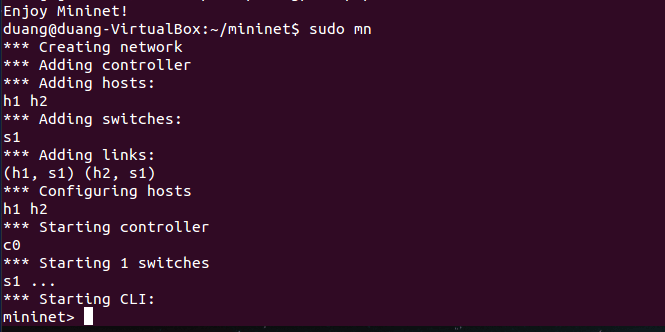
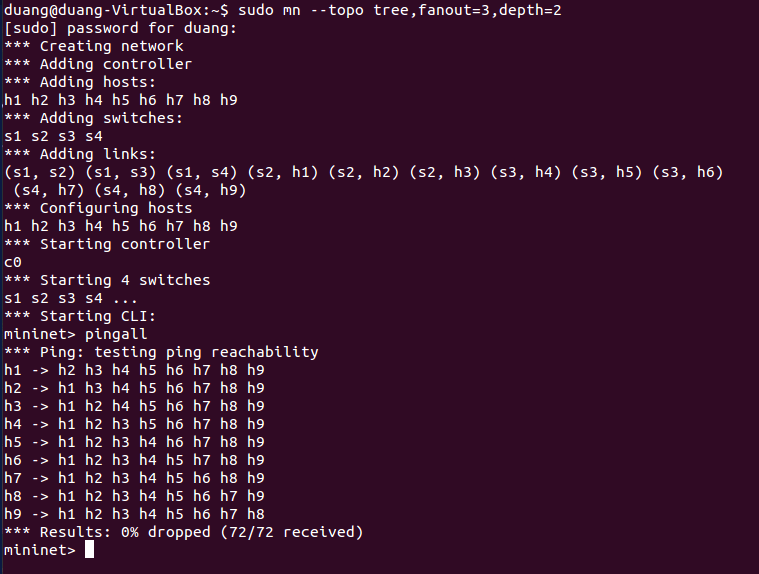
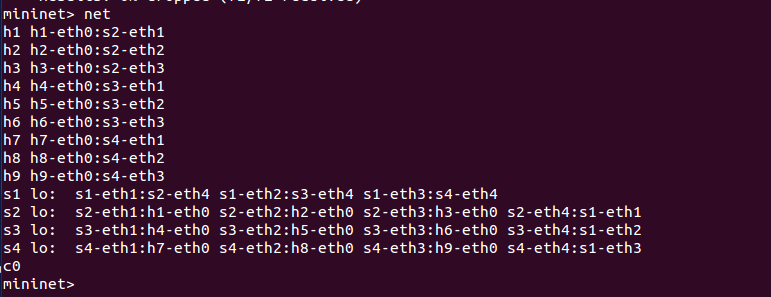
2.用字符命令生成拓扑,并测试连通性,截图
参考链接:http://www.sdnlab.com/15077.html
sudo mn --topo tree,fanout=3,depth=2
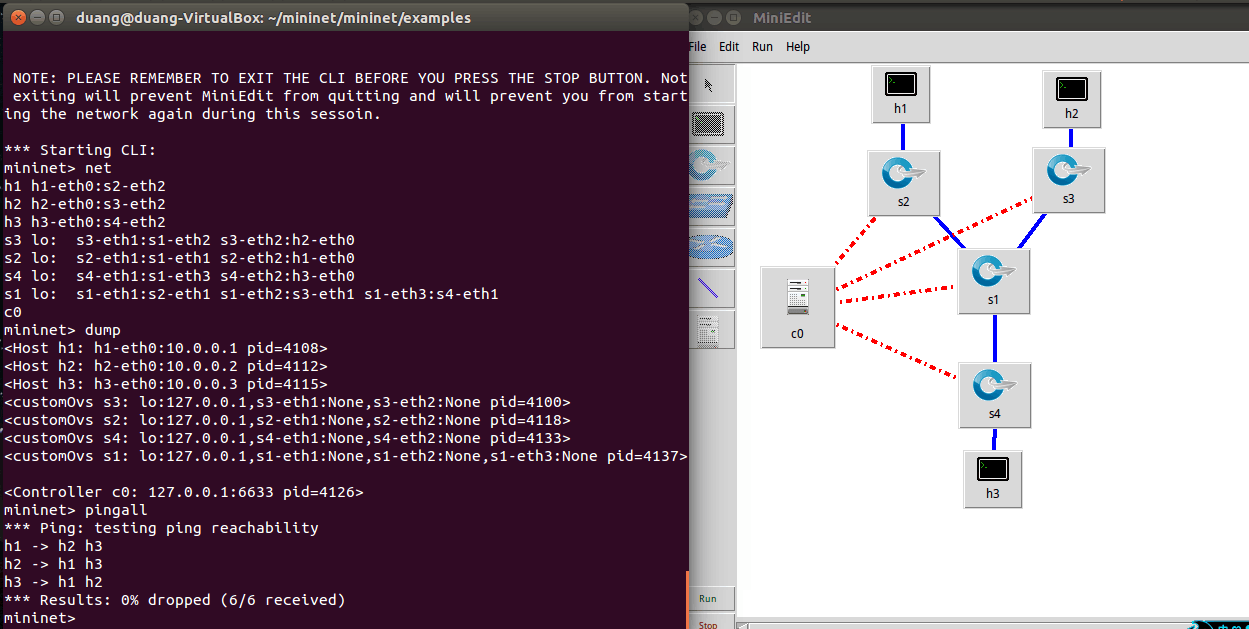
3.用可视化界面生成拓扑,并测试连通性,截图
参考链接:http://www.sdnlab.com/15096.html
sudo ./mininet/mininet/examples/miniedit.py
注意sudo
4.用Python脚本生成一个Fat-tree型的拓扑,截图
参考链接:http://www.sdnlab.com/15128.html


!/usr/bin/python
"""Custom topology example
Adding the 'topos' dict with a key/value pair to generate our newly defined
topology enables one to pass in '--topo=mytopo' from the command line.
"""
from mininet.topo import Topo
from mininet.net import Mininet
from mininet.node import RemoteController,CPULimitedHost
from mininet.link import TCLink
from mininet.util import dumpNodeConnections
class MyTopo( Topo ):
"Simple topology example."
def init( self ):
"Create custom topo."
Initialize topology
Topo.init( self )
L1 = 2
L2 = L1 * 2
L3 = L2
c = []
a = []
e = []
add core ovs
for i in range( L1 ):
sw = self.addSwitch( 'c{}'.format( i + 1 ) )
c.append( sw )
add aggregation ovs
for i in range( L2 ):
sw = self.addSwitch( 'a{}'.format( L1 + i + 1 ) )
a.append( sw )
add edge ovs
for i in range( L3 ):
sw = self.addSwitch( 'e{}'.format( L1 + L2 + i + 1 ) )
e.append( sw )
add links between core and aggregation ovs
for i in range( L1 ):
sw1 = c[i]
for sw2 in a[i/2::L1/2]:
# self.addLink(sw2, sw1, bw=10, delay='5ms', loss=10, max_queue_size=1000, use_htb=True)
self.addLink( sw2, sw1 )
add links between aggregation and edge ovs
for i in range( 0, L2, 2 ):
for sw1 in a[i:i+2]:
for sw2 in e[i:i+2]:
self.addLink( sw2, sw1 )
add hosts and its links with edge ovs
count = 1
for sw1 in e:
for i in range(2):
host = self.addHost( 'h{}'.format( count ) )
self.addLink( sw1, host )
count += 1
topos = { 'mytopo': ( lambda: MyTopo() ) }
注意:
- 每次要新建拓扑时,需执行以下命令,防止上次操作对本次实验的影响
sudo mn -c - floodlight的安装相当麻烦,至少我是这样的···安装后要使用也要执行ifconfig命令获取floodlight所在服务器的IP地址
sudo mn --custom ~/mininet/fattree.py --topo mytopo --controller=remote,ip=10.0.2.15,port=6633 --switch ovsk,protocols=OpenFlow10
这句就用到了刚刚获得的IP地址。 - floodlight安装参考:
[http://www.sdnlab.com/19189.html][7]
[http://blog.csdn.net/damontive/article/details/48972353][8]
建议自己下载安装包,git要git很久很久很久····

 浙公网安备 33010602011771号