jeecg uedit 自定义图片上传路径(老版本)
jeecg uedit 图片上传配置自定义物理路径,简单描述:我们知道 jeecg 中使用的 uedit 默认图片上传路径为 "当前项目\plug-in\ueditor\jsp\uploadx\日期\图片.png",但是把图片放在项目中显然是很不友好的,所以我们自定义上传路径。
1、plug-in\ueditor\ueditor.config.js
放开 insertimage 注释
toolbars:[[
  忽略
  "|",
  "insertimage",
  "|",
  忽略]]
我修改了图片的一些路径,以至于想然他看起来醒目一些,其中:minyiyun 为我的醒目名称:
 图一
图一
显示效果:
 图二
图二
图二能否实现访问的主要步骤是需要配置 tomcat - service.xml ,如下图
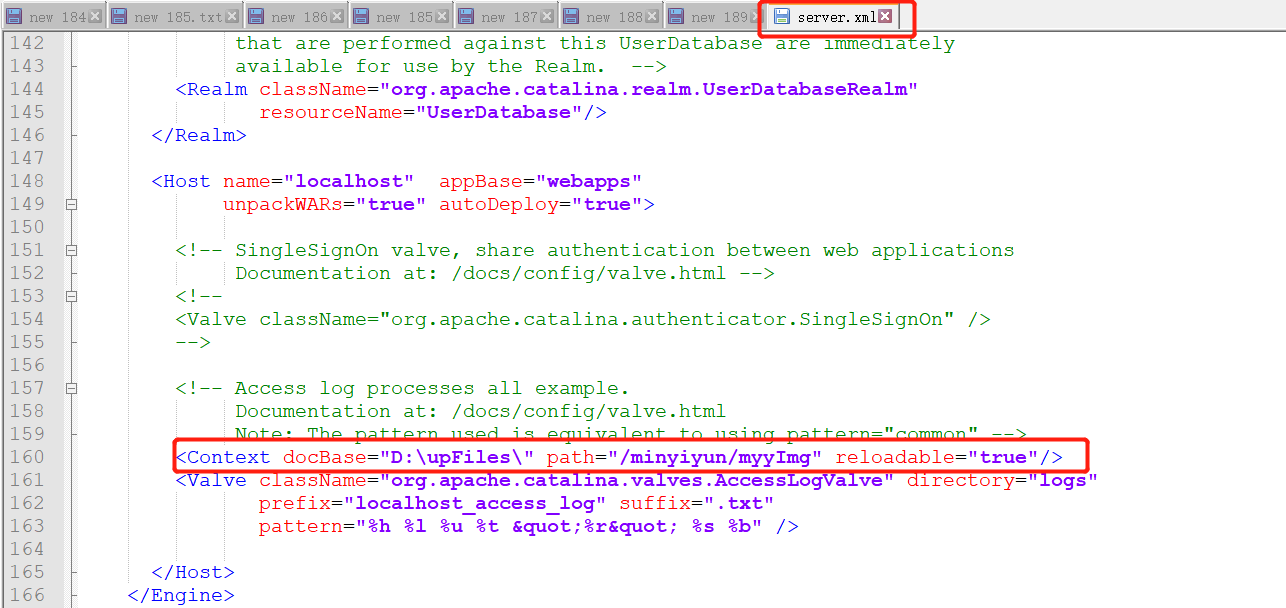
<Context docBase="D:\upFiles\" path="/minyiyun/myyImg" reloadable="true"/>
如果访问不了,在 web.xml 增加你的路径:

2、plug-in\ueditor\jsp\imageManager.jsp
主要修改 imgStr、realpath 变量的值:
<%
仅做示例用,请自行修改
String path = "";
String imgStr ="";
##String realpath = getRealPath(request,path)+"/"+path;##
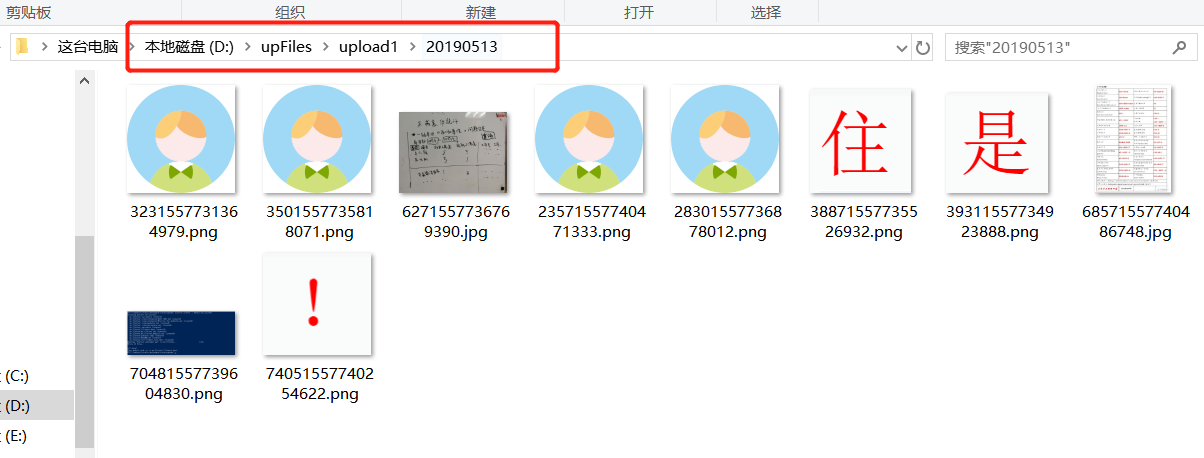
String realpath = "D:/upFiles/upload1/";
System.out.println("realpath:"+realpath);
List<File> files = getFiles(realpath,new ArrayList());
for(File file :files ){
##imgStr+=file.getPath().replace(getRealPath(request,path),"")+"ue_separate_ue";##
imgStr+=file.getPath().split("upFiles")[1] + "ue_separate_ue";
}
if(imgStr!=""){
imgStr = imgStr.substring(0,imgStr.lastIndexOf("ue_separate_ue")).replace(File.separator, "/").trim();
}
out.print(imgStr);
%>
被 "##" 标记的为原来的写法,该方法的修改主要为了获取以前上传的所有图片。
3、src\main\java\org\jeecgframework\core\servlet\Uploader.java
修改了 getPhysicalPath() 方法,将之前获取.metadata.plugins\org.eclipse.wst.server.core\tmp0\wtpwebapps\minyiyun\plug-in\ueditor\jsp\upload1 的目录改为读取 system.properties 文件标签。

private String getPhysicalPath(String path) {
    return ResourceUtil.getConfigByName("webUploadpath") + "/" + path;
}
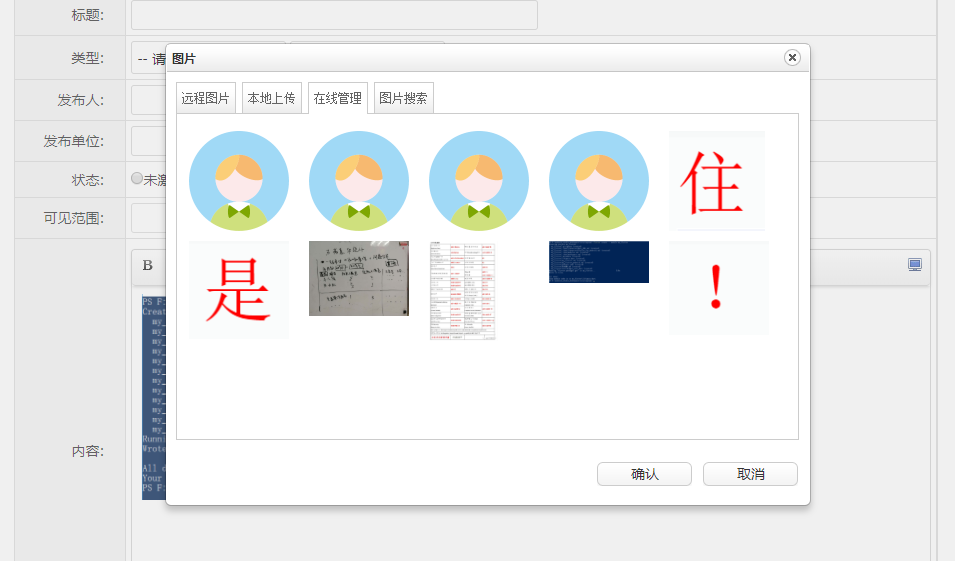
至此已经大功告成了,看一下效果吧:
18年专科毕业后,期间一度迷茫,最近我创建了一个公众号用来记录自己的成长,微信公众号:小伟后端笔记


 浙公网安备 33010602011771号