《云操作系统(OpenStack)第二版》学习笔记04-第四章:认证服务Keystone
《云操作系统(OpenStack)第二版》学习笔记04-第四章:认证服务Keystone
对着《云操作系统(OpenStack)》第四章做的。
一、4.1 Keystone基本概念
应该是只用在控制节点上安装,因为要用到数据库,而数据库只在控制节点上安装了。
二、4.2 keystone数据库操作
前面环境准备的时候给数据库设置的密码是123456,但是书上的密码是000000,为了保持统一,使用mysql_secure_installation重新配置密码,设置为000000。
a## 登录MySQL数据库
- mysql -uroot -p000000
这个密码是在安装数据库的时候创建的。
1. 创建Keystone数据库
- CREATE DATABASE keystone;

enter description here
2. 设置授权用户和密码
- GRANT ALL PRIVILEGES ON keystone.* TO 'keystone'@'%' IDENTIFIED BY '000000';
- GRANT ALL PRIVILEGES ON keystone.* TO 'keystone'@'localhost' IDENTIFIED BY '000000';
- exit

enter description here
三、4.3 安装并配置Keystone
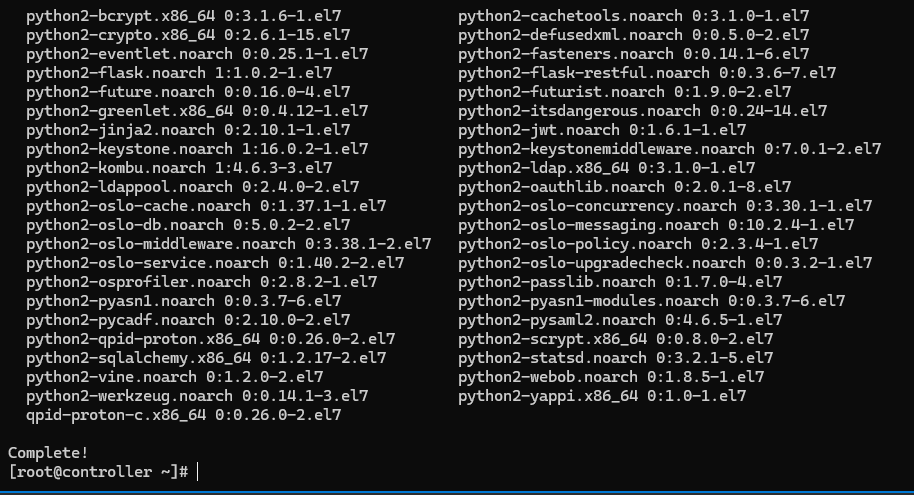
1. 安装Keystone所需软件包
- yum install openstack-keystone httpd mod_wsgi -y
enter description here
2. 编辑/etc/keystone/keystone.conf文件
进行如下配置
2-1. 配置数据库连接
文件的600行左右
- [database]
- connection = mysql+pymysql://keystone:000000@controller/keystone
2-2. 配置provider
文件的2109行左右
- [token]
- provider = fernet
2-3. 同步数据库
- su -s /bin/sh -c "keystone-manage db_sync" keystone
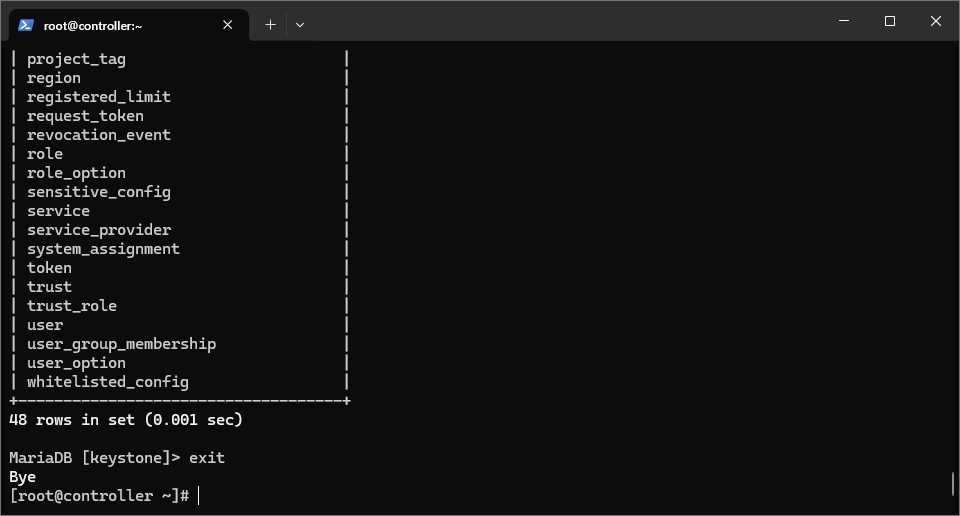
2-4. 进入Keystone数据库查看数据表
- mysql -uroot -p000000;
- use keystone;
- show tables;
- exit
enter description here
看到有数据表,说明同步成功。
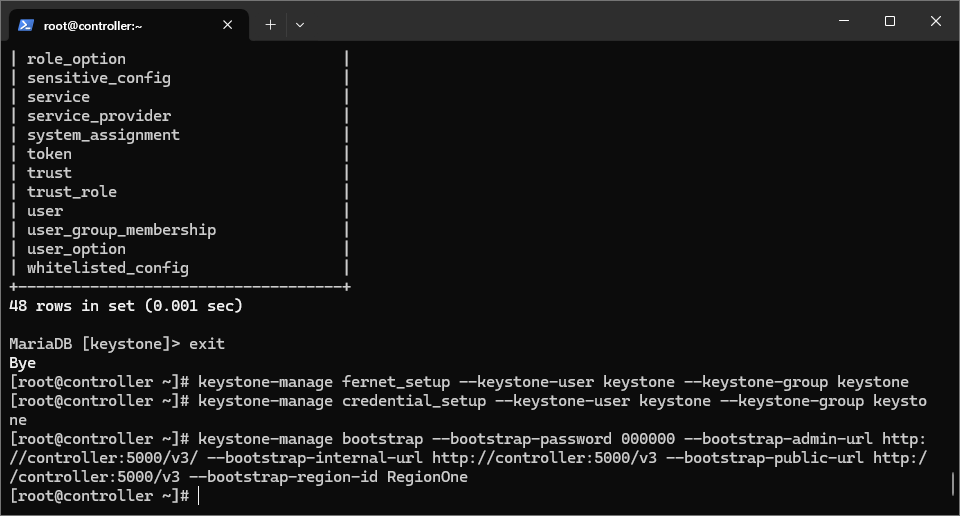
2-5. 初始化密钥
- keystone-manage fernet_setup --keystone-user keystone --keystone-group keystone
- keystone-manage credential_setup --keystone-user keystone --keystone-group keystone
2-6. 引导开启身份服务
- keystone-manage bootstrap --bootstrap-password 000000 --bootstrap-admin-url http://controller:5000/v3/ --bootstrap-internal-url http://controller:5000/v3 --bootstrap-public-url http://controller:5000/v3 --bootstrap-region-id RegionOne
enter description here
四、4.4 配置Apache服务
1. 编辑/etc/httpd/conf/httpd.conf文件
1-1. 添加ServerName
在96行左右
- ServerName controller
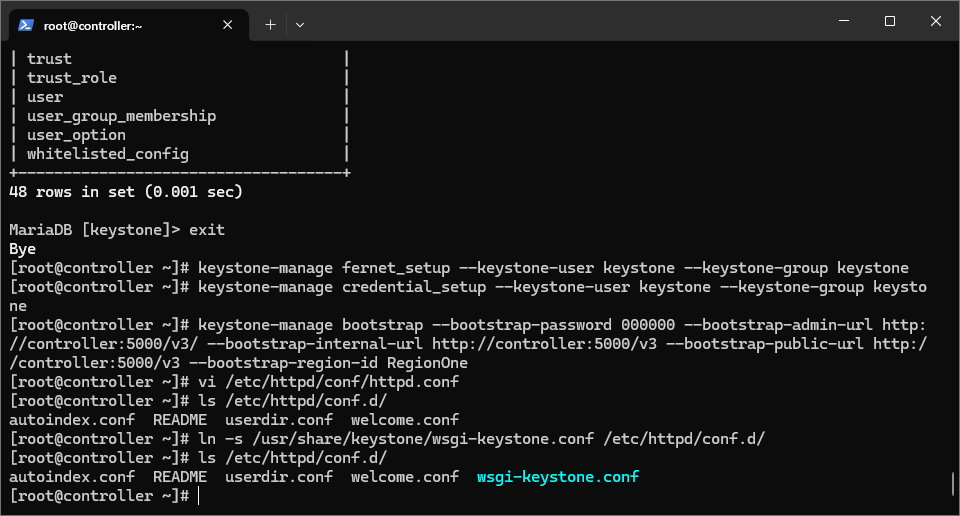
1-2. 创建/usr/share/keystone/wsgi-keystone.conf文件链接
- ln -s /usr/share/keystone/wsgi-keystone.conf /etc/httpd/conf.d/
会在etc/httpd/confi.d/下面创建一个wsgi-keystone.conf的文件链接。
1-3. 启动Apache HTTP服务并设置开机自启动
- systemctl enable httpd
- systemctl start httpd
五、4.5 初次验证
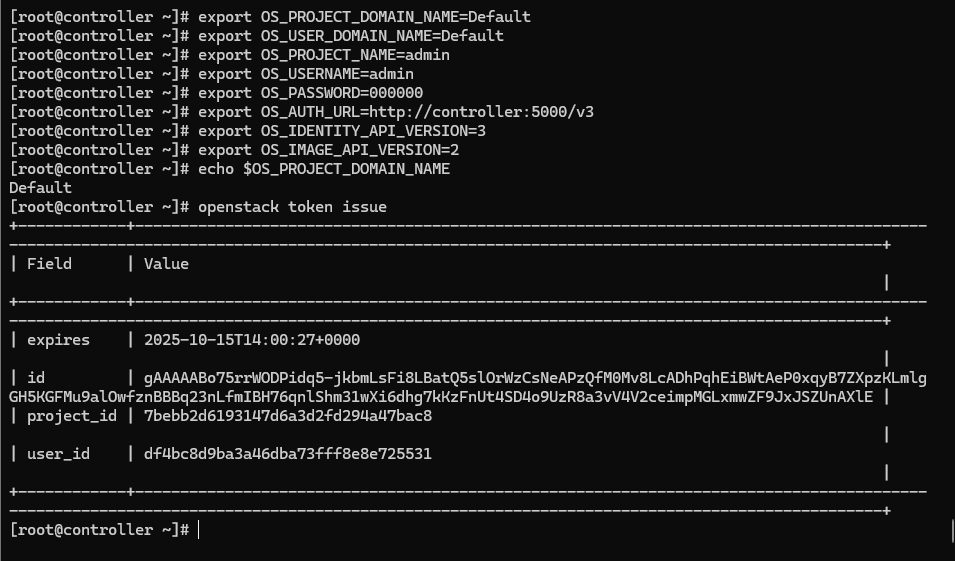
1. 配置环境变量
以下配置的是临时变量
- export OS_PROJECT_DOMAIN_NAME=Default
- export OS_USER_DOMAIN_NAME=Default
- export OS_PROJECT_NAME=admin
- export OS_USERNAME=admin
- export OS_PASSWORD=000000
- export OS_AUTH_URL=http://controller:5000/v3
- export OS_IDENTITY_API_VERSION=3
- export OS_IMAGE_API_VERSION=2
2. 首次验证
- openstack token issue
enter description here
六、4.6 创建Domain、Project、User、Role
1. 创建新域(Domain)
- openstack domain create --description "An Example Domain" example

enter description here
2. 创建新项目(Project)
2-1. 创建Service项目
- openstack project create --domain default --description "Service Project" service

enter description here
2-2. 创建普通项目
- openstack project create --domain default --description "Demo Project" myproject

enter description here
3. 创建新用户(User)
执行以下命令,然后要给这个用户创建密码,我这里设置的密码是000000。
- openstack user create --domain default --password-prompt myuser

enter description here
4. 创建新角色(Role)
- openstack role create myrole

enter description here
5. 进行关联
- openstack role add --project myproject --user myuser myrole

enter description here
七、4.7 验证keystone服务
1. 使用以下命令使指定的临时环境变量不生效
- unset OS_TOKEN OS_URL
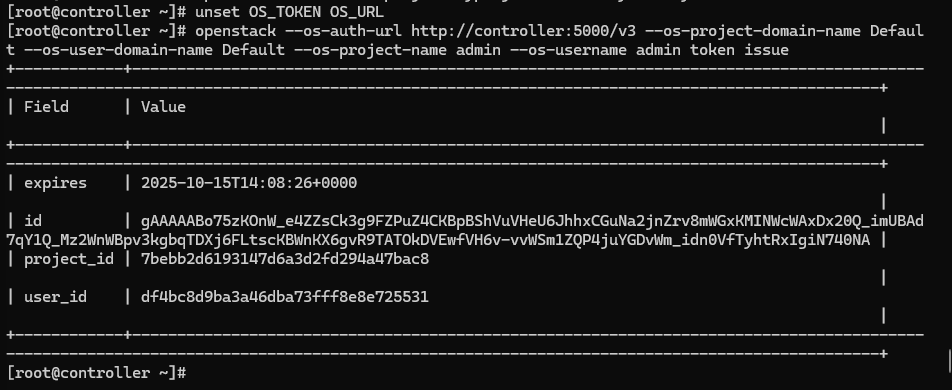
2. 使用admin用户来请求身份验证令牌
执行以下命令,书上说然后需要输入两遍密码,就是上面配置环境变量时给admin所设置的密码,我这里是000000,但是实际中我这里并没有让我输入密码。
- openstack --os-auth-url http://controller:5000/v3 --os-project-domain-name Default --os-user-domain-name Default --os-project-name admin --os-username admin token issue
enter description here
3. 编写OpenStack客户端变量脚本
3-1. 创建/root/admin-openrc文件,添加如下内容:
- export OS_PROJECT_DOMAIN_NAME=default
- export OS_USER_DOMAIN_NAME=default
- export OS_PROJECT_NAME=admin
- export OS_USERNAME=admin
- export OS_PASSWORD=000000
- export OS_AUTH_URL=http://controller:5000/v3
- export OS_IDENTITY_API_VERSION=3
- export OS_IMAGE_API_VERSION=2
3-2. 创建/root/demo-openrc.sh文件,添加如下内容:
- export OS_PROJECT_DOMAIN_NAME=default
- export OS_USER_DOMAIN_NAME=default
- export OS_PROJECT_NAME=myproject
- export OS_USERNAME=myuser
- export OS_PASSWORD=000000
- export OS_AUTH_URL=http://controller:5000/v3
- export OS_IDENTITY_API_VERSION=3
- export OS_IMAGE_API_VERSION=2
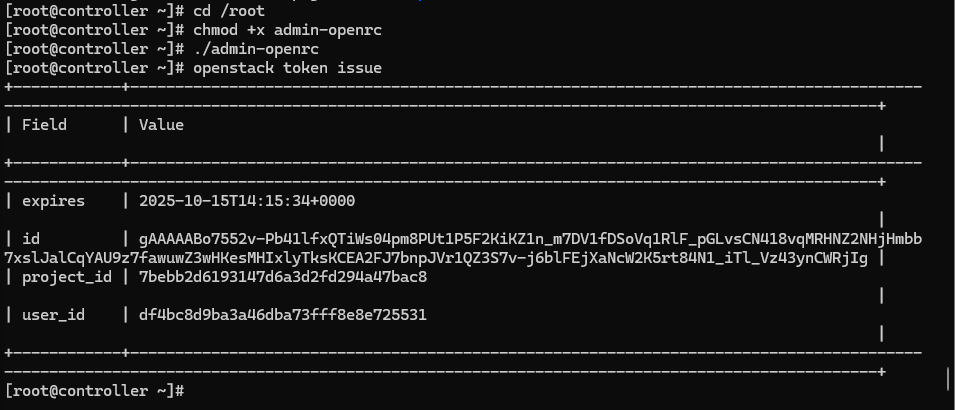
4. 生效并验证
- cd /root
- chmod +x admin-openrc
- ./admin-openrc
- openstack token issue
enter description here
第四章结束。


 浙公网安备 33010602011771号