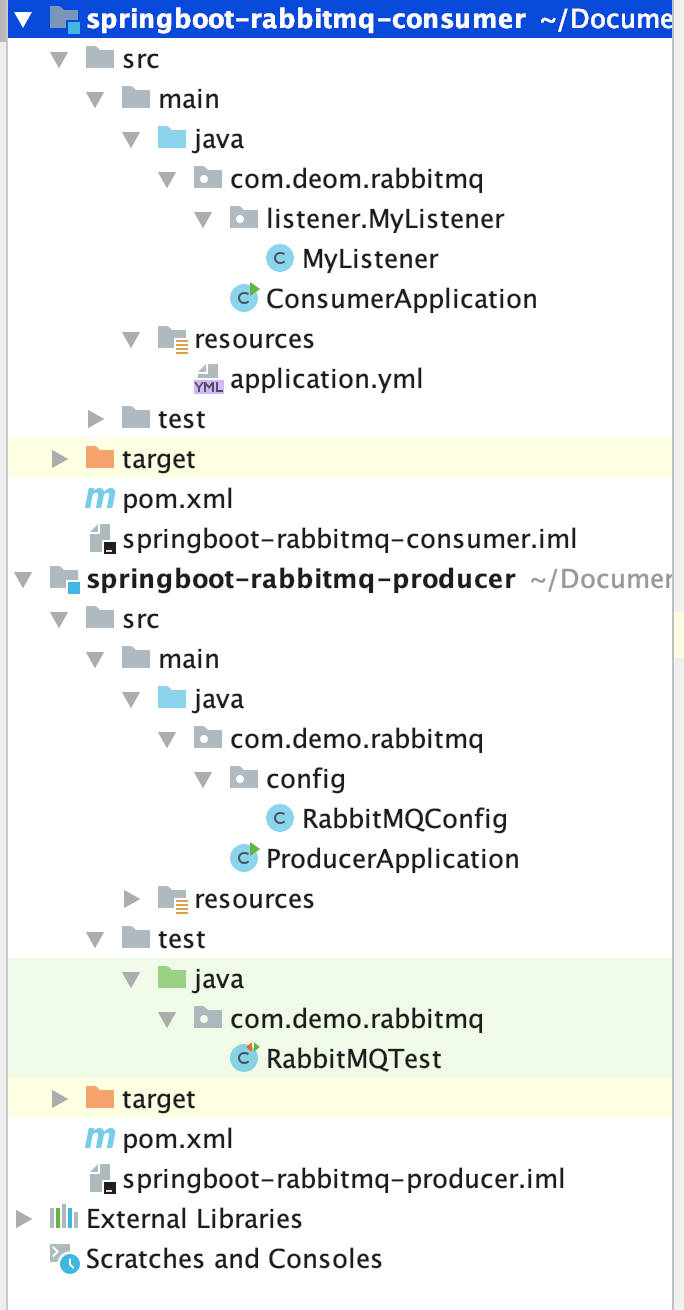
1、创建生产者 消费者 maven工程
2、生产者代码:
2.1 安装mq依赖
<dependencies>
        <dependency>
            <groupId>org.springframework.boot</groupId>
            <artifactId>spring-boot-starter-amqp</artifactId>
        </dependency>
        <dependency>
            <groupId>org.springframework.boot</groupId>
            <artifactId>spring-boot-starter-test</artifactId>
        </dependency>
    </dependencies>
2.2 创建RabbitMQConfig 配置类:
package com.demo.rabbitmq.config;
import org.springframework.amqp.core.*;
import org.springframework.beans.factory.annotation.Qualifier;
import org.springframework.context.annotation.Bean;
import org.springframework.context.annotation.Configuration;

@Configuration
//配置类
public class RabbitMQConfig {
   //交换机名称
   public static final String ITEM_TOPIC_EXCHANGE = "item_topic_exchange";
   //队列名称
   public static final String ITEM_QUEUE = "item_queue";
   //声明交换机
   //@Bean 这个类中可以制定一系列的配置对象
   @Bean("itemTopicExchange")
   public Exchange topicExchange(){
       //durable(true)持久化机制
       return ExchangeBuilder.topicExchange(ITEM_TOPIC_EXCHANGE).durable(true).build();
   }
   //声明队列
   @Bean("itemQueue")
   public Queue itemQueue(){
       return QueueBuilder.durable(ITEM_QUEUE).build();
   }
   //将队列绑定到交换机
   @Bean
   public Binding itemQueueExchange(@Qualifier("itemQueue") Queue queue,
                                    @Qualifier("itemTopicExchange") Exchange exchange){
       return BindingBuilder.bind(queue).to(exchange).with("item.#").noargs();
   }
}
2.1 创建ProducerApplication 启动类
package com.demo.rabbitmq;

import org.springframework.boot.SpringApplication;
import org.springframework.boot.autoconfigure.SpringBootApplication;

@SpringBootApplication
public class ProducerApplication {
    public static void main(String[] args) {
        SpringApplication.run(ProducerApplication.class,args);
    }
}
application.yal 文件配置
spring:
  rabbitmq:
    host: localhost
    port: 5672
    virtual-host: / # 虚拟主机
    username: guest
    password: guest
编写测试类代码
@RunWith(SpringRunner.class)
@SpringBootTest
public class RabbitMQTest {
    @Autowired
    private RabbitTemplate rabbitTemplate;
    @Test
    public void test(){
        rabbitTemplate.convertAndSend(RabbitMQConfig.ITEM_TOPIC_EXCHANGE,
                "item_insert","商品新增key为 item.insert");
        rabbitTemplate.convertAndSend(RabbitMQConfig.ITEM_TOPIC_EXCHANGE,
                "item_update","商品更新key为 item.update");
        rabbitTemplate.convertAndSend(RabbitMQConfig.ITEM_TOPIC_EXCHANGE,
                "item_delete","商品删除key为 item.delete");
    }
}
3.消费者代码
添加依赖
<dependencies>
        <dependency>
            <groupId>org.springframework.boot</groupId>
            <artifactId>spring-boot-starter-amqp</artifactId>
            <version>2.3.12.RELEASE</version>
        </dependency>

        <!-- web启动器 -->
        <dependency>
            <groupId>org.springframework.boot</groupId>
            <artifactId>spring-boot-starter</artifactId>
        </dependency>
        <dependency>
            <groupId>org.springframework.boot</groupId>
            <artifactId>spring-boot-starter-web</artifactId>
            <version>2.5.5</version>
        </dependency>
    </dependencies>
3.1 创建MyListener类
package com.deom.rabbitmq.listener.MyListener;

import org.springframework.amqp.rabbit.annotation.RabbitListener;
import org.springframework.stereotype.Component;

@Component
//注解 方便主件扫到类
public class MyListener {
//    @RabbitListener(queues = ["a","b"])

    /*
    *接收队列消息
    *@param message 接收到的消息
    * */
    @RabbitListener(queues = "item_queue")
    public void mylistener1(String message){
        System.out.println("消费者接收到的消息:"+message);
    }
}
3.2 创建ConsumerApplication 消费者启动类
package com.deom.rabbitmq;

import org.springframework.boot.SpringApplication;
import org.springframework.boot.autoconfigure.SpringBootApplication;

@SpringBootApplication
public class ConsumerApplication {
    public static void main(String[] args) {
        SpringApplication.run(ConsumerApplication.class,args);
    }
}
application.yal 文件配置
server:
  port: 8089
spring:
  rabbitmq:
    host: localhost
    port: 5672
    virtual-host: / # 虚拟主机
    username: guest
    password: guest
4.启动测试类,发送消息,再启动生产者启动类,看是否能消费消息

 浙公网安备 33010602011771号