zabbix服务器端安装
1、yum -y update #升级系统组件

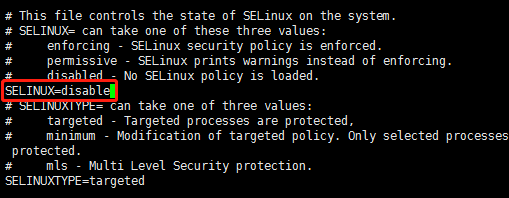
2、vi /etc/selinux/config
#将SELINUX=enforcing改为SELINUX=disable设置后需要重启才能生效
SELinux 主要作用就是最大限度地减小系统中服务进程可访问的资源(最小权限原则)。
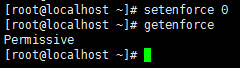
3、setenforce 0 #关闭selinux模式
getenforce #查看关闭情况
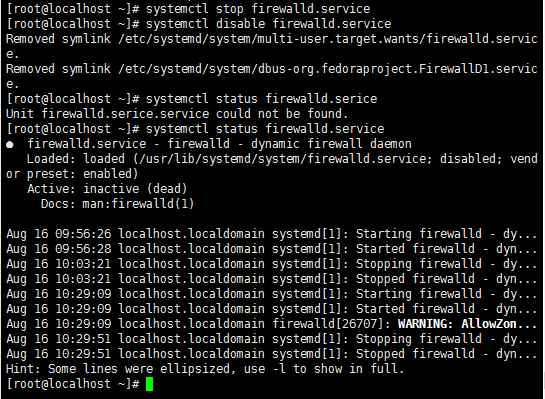
4、systemctl stop firewalld.service #关闭防火墙
systemctl disable firewalld.service #禁止开机启动防火墙
systemctl status firewalld.service #查看防火墙状态
5、yum install -y httpd mariadb-server mariadb php php-mysql php-gd libjpeg* php-ldap php-odbc php-pear php-xml php-xmlrpc php-mhash
安装软件仓库(这是在LAMP环境下)

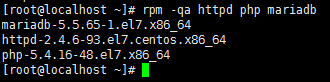
Rpm -qa httpd php mariadb #检查安装情况及版本
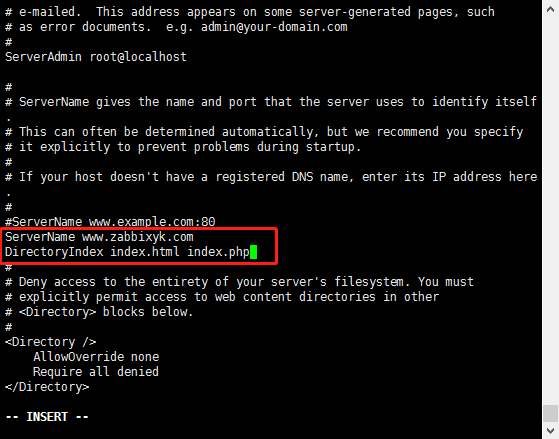
6、vi /etc/httpd/conf/httpd.conf #注意:/(搜索内容)可以快速定位
ServerName www.zabbixyk.com #修改为主机名
DirectoryIndex index.html index.php # 添加首页支持格式
7、vi /etc/php.ini
date.timezone = PRC # 配置时区

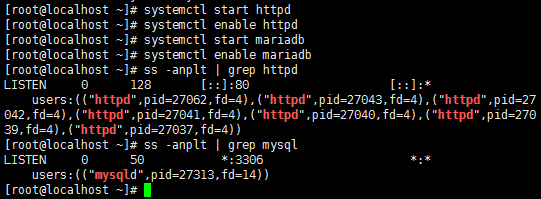
8、systemctl start httpd #启动httpd
systemctl enable httpd #开机启动httpd
systemctl start mariadb #启动mysql
systemctl enable mariadb #开机启动mysql
ss -anplt | grep httpd #查看httpd启动情况,80端口监视表示httpd已经启动
ss -anplt | grep mysqld #查看mysqld启动情况,3306端口监视表示mysqld已经启动
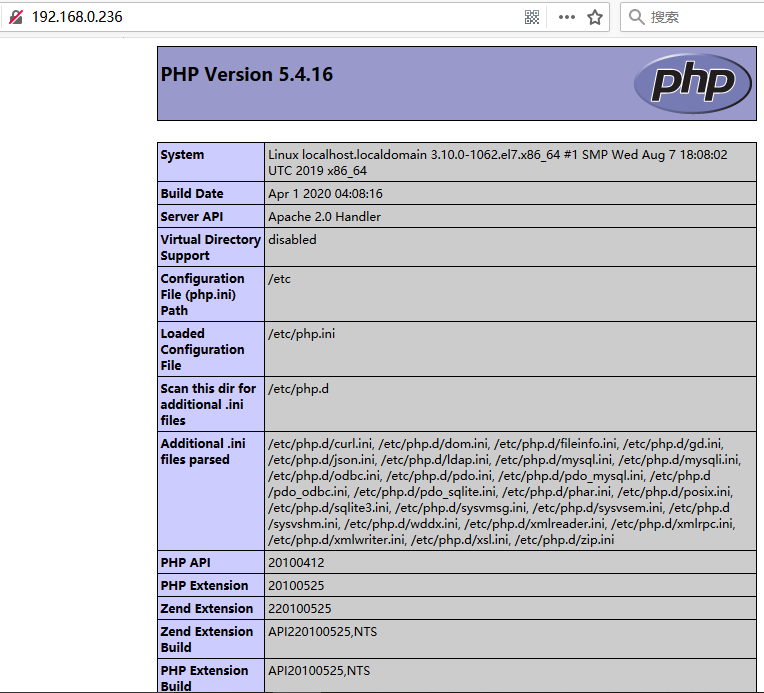
9、测试LAMP是否搭建成功
vi /var/www/html/index.php #创建一个测试页,并编辑

<?php
Phpinfo()
?>
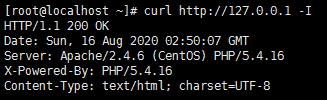
网页打开IP地址或curl http://127.0.0.1 -I #本地测试
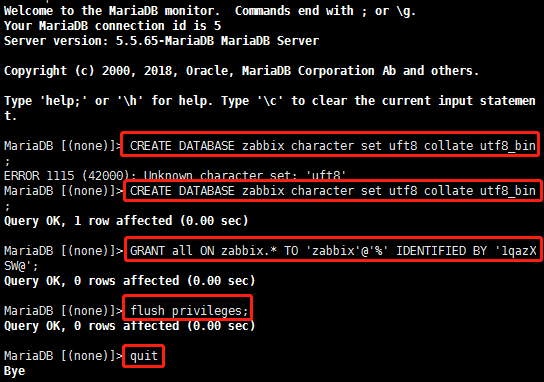
10、 mysqladmin -u root password 1qazXSW@ #设置数据库root密码
mysql -u root -p #root用户登陆数据库

CREATE DATABASE zabbix character set utf8 collate utf8_bin; #创建zabbix数据库(中文编码格式)
GRANT all ON zabbix.* TO 'zabbix'@'%' IDENTIFIED BY '1qazXSW@'; #授予zabbix用户zabbix数据库的所有权限,密码1qazXSW@
flush privileges; #刷新权限
quit #退出数据库
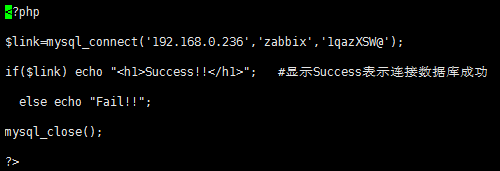
11、vi /var/www/html/index.php #修改测试内容,测试zabbix用户是否能够登陆数据库,这个环节很重要

<?php
$link=mysql_connect('192.168.0.236','zabbix','1qazXSW@');
if($link) echo "<h1>Success!!</h1>"; #显示Success表示连接数据库成功
else echo "Fail!!";
mysql_close();
?>
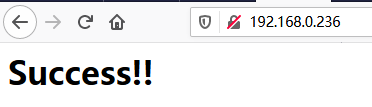
web打开192.168.0.236,提示Success!!!表示成功
12、 安装zabbix
yum -y install net-snmp net-snmp-devel curl curl-devel libxml2 libxml2-devel libevent-devel.x86_64 javacc.noarch javacc-javadoc.noarch javacc-maven-plugin.noarch javacc*

13、 yum install php-bcmath php-mbstring -y #安装php支持zabbix组件

14、rpm -ivh http://repo.zabbix.com/zabbix/4.0/rhel/7/x86_64/zabbix-release-4.0-1.el7.noarch.rpm #会自动生成yum源文件,保证系统可以上网

15、yum install zabbix-agent zabbix-server-mysql zabbix-web-mysql -y #安装zabbix组件

注意:这步安装不成功(提示如下错误),需要修改yum源文件路径

A、sudo cp /etc/yum.repos.d/CentOS-Base.repo /etc/yum.repos.d/CentOS-Base.repo.bak #备份yum源文件

B、vi /etc/yum.repos.d/CentOS-Base.repo 替换为以下内容
--------------------------------------------------------------
# CentOS-Base.repo
#
# The mirror system uses the connecting IP address of the client and the
# update status of each mirror to pick mirrors that are updated to and
# geographically close to the client. You should use this for CentOS updates
# unless you are manually picking other mirrors.
#
# If the mirrorlist= does not work for you, as a fall back you can try the
# remarked out baseurl= line instead.
#
#
[base]
name=CentOS-$releasever - Base
baseurl=https://mirrors.tuna.tsinghua.edu.cn/centos/$releasever/os/$basearch/
#mirrorlist=http://mirrorlist.centos.org/?release=$releasever&arch=$basearch&repo=os
enabled=1
gpgcheck=1
gpgkey=file:///etc/pki/rpm-gpg/RPM-GPG-KEY-7
#released updates
[updates]
name=CentOS-$releasever - Updates
baseurl=https://mirrors.tuna.tsinghua.edu.cn/centos/$releasever/updates/$basearch/
#mirrorlist=http://mirrorlist.centos.org/?release=$releasever&arch=$basearch&repo=updates
enabled=1
gpgcheck=1
gpgkey=file:///etc/pki/rpm-gpg/RPM-GPG-KEY-7
#additional packages that may be useful
[extras]
name=CentOS-$releasever - Extras
baseurl=https://mirrors.tuna.tsinghua.edu.cn/centos/$releasever/extras/$basearch/
#mirrorlist=http://mirrorlist.centos.org/?release=$releasever&arch=$basearch&repo=extras
enabled=1
gpgcheck=1
gpgkey=file:///etc/pki/rpm-gpg/RPM-GPG-KEY-7
#additional packages that extend functionality of existing packages
[centosplus]
name=CentOS-$releasever - Plus
baseurl=https://mirrors.tuna.tsinghua.edu.cn/centos/$releasever/centosplus/$basearch/
#mirrorlist=http://mirrorlist.centos.org/?release=$releasever&arch=$basearch&repo=centosplus
gpgcheck=1
enabled=0
gpgkey=file:///etc/pki/rpm-gpg/RPM-GPG-KEY-7
--------------------------------------------------------------------
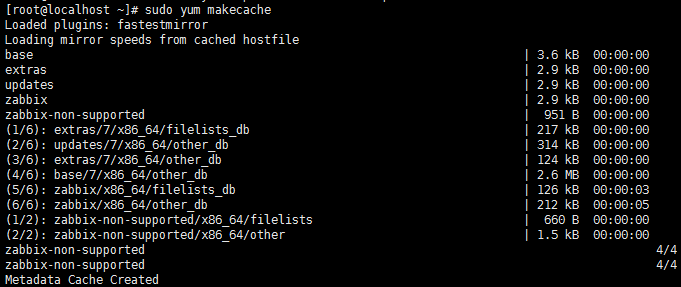
C、sudo yum makecache 更新软件包缓存
D、重复第15步,安装zabbix组件

16、zcat /usr/share/doc/zabbix-server-mysql-4.0.0/create.sql.gz | mysql -uzabbix -p -h 192.168.0.236 zabbix #导入数据到数据库zabbix中(最后一个zabbix是数据库zabbix),且因为用户zabbix是%(任意主机),所以登录时需要加上当前主机ip(-h 192.168.0.236),密码是用户zabbix登陆密码1qazXSW@
注意:zcat /usr/share/doc/zabbix-server-mysql*/create.sql.gz | mysql -uzabbix -p -h 192.168.0.236 zabbix导入mysql*全部,以防缺漏

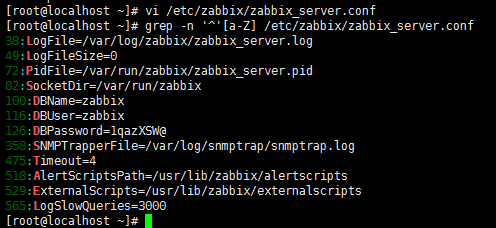
17、 vi /etc/zabbix/zabbix_server.conf #配置数据库用户及密码
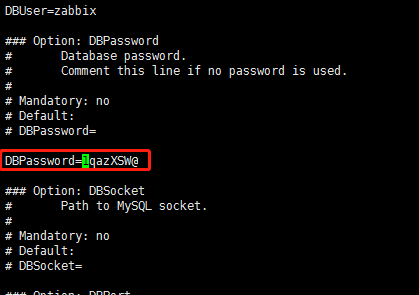
grep -n '^'[a-Z] /etc/zabbix/zabbix_server.conf #查看目前状态,如下及正常
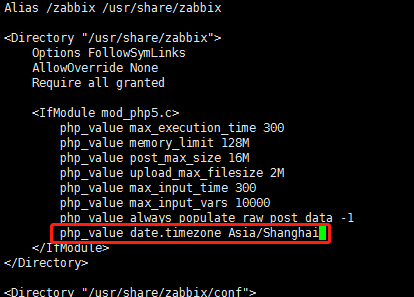
18、 vi /etc/httpd/conf.d/zabbix.conf /修改时区

将# php_value date.timezone Europe/Riga 变更成php_value date.timezone Asia/Shanghai
19、 systemctl restart zabbix-server zabbix-agent httpd && systemctl enable zabbix-server zabbix-agent httpd
启动zabbix-server与zabbix-agent,并开机启动

20、 netstat -anpt | grep Zabbix 检查监听端口10051

没安装netstat,需要安装


21、 浏览器打开172.18.20.224/Zabbix
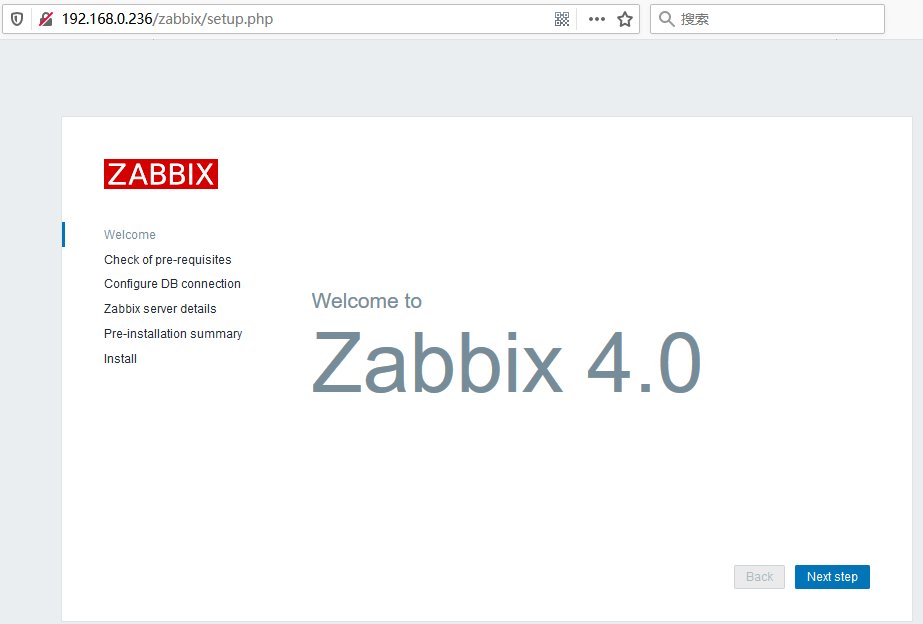
完成服务器安装

 浙公网安备 33010602011771号