


beanstalkd轻量级消息队列的安装
1、版本介绍
CentOS:CentOS Linux release 7.9.2009 (Core)
beanstalkd:beanstalkd 1.10
2、安装
(1)先安装epel-release软件仓库
sudo yum install epel-release

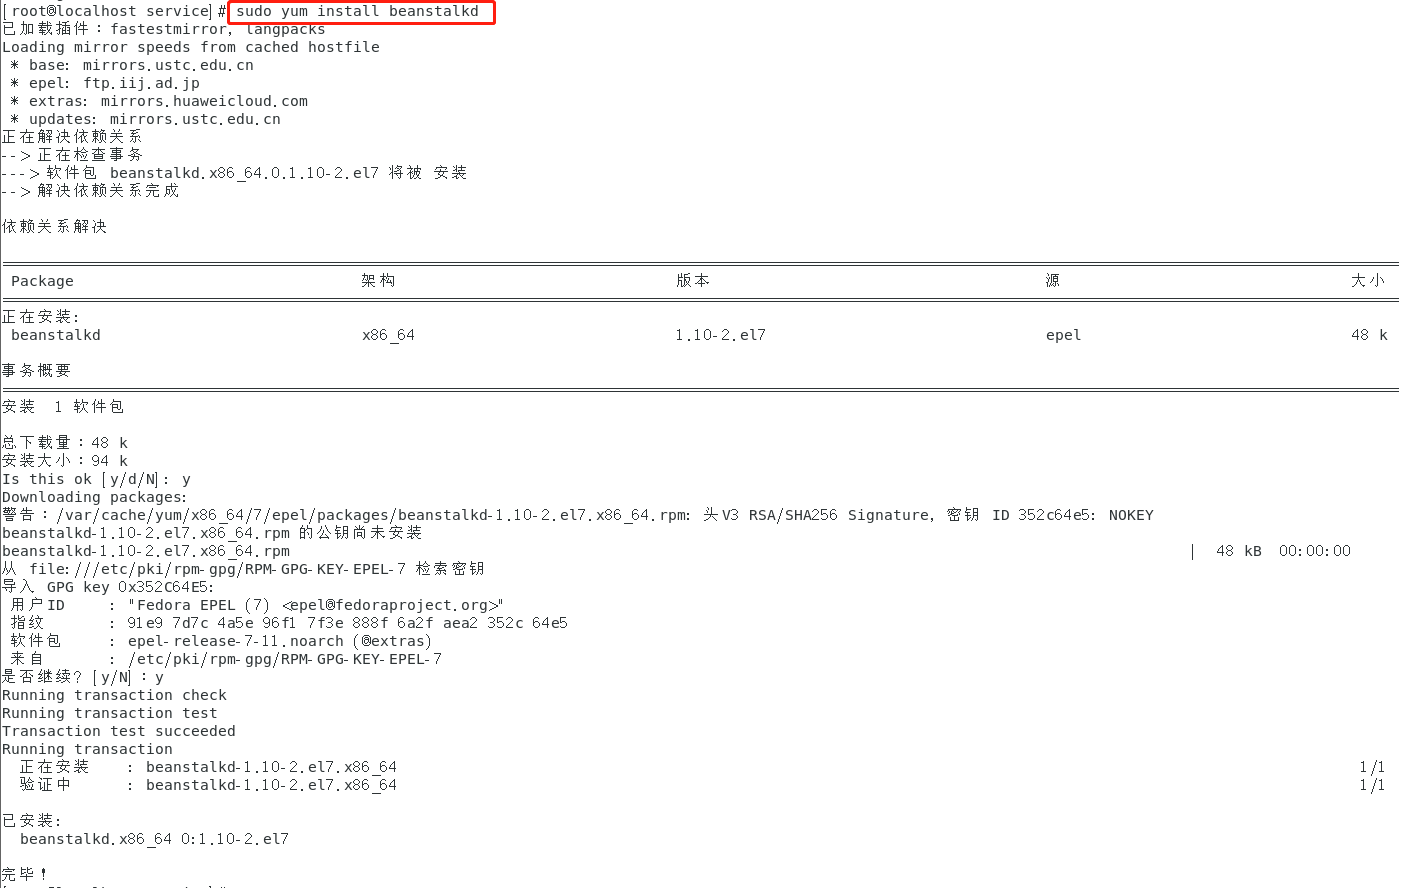
(2)再安装beanstalkd
sudo yum install beanstalkd
3、beanstalkd相关命令
#启动Beanstalkd
sudo systemctl start beanstalkd

#查看Beanstalkd状态
sudo systemctl status beanstalkd

#停止Beanstalkd
sudo systemctl stop beanstalkd

#重启Beanstalkd
sudo systemctl restart beanstalkd
4、设置开机自动启动
#添加开机自动启动
sudo systemctl enable beanstalkd
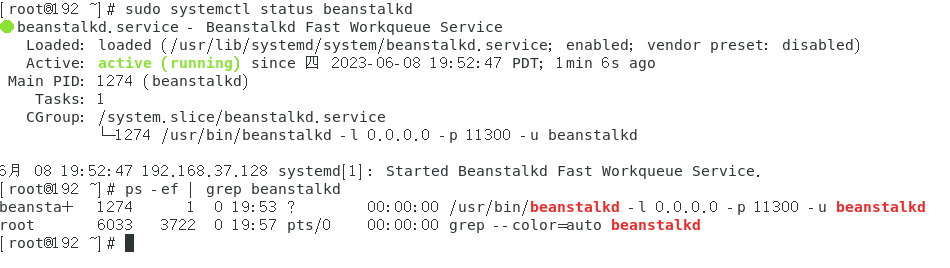
(1)先启动beanstalkd后查看进程ID,并设置开机自动启动。

(2)重启服务器后再次使用【sudo systemctl status beanstalkd】查看运行状态,仍是运行中。使用【ps -ef | grep beanstalkd】命令查看进程号,发现确实和原来不一样。
5、注意事项
(1)使用此方法安装其配置文件在【/etc/sysconfig/beanstalkd】。
(2)查看beanstalkd启动配置【/usr/lib/systemd/system/beanstalkd.service】。
(3)beanstalkd默认使用【11300】端口,所以还要开启此端口。具体开启端口的方法请参考我的另一篇随笔记【在Linux下开启指定端口号】。
(4)想结合PHP一起使用需要通过composer安装【pda/pheanstalk】操作类。
(5)beanstalkd安装好后是没有开启持久化的,想要数据持久化需要在配置文件【/etc/sysconfig/beanstalkd】中把【BINLOG_DIR】和【BINLOG_FSYNC_PERIOD】的参数打开。
本文来自博客园,作者:疯子丶pony,转载请注明原文链接:https://www.cnblogs.com/mklblog/p/17468681.html

 浙公网安备 33010602011771号