nest.js入门教程一
第一步 安装nest并新建一个项目
$ npm i -g @nestjs/cli
$ nest new project-name
第二步 启动项目
$ npm run start:dev
此时访问localhost:3000会返回 'hello world'
第三步 输入$ nest -h查看命令
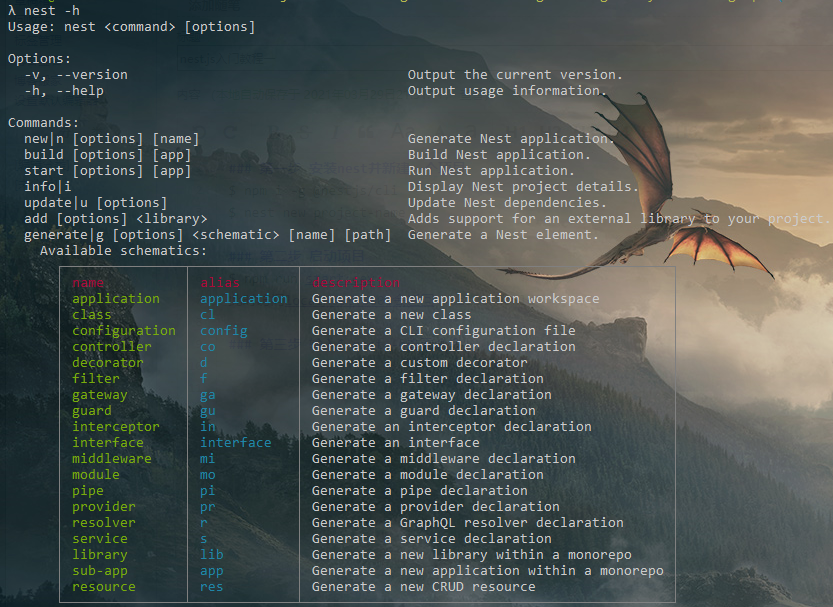
可通过$ nest 加 command 来执行一些命令
例如刚开始的新建项目就是$nest new project-name
generate可简写成g,module可简写成mo
新建一个posts(贴子)模块就是执行以下命令
$nest g mo posts
$nest g co posts
这样就可以得到一个posts模块

第四步 添加swagger
官网地址https://docs.nestjs.com/openapi/introduction
安装
$ npm install --save @nestjs/swagger swagger-ui-express
在main.ts引入
import { NestFactory } from '@nestjs/core';
import { SwaggerModule, DocumentBuilder } from '@nestjs/swagger';
import { AppModule } from './app.module';

async function bootstrap() {
	const app = await NestFactory.create(AppModule);
	const config = new DocumentBuilder()
	.setTitle('NestJs博客API')
	.setDescription('项目描述')
	.setVersion('1.0')
	.build();
	const document = SwaggerModule.createDocument(app, config);
	SwaggerModule.setup('api-docs', app, document);
	await app.listen(3000);
}
bootstrap();
此时打开http://localhost:3000/api-docs
就能看到swagger了
在app.controller.js文件下加注解@ApiTags('默认')
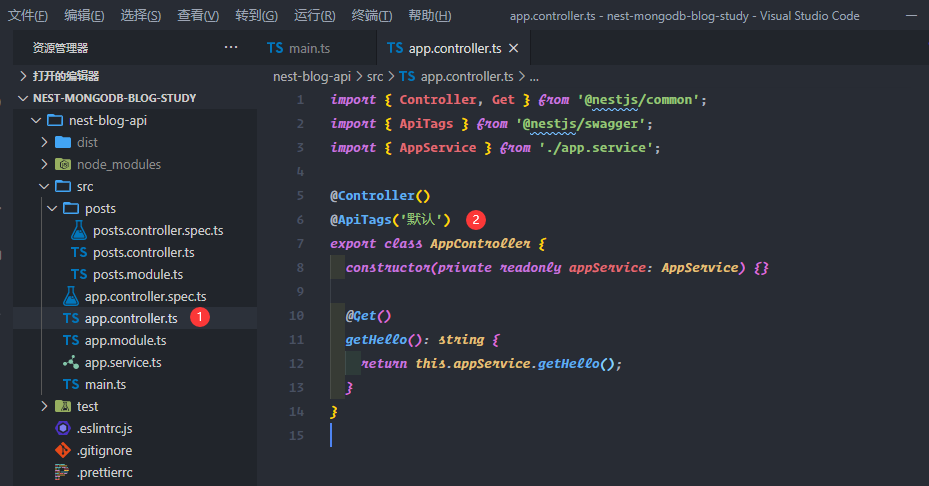
可得到如下效果

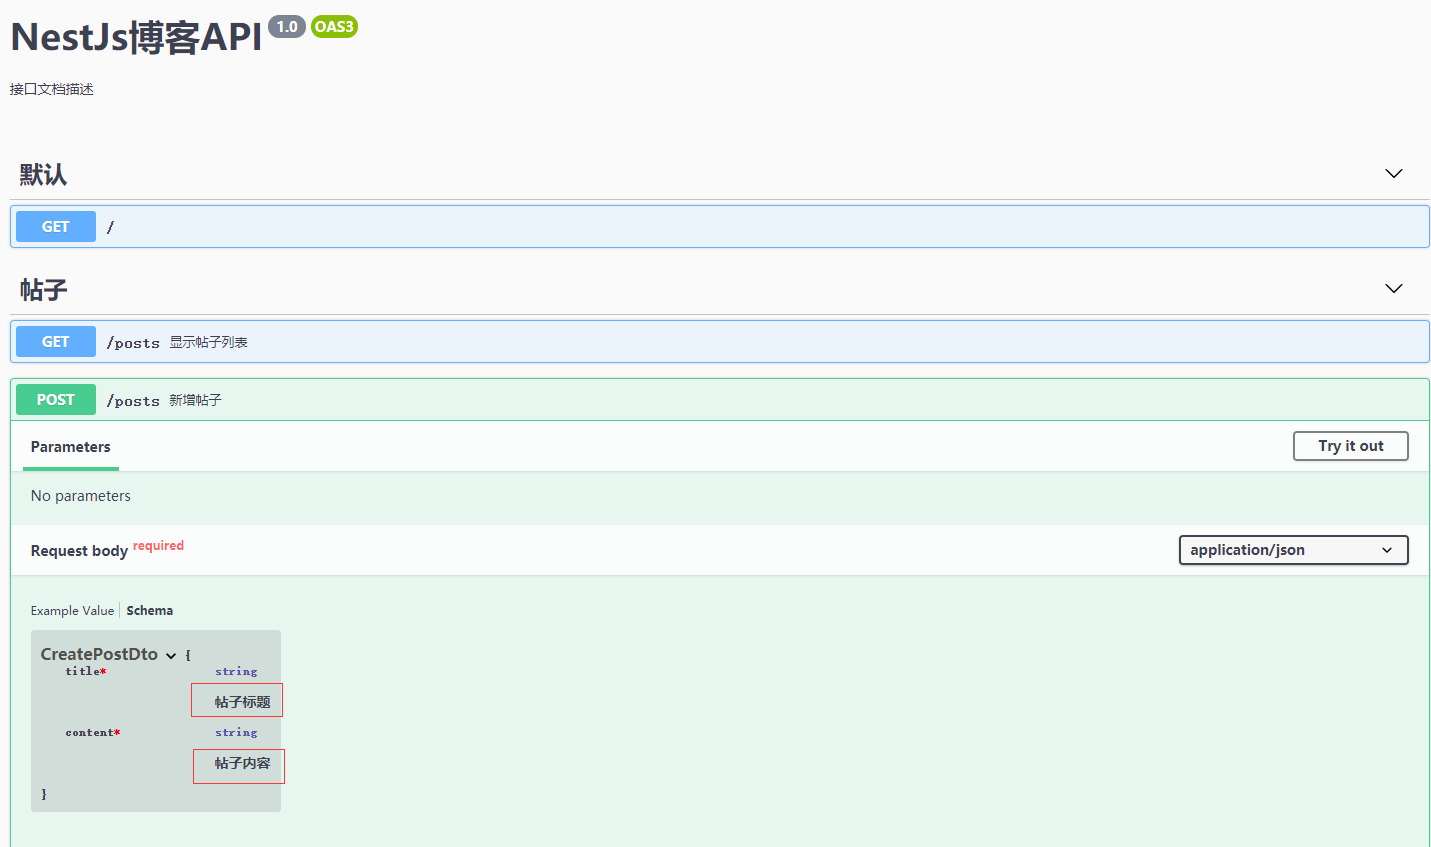
数据传输对象dto 全称 data transfer object
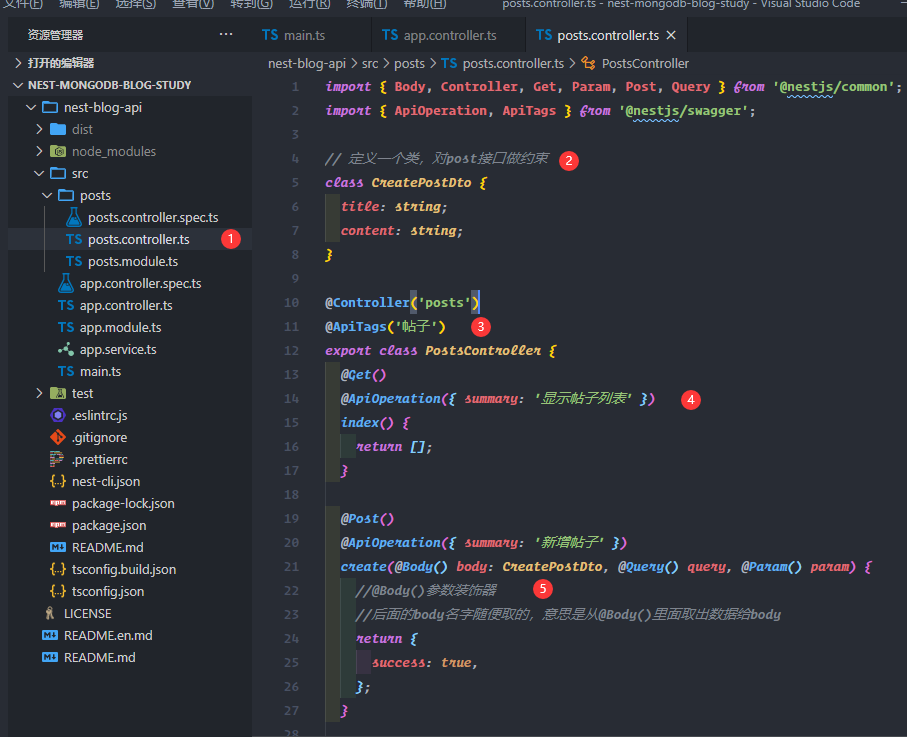
给每个参数加描述
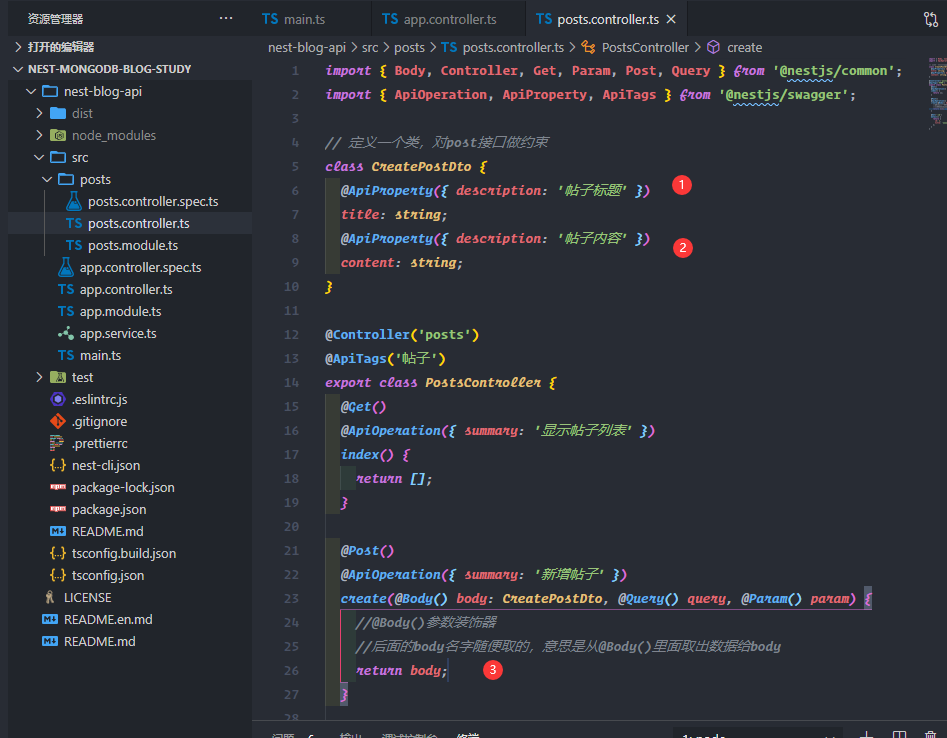
打开swagger看效果

 浙公网安备 33010602011771号