在springboot中使用h2数据库
在springboot中使用h2数据库
一、h2数据库介绍
h2database为我们提供了十分轻量,十分快捷方便的内嵌式数据库
- H2是一个用Java开发的嵌入式数据库,它本身只是一个类库,可以直接嵌入到应用项目中。
- 可以同应用程序打包在一起发布
- 它的另一个用途是用于单元测试。启动速度快,而且可以关闭持久化功能,每一个用例执行完随即还原到初始状态
- 提供JDBC访问接口,提供基于浏览器的控制台,可以执行sql
- 免费,开源,够快
- 还方便了程序刚开始dao层单元测试测试,不需要搭建oracle,不需要加载mysql,快速测试写的dao
二、导入过程
1. 在pom.xml中导入相关依赖
<dependency>
            <groupId>com.h2database</groupId>
            <artifactId>h2</artifactId>
            <scope>runtime</scope>
</dependency>
<dependency>
            <groupId>org.springframework.boot</groupId>
            <artifactId>spring-boot-starter-test</artifactId>
            <scope>test</scope>
</dependency>
2. 修改application.yml文件,加入H2相关配置
server:
  port: 8089
spring:
  datasource:
    url: jdbc:h2:~/test
    driver-class-name: org.h2.Driver
    username: sa
    password: 123456

  #    schema: classpath:db/schema.sql
#    data: classpath:db/data.sql
  jpa:
    database: h2
    hibernate:
      ddl-auto: update
    show-sql: true
  h2:
    console:
      path: /h2-console
      enabled: true
3. domain层,即Location类(entity):
package com.springboot.demo.entity;

import lombok.AllArgsConstructor;
import lombok.Data;
import lombok.NoArgsConstructor;

import javax.persistence.*;

@Entity
@Data
@AllArgsConstructor
@NoArgsConstructor
public class Location {
    @Id
    @GeneratedValue(strategy = GenerationType.IDENTITY)
    private Long id;
    private String type;
    private double latitude;
    private double longtitude;
}
4. dao层,即LocationRepository接口:
package com.springboot.demo.repository;

import com.springboot.demo.entity.Location;
import org.springframework.context.annotation.Bean;
import org.springframework.data.jpa.repository.JpaRepository;
import org.springframework.stereotype.Repository;

import java.util.List;

@Repository
public interface LocationRepository extends JpaRepository<Location,Long> {
    List<Location> getLocationsByType(String type);
}
5. controller层,即LocationController:
package com.springboot.demo.controller;

import com.springboot.demo.entity.Location;
import com.springboot.demo.repository.LocationRepository;
import org.springframework.beans.factory.annotation.Autowired;
import org.springframework.stereotype.Controller;
import org.springframework.stereotype.Repository;
import org.springframework.web.bind.annotation.RequestMapping;
import org.springframework.web.bind.annotation.ResponseBody;

import java.util.List;

@Controller
public class HelloContraller {

    @Autowired
    private LocationRepository locationRepository;
    @ResponseBody
    @RequestMapping("/hello")
    public List<Location> hello(){
        return locationRepository.findAll();
    }
}
6. 编写DemoApplication
package com.springboot.demo;

import com.springboot.demo.entity.Location;
import com.springboot.demo.repository.LocationRepository;
import org.springframework.beans.factory.InitializingBean;
import org.springframework.boot.SpringApplication;
import org.springframework.boot.autoconfigure.SpringBootApplication;
import org.springframework.boot.web.servlet.FilterRegistrationBean;
import org.springframework.context.annotation.Bean;

@SpringBootApplication
public class DemoApplication {

    @Bean
    InitializingBean saveData(LocationRepository repo){
        return ()->{
            repo.save(new Location((long) 1,"1",38.998064, 117.317267));
            repo.save(new Location((long)2,"2",38.997793, 117.317069));
            repo.save(new Location((long)3,"3",38.998006, 117.317101));
            repo.save(new Location((long)4,"4",38.997814, 117.317332));
        };
    }


    public static void main(String[] args) {
        SpringApplication.run(DemoApplication.class, args);
    }


}
7. 启动项目,打开浏览器访问http://localhost:8089/hello

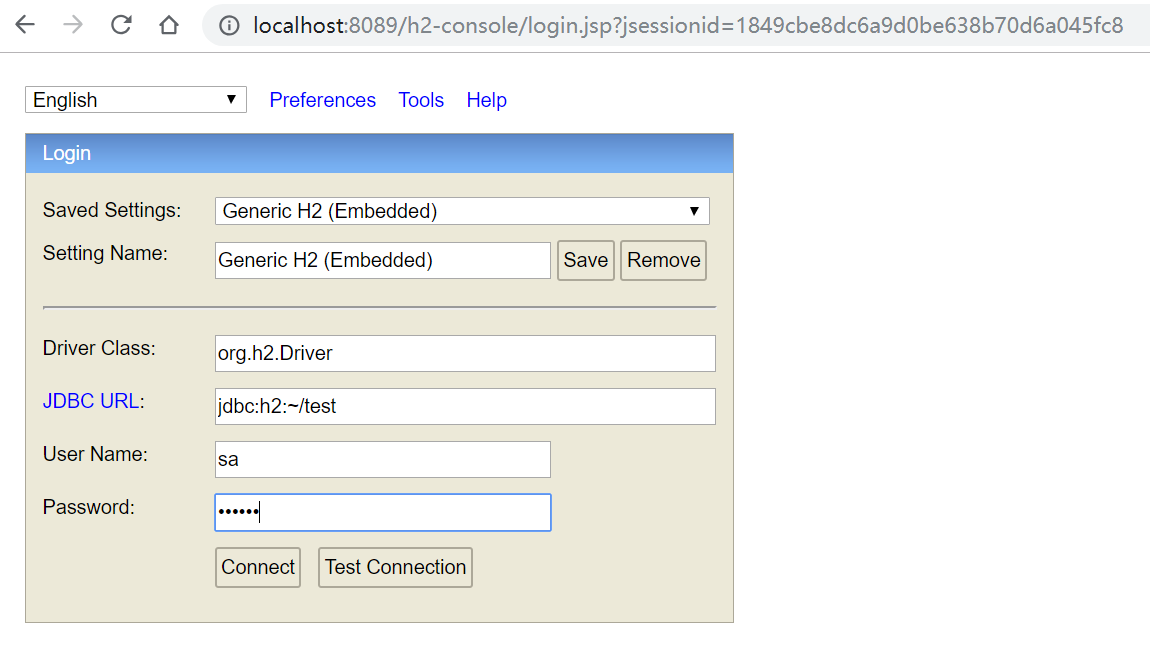
8. 下面使用H2控制台查看:
http://localhost:8089/h2-console
输入用户名sa,密码123456
9. 在打开的页面中点击左侧的Location。
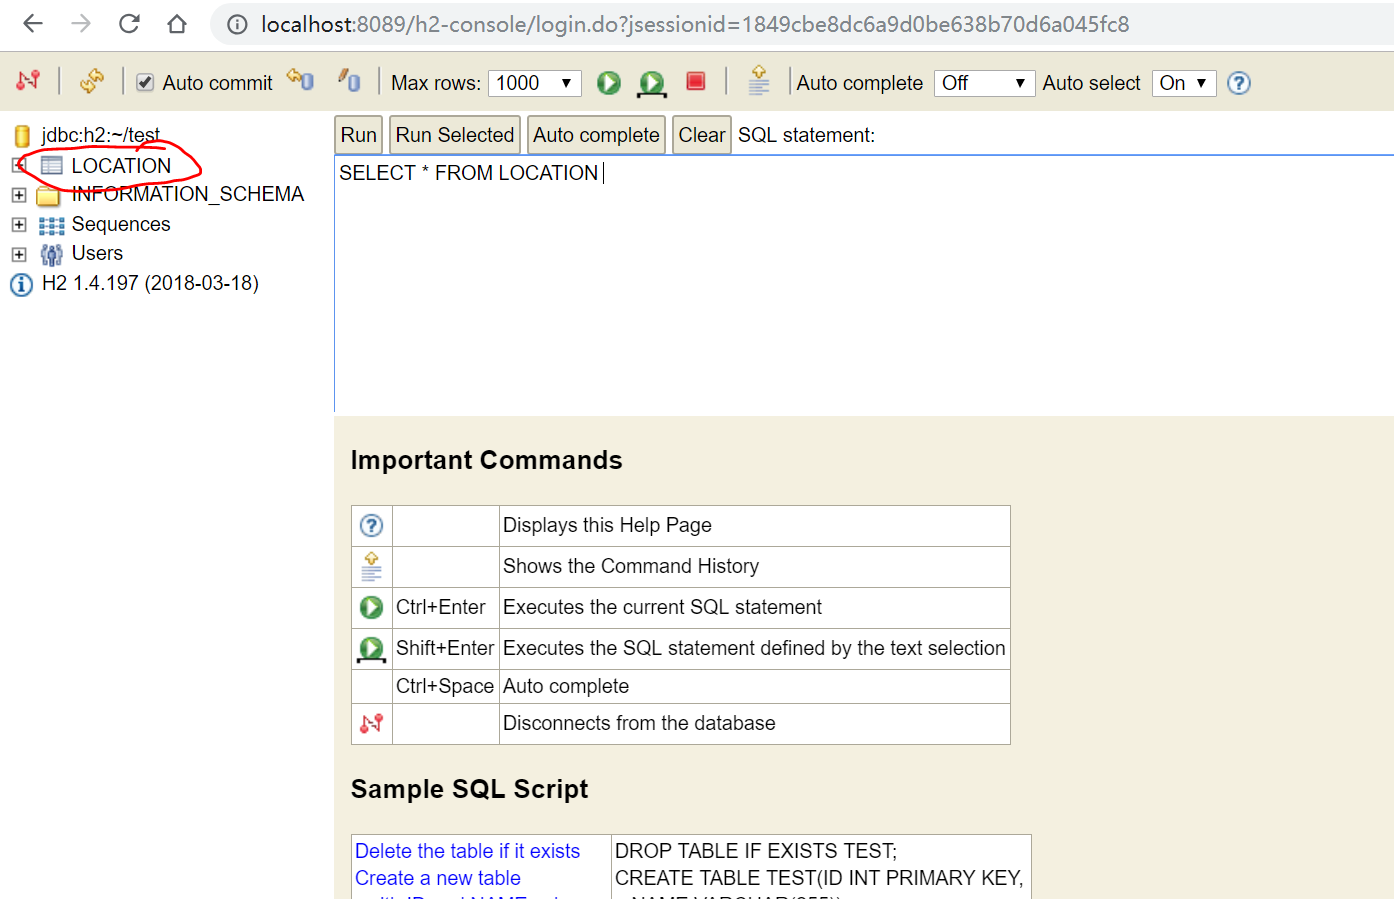
10. 可以看到右侧显示了SQL:
SELECT * FROM USER
点击上面的Run执行。

11. 执行完毕后,可以看到下面显示了我们加入的数据。


 浙公网安备 33010602011771号