

Pytest
Pytest介绍
pytest 是 Python 中最流行的单元测试框架之一,相比于自带的 unittest:
-
语法更简洁,使用更灵活
-
自动发现测试用例
-
丰富的插件生态
简单的组成结构
import pytest


def test_case01():  # 测试用例1
    print("我是用例主体")


def test_case02():  # 测试用例2
    print("我这里可以写任何测试用例")


if __name__ == "__main__":
    pytest.main(['-s'])  # 执行测试用例
Pytest的安装和执行
使用pip安装
pip3 install pytest==7.3.1  # 使用pip安装pytest7.3.1版本
pytest --version    # 校验pytest是否成功安装
命令行中执行
# 执行11pytest路径下所有的测试文件中所有测试用例
 pytest 11pytest

# 执行test_01pytest执行.py文件中所有的测试用例
 pytest 11pytest/test_01pytest执行.py

# 执行test_01pytest执行.py里面test_case01这条测试用例
 pytest 11pytest/test_01pytest执行.py::test_case01
参数说明
官方文档参数说明:https://docs.pytest.org/en/stable/how-to/usage.html
-s 开启终端交互
作用是可以让打印的内容输出显示在终端,或者可以在终端中与用例中的输入操作进行交互
pytest -s 11pytest
-v 输出更详细的信息
包括测试用例的详细结果和其他相关信息,例如测试用例所在的模块,文件路径等
pytest -v 11pytest
-s -v 可以合并到一起写:-sv 或 -vs
pytest -sv 11pytest
-k 筛选用例(模糊匹配)
仅运行匹配的测试用例。指定一个字符串表达式,pytest将根据表达式匹配测试用例的名称来执行相应的测试。-k筛选的不止函数层级,文件中包含同样的关键字也会匹配到。
pytest -sv -k "03" 11pytest # 仅执行11pytest路径下包含03的测试用例
Python脚本中运行
if __name__ == "__main__":
    pytest.main(['test_01.py', '-vs', '-k', '02'])
if __name__ == "__main__":
    pytest.main(['test_01.py::Test01::test001', '-vs'])
命名规则
测试文件
以test_*.py开头,或"_test.py"结尾。比如:test_login.py
测试类:
以Test开头,利润class TestLogin:
测试函数:
以test_开头,这样pytest会自动识别并执行这些函数作为测试用例。
例如:def test_login_success():或def test_add_product_to_cart()
使用下划线分隔单词
函数名见名知意,例如:test_login_success()测试登录成功的场景
前置和后置
传统的setup和teardown系列(不推荐使用)不如fixture灵活
import pytest

# 模块中的前后置,不能写在测试类中
def setup_module():
    print("模块级别的前置操作")


def teardown_module():
    print("模块级别的后置操作")


def setup_function():
    print("方法级别的前置操作_function")


def teardown_method():
    print("方法级别的后置操作_function")


class Test_login:
    @classmethod  # 类级别需要加classmethod装饰器
    def setup_class(self):
        print("类级别的前置操作")

    @classmethod
    def teardown_class(cls):
        print("类级别的后置操作")


    # 类中的方法前后置为_method,如果不在类中可以写_function
    def setup_method(self):
        print("方法级别的前置操作")


    def teardown_method(self):
        print("方法级别的后置操作")

    def test_case01(self):
        print("test_case01")


if __name__ == '__main__':
    pytest.main("./test_前置后置.py", "-vs")


执行结果:
模块级别的前置操作
类级别的前置操作
方法级别的前置操作
PASSED                         [100%]test_case01
方法级别的后置操作
类级别的后置操作
模块级别的后置操作
import pytest

def setup_module():
    print("模块级别的前置操作")


def teardown_module():
    print("模块级别的后置操作")


def setup_function():  # 写在类外面的方法级别的前后置以:_function结尾
    print("方法级别的前置操作_function")


def teardown_function():
    print("方法级别的后置操作_function")


def test_case01():
    print("test_case01")

if __name__ == '__main__':
    pytest.main("./test_前置后置.py", "-vs")


# 执行结果
模块级别的前置操作
方法级别的前置操作_function
PASSED                                     [100%]test_case01
方法级别的后置操作_function
模块级别的后置操作
标签的使用
使用标签可以对测试用例进行分类和分组,通过为标签,选择性的执行特定标签的测试用例,从而方便的控制测试的范围和目标。
下面对标签功能进行演示和说明
1.定义标签的代码
import pytest


@pytest.mark.smoke  # 使用pytest.mark定义标签,smoke为自定义的标签名,可以是任何
def test_login():
    assert True


@pytest.mark.regression  # 定义一个名为regression的标签
def test_regression():
    assert True


@pytest.mark.smoke
def test_add_to_cart():
    assert True


@pytest.mark.regression
def test_checkout():
    assert True
2.在项目目录中创建一个名为pytest.ini的配置文件,名字固定,不可自定义
配置文件中的内容。如果配置文件不生效或者未声明标签,会在执行时报警告
[pytest]
markers =  # 所有的标签在markers下声明
    smoke:Run smoke test  # 对smoke标签进行说明
    regression:Run regression tests
3.命令行中执行下面的命令
pytest 11pytest/test_label.py -m smoke -vs # -m smoke表示仅执行标签为smoke的测试用例
执行结果仅运行smoke标签标记的测试用例
还可以这样用
pytest -m "smoke or regression" ./11pytest/test_label.py
conftest
conftest.py是一个特殊的文件,管理测试用例中需要通用的数据传递。
conftest的存放位置:
project/
│
├── conftest.py <-- 写公共的 fixture
├── test_login.py <-- 不需要导入 fixture
├── test_order.py
conftest的作用范围:
如果放一个顶级的conftest用于全局fixture
每个子测试模块也可以放一个conftest.py为该模块生效
@pytest.fixture 装饰器的常用参数
scope=
"function":(默认值),每个测试函数都会调用一次。通过yield控制前置和后置。yield前为前置执行的代码,yield后为后置要执行的代码,此规则不仅适用于function,其他级别均可以使用yield控制前后置
"class":每个测试类都会调用一次
"module":每个测试模块都会调用一次
"session":每个测试会话都会调用一次
# 代码演示:


import pytest

@pytest.fixture(scope="function")
def setup_teardown():
    print("=== 前置操作 ===")
    yield  # yield 前是前置逻辑,后是后置逻辑
    print("=== 后置操作 ===")


def test_case1(setup_teardown):
    print("执行测试用例 1")

"""
执行结果:
11pytest/config_test/test_conftest.py::test_case1 === 前置操作 ===
执行测试用例 1
PASSED=== 后置操作 ===
"""
params:给 fixture 提供多个参数值,每个值都会触发一次测试执行
@pytest.fixture(params=["admin", "user", "guest"])
def role(request):
    return request.param

def test_user(role):
    print(f"当前用户是:{role}")
    assert role in ["admin", "user", "guest"]
执行结果:
11pytest/config_test/test_conftest.py::test_user[admin] 当前用户是:admin
PASSED
11pytest/config_test/test_conftest.py::test_user[user] 当前用户是:user
PASSED
11pytest/config_test/test_conftest.py::test_user[guest] 当前用户是:guest
PASSED
autouse:自动使用fixture,无需在测试函数中显式声明使用该fixture。True和False
@pytest.fixture(autouse=True)  # autouse=True表示每个测试函数执行前都会自动执行这个fixture。即使不在测试函数中引用。
def always_run():
    print("这个 fixture 每个测试都会自动运行")

def test_case1():  # 这里不用引用always_run也会自动执行
    print("执行测试用例 1")

def test_case2():
    print("执行测试用例 2")

"""
执行结果
11pytest/config_test/test_conftest.py::test_case1 这个 fixture 每个测试都会自动运行
执行测试用例 1
PASSED
11pytest/config_test/test_conftest.py::test_case2 这个 fixture 每个测试都会自动运行
执行测试用例 2
PASSED
"""
name:为fixture自定义名称
@pytest.fixture(name="login_token")
def login_fixture():
    return "这是login_fixture"

def test_something(login_token):
    assert login_token == "这是login_fixture"
"""
执行结果:
11pytest/config_test/test_conftest.py::test_something PASSED
"""
pytest.ini配置文件的使用
一、pytest.ini介绍
避免每次运行都手动输入一堆命令参数,让项目更规范
pytest.ini 是 pytest 的配置文件,用于集中定义项目中的:
-
启动参数(比如默认加上
-v -s) -
标记(marks)声明
-
测试路径规则
-
忽略的警告
-
插件配置(如 pytest-html、pytest-cov)
二、pytest.ini的推荐存放路径:项目的根目录
my_project/
├── pytest.ini
├── tests/
│   ├── test_xxx.py
├── src/
│   └── ...
[pytest]
;addopts:设置默认运行参数(每次运行 pytest 时都生效)
addopts = -v -s --html=report.html --tb=short

;testspath:指定测试用例所在的目录(默认当前目录)
testspath = test_ini

;python_files:指定测试文件的匹配规则,默认是test_*.py
python_files = test_*.py *_test.py

;python_classes:指定测试类的匹配规则,默认是Test*
python_classes = Test*

;python_functions:指定测试函数的匹配规则
python_functions = test_*

;markers:声明项目中用到的mark标签,必须在这里声明才能在使用,否则会报警告
markers =
    smoke:冒烟测试用例
    login:登录模块测试用例
pytest- html生成测试报告
基础数据报告
安装pytest-html
pip install pytest-html
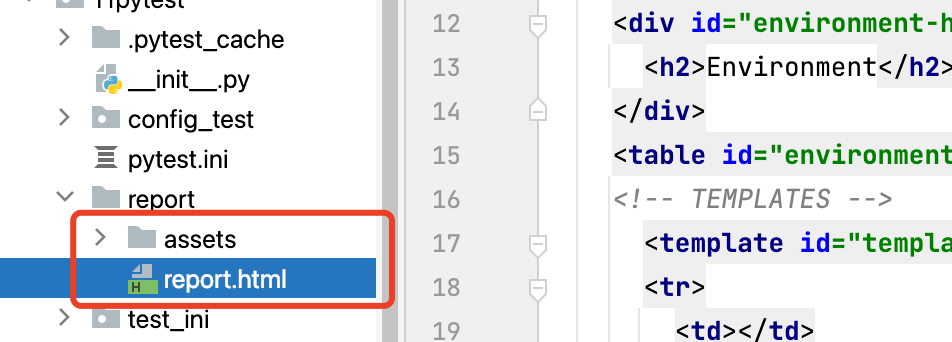
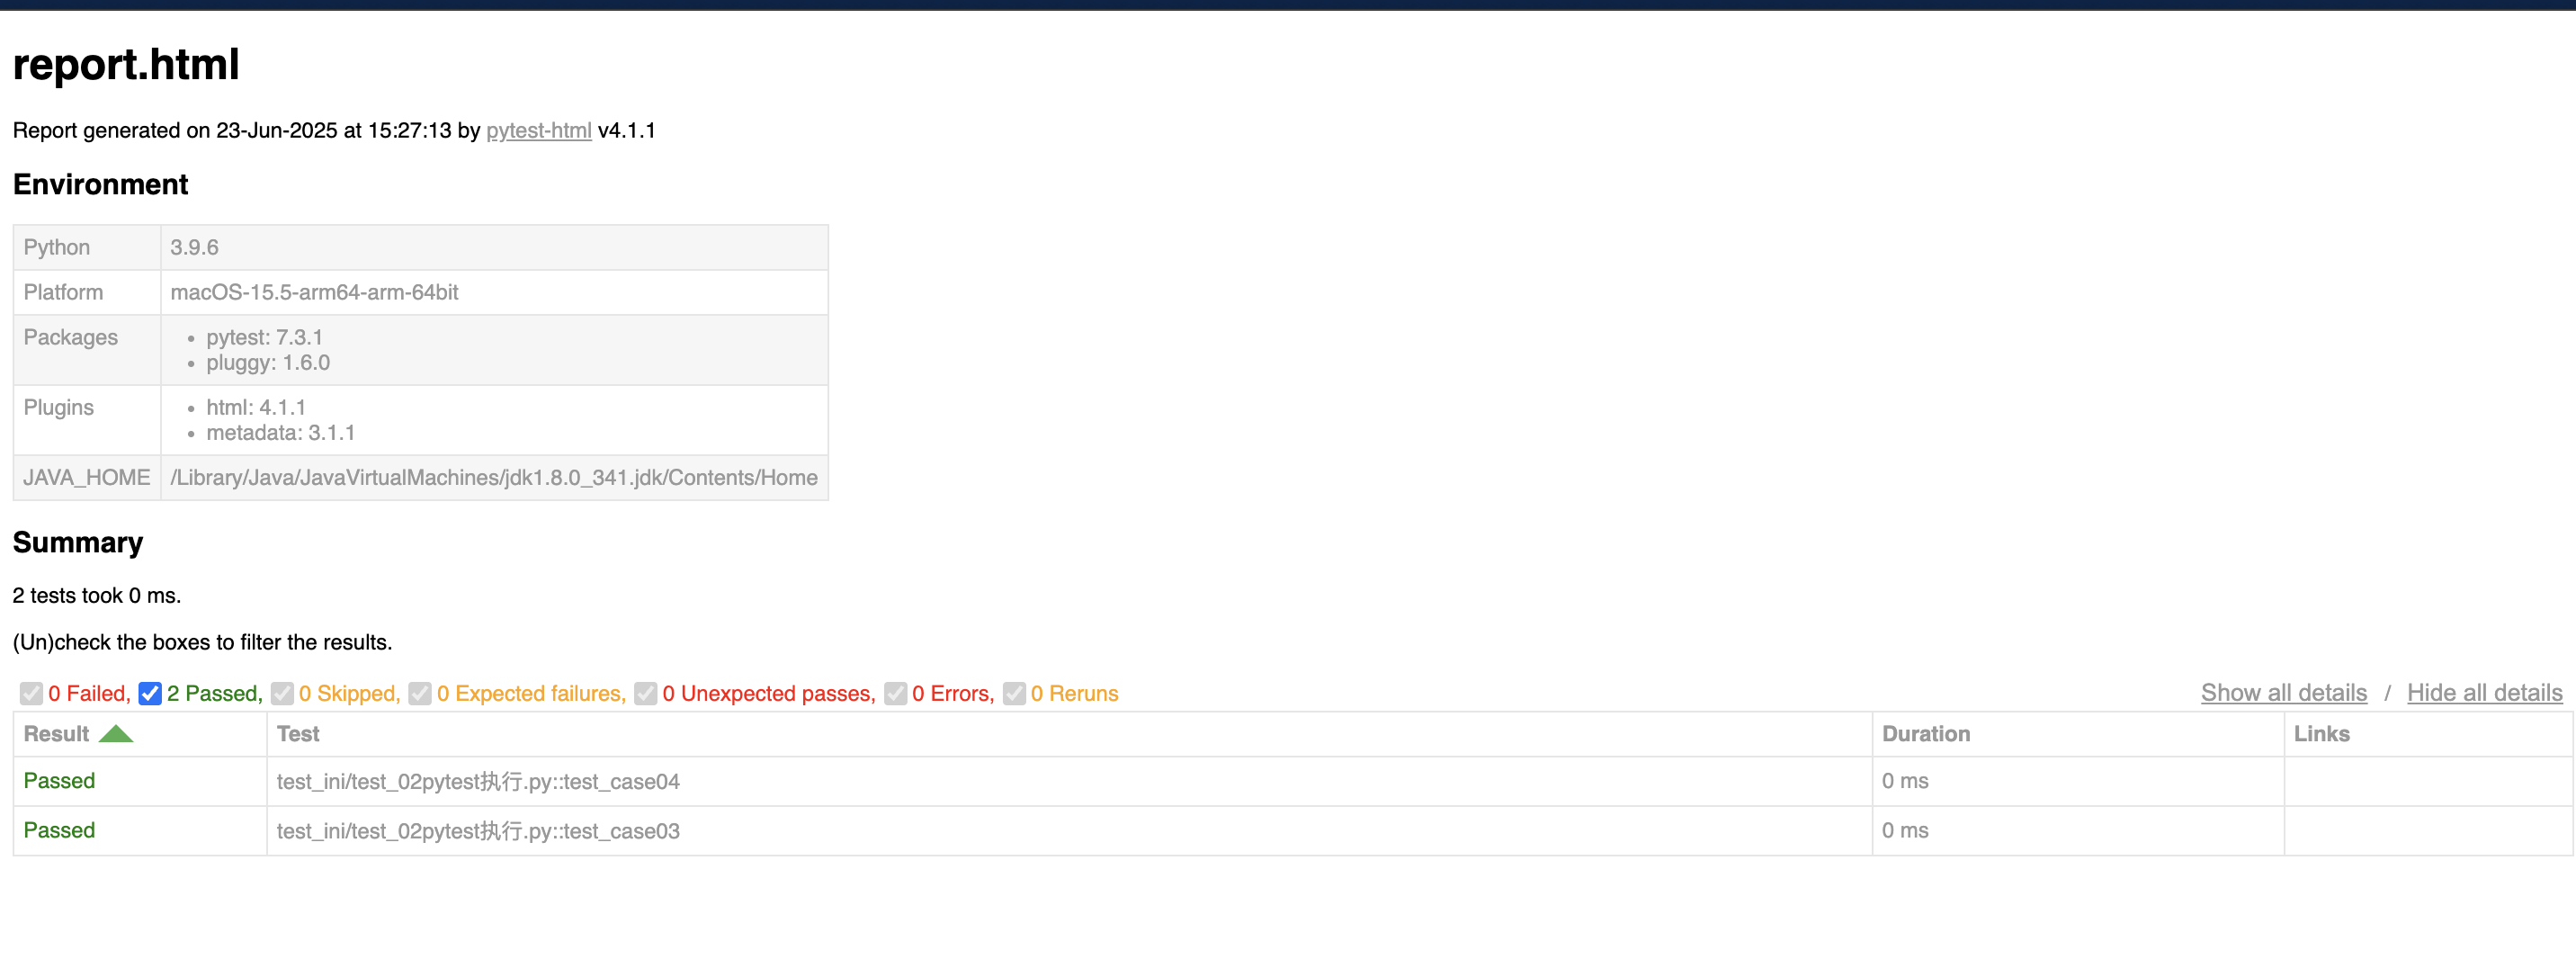
生成测试报告
pytest --html=./report/report.html
执行结果
放到pytest.ini中
--self-contained-html表示,将 HTML 报告的所有资源(如 CSS、JS)内联到单个文件中,方便分享。
addopts = -v -s --html=report/report.html --self-contained-html
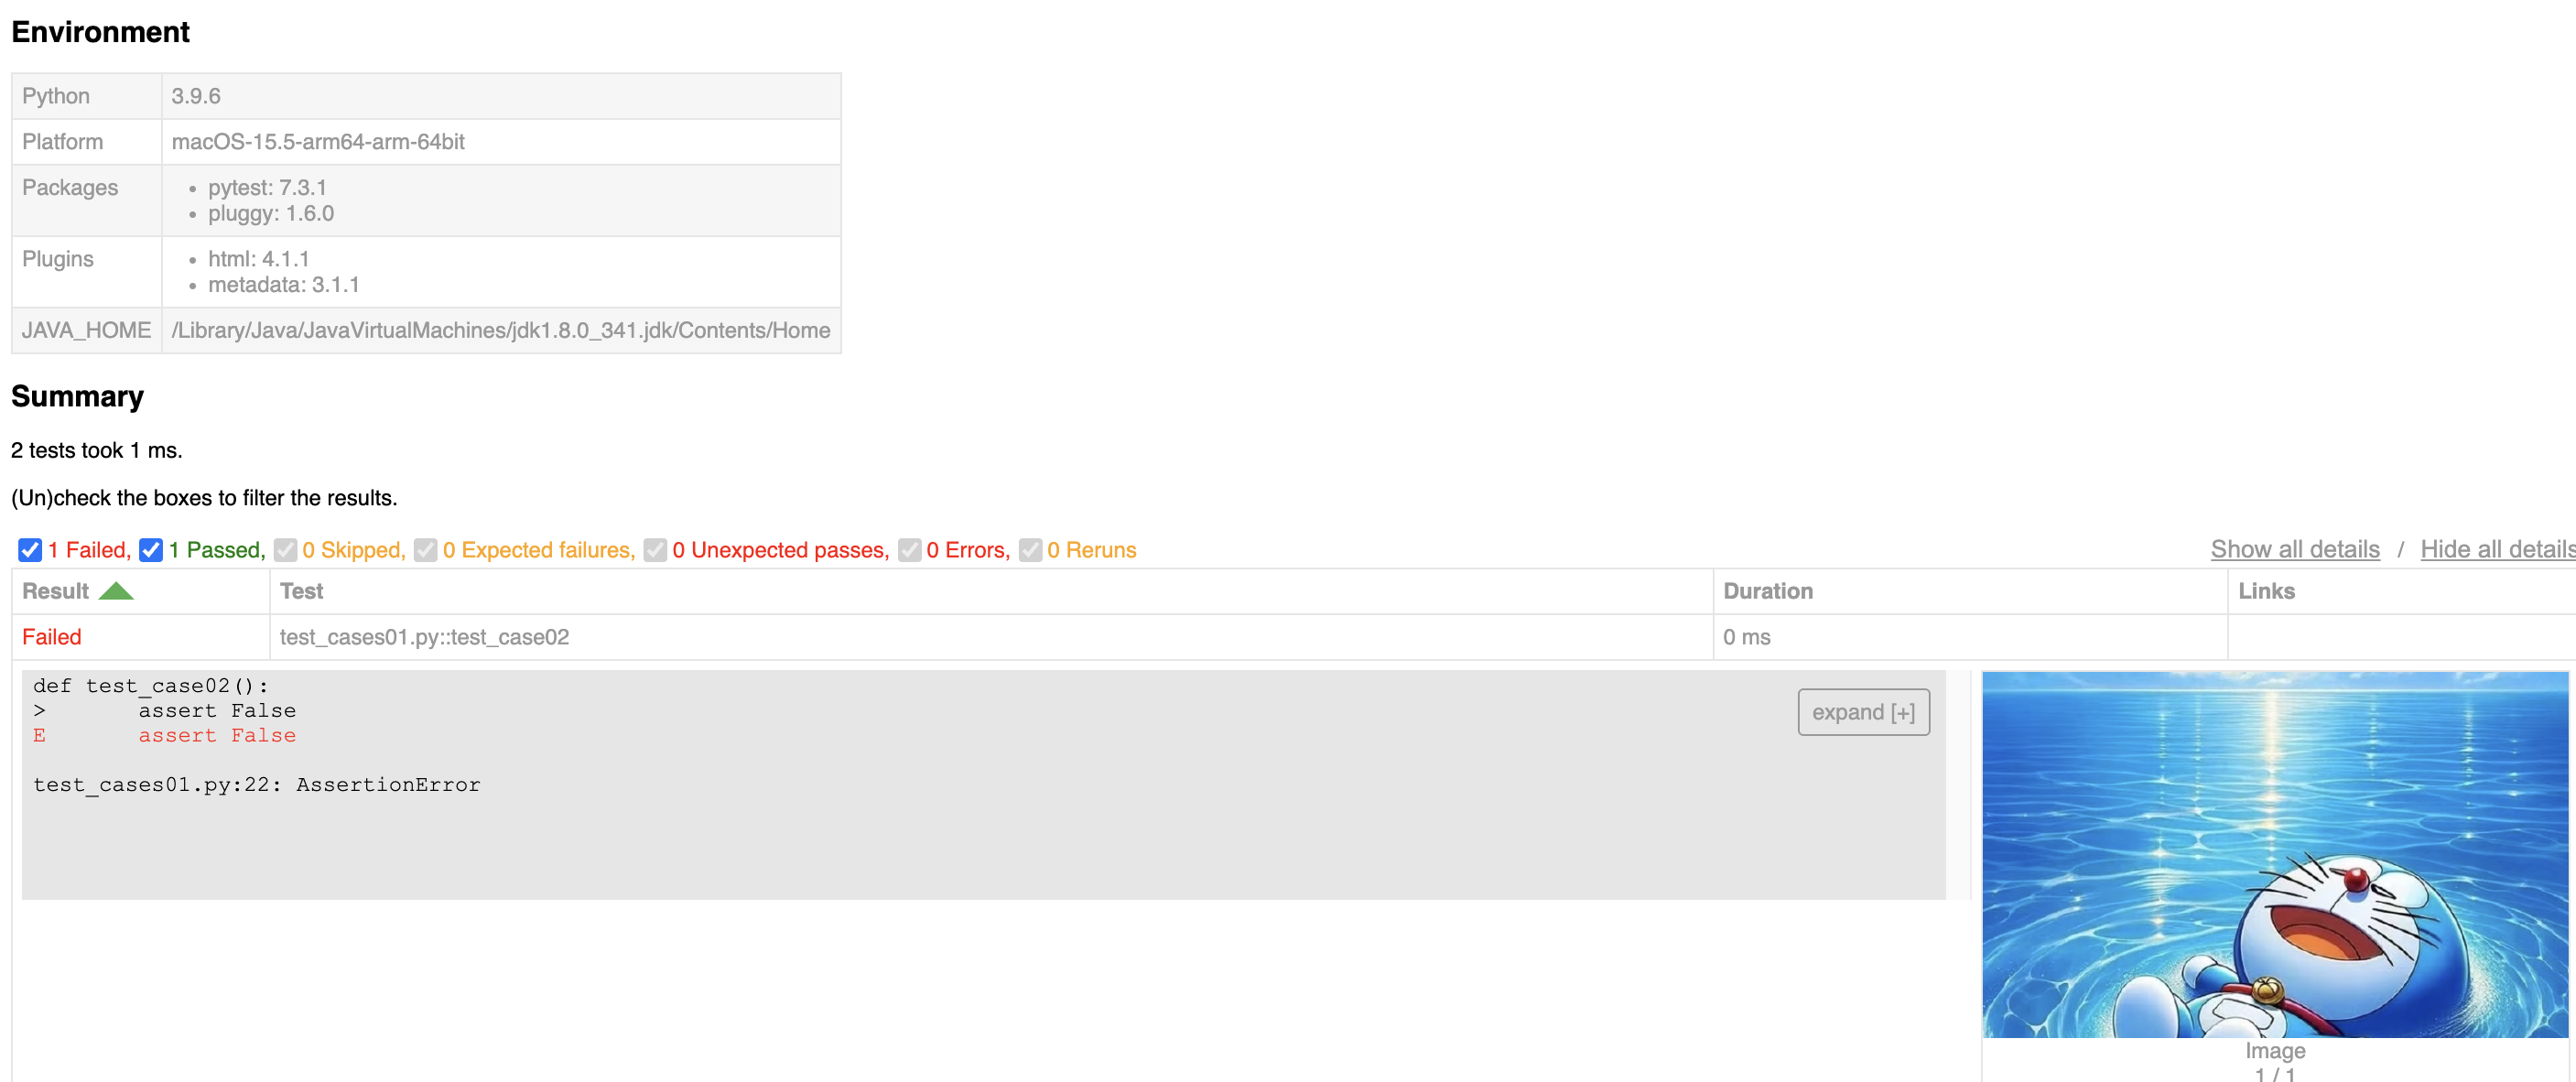
异常时添加图片
import pytest
from pytest_html import extras


@pytest.hookimpl(hookwrapper=True)  # 写死的
def pytest_runtest_makereport(item, call):  # 写死的
    def image_to_base64(image_path):
        import base64
        """这个函数是将图片转化为base64数据"""
        with open(image_path, "rb") as image_file:
            encoded_string = base64.b64encode(image_file.read())
            return encoded_string.decode('utf-8')

    outcome = yield
    report = outcome.get_result()
    extra = getattr(report, "extra", [])
    if report.when == "call":  # 过滤 前置,和后置,只保留运行中的状态
        print("用例执行结果:", report.outcome)  # 用例执行结果
        if report.outcome != "passed":
            """失败截图数据"""
            image_path = "test_image.jpg"  # 这里你可以换成你的图片路径
            base64_data = image_to_base64(image_path)
            extra.append(extras.image(base64_data))
    report.extra = extra  # 替换数据中的 extra 对象
pytest数据驱动
说明:使用不同的测试数据执行相同的测试用例。可以减少测试代码冗余。
第一种数据驱动方案
@pytest.mark.parametrize
import pytest


@pytest.mark.parametrize(
    "input1, input2, expected",
    [
        (1, 2, 3),
        (5, 5, 10),
        (10, -2, 8)
    ]
)
def test_case(input1, input2, expected):
    assert input1 + input2 == expected
执行结果
test_数据驱动.py::test_case[1-2-3] PASSED
test_数据驱动.py::test_case[5-5-10] PASSED
test_数据驱动.py::test_case[10--2-8] PASSED
第二种数据驱动方案
# conftest.py
import pytest


@pytest.fixture(params=[
    (1, 2, 3),
    (5, 5, 10),
    (10, -2, 8)],
    name="test_data"
)
def data(request):
    return request.param
# test_case.py

def test_addition(test_data):
    assert test_data[0] + test_data[1] == test_data[2]
# 执行结果
test_case.py::test_addition[test_data0] PASSED
test_case.py::test_addition[test_data1] PASSED
test_case.py::test_addition[test_data2] PASSED

 浙公网安备 33010602011771号