https证书申请与配置
首先需要注册一个账号:https://freessl.cn/login
注册完后申请证书
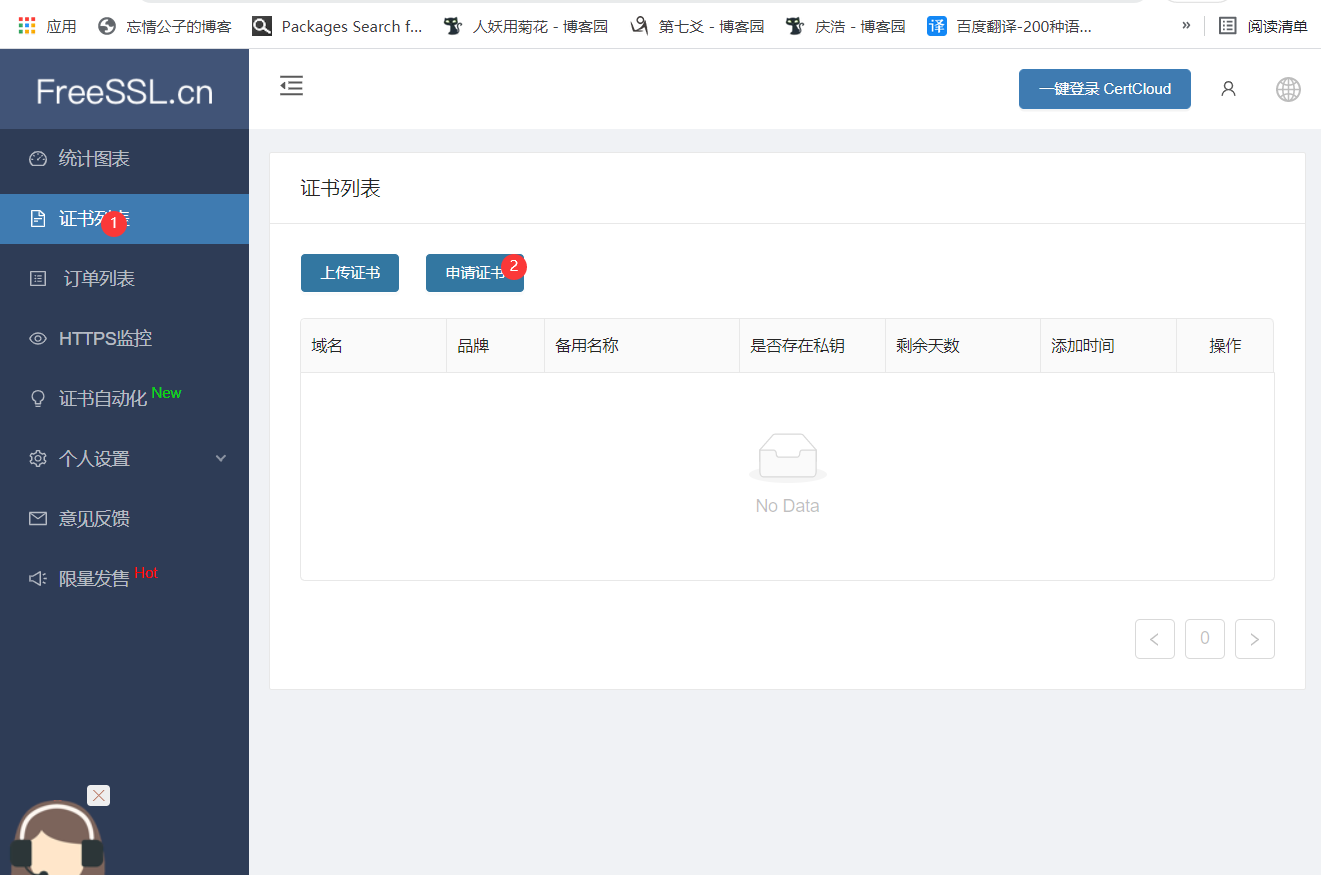
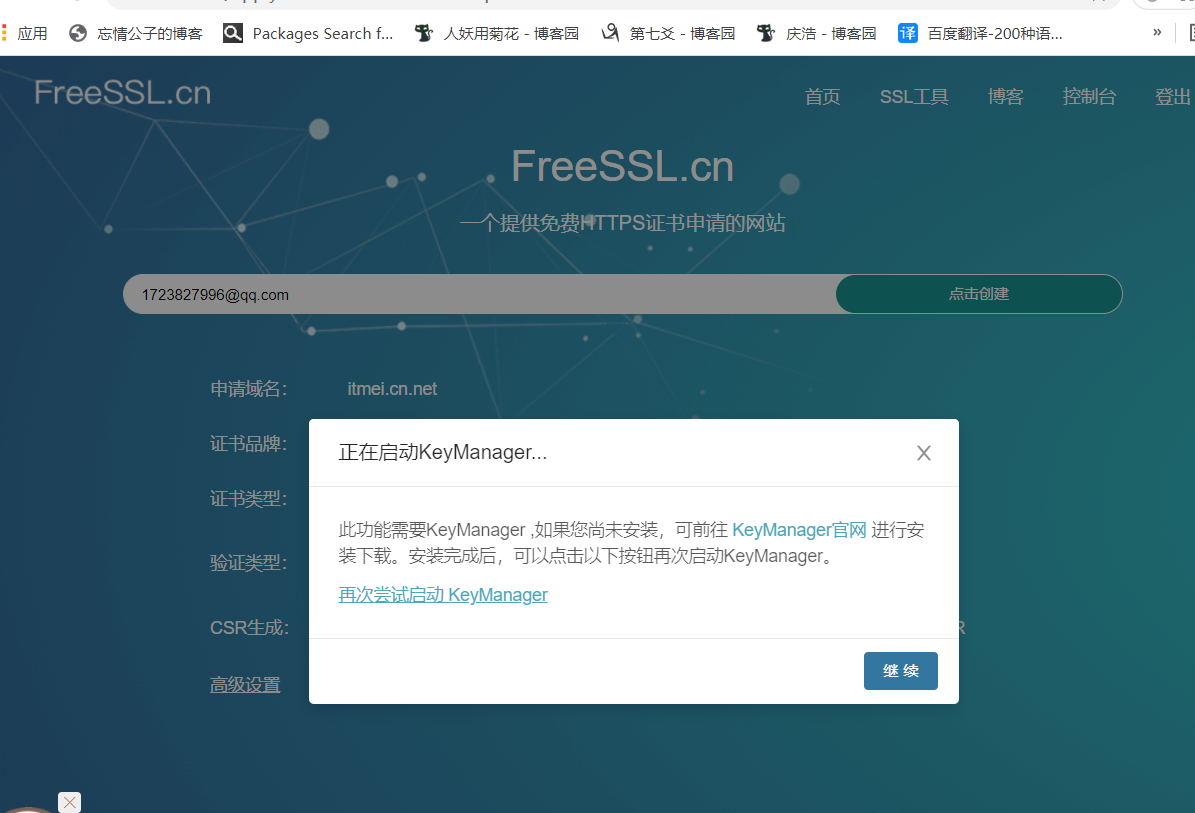
根据提示一步步做,下载KeyManager
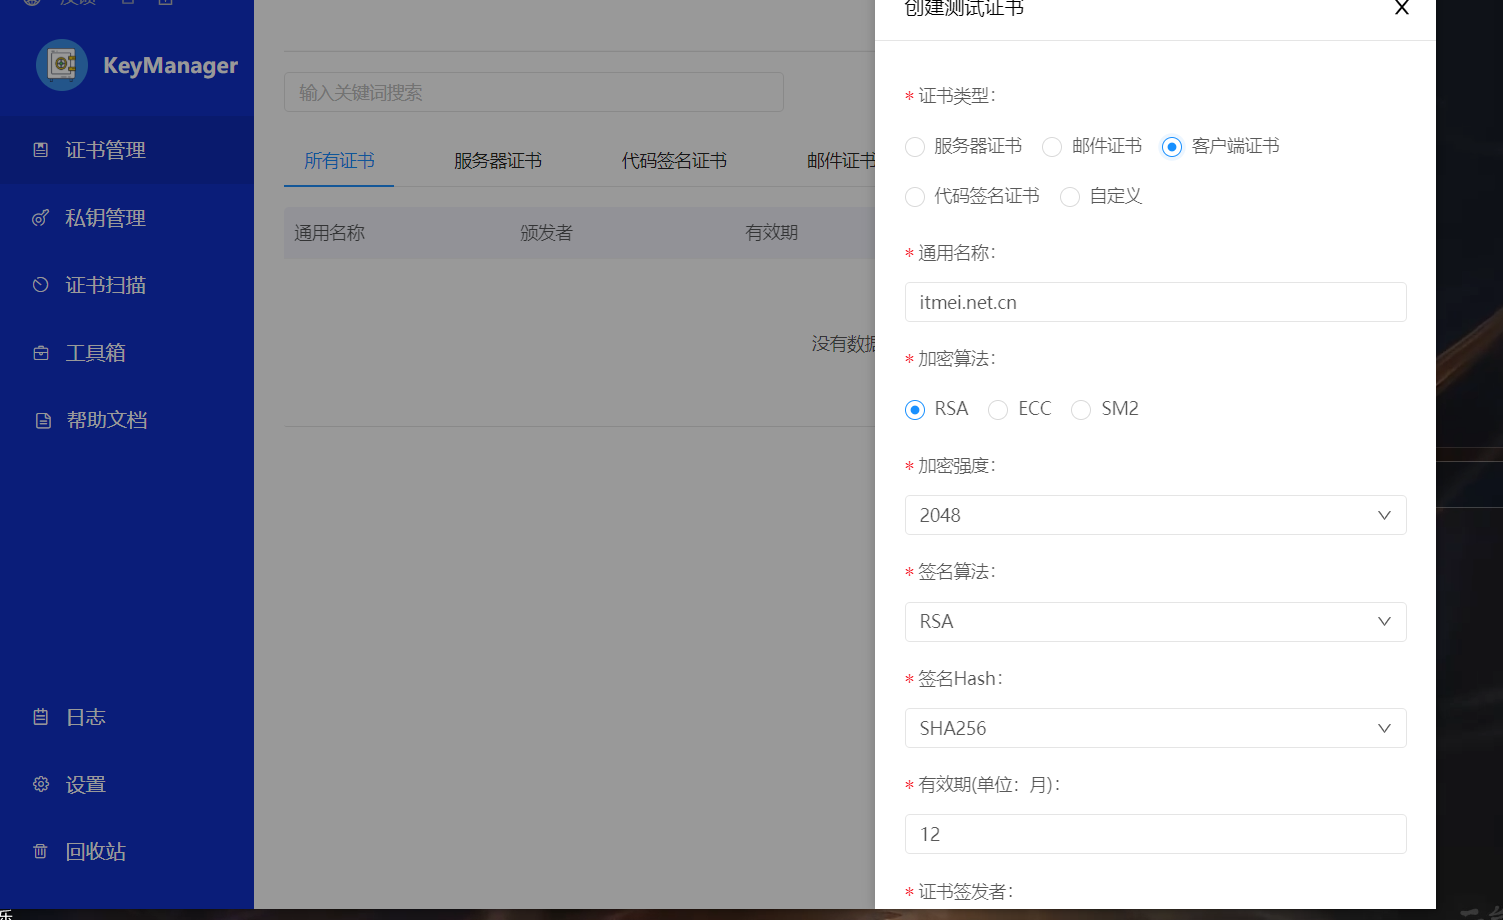
创建证书
导出并上传到虚拟机
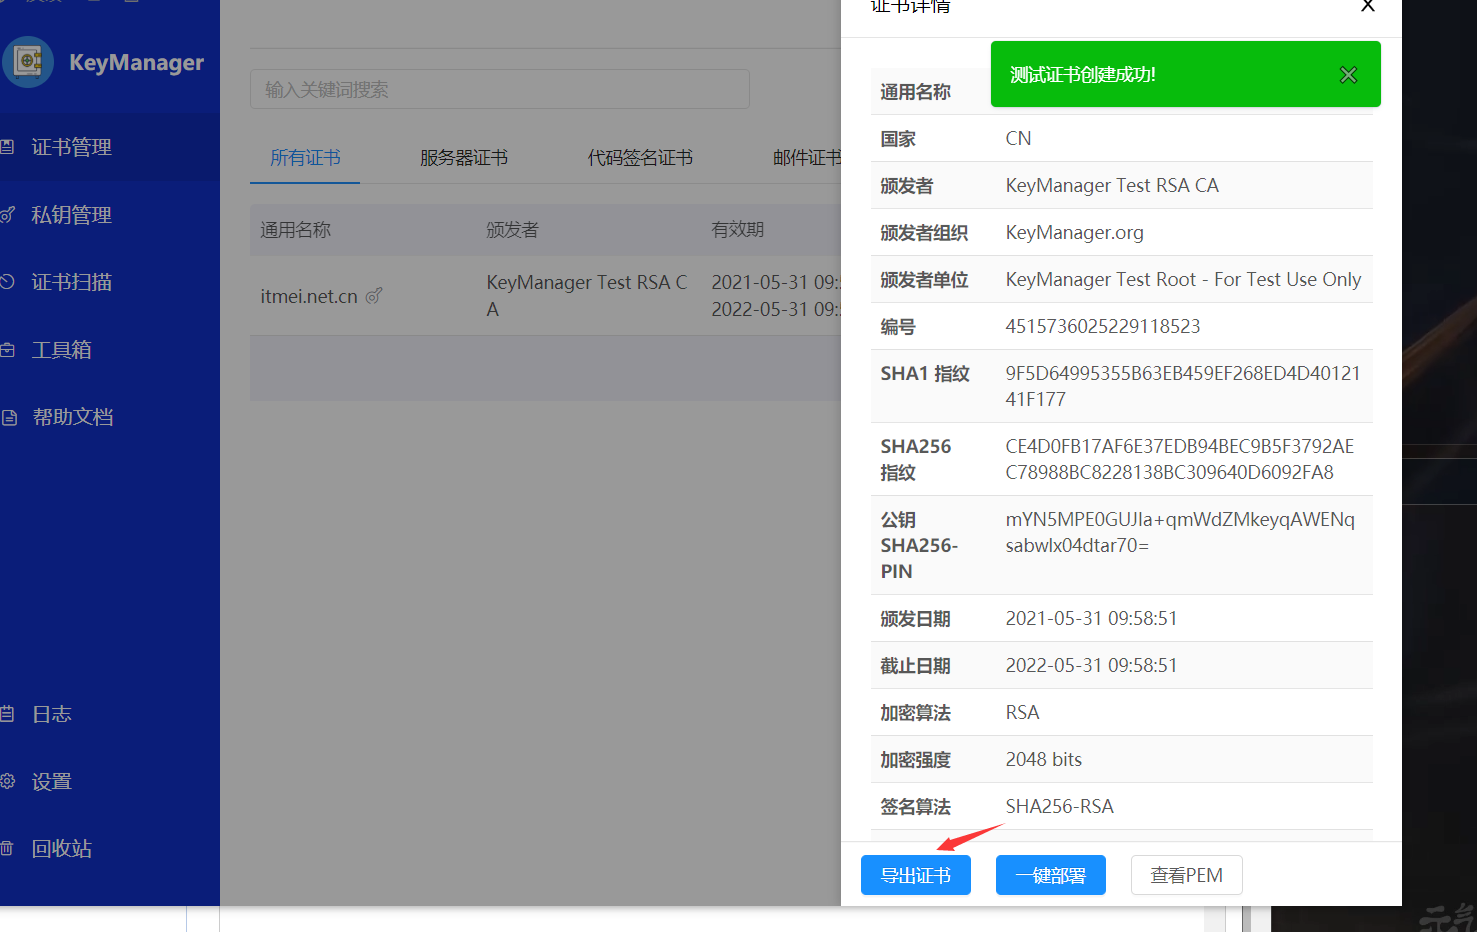
[root@localhost nginx]# pwd
/usr/local/nginx
[root@localhost nginx]# mkdir ssl
[root@localhost nginx]# cd ssl
[root@localhost ssl]# ls

 //将导出的证书上传到nginx安装目录的ssl目录下面

[root@localhost ssl]# ls
itmei-net-cn-nginx-0531180101.zip
[root@localhost ssl]# yum install -y unzip
[root@localhost ssl]# unzip itmei-net-cn-nginx-0531180101.zip
Archive:  itmei-net-cn-nginx-0531180101.zip
  inflating: itmei.net.cn_chain.crt
  inflating: itmei.net.cn_key.key
[root@localhost ssl]# ls
itmei.net.cn_chain.crt  itmei.net.cn_key.key  itmei-net-cn-nginx-0531180101.zip
https证书的配置
[root@localhost nginx]# pwd
/usr/local/nginx

//取消注释并且将生成的证书路径写上去
[root@localhost nginx]# vim conf/nginx.conf

    server {
        listen       443 ssl;
        server_name  localhost;

        ssl_certificate      /usr/local/nginx/ssl/itmei.net.cn_chain.crt;
        ssl_certificate_key  /usr/local/nginx/ssl/itmei.net.cn_key.key;

        ssl_session_cache    shared:SSL:1m;
        ssl_session_timeout  5m;

        ssl_ciphers  HIGH:!aNULL:!MD5;
        ssl_prefer_server_ciphers  on;

        location / {
            root   html;
            index  index.html index.htm;
        }
    }

[root@localhost nginx]# nginx -t
nginx: the configuration file /usr/local/nginx/conf/nginx.conf syntax is ok
nginx: configuration file /usr/local/nginx/conf/nginx.conf test is successful
[root@localhost nginx]# nginx -s reload
[root@localhost nginx]# ss -antl
State     Recv-Q     Send-Q          Local Address:Port         Peer Address:Port
LISTEN    0          128                   0.0.0.0:80                0.0.0.0:*
LISTEN    0          128                   0.0.0.0:22                0.0.0.0:*
LISTEN    0          128                   0.0.0.0:443               0.0.0.0:*
LISTEN    0          128                      [::]:22                   [::]:*
做一下域名映射:C:\Windows\System32\drivers\etc\

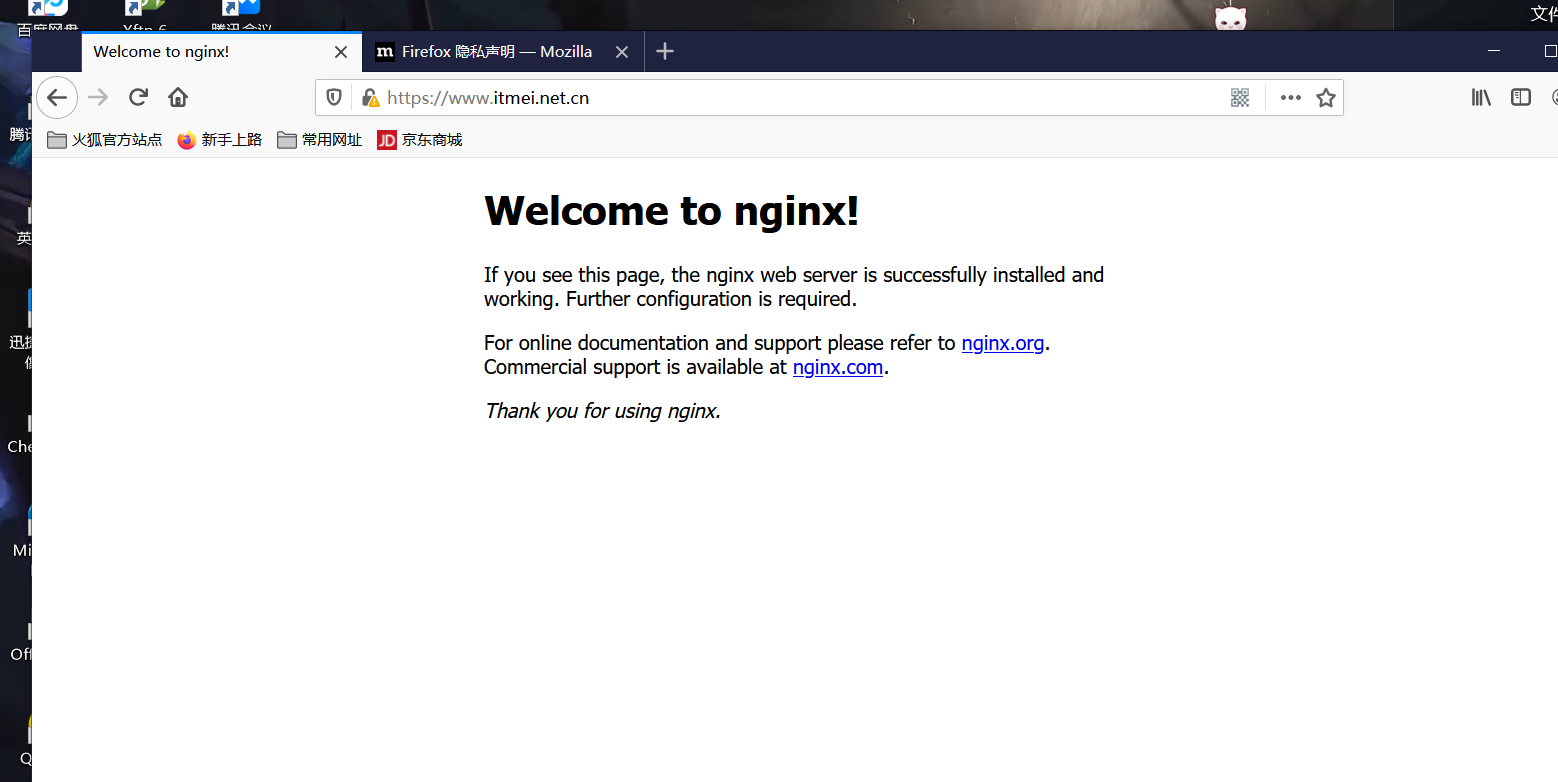
网页访问测试
谷歌访问不了
用火狐浏览器测试

 浙公网安备 33010602011771号