多人使用的JupyterHub(TLJH)安装卸载, 配置GitLab的OAuth登录和开启HTTPS
介绍
JupyterHub是可供多用户使用的Jupyter Notebook
JupyterHub可以给每个用户分配独立的账号, 独立的工作文件夹, 互不影响
安装
JupyterHub分两个版本, Zero to JupyterHub with K8s 和The Littlest JupyterHub
前者可以使用K8s集群进行部署, 后者则是在单机上部署的
这里我部署的是The Littlest JupyterHub(TLJH)
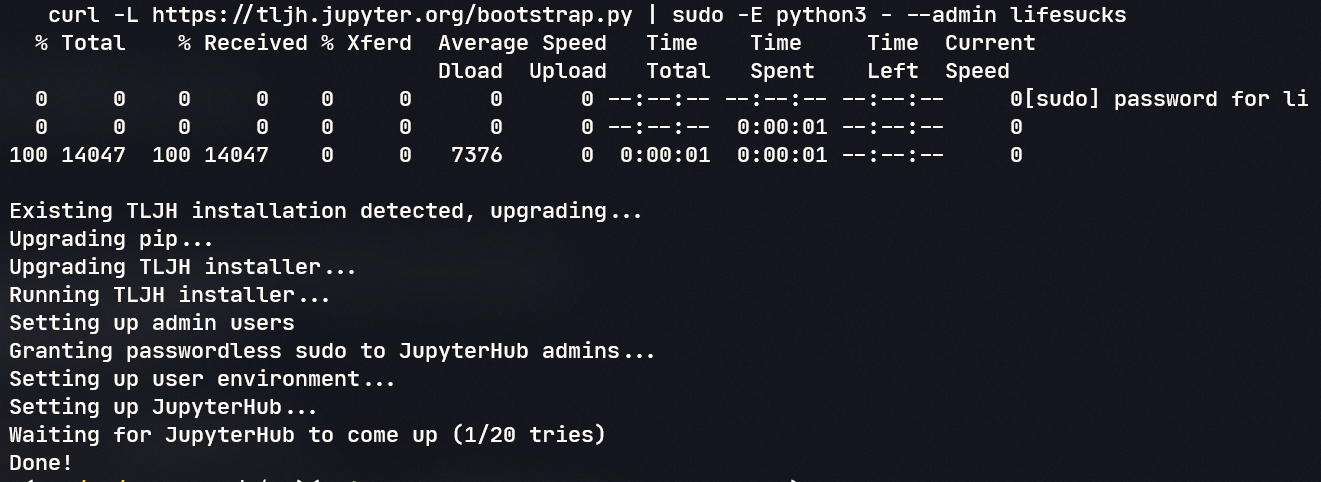
先使用下面的命令下载安装, admin是所在系统的管理员账号
curl -L https://tljh.jupyter.org/bootstrap.py | sudo -E python3 - --admin admin
第一次安装可能会出现错误, 但是必要的文件已经下载完成, 只要手动升级pip再重新安装即可
sudo /opt/tljh/hub/bin/python3 -m pip install --upgrade pip
如图显示 Done! 就是安装完成
配置
端口和HTTPS配置
TLJH安装过程中默认的端口是80和443端口, 不开启https就只需要开80端口
如果端口有冲突, 就需要手动修改端口
比如设置9080为http的端口 和9443为https的端口
sudo tljh-config set http.port 9080
sudo tljh-config set https.port 9443
也可以通过修改配置文件/opt/tljh/config/config.yaml添加如下配置来设置端口
http:
  port: 9080
https:
  port: 9443
  enabled: true
  # 你的https的tls证书
  tls:
    cert: /path/to/server.crt
    key: /path/to/server.key
如果是https使用自签名证书, 需要修改/opt/tljh/config/jupyterhub.config.d/jupyterhub_config.py, 如果没有就新建一个, 添加以下内容
import os

# 因为使用了自签名证书, 这里禁用TLS验证
os.environ['OAUTH2_TLS_VERIFY'] = '0'
os.environ['OAUTH_TLS_VERIFY'] = '0'
设置完成之后通过
sudo tljh-config reload proxy
来重启TLJH的网络配置
用户界面
JupyterHub除了默认的经典JupyterNote界面以外, 还有Jupyter Lab跟Nteract
Jupter Lab:

Nteract:

分别通过
sudo tljh-config set user_environment.default_app jupyterlab
和
sudo tljh-config set user_environment.default_app nteract
来设置
设置完成之后通过
sudo tljh-config reload hub
来重启JupyterHub
GitLab配置OAuth登录
因为我本身有搭建自建Gitlab, 可以通过GitLab账号来进行OAuth登录, 不需要每次输密码什么的, 方便很多.
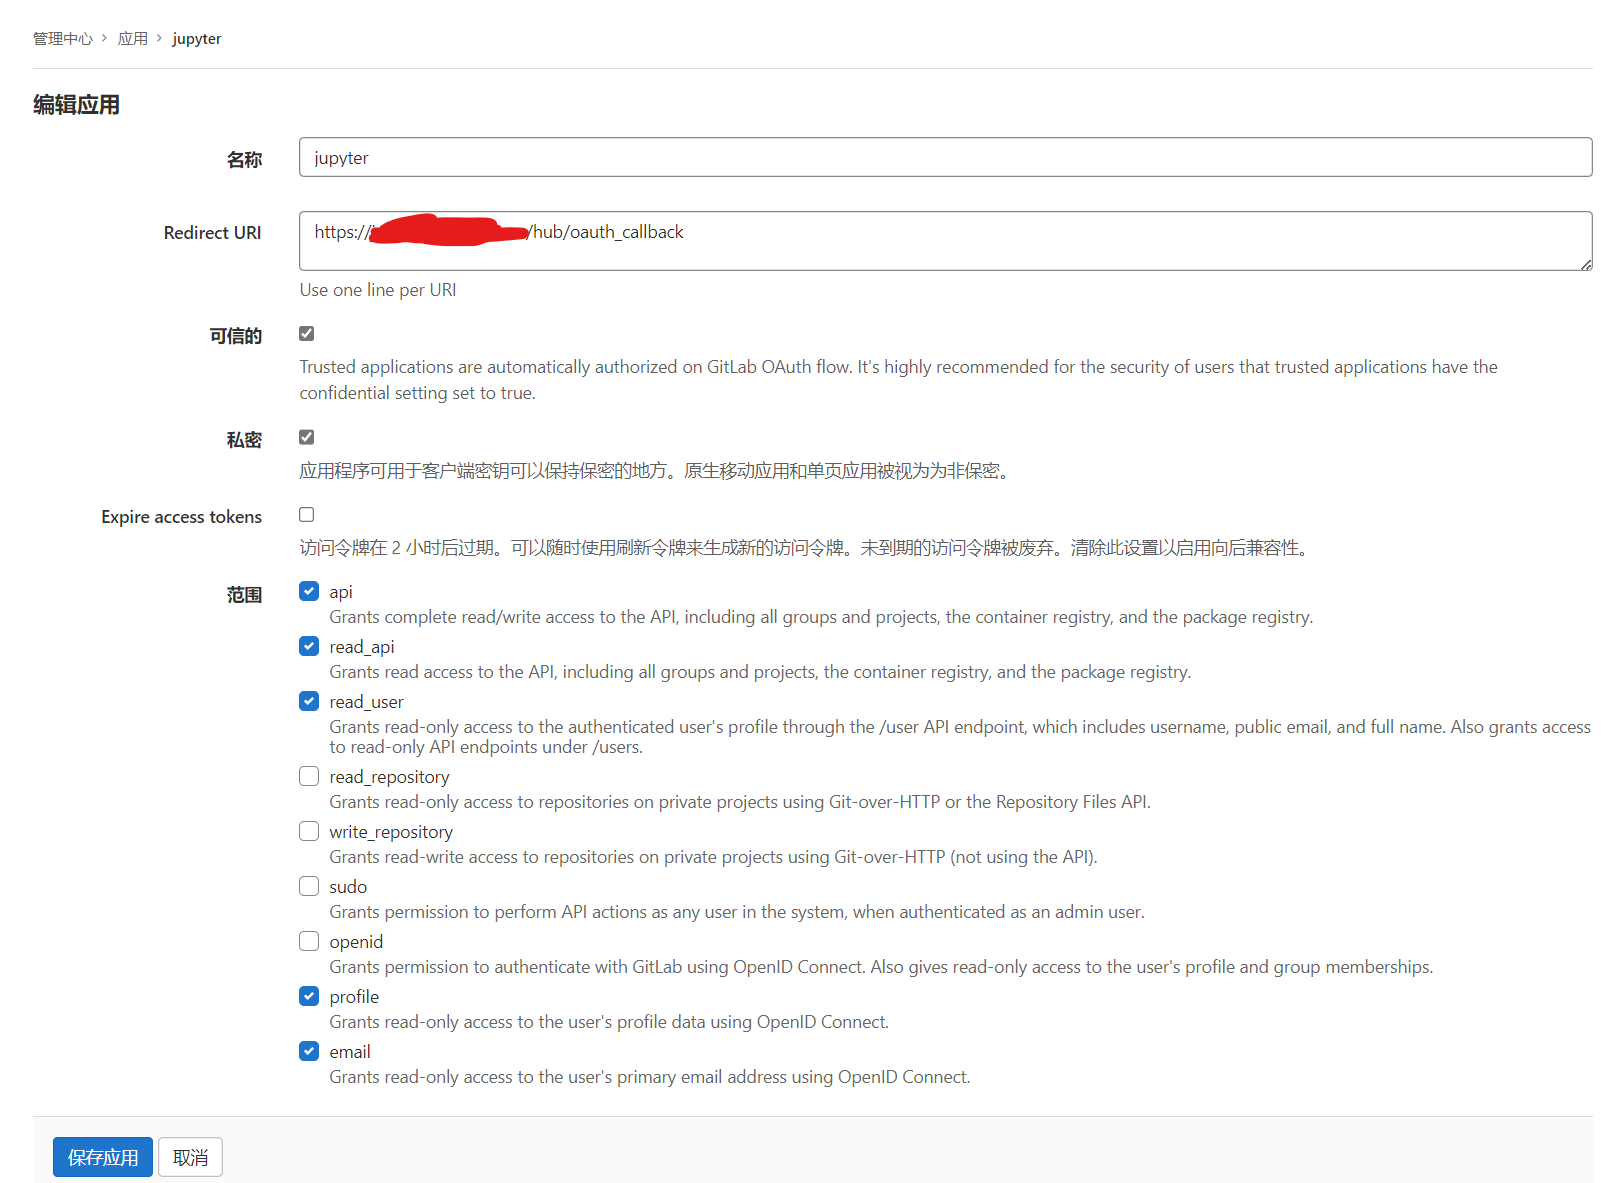
GitLab配置认证应用
首先登录GitLab的管理员账号, 然后进入下面的选项
Menu → Admin → Applications → New Application

然后需要填写应用名和应用的回调地址
回调地址是https://<jupyterd地址>/hub/oauth_callback
复制这个应用的ID和Secret
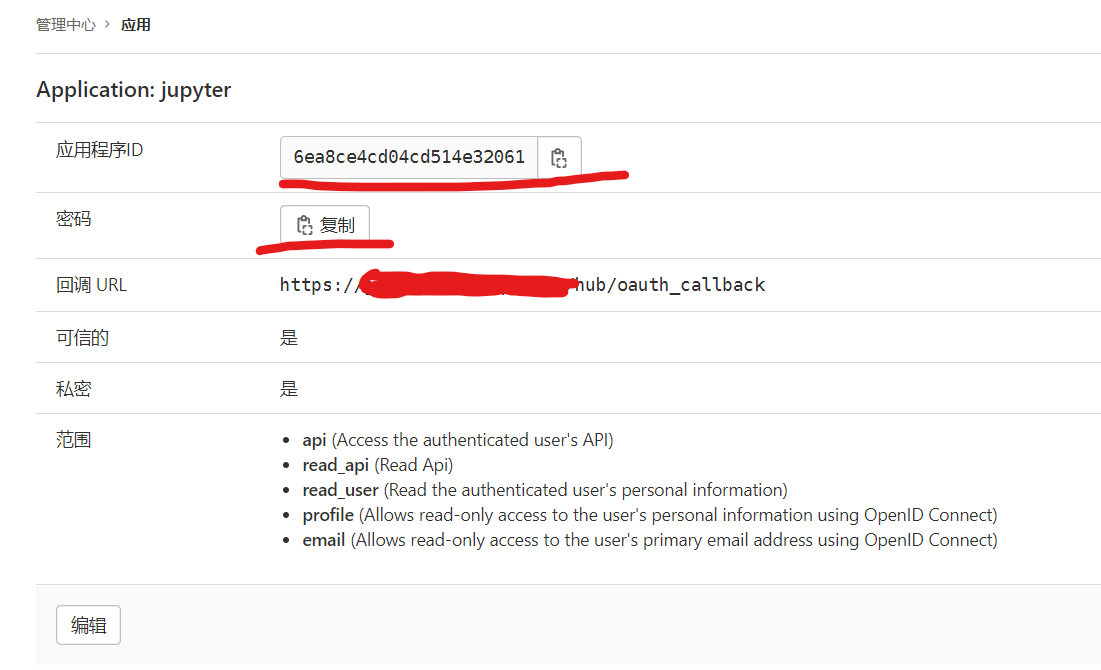
然后在/opt/tljh/config/jupyterhub_config.d 目录下新建 jupyterhub_config.py 文件
from oauthenticator.gitlab import GitLabOAuthenticator
from traitlets import Unicode
import os

GITLAB_HOST = '自定义的gitlab地址'
GITLAB_URL = '自定义的gitlab地址'
os.environ['GITLAB_HOST'] = GITLAB_HOST
os.environ['GITLAB_URL'] = GITLAB_URL

c.JupyterHub.authenticator_class = GitLabOAuthenticator
c.GitLabOAuthenticator.oauth_callback_url = 'http://<jupyter的ip:端口>/hub/oauth_callback'
c.GitLabOAuthenticator.client_id = 'GitLab里的配置clientID'
c.GitLabOAuthenticator.client_secret = 'GitLab里配置的secret'
保存之后sudo tljh-config reload hub重启一下
卸载
因为The Littlest JupyterHub不包含卸载功能, 需要手动将相关的文件删除掉
参考官方的安装器文档What does the installer do?
- 删除Hub环境
sudo rm -rf /opt/tljh/hub
- 删除用户conda环境
sudo rm -rf /opt/tljh/user
- 删除链接
sudo unlink /usr/bin/tljh-config
- 删除配置文件夹
sudo rm -rf /opt/tljh/config
- 删除系统服务
# 停止服务
systemctl stop jupyterhub.service
systemctl stop traefik.service
systemctl stop jupyter-<username>

# 取消服务自启动
systemctl disable jupyterhub.service
systemctl disable traefik.service
# 每个jupyter用户都要取消
systemctl disable jupyter-<username>

# 删除服务
rm /etc/systemd/system/jupyterhub.service
rm /etc/systemd/system/traefik.service

# 重新加载服务
systemctl daemon-reload
systemctl reset-failed
- 删除状态文件
sudo rm -rf /opt/tljh/state
- 删除加载页面的静态文件
sudo rm /var/run/index.html
sudo rm /var/run/favicon.ico
- 删除用户和用户组
删除用户
sudo userdel -r <user>
删除用户组
sudo delgroup jupyterhub-users
sudo delgroup jupyterhub-admins
# 把jupyter用户从sudoer用户组删除
sudo rm /etc/sudoers.d/jupyterhub-admins
共享文件夹
我新建了个文件夹/data/sharefolder作为公共的文件夹
给这个文件夹设置好权限, 其他用户就可以通过ln命令创建软链接便捷访问这个文件夹
sudo chmod 777 /data/sharefolder
在需要共享文件的用户的JupyterLab中打开终端运行
ln -s /data/sharefolder sharefolder
就可以在自己的文件夹里看到并访问sharefolder了
这个共享文件夹并没有权限管理, 凑合用着先, 需要相对完整的权限管理的共享可以自己配置另外的samba服务.

 浙公网安备 33010602011771号