windows-nginx安装与运行静态资源
windows-nginx 官网
http://nginx.org/en/docs/windows.html 点击跳转
安装包下载
http://nginx.org/en/download.html 点击跳转
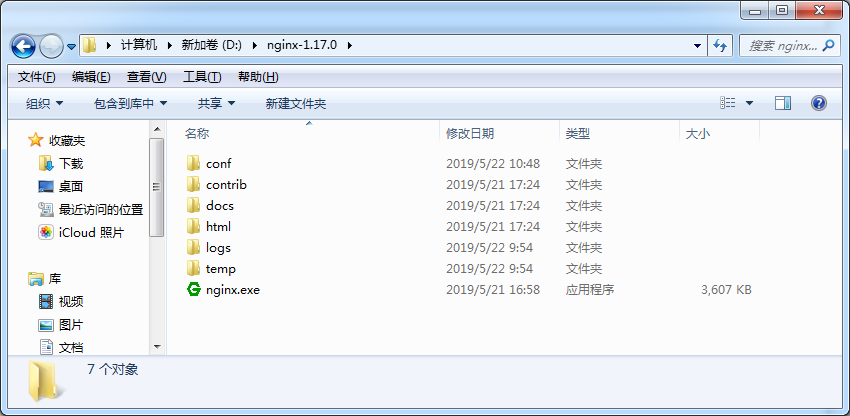
下载后解压,解压后如下
启动nginx
- 直接双击nginx.exe,双击后一个黑色的弹窗一闪而过
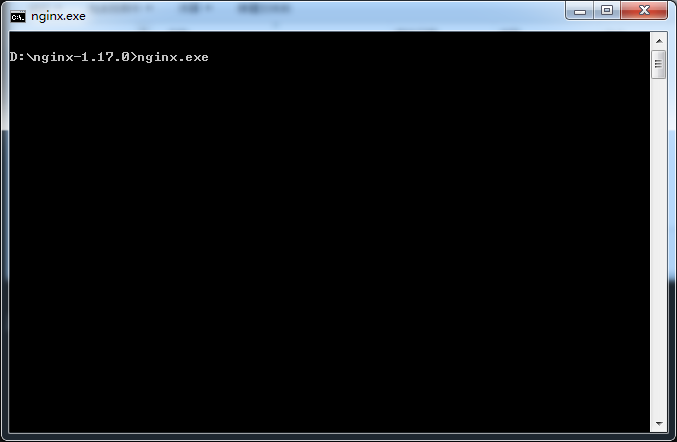
- 打开cmd命令窗口,切换到nginx解压目录下,输入命令 nginx.exe 或者 start nginx ,回车即可
检查nginx是否启动成功
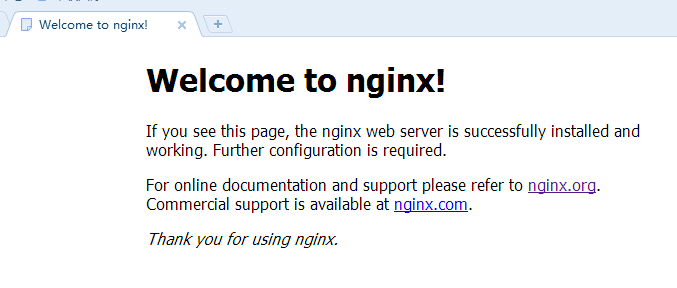
- 直接在浏览器地址栏输入网址
http://localhost:80,回车,出现以下页面说明启动成功
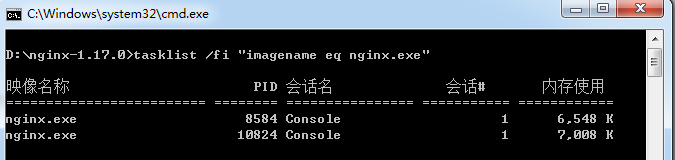
- 在cmd命令窗口输入命令 tasklist /fi "imagename eq nginx.exe" ,出现如下结果说明启动成功
关闭nginx
- 输入nginx命令 nginx -s stop(快速停止nginx) 或 nginx -s quit(完整有序的停止nginx)
- 使用taskkill taskkill /f /t /im nginx.exe
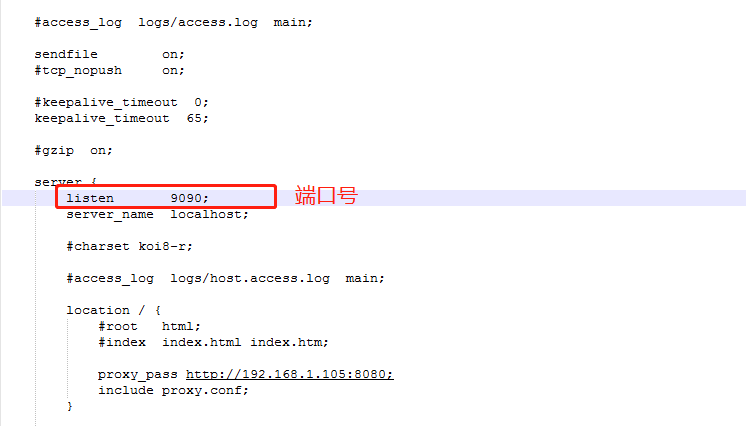
nginx配置
nginx的配置文件是conf目录下的nginx.conf,默认配置的nginx监听的端口为80
运行静态资源
将静态资源(如jpg|png|css|js等)放在如下配置的F:\front\dist目录下,然后在nginx配置文件中做如下配置(注意:静态资源配置只能放在 location / 中),浏览器中访问
http://192.168.1.105:9090/module/index.html即可访问到 F:\front\dist 目录下的页面

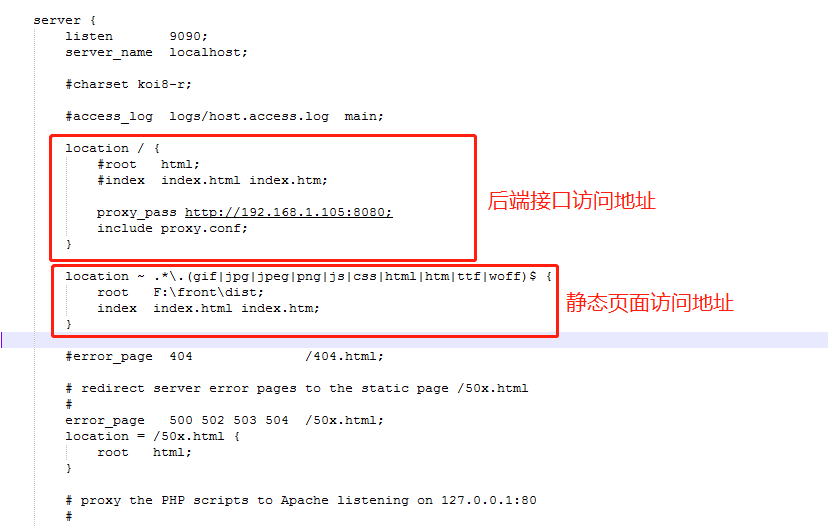
配置文件 proxy.conf 放在conf目录下
    proxy_http_version 1.1;
    proxy_connect_timeout 300s;
    proxy_send_timeout 900;
    proxy_read_timeout 7200s;
    proxy_headers_hash_max_size 51200;
    proxy_headers_hash_bucket_size 6400;
    proxy_buffer_size 32k;
    proxy_buffers 4 64k;
    proxy_busy_buffers_size 128k;
    proxy_redirect off;
    proxy_hide_header Vary;
    proxy_set_header Accept-Encoding '';
    proxy_set_header Referer $http_referer;
    proxy_set_header Cookie $http_cookie;
    proxy_set_header Host $host;
    proxy_set_header X-Real-IP $remote_addr;
    proxy_set_header X-Forwarded-For $proxy_add_x_forwarded_for;
