Linux数据库MySQL编译安装
 这篇文章介绍了`Linux编译安装`的概念和步骤,特别是针对`MySQL的编译安装`。编译安装可以将二进制文件转换为可执行文件,通常用于自定义软件安装或修改已有软件的功能。MySQL的编译安装步骤包括初始化配置、准备编译环境、上传MySQL源码包、配置编译选项、编译和安装MySQL。在配置选项中,可以根据实际需求进行调整,如指定使用的Boost版本、安装目录、数据文件目录等。完成配置后,运行make命令进行编译,然后使用make install命令安装MySQL
“行动胜于雄辩。”
前言
编译安装通常比安装预编译的软件包更为灵活,因为它可以允许用户对软件进行自定义配置和修改。但是,编译安装需要更多的计算机资源和时间,因为它需要进行源代码编译和安装目标文件的过程。
一、什么是编译安装
Linux编译安装是一种将二进制文件从源代码编译成可执行文件的过程。它通常用于安装自定义软件或修改已有软件的功能。
在Linux中,编译器是一种工具,它将源代码转换为可执行文件。在进行编译安装之前,需要先下载软件的源代码,并安装相应的编译器和其他必要的软件包。
编译安装的过程包括以下几个步骤:
-
编译源代码:将源代码传递给编译器,编译器将源代码转换为目标文件(即可执行文件)。
-
安装目标文件:将编译后的目标文件安装到计算机上,使其可供使用。
-
测试软件:运行软件以确保它可以正常运行。
二、MySQ 编译安装步骤
1.初始化配置
建议使用新机器进行配置安装,旧机器不清楚之前做过什么配置容易出问题
- 修改主机名
    [root@Server ~]# hostnamectl set-hostname mysql5_7.server
    [root@Server ~]# su
    [root@mysql5_7 ~]#
- 内存
建议内存给到 2G 以上,2G 以下会安装失败,编译安装整个过程时间较长
2. 准备编译环境
    [root@mysql5_7 ~]# yum -y install ncurses ncurses-devel openssl-devel bison gcc gcc-c++ make cmake
    [root@mysql5_7 ~]# groupadd mysql
    [root@mysql5_7 ~]# useradd -r -g mysql -s /bin/false mysql
- 上传 MySQL 源码包

    [root@mysql5_7 ~]# tar -xf boost_1_59_0.tar.gz
    [root@mysql5_7 ~]# tar -xf mysql-5.7.19.tar.gz
    [root@mysql5_7 ~]# ls
    anaconda-ks.cfg  boost_1_59_0  boost_1_59_0.tar.gz  mysql-5.7.19  mysql-5.7.19.tar.gz
    [root@mysql5_7 ~]# cd mysql-5.7.19
    [root@mysql5_7 mysql-5.7.19]# cd ../boost_1_59_0 .
    [root@mysql5_7 mysql-5.7.19]# pwd
    /root/mysql-5.7.19 #注意我当前所在的目录
    [root@mysql5_7 mysql-5.7.19]#cmake . \
    -DWITH_BOOST=boost_1_59_0/ \
    -DCMAKE_INSTALL_PREFIX=/usr/local/mysql \
    -DSYSCONFDIR=/etc \
    -DMYSQL_DATADIR=/usr/local/mysql/data \
    -DINSTALL_MANDIR=/usr/share/man \
    -DMYSQL_TCP_PORT=3306 \
    -DMYSQL_UNIX_ADDR=/tmp/mysql.sock \
    -DDEFAULT_CHARSET=utf8 \
    -DEXTRA_CHARSETS=all \
    -DDEFAULT_COLLATION=utf8_general_ci \
    -DWITH_READLINE=1 \
    -DWITH_SSL=system \
    -DWITH_EMBEDDED_SERVER=1 \
    -DENABLED_LOCAL_INFILE=1 \
    -DWITH_INNOBASE_STORAGE_ENGINE=1
-DWITH_BOOST=boost_1_59_0/:指定使用的 Boost 版本。
-DCMAKE_INSTALL_PREFIX=/usr/local/mysql:指定安装 MySQL 的目录。
-DSYSCONFDIR=/etc:指定配置文件的目录。
-DMYSQL_DATADIR=/usr/local/mysql/data:指定 MySQL 数据文件的目录。
-DINSTALL_MANDIR=/usr/share/man:指定安装 MySQL 手册的目录。
-DMYSQL_TCP_PORT=3306:指定 MySQL 服务器的 TCP 端口。
-DMYSQL_UNIX_ADDR=/tmp/mysql.sock:指定 MySQL 服务器的 UNIX 套接字文件路径。
-DDEFAULT_CHARSET=utf8:指定默认字符集为 UTF-8。
-DEXTRA_CHARSETS=all:启用所有额外的字符集。
-DDEFAULT_COLLATION=utf8_general_ci:指定默认排序规则为 utf8_general_ci。
-DWITH_READLINE=1:启用 Readline 支持。
-DWITH_SSL=system:指定使用系统提供的 SSL 库。
-DWITH_EMBEDDED_SERVER=1:启用嵌入式服务器。
-DENABLED_LOCAL_INFILE=1:启用从本地导入文件的功能。
-DWITH_INNOBASE_STORAGE_ENGINE=1:启用 InnoDB 存储引擎。
这些参数用于配置编译选项,根据实际需求进行调整。
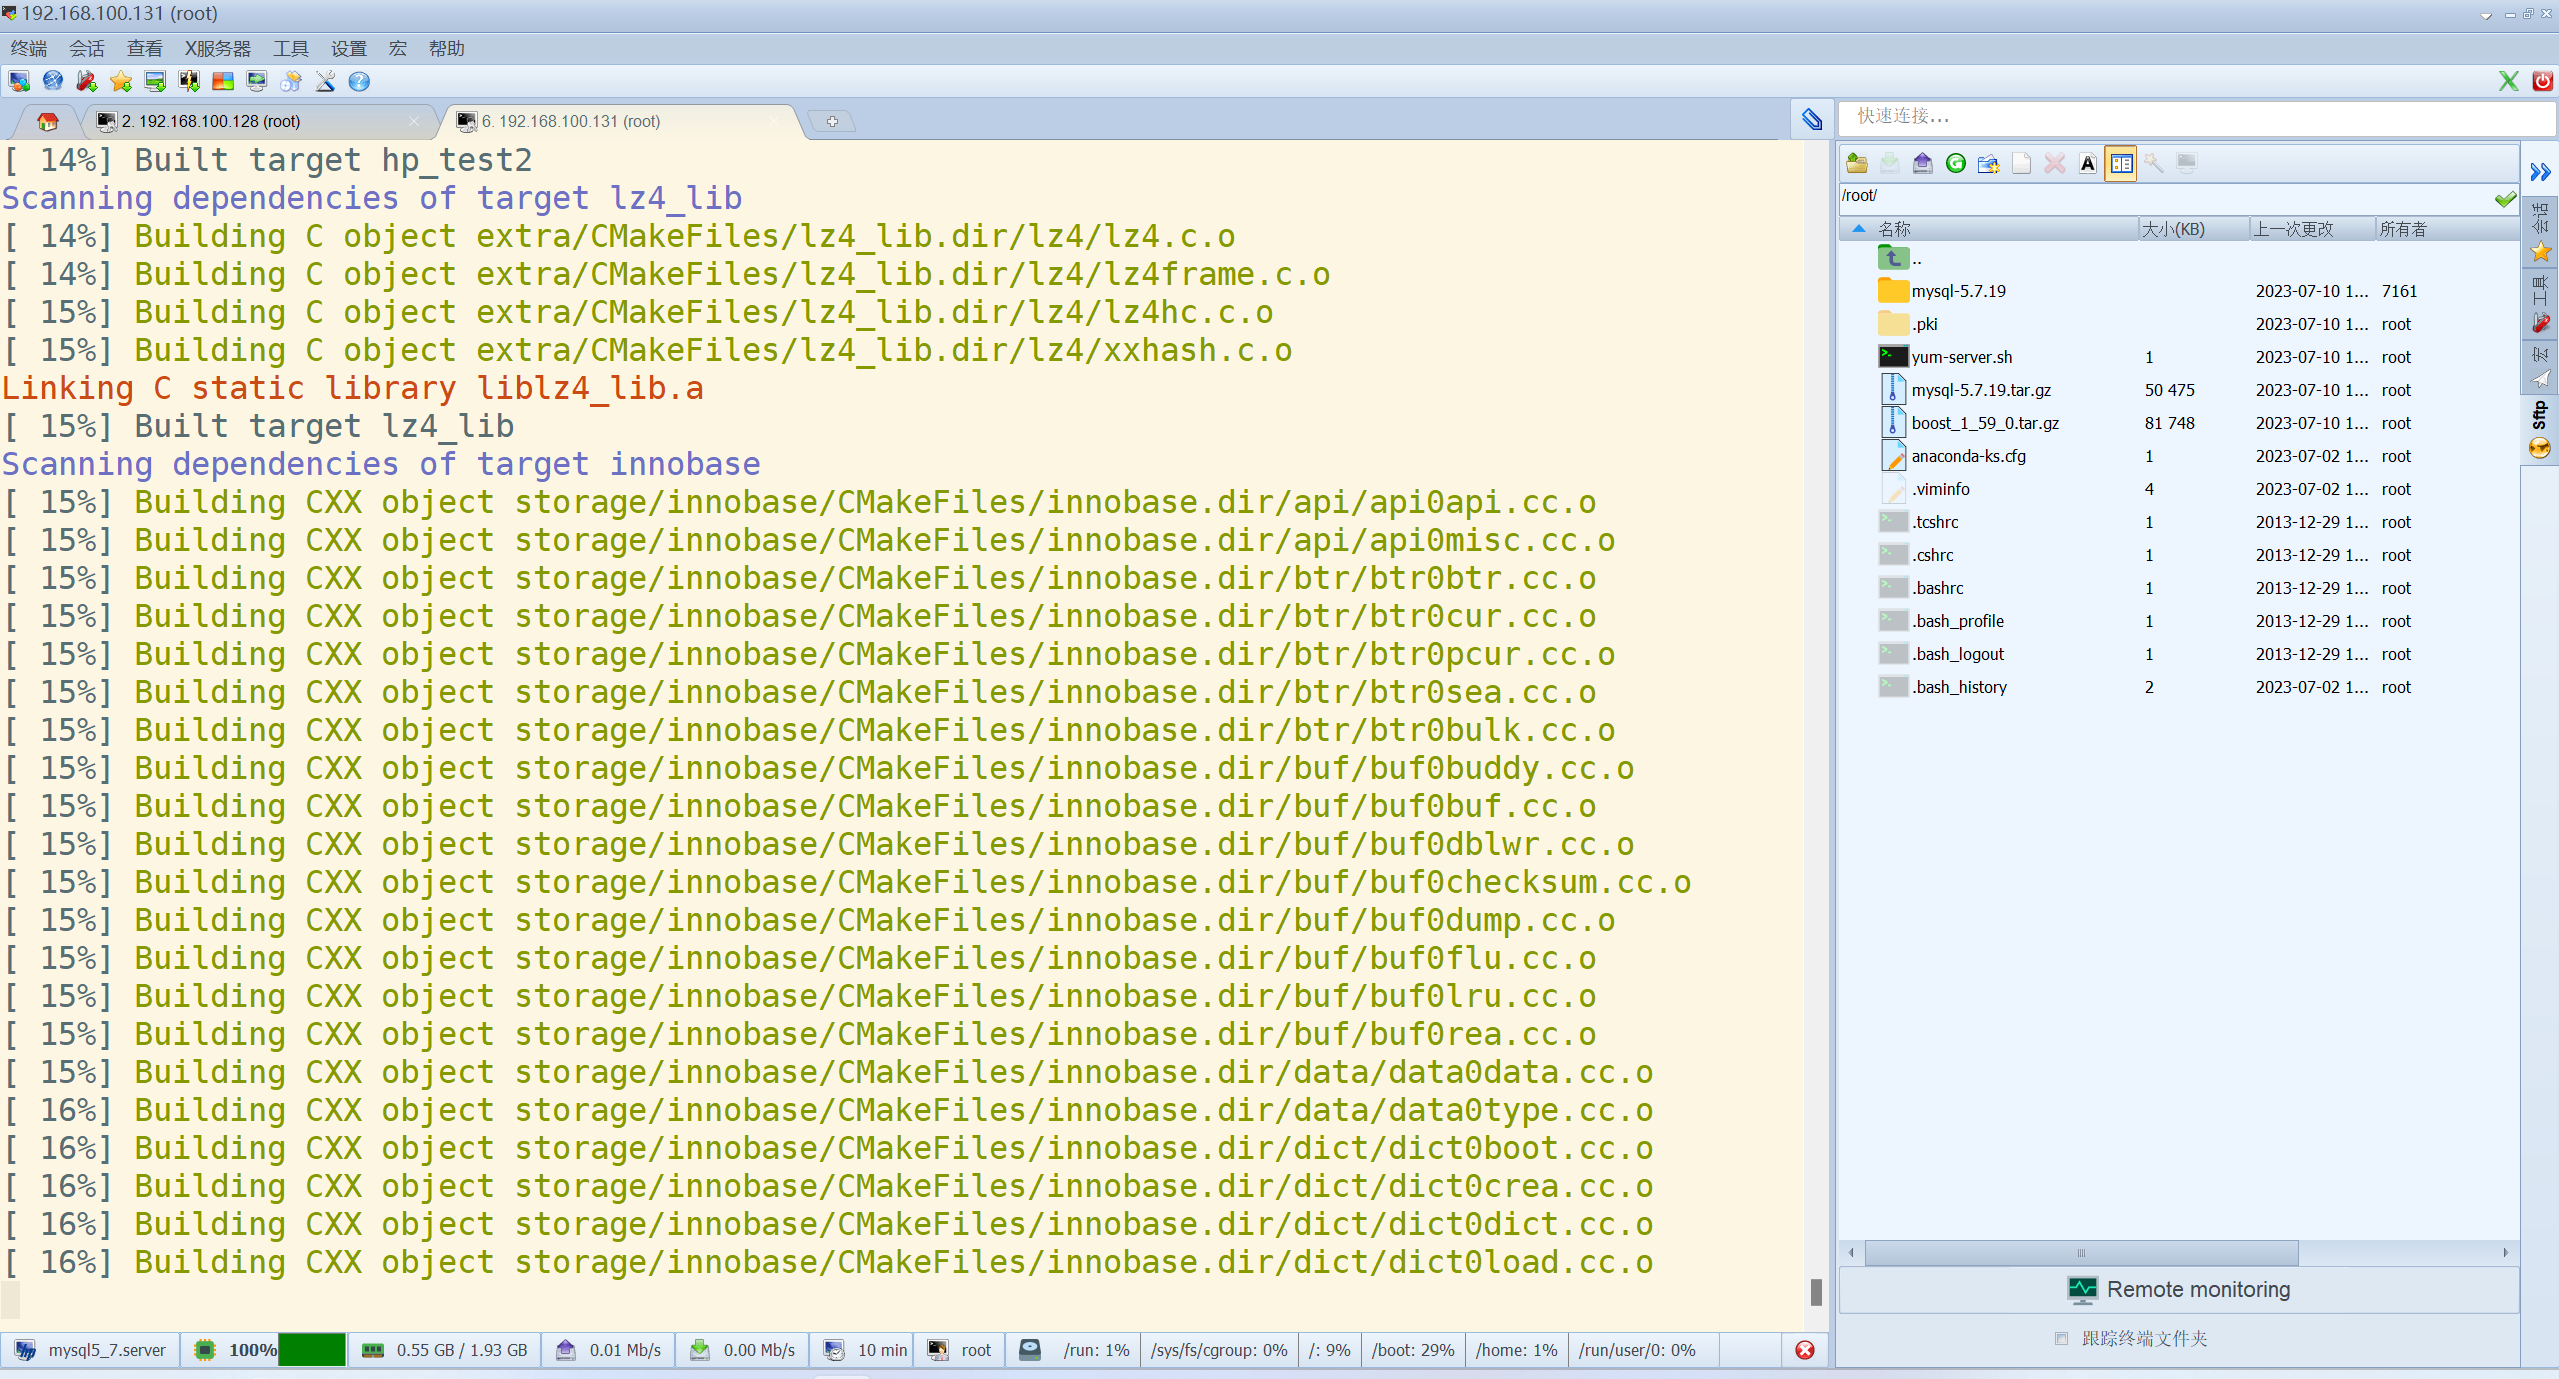
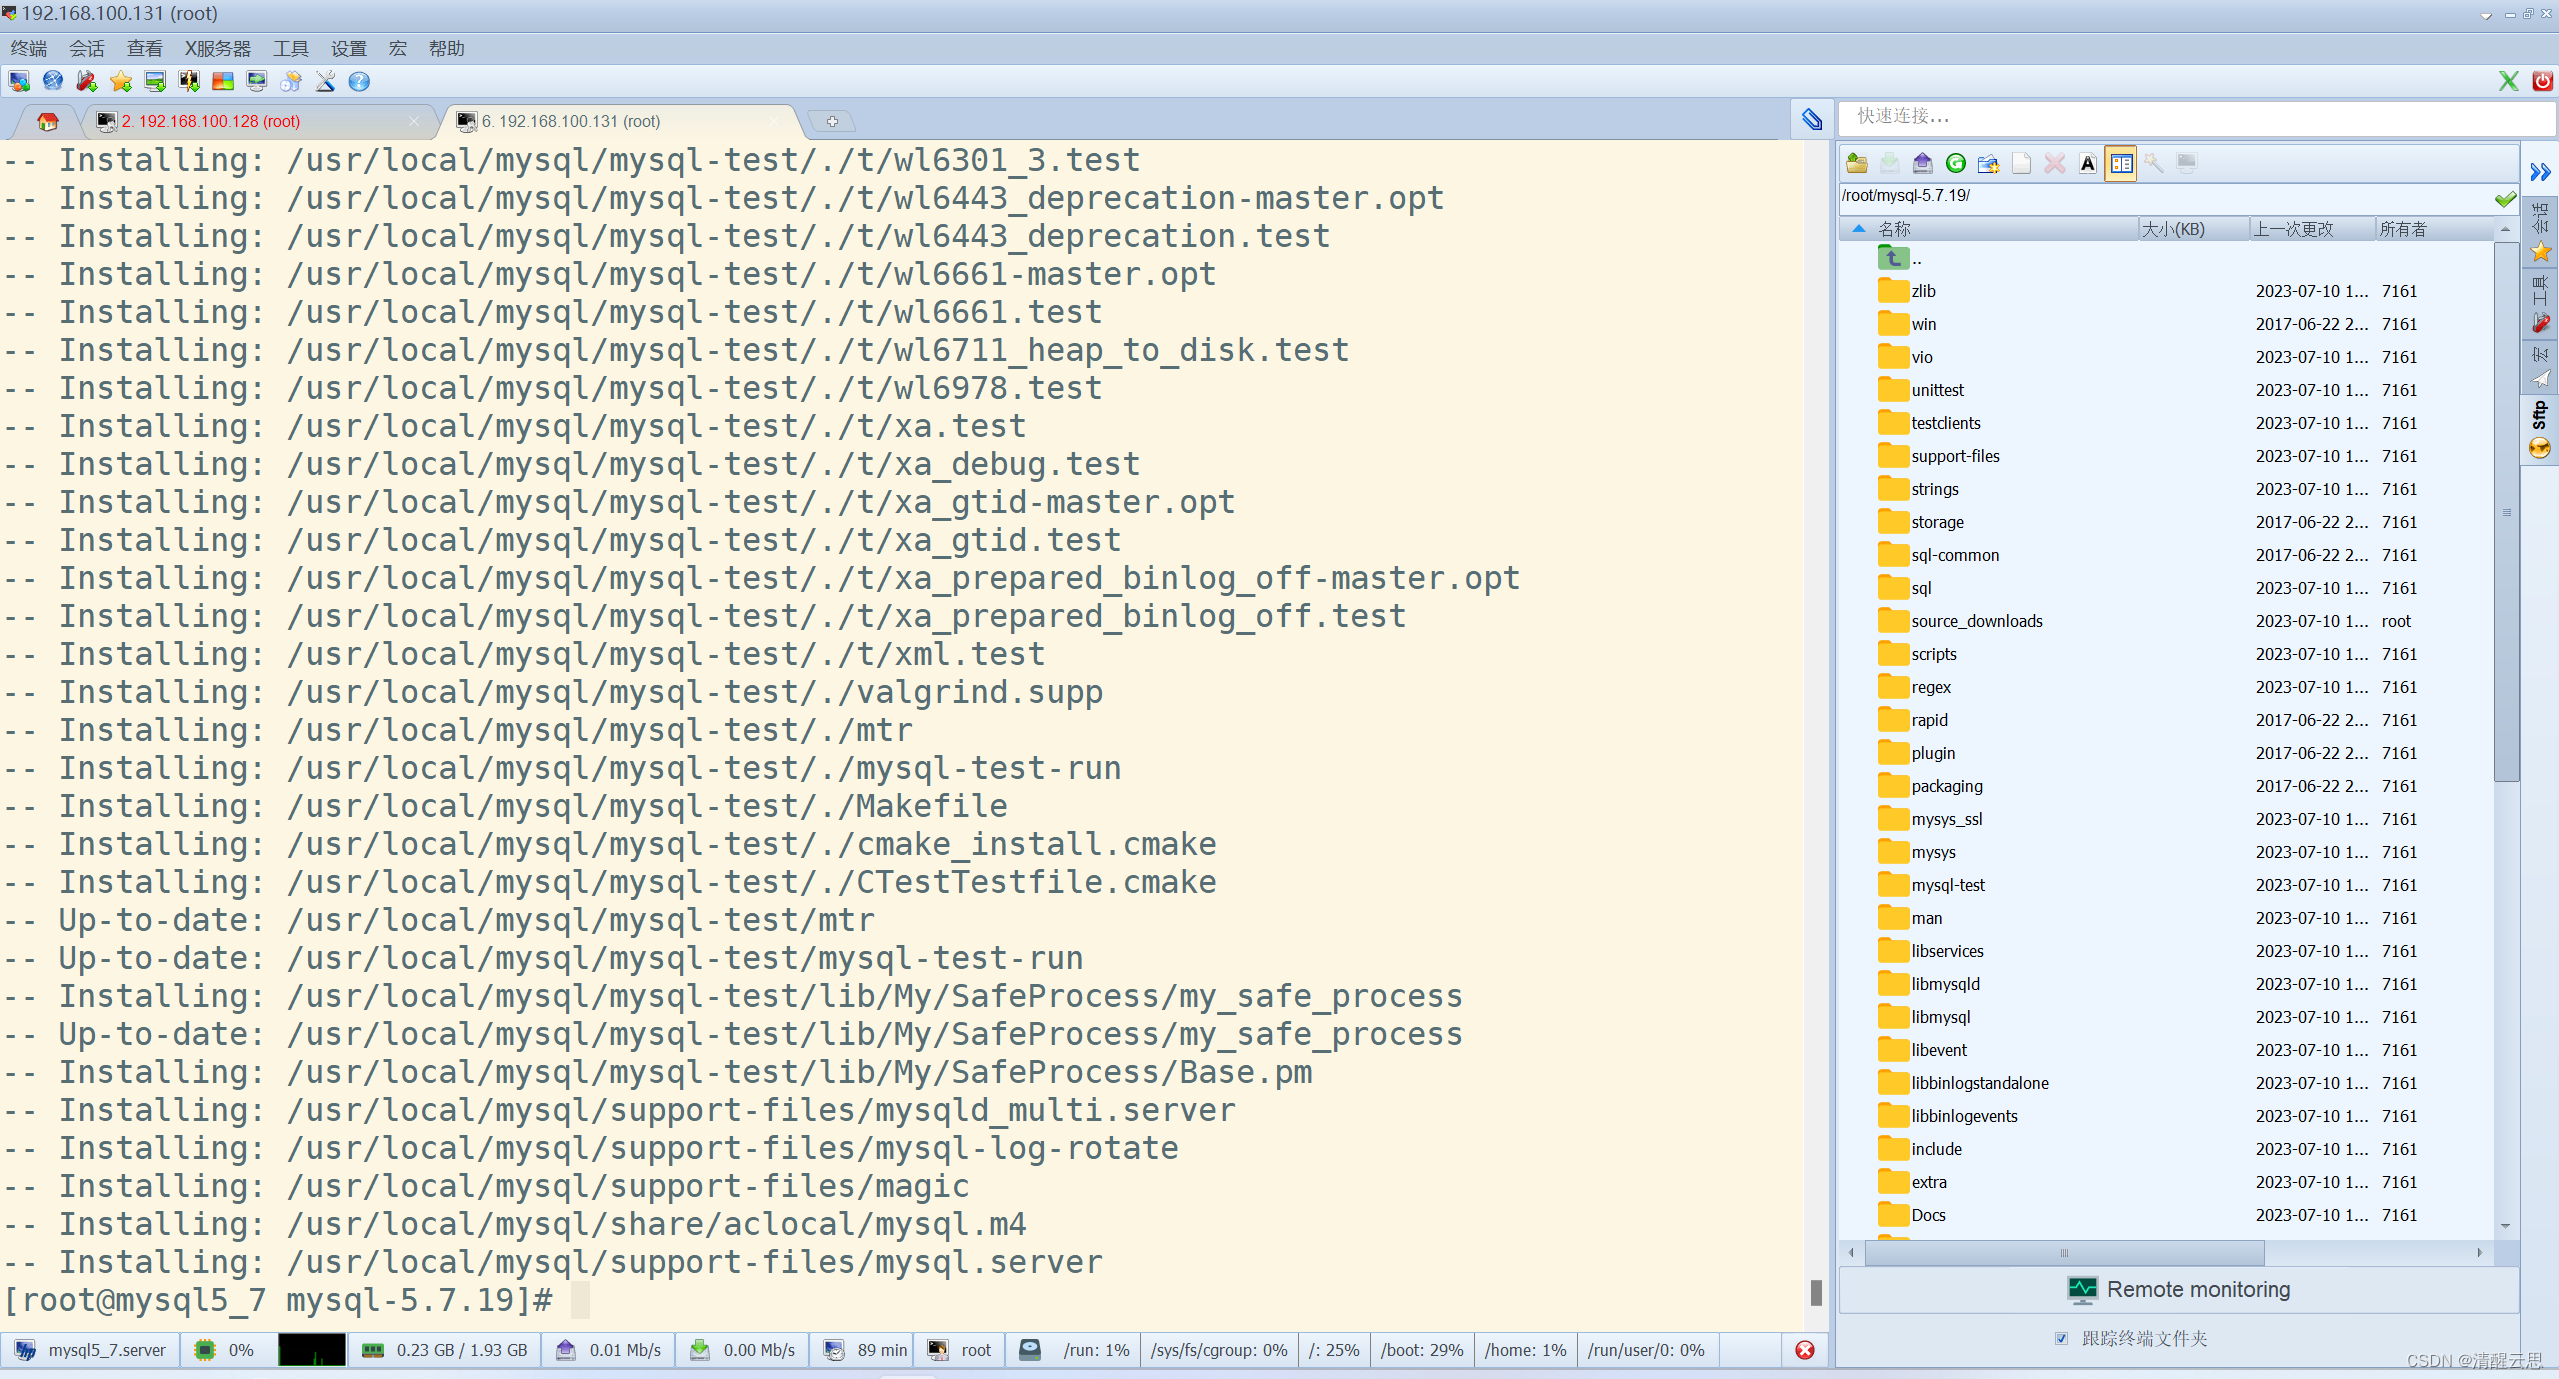
3.开始编译
完成配置后,运行 make 命令进行编译,然后使用 make install 命令安装 MySQL,这一步最慢,请勿随意停止。
[root@mysql5_7 mysql-5.7.19]# make && make install
创建一个名为mysql-files的目录。
[root@mysql5_7 mysql]# mkdir mysql-files
设置MySQL服务器文件和目录的所有者为mysql用户。
[root@mysql5_7 mysql]# chown -R mysql.mysql /usr/local/mysql
进行了MySQL服务器的初始化,指定了MySQL的基础目录(--basedir)和数据目录(--datadir),同时指定了MySQL的用户(--user)。
    [root@mysql5_7 mysql]# /usr/local/mysql/bin/mysqld --initialize --user=mysql --basedir=/usr/local/mysql --datadir=/usr/local/mysql/data
    2023-07-10T10:02:51.944905Z 0 [Warning] TIMESTAMP with implicit DEFAULT value is deprecated. Please use --explicit_defaults_for_timestamp server option (see documentation for more details).
    2023-07-10T10:02:52.316716Z 0 [Warning] InnoDB: New log files created, LSN=45790
    2023-07-10T10:02:52.372491Z 0 [Warning] InnoDB: Creating foreign key constraint system tables.
    2023-07-10T10:02:52.446189Z 0 [Warning] No existing UUID has been found, so we assume that this is the first time that this server has been started. Generating a new UUID: eef7828c-1f08-11ee-962a-005056276e2a.
    2023-07-10T10:02:52.447941Z 0 [Warning] Gtid table is not ready to be used. Table 'mysql.gtid_executed' cannot be opened.
    2023-07-10T10:02:53.135146Z 0 [Warning] CA certificate ca.pem is self signed.
    2023-07-10T10:02:53.286981Z 1 [Note] A temporary password is generated for root@localhost: j:iu6BcRKFuT
生成了一个临时密码j:iu6BcRKFuT,用于root@localhost用户。设置SSL证书。
[root@mysql5_7 mysql]# /usr/local/mysql/bin/mysql_ssl_rsa_setup --datadir=/usr/local/mysql/data
备份了/etc/my.cnf文件,并创建了一个新的my.cnf文件,并设置了MySQL服务器的基础目录和数据目录。
    [root@mysql5_7 mysql]# mv /etc/my.cnf  ~
    [root@mysql5_7 mysql]# vim /etc/my.cnf
    [mysqld]
    basedir=/usr/local/mysql
    datadir=/usr/local/mysql/data
4.设置开机自启
将MySQL服务器的启动脚本复制到/etc/init.d/mysqld目录下。
[root@mysql5_7 mysql]# cp /usr/local/mysql/support-files/mysql.server /etc/init.d/mysqld
重启了mysqld服务。
    [root@mysql5_7 mysql]# systemctl   enable  mysqld
    mysqld.service is not a native service, redirecting to /sbin/chkconfig.
    Executing /sbin/chkconfig mysqld on
    [root@mysql5_7 mysql]# systemctl   restart mysqld
使用生成的临时密码以root用户身份登录MySQL服务器。 显示数据库列表时出现了错误,要求先使用ALTER USER语句重置密码。
    [root@mysql5_7 mysql]# /usr/local/mysql/bin/mysql -u root -p'j:iu6BcRKFuT'
    mysql: [Warning] Using a password on the command line interface can be insecure.
    Welcome to the MySQL monitor.  Commands end with ; or \g.
    Your MySQL connection id is 3
    Server version: 5.7.19

    Copyright (c) 2000, 2017, Oracle and/or its affiliates. All rights reserved.

    Oracle is a registered trademark of Oracle Corporation and/or its
    affiliates. Other names may be trademarks of their respective
    owners.

    Type 'help;' or '\h' for help. Type '\c' to clear the current input statement.

    mysql> show databases;
    ERROR 1820 (HY000): You must reset your password using ALTER USER statement before executing this statement.
    mysql>exit;
    Bye
    [root@mysql5_7 mysql]#
为 MySQL 数据库设置新密码
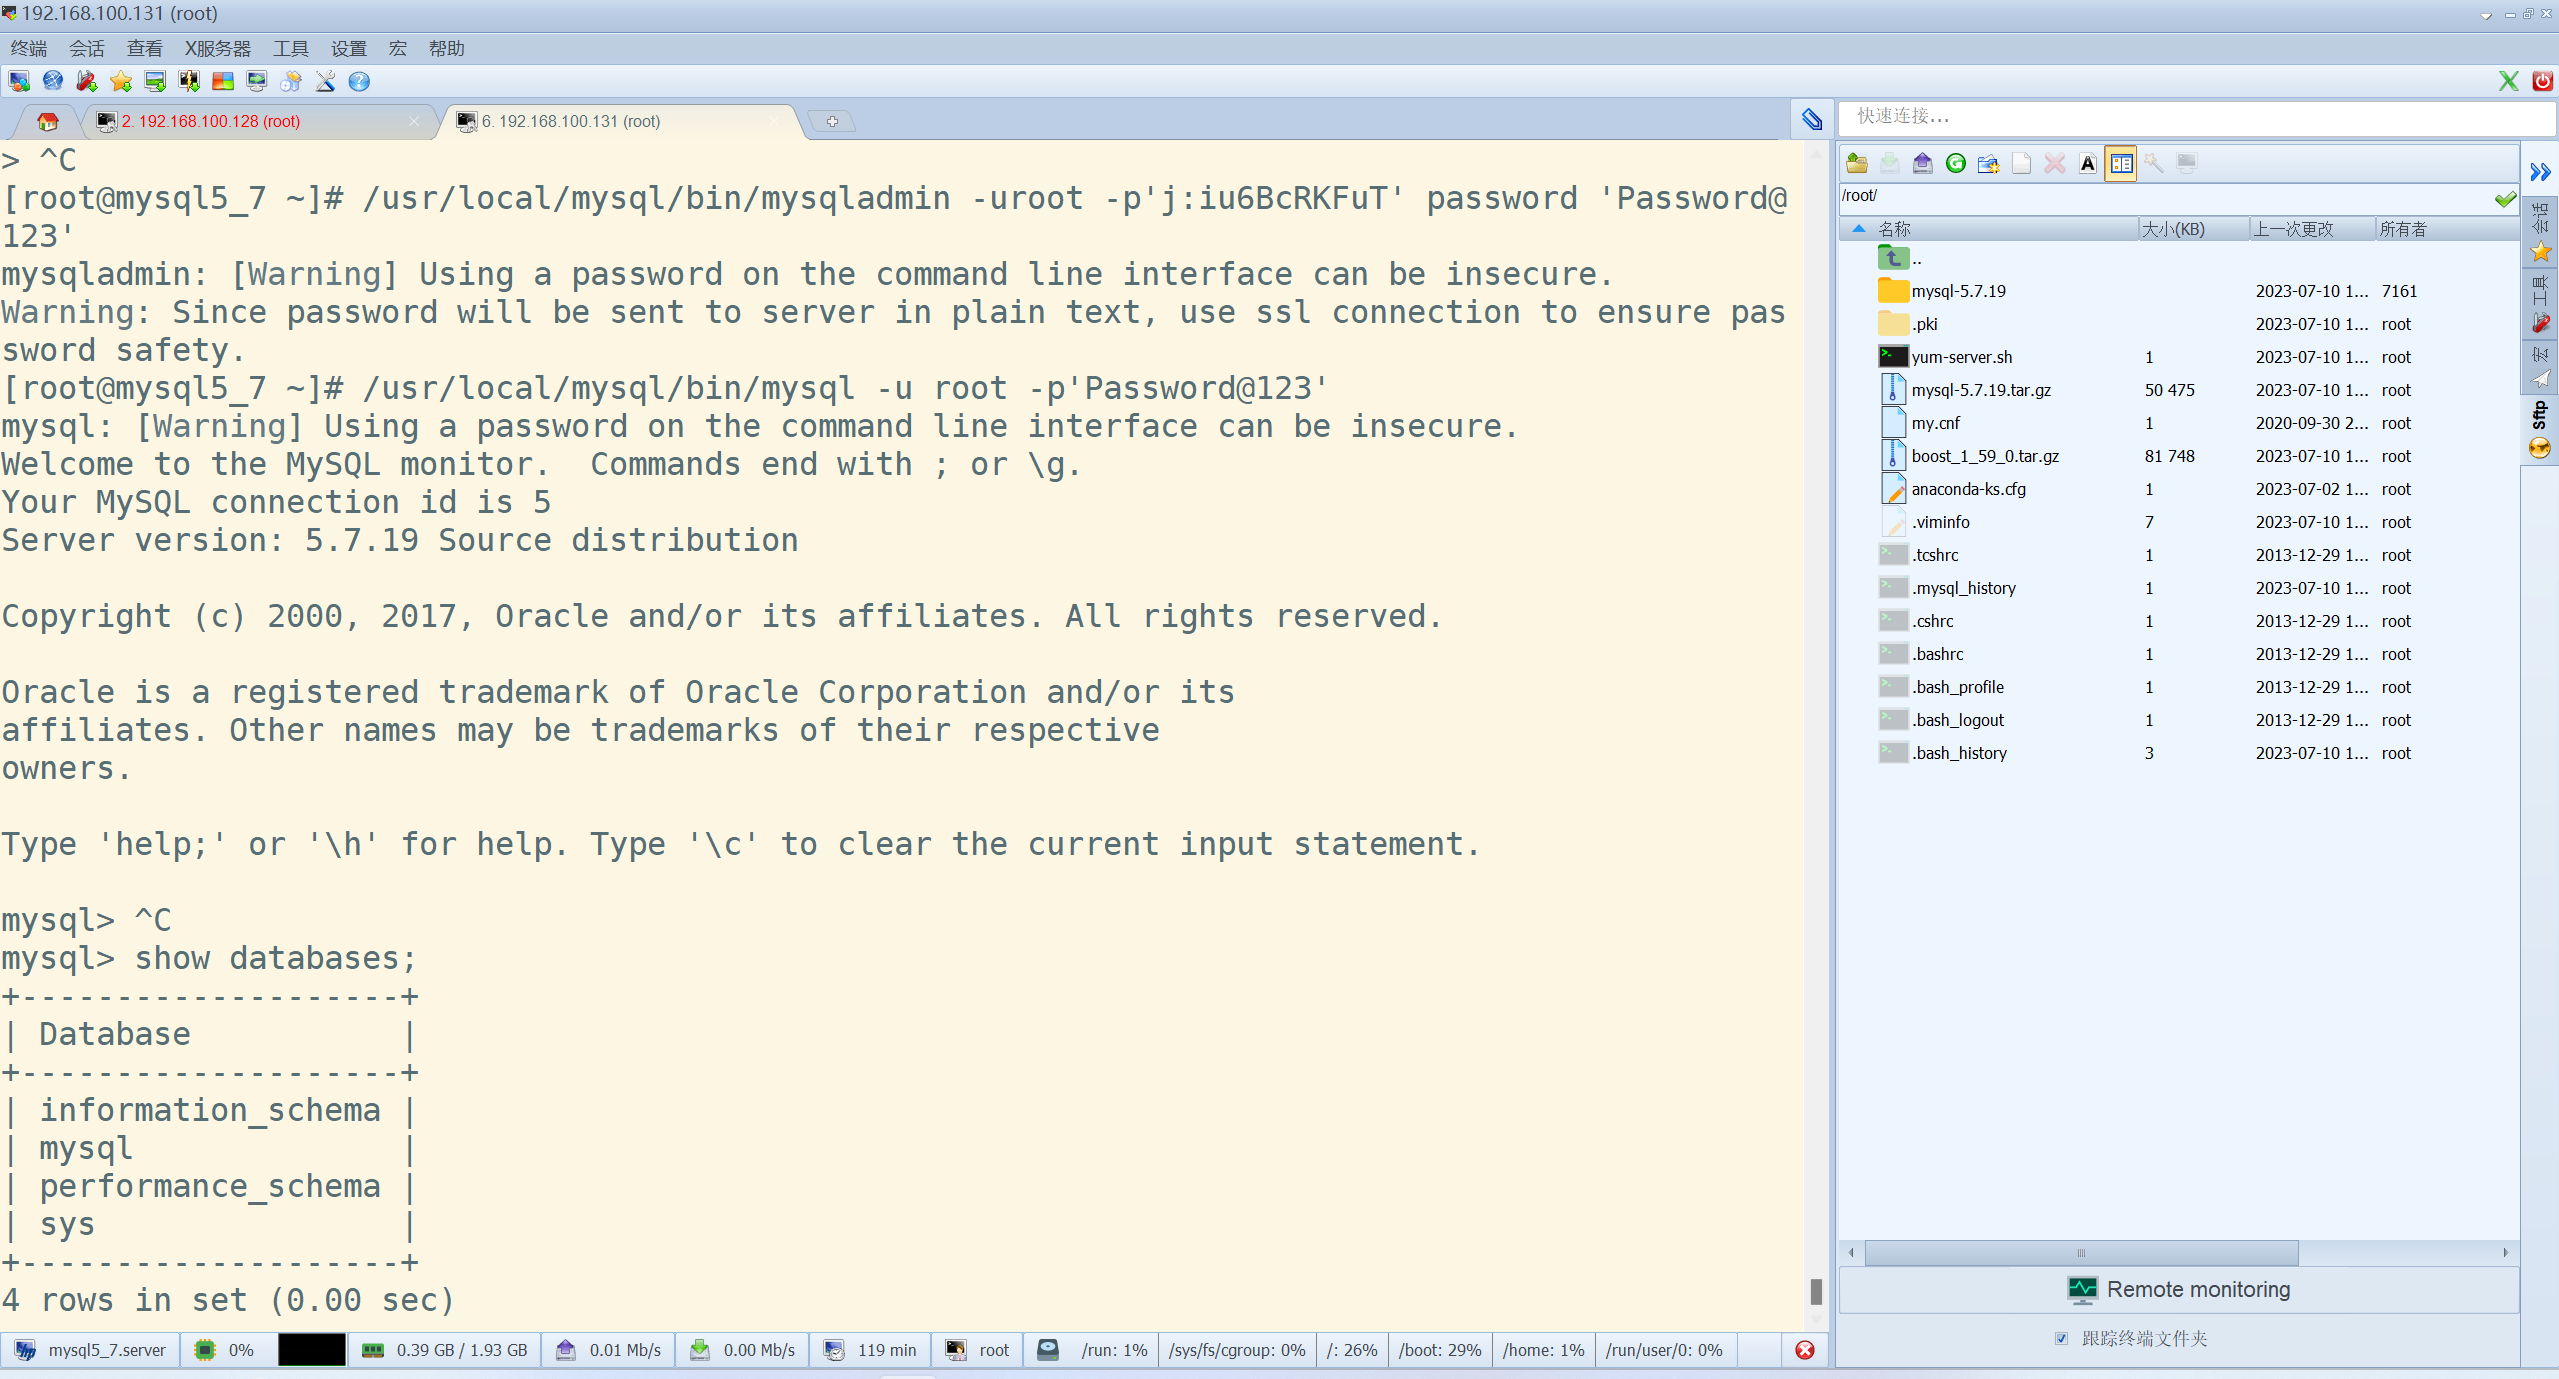
    [root@mysql5_7 ~]# /usr/local/mysql/bin/mysqladmin -uroot -p'j:iu6BcRKFuT' password 'Password@123'
    mysqladmin: [Warning] Using a password on the command line interface can be insecure.
    Warning: Since password will be sent to server in plain text, use ssl connection to ensure password safety.
    [root@mysql5_7 ~]# /usr/local/mysql/bin/mysql -u root -p'Password@123'
    mysql: [Warning] Using a password on the command line interface can be insecure.
    Welcome to the MySQL monitor.  Commands end with ; or \g.
    Your MySQL connection id is 5
    Server version: 5.7.19 Source distribution

    Copyright (c) 2000, 2017, Oracle and/or its affiliates. All rights reserved.

    Oracle is a registered trademark of Oracle Corporation and/or its
    affiliates. Other names may be trademarks of their respective
    owners.

    Type 'help;' or '\h' for help. Type '\c' to clear the current input statement.

    mysql> show databases;
    +--------------------+
    | Database           |
    +--------------------+
    | information_schema |
    | mysql              |
    | performance_schema |
    | sys                |
    +--------------------+
    4 rows in set (0.00 sec)
总结
这篇文章介绍了Linux编译安装的概念和步骤,特别是针对MySQL的编译安装。编译安装可以将二进制文件转换为可执行文件,通常用于自定义软件安装或修改已有软件的功能。MySQL的编译安装步骤包括初始化配置、准备编译环境、上传MySQL源码包、配置编译选项、编译和安装MySQL。在配置选项中,可以根据实际需求进行调整,如指定使用的Boost版本、安装目录、数据文件目录等。完成配置后,运行make命令进行编译,然后使用make install命令安装MySQL。

 浙公网安备 33010602011771号