Gradio学习笔记
 感觉vue+django哼哧哼哧一顿开发,效果也就那样,很吃亏啊,补一下gradio基础知识,方便后续直接迅速构建一套可用的应用。
Gradio学习笔记
我不会设置仅粉丝可见,不需要你关注我,仅仅希望我的踩坑经验能帮到你。如果有帮助,麻烦点个 👍 吧,这会让我创作动力+1 😁。我发现有的时候会自动要求会员才能看,可以留言告诉我,不是我干的!😠
写在前面
-
摘要 | 封面
感觉vue+django哼哧哼哧一顿开发,效果也就那样,很吃亏啊,补一下gradio基础知识,方便后续直接迅速构建一套可用的应用。
![在这里插入图片描述]()
-
学习链接:

1.Interface
-
简单的界面可以用:
gr.Interface(fn=greet, inputs="text", outputs="text") -
自定义输入组件:
gr.Interface(fn=greet, inputs=gr.Textbox(lines=5, placeholder="name here", label="name:"), outputs="text")- 自定义输入组件,限制5行等等
- 类似的
outputs也可以做类似的操作
-
interface默认是左输入,右输出(除了改变了width导致上下换行了之外);新增的输入/输出,会在左/右纵向排列
2. 常用输入组件
gr.Audio:音频输入组件- sources
- microphone:录音上传
- upload:文件上传
- type
- filepath:传入文件的路径
- numpy:以文件展示而非路径
- sources
gr.Checkbox:多选框gr.ColorPicker:颜色选择器gr.Dataframe:表格- headers:列名列表
gr.Dropdown:下拉框- choices:选项列表
gr.File:文件- type:文件传递的形式
- filepath:文件路径
- bynary:二进制
- type:文件传递的形式
gr.Image:图片- sources
- webcam:调用网络摄像头
- upload:上传
- sources
gr.Number:数字gr.Radio:单选框gr.Slider:滑动条gr.Textbox:文本盒子- lines:默认行数
- max_line:最大行数
gr.TextArea:大号文本盒子gr.Video:视频- sources
- webcam:调用网络摄像头
- upload:上传
- sources
3. 常用输出组件
-
音频的两种输出方式
def audio_fn(audio): hz = audio[0] data = audio[1] return hz, data def audio_fn2(audio): return audio iface = gr.Interface(fn=audio_fn, inputs=gr.Audio(type="numpy"), outputs="audio") iface2 = gr.Interface(fn=audio_fn2, inputs=gr.Audio(type="filepath"), outputs="audio") iface2.launch() -
绘图输出组件
simple_data = pd.DataFrame({ "a": [1, 2, 3], "b": [4, 5, 6] }) iface = gr.Interface(fn=None, inputs=None, outputs=gr.BarPlot(simple_data, x='a', y='b')) iface.launch()![在这里插入图片描述]()
-
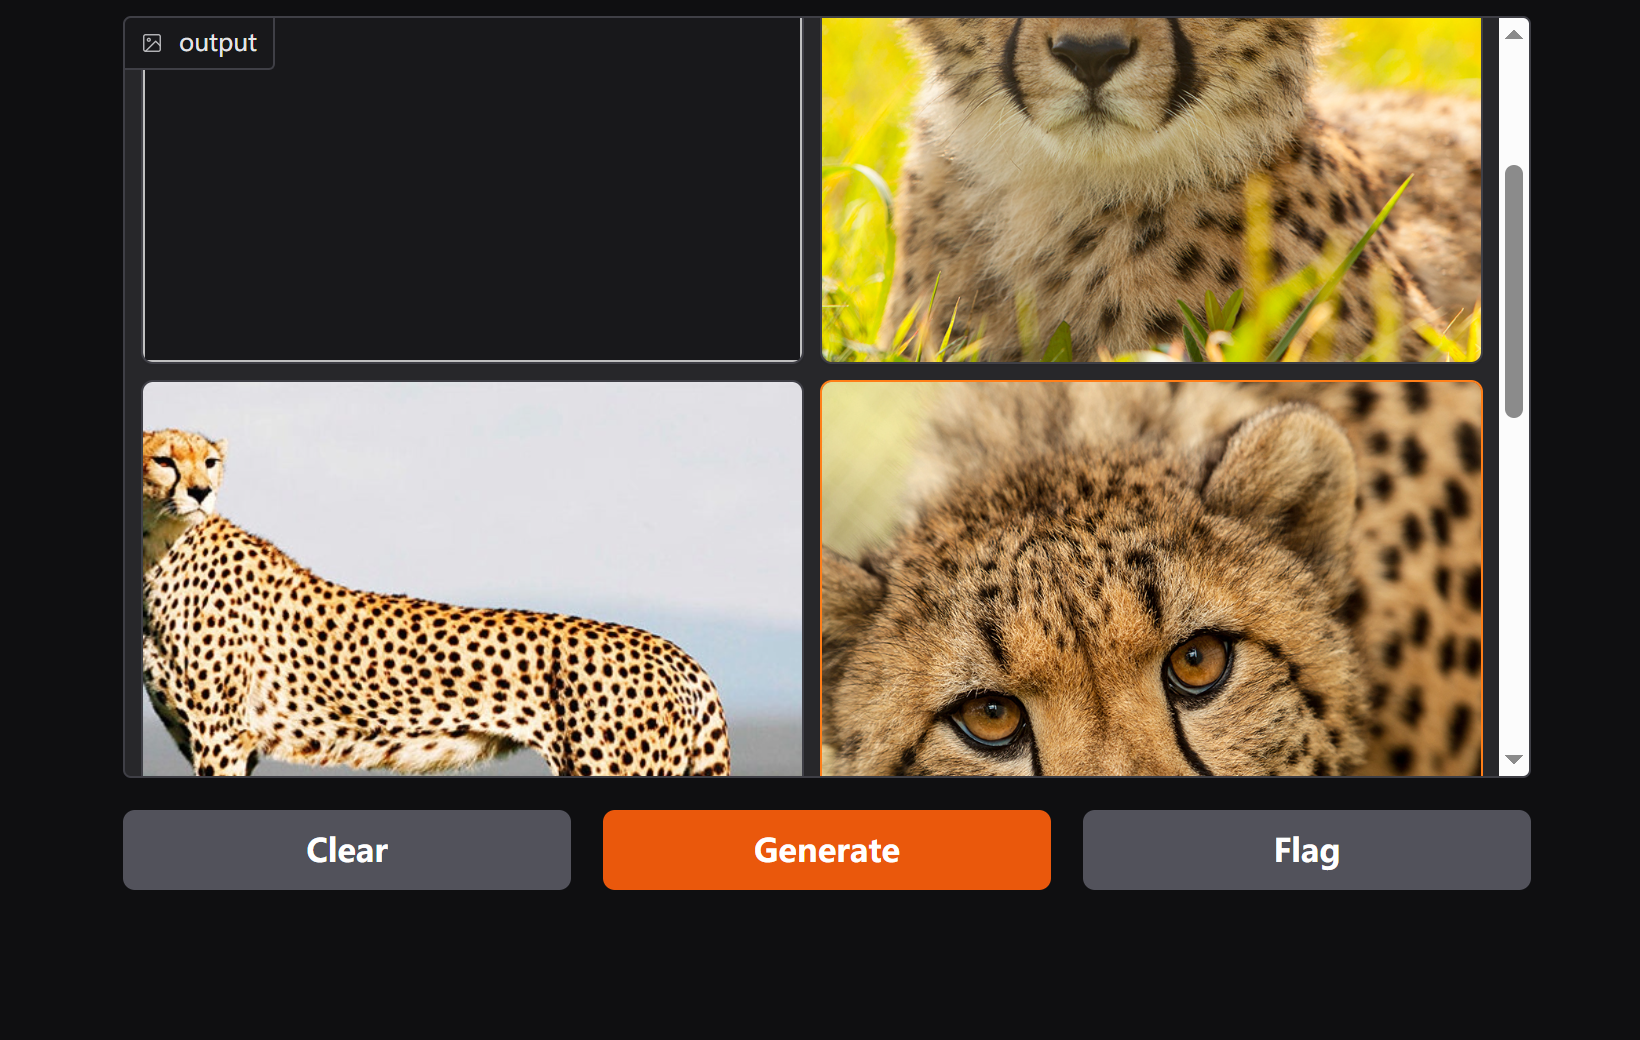
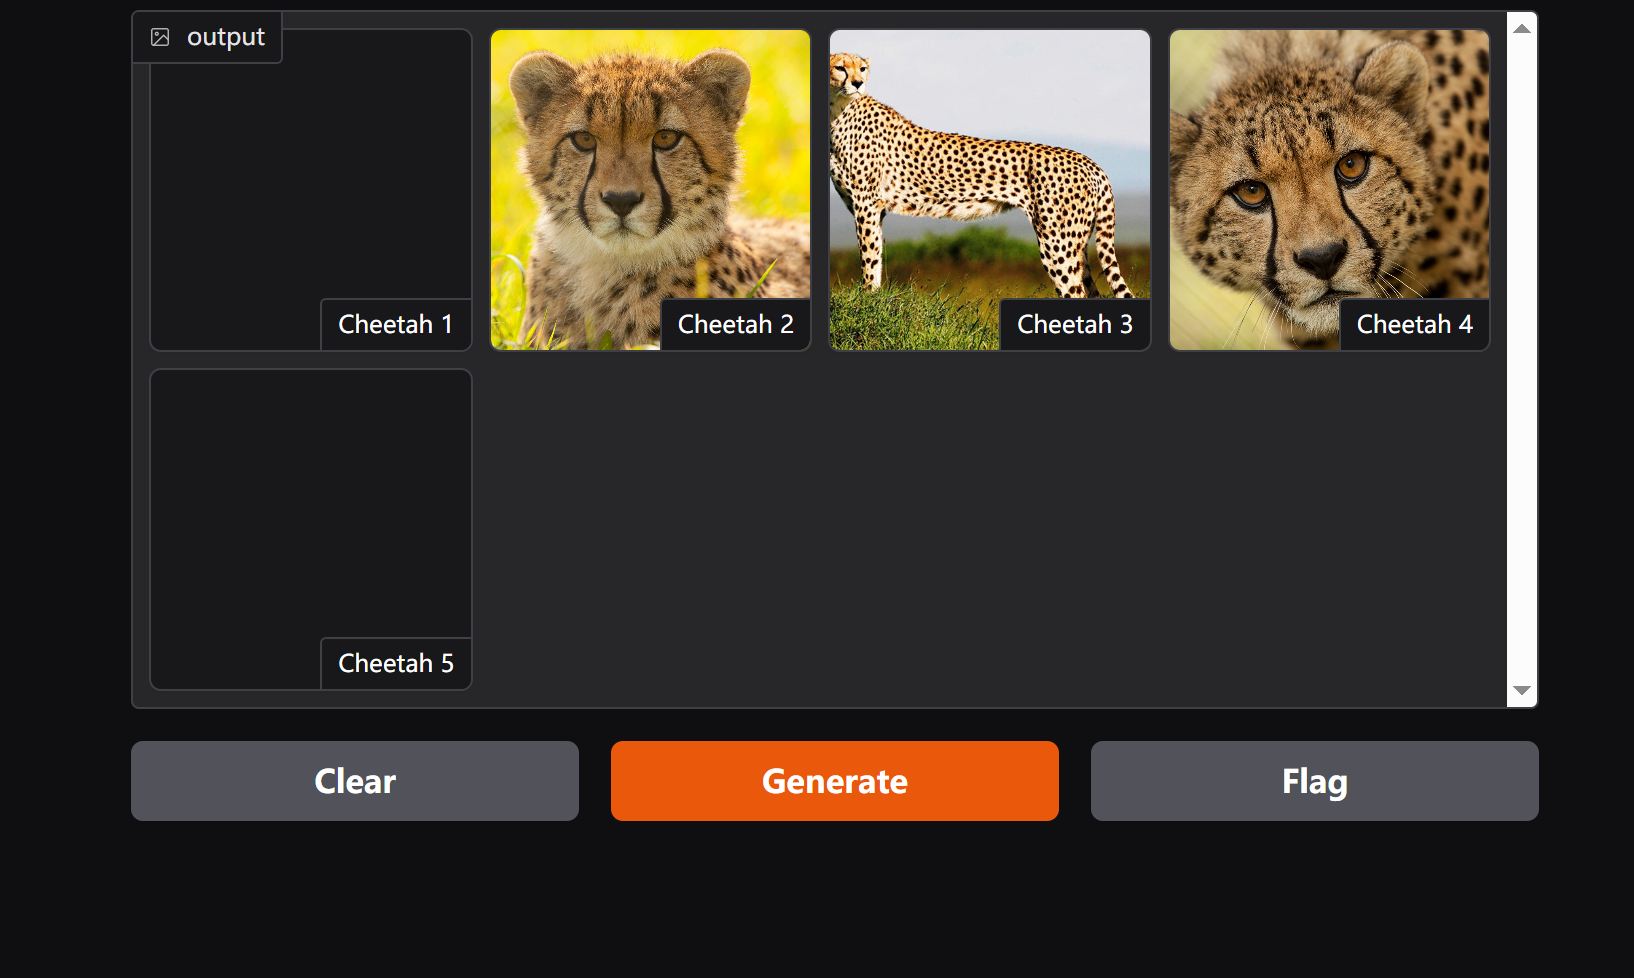
画廊
def process(): cheetabs = [ "https://upload.wikimedia.org/wikipedia/commons/0/09/TheCheethcat.jpg", "https://nationalzoo.si.edu/sites/default/files/animals/cheetah-003.jpg", " https://img.etimg.com/thumb/msid-50159822 ,width-650,imgsize-129520,,resizemode-4,quality-100/.jpg", "https://nationalzoo.si.edu/sites/default/files/animals/cheetah-002.jpg", "https://images.theconversation.com/files/375893/original/file-20201218-13-a8h8uq.jpg?ixlib=rb-1.1.0&rect=16%2C407%2C5515%2C2924&q=45&auto=format&w=496&fit=clip", ] cheetabs = [(c, f"Cheetah {i+1}") for i, c in enumerate(cheetabs)] return cheetabs iface = gr.Interface(fn=process, inputs=None, outputs=gr.Gallery(columns=4)) iface.launch()![在这里插入图片描述]()
![在这里插入图片描述]()
-
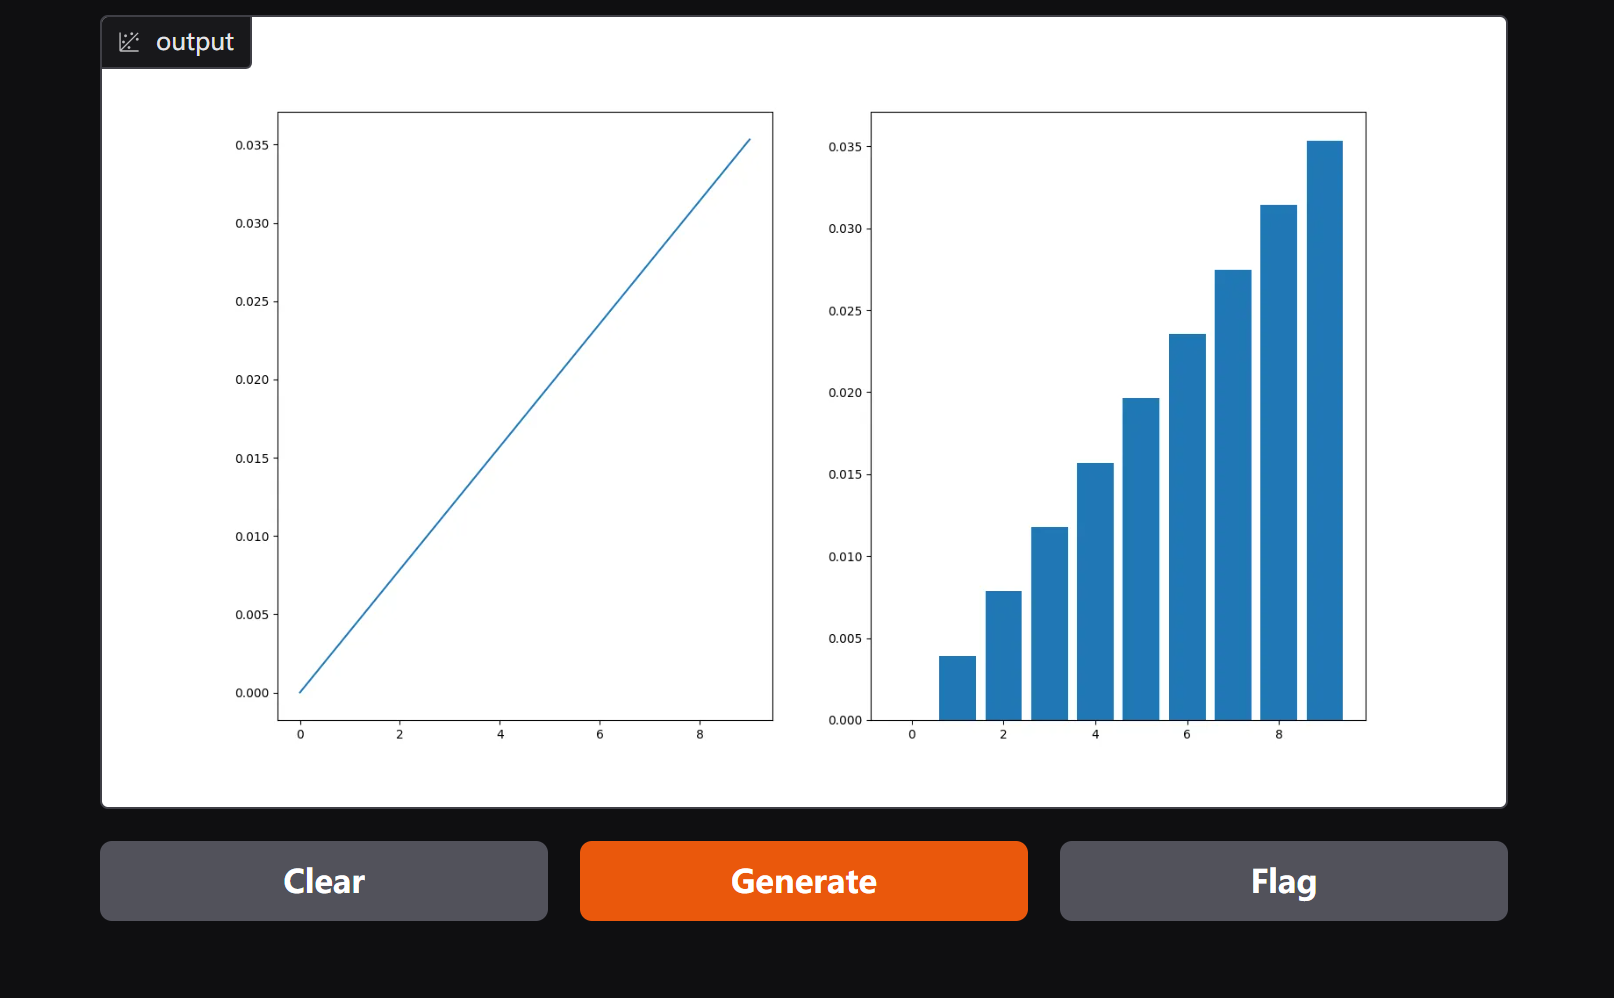
绘图展示
def fig_output(): fs = 8000 f = 5 sample = 10 x = np.arange(sample) y = np.sin(2 * np.pi * f * x / fs) fig, (ax1, ax2) = plt.subplots(1, 2, figsize=(16,9)) ax1.plot(x, y) ax2.bar(x, y) return plt iface = gr.Interface(fn=fig_output, inputs=None, outputs=gr.Plot()) iface.launch()![在这里插入图片描述]()
-
gr.Textbox:平平无奇的文字def fig_output(): return "hello world" iface = gr.Interface(fn=fig_output, inputs=None, outputs=gr.Textbox()) iface.launch()![在这里插入图片描述]()
-
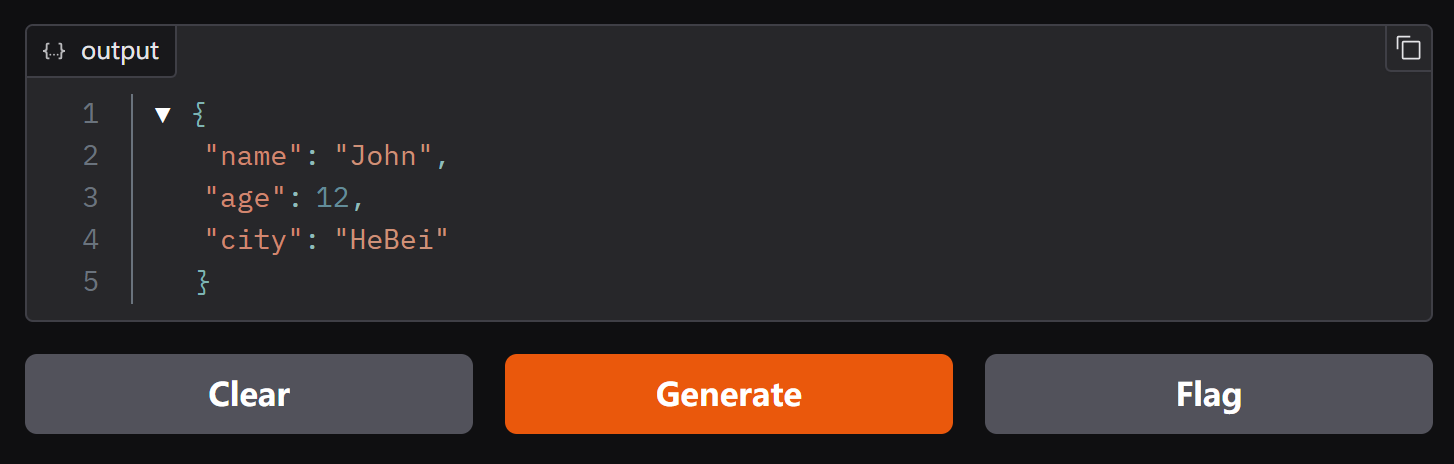
gr.Json:json字符串输出json_sample = {'name': 'John', 'age': 12, 'city': 'HeBei'} iface = gr.Interface(fn=None, inputs=None, outputs=gr.Json(json_sample)) iface.launch()![在这里插入图片描述]()
-
gr.HTML:就很htmliface = gr.Interface(fn=None, inputs=None, outputs=gr.HTML(value="<h1>hello</h1>")) iface.launch()![在这里插入图片描述]()


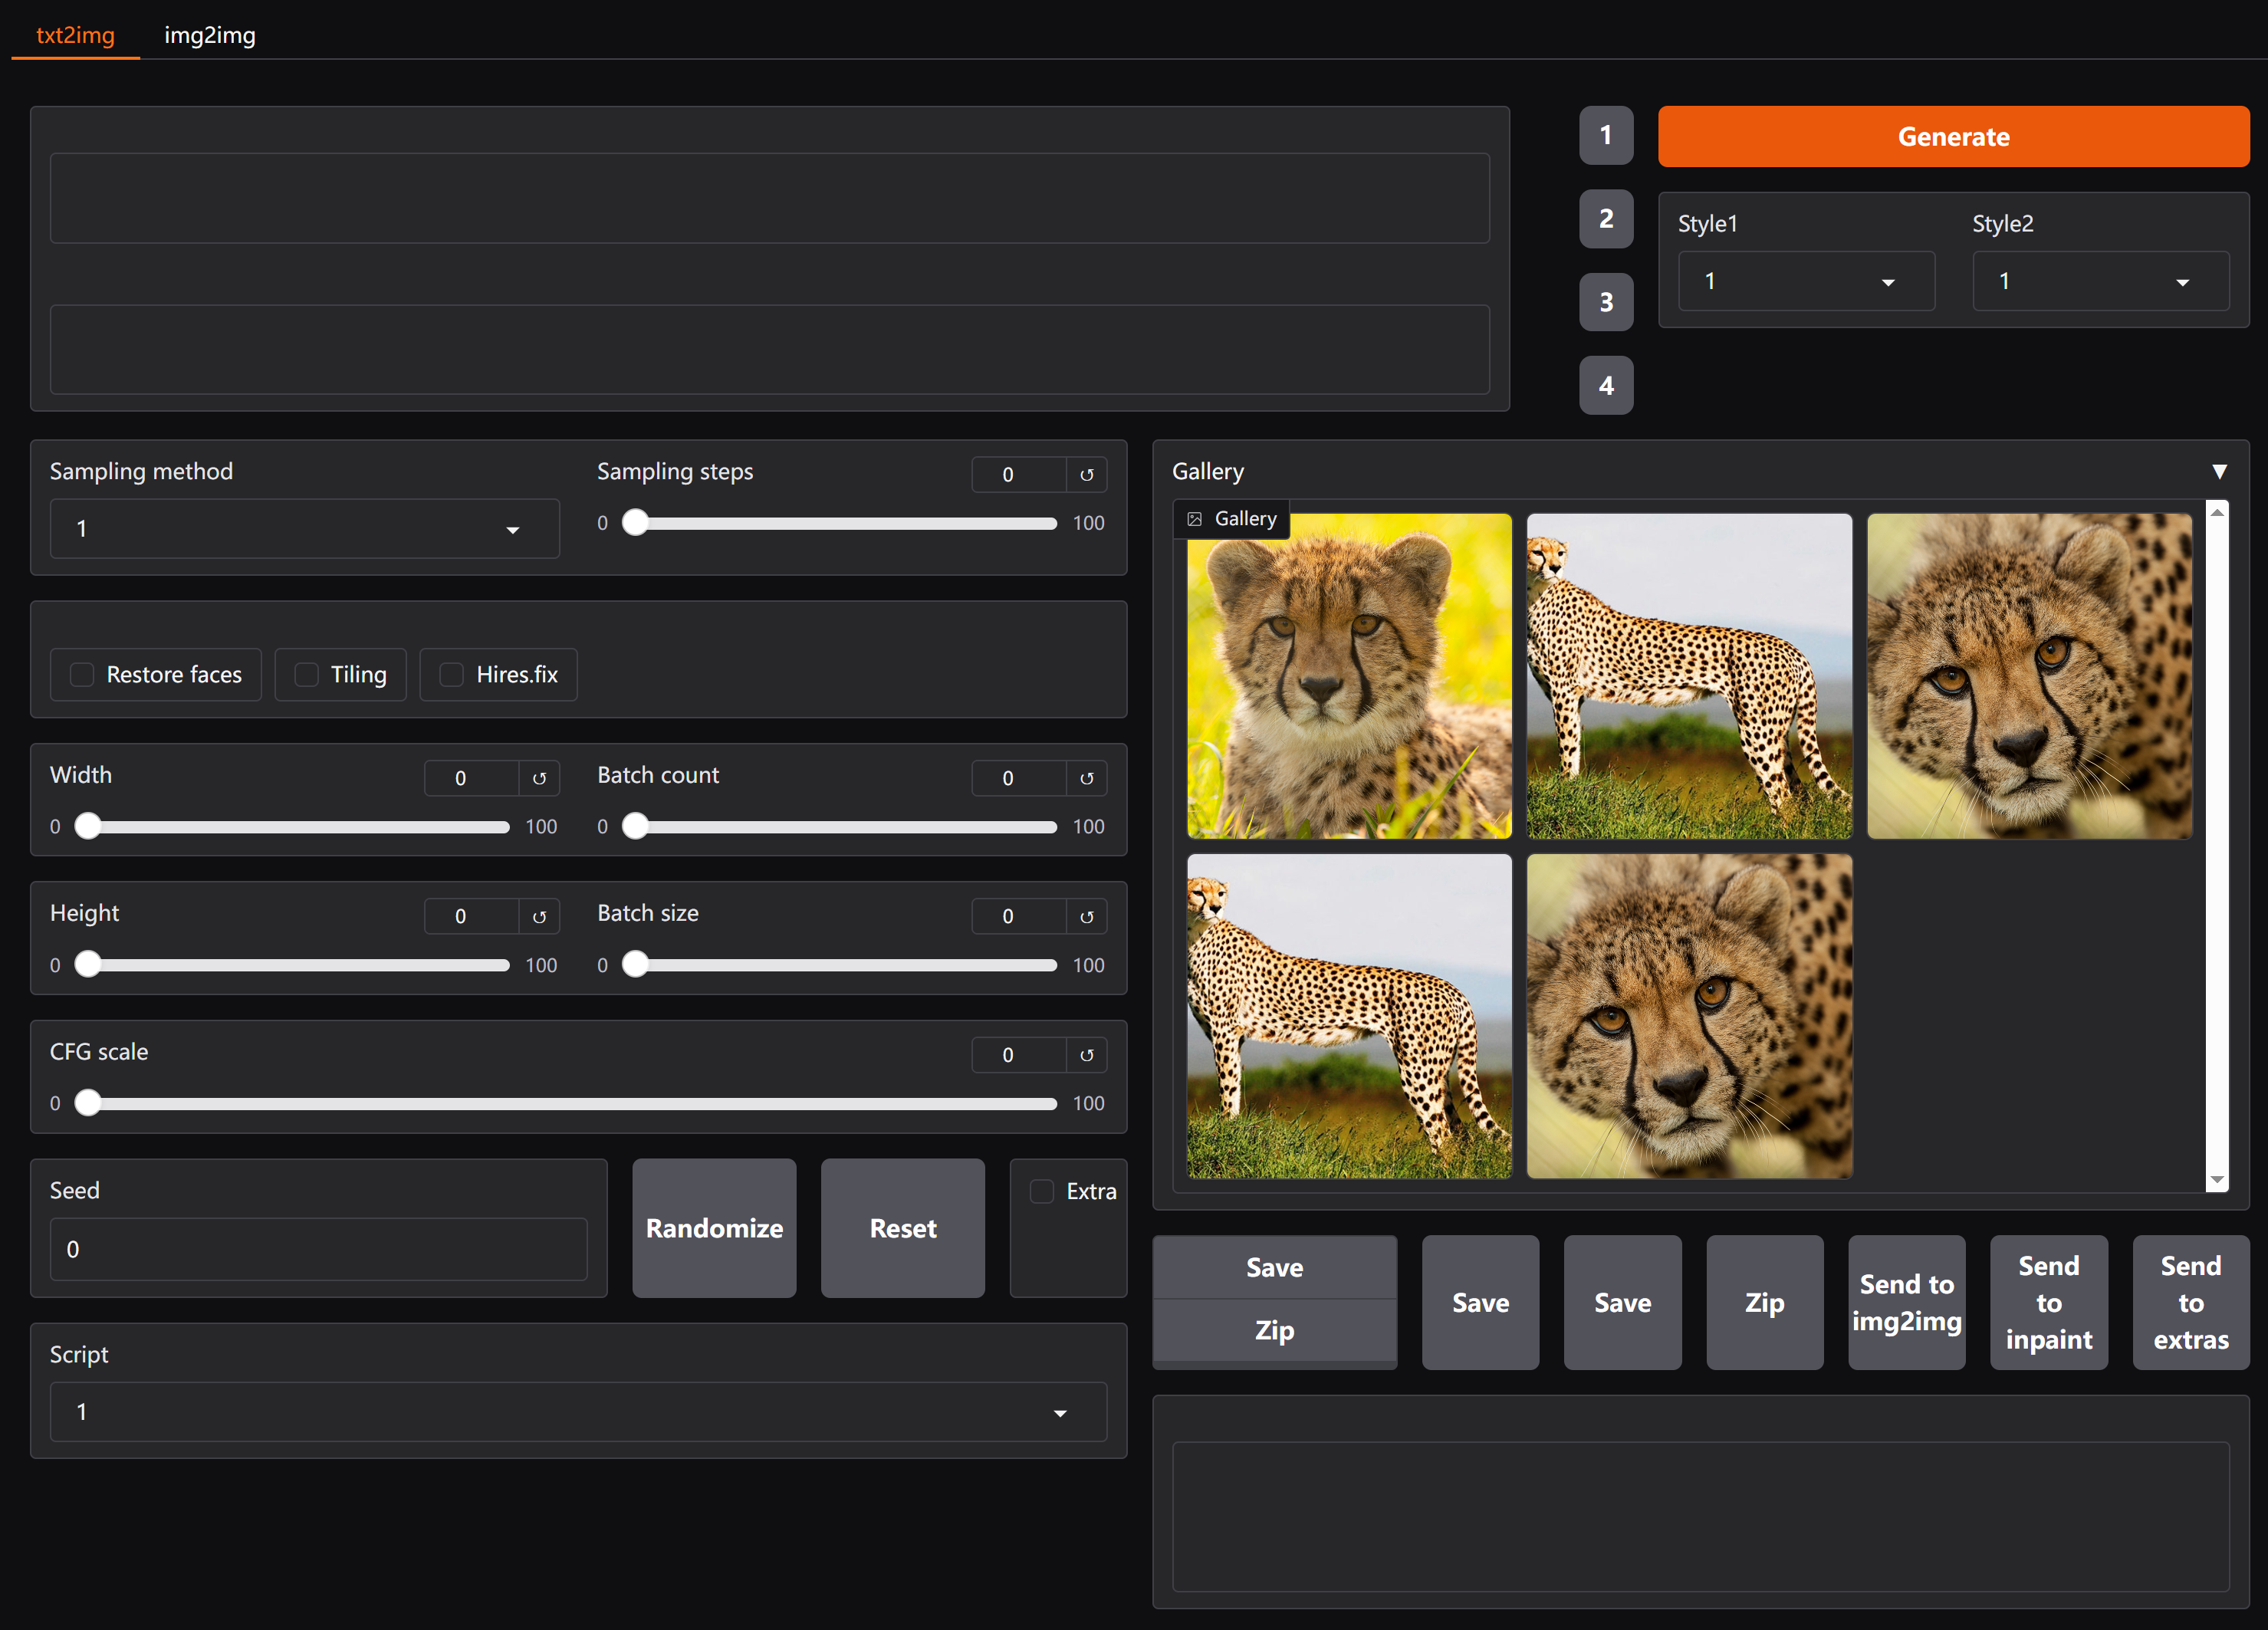
4. Blocks
gr.Group:分组,组内元素是没有间距的gr.Accordion:隐藏、展开,手风琴风格
import gradio as gr


with gr.Blocks(css_paths=["style.css"]) as demo:
    with gr.Tab(label="txt2img"):
        with gr.Row(equal_height=False):
            with gr.Column(scale=15):
                txt1 = gr.Textbox(lines=2, label="")
                txt2 = gr.Textbox(lines=2, label="")

            with gr.Column(scale=1, min_width=1):
                button1 = gr.Button(value="1", elem_classes="btn")
                button2 = gr.Button(value="2", elem_classes="btn")
                button3 = gr.Button(value="3", elem_classes="btn")
                button4 = gr.Button(value="4", elem_classes="btn")

            with gr.Column(scale=6):
                generate_button = gr.Button(
                    value="Generate", variant="primary", scale=1
                )
                with gr.Row(equal_height=False):
                    dropdown1 = gr.Dropdown(
                        ["1", "2", "3", "4"], label="Style1", interactive=True
                    )
                    dropdown2 = gr.Dropdown(
                        ["1", "2", "3", "4"], label="Style2", interactive=True
                    )
        with gr.Row():
            with gr.Column():
                with gr.Row():
                    dropdown3 = gr.Dropdown(
                        ["1", "2", "3", "4"], label="Sampling method", interactive=True
                    )
                    slider1 = gr.Slider(minimum=0, maximum=100, label="Sampling steps")
                checkboxgroup = gr.CheckboxGroup(
                    ["Restore faces", "Tiling", "Hires.fix"], label=""
                )
                with gr.Row():
                    slider2 = gr.Slider(minimum=0, maximum=100, label="Width")
                    slider3 = gr.Slider(minimum=0, maximum=100, label="Batch count")
                with gr.Row():
                    slider4 = gr.Slider(minimum=0, maximum=100, label="Height")
                    slider5 = gr.Slider(minimum=0, maximum=100, label="Batch size")
                slider6 = gr.Slider(minimum=0, maximum=100, label="CFG scale")
                with gr.Row(equal_height=True):
                    number1 = gr.Number(label="Seed", scale=5)
                    button5 = gr.Button(value="Randomize", min_width=1)
                    button6 = gr.Button(value="Reset", min_width=1)
                    checkbox1 = gr.Checkbox(label="Extra", min_width=10)
                dropdown4 = gr.Dropdown(
                    ["1", "2", "3", "4"], label="Script", interactive=True
                )
            with gr.Column():
                with gr.Accordion("Gallery"):
                    gallery = gr.Gallery(
                        [
                            "https://nationalzoo.si.edu/sites/default/files/animals/cheetah-003.jpg",
                            " https://img.etimg.com/thumb/msid-50159822 ,width-650,imgsize-129520,,resizemode-4,quality-100/.jpg",
                            "https://nationalzoo.si.edu/sites/default/files/animals/cheetah-002.jpg",
                            " https://img.etimg.com/thumb/msid-50159822 ,width-650,imgsize-129520,,resizemode-4,quality-100/.jpg",
                            "https://nationalzoo.si.edu/sites/default/files/animals/cheetah-002.jpg",
                        ],
                        columns=3,
                        label="",
                    )
                with gr.Row(equal_height=True):
                    with gr.Group():
                        button7 = gr.Button(value="Save", min_width=1)
                        button8 = gr.Button(value="Zip", min_width=1)
                    button6 = gr.Button(value="Save", min_width=1)
                    button7 = gr.Button(value="Save", min_width=1)
                    button8 = gr.Button(value="Zip", min_width=1)
                    button9 = gr.Button(value="Send to img2img", min_width=1)
                    button10 = gr.Button(value="Send to inpaint", min_width=1)
                    button11 = gr.Button(value="Send to extras", min_width=1)
                text3 = gr.Textbox(lines=4, label="")
    with gr.Tab(label="img2img"):
        ...

demo.launch(server_name="0.0.0.0")
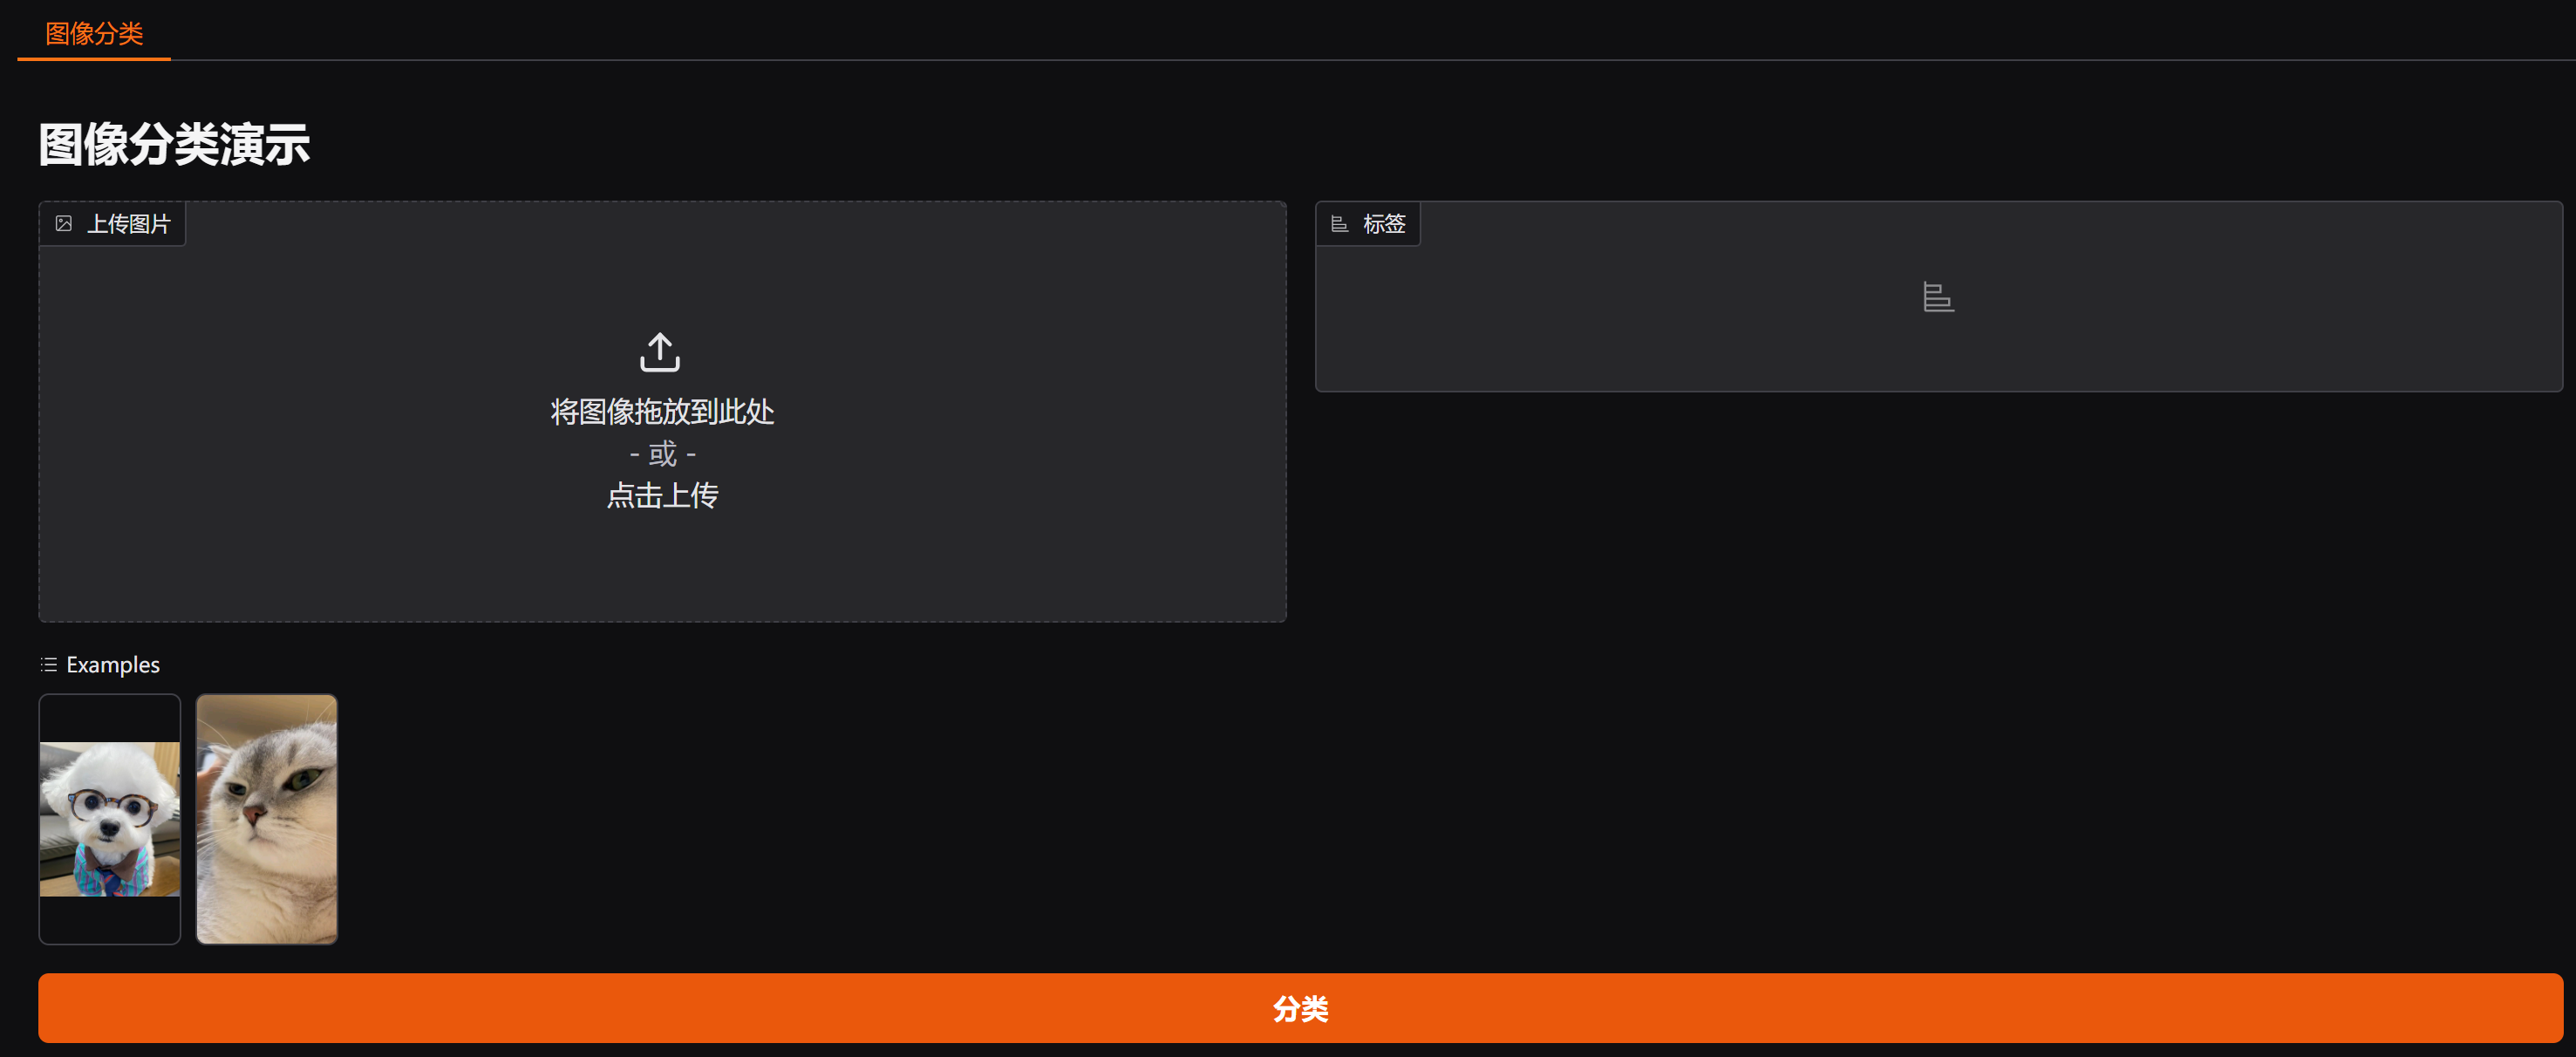
5. 机器学习实战
意思意思得了,懒得去下yolo模型了,呱呱 🐸
gr.Examples:给输入默认的内容
import gradio as gr

with gr.Blocks() as demo:
    with gr.Tab("图像分类"):
        gr.Markdown("# 图像分类演示")
        with gr.Row():
            input_img = gr.Image(sources=["upload"], label="上传图片", type="pil")
            output_label = gr.Label(num_top_classes=10)

        gr.Examples(["./datas/dog.jpg", "./datas/cat.jpeg"], inputs=[input_img])
        button = gr.Button(value="分类", variant="primary")
        button.click(None, inputs=input_img, outputs=output_label)

demo.launch(server_name="0.0.0.0")
6. 大语言模型实战
作者这里讲的实在是太烂了,无力吐槽,实践的代码也比较离谱
gr.ChatInterface:这就是高手
番外1
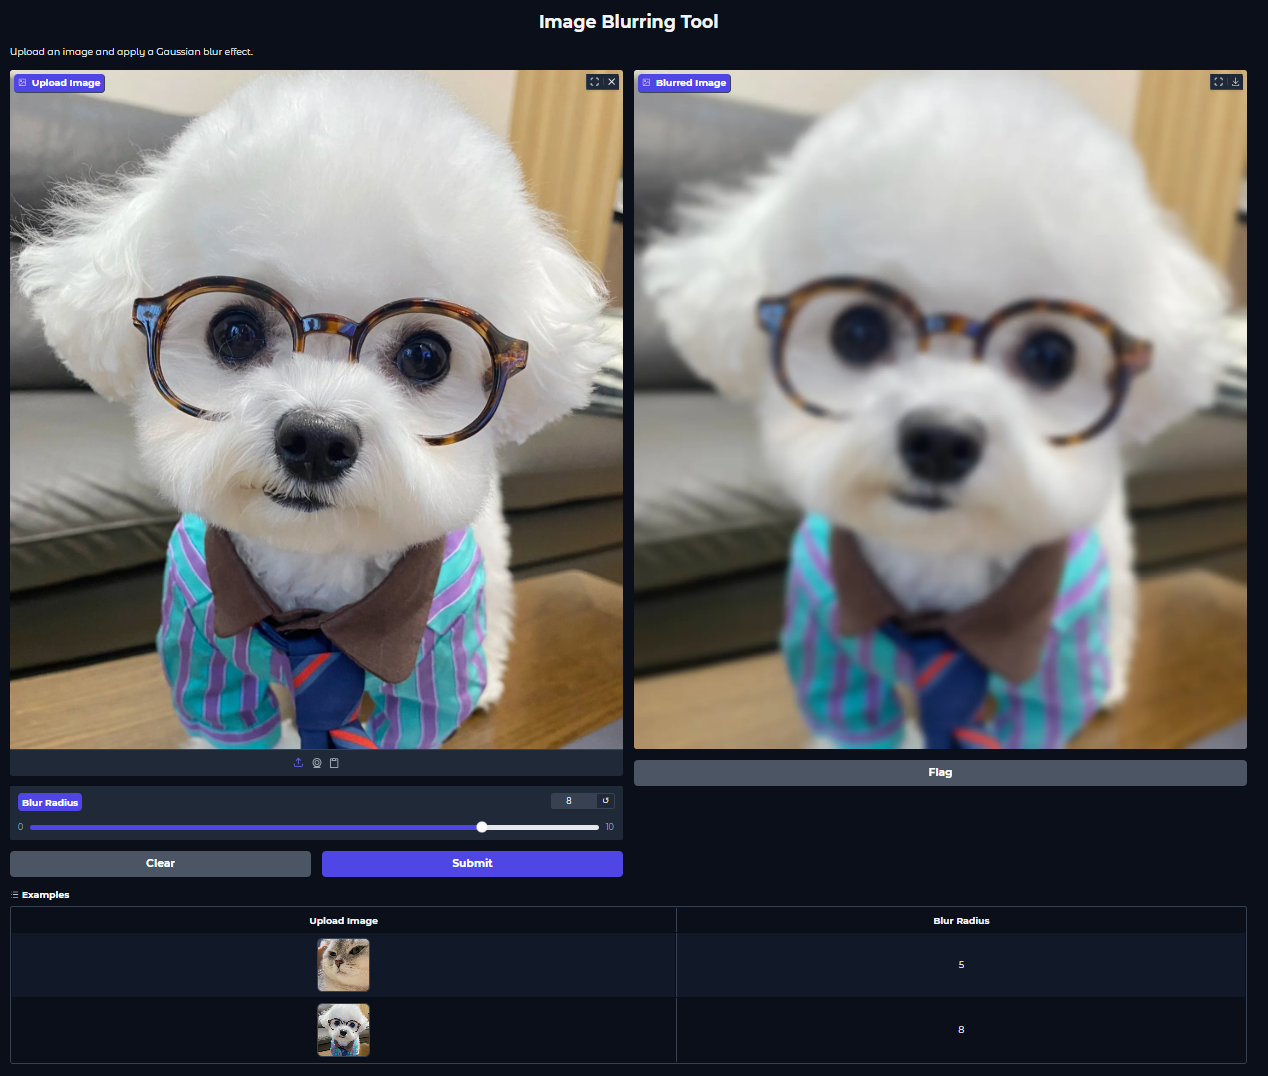
Gradio是什么 核心理念:代码即UI
-
gradio.Interface是 Gradio 中最简单、最快速的应用程序构建方式。它适用于将一个 Python 函数(通常是您的机器学习模型推理函数或数据处理函数)直接转化为一个具备输入、输出和提交按钮的交互式 Web 界面。Interface适合以下场景: 您的应用逻辑可以封装在一个简单的 Python 函数中。 输入和输出结构是线性且明确的(例如,几个输入对应几个输出)。import gradio as gr from PIL import Image, ImageFilter def blur_image(image: Image.Image, radius: int) -> Image.Image: if image is None: return None return image.filter(ImageFilter.GaussianBlur(radius)) demo = gr.Interface( fn=blur_image, inputs=[ gr.Image(label="Upload Image", type="pil"), gr.Slider(0, 10, step=1, label="Blur Radius", value=2), ], outputs=gr.Image(label="Blurred Image", type="pil"), title="Image Blurring Tool", description="Upload an image and apply a Gaussian blur effect.", theme=gr.themes.Soft(), examples=[["datas/cat.jpeg", 5], ["datas/dog.jpg", 8]], ) demo.launch()![在这里插入图片描述]()
-
当
gradio.Interface的功能不足以满足您的需求时,gradio.Blocks提供了更强大、更灵活的 UI 构建能力。它允许您对界面布局进行细粒度的控制,实现多步骤工作流、组件间的复杂联动以及更丰富的事件处理。特别适用于: 复杂的、非线性的应用逻辑。 需要自定义布局(如分栏、选项卡)。 组件之间存在依赖关系,一个组件的输出作为另一个组件的输入。 需要更精细地控制事件(例如,当用户在输入框键入时就触发函数,而不仅仅是点击按钮)。
import gradio as gr from PIL import Image def convert_to_grayscale(image: Image.Image) -> Image.Image: if image is None: return None return image.convert("L") def rotate_image(image: Image.Image, angle: int) -> Image.Image: if image is None: return None return image.rotate(angle, expand=True) with gr.Blocks(theme=gr.themes.Soft()) as demo: gr.Markdown("# Image Processing Tool") gr.Markdown( "Upload an image and apply transformations like grayscale conversion and rotation." ) with gr.Row(): with gr.Column(): input_image = gr.Image(label="Upload Image", type="pil") operation_radio = gr.Radio( choices=["Grayscale", "Rotate"], label="Select Operation", value="Grayscale", ) angle_slider = gr.Slider(0, 360, step=1, label="Rotation Angle", value=0) process_button = gr.Button("Operation") with gr.Column(): output_image = gr.Image(label="Output Image", type="pil") status_text = gr.Textbox(label="Status", interactive=False) def process_image(image, operation, angle): if image is None: return None, "Please upload an image." if operation == "Grayscale": processed_image = convert_to_grayscale(image) return processed_image, "Converted to Grayscale." elif operation == "Rotate": processed_image = rotate_image(image, angle) return processed_image, f"Rotated by {angle} degrees." return None, "Invalid operation." operation_radio.change( fn=lambda op: gr.update(visible=(op == "Rotate")), inputs=operation_radio, outputs=angle_slider, ) process_button.click( fn=process_image, inputs=[input_image, operation_radio, angle_slider], outputs=[output_image, status_text], ) demo.launch()![在这里插入图片描述]()
-
gr.Progress: 进度条 (特殊组件)。在长时间运行的函数中显示进度条,提供用户反馈。它不是传统的输入或输出组件。需要在 Gradio 处理函数中将其作为特殊参数接收,并在函数体内通过调用progress()方法更新进度。# 示例:在处理函数中集成进度条 def long_running_task(input_data, progress=gr.Progress()): # ... for i in progress.tqdm(range(100), desc="处理中"): # ... 耗时操作 ... # progress(i / 100, desc=f"进度 {i}%") # 也可以手动更新 return "任务完成" -
progress.tqdm(): Gradio 也集成了tqdm库,可以方便地包裹可迭代对象以显示进度。def long_task_with_tqdm(input_text, progress=gr.Progress()): results = [] for i in progress.tqdm(range(10), desc="Processing data"): # 自动显示进度条 time.sleep(0.5) results.append(f"Item {i} processed") return "\n".join(results) demo_tqdm = gr.Interface(fn=long_task_with_tqdm, inputs="text", outputs="text", title="Tqdm 进度条演示") demo_tqdm.launch() -
内置主题:
gr.themes.Default(),gr.themes.Soft(),gr.themes.Monochrome(),gr.themes.Glass(),gr.themes.Base(),gr.themes.Panda(),gr.themes.Emerald(),gr.themes.HuggingFace()等。 -
使用 Python 的
tempfile模块来创建临时目录和临时文件。这样,即使程序崩溃,系统也会最终清理这些资源。尽量让 Gradio 管理输入和输出文件的生命周期。对于中间生成的、不直接作为 Gradio 输出的文件,使用
tempfile模块进行管理和清理。import tempfile import shutil import os def process_with_intermediate_files(input_file_path): with tempfile.TemporaryDirectory() as tmp_dir: # 假设这是 TIFF 到 JPG 的转换 intermediate_jpg_path = os.path.join(tmp_dir, "intermediate.jpg") # 模拟转换过程 with open(input_file_path, 'rb') as f_in, open(intermediate_jpg_path, 'wb') as f_out: f_out.write(f_in.read()) # 实际是图片转换逻辑 # 假设这是 Ollama 识别 # recognition_result = recognize_with_ollama(intermediate_jpg_path) recognition_result = f"识别了中间文件:{intermediate_jpg_path}" # 如果需要下载结果文件,可以将其复制到另一个 Gradio 管理的临时位置或直接返回其路径 output_csv_path = os.path.join(tmp_dir, "results.csv") with open(output_csv_path, 'w') as f: f.write("Result\n" + recognition_result) # Gradio 会自动管理 output_csv_path 的生命周期 return recognition_result, output_csv_path # demo = gr.Interface( # fn=process_with_intermediate_files, # inputs=gr.File(type="filepath"), # outputs=[gr.Textbox(label="识别结果"), gr.File(label="下载详情")] # ) # demo.launch()

- ☁️ 我的CSDN:
https://blog.csdn.net/qq_21579045/ - ❄️ 我的博客园:
https://www.cnblogs.com/lyjun/ - ☀️ 我的Github:
https://github.com/TinyHandsome/ - 🌈 我的bilibili:
https://space.bilibili.com/8182822/ - 🍅 我的知乎:
https://www.zhihu.com/people/lyjun_/ - 🐧 粉丝交流群:1060163543,神秘暗号:为干饭而来
碌碌谋生,谋其所爱。🌊 @李英俊小朋友

 浙公网安备 33010602011771号