玩转jupyterhub
 鬼知道我为了搞明白部署jupyterhub踩了多少坑,先说结论,三个可选,适用人数和安全性、并发啥的从小到大是:the-littlest-jupyterhub、jupyterhub-deploy-docker、zero-to-jupyterhub-k8s。参考文献不要乱看,直接去看官方的github和文档可以省很多事儿。
玩转jupyterhub
我不会设置仅粉丝可见,不需要你关注我,仅仅希望我的踩坑经验能帮到你。如果有帮助,麻烦点个 👍 吧,这会让我创作动力+1 😁。我发现有的时候会自动要求会员才能看,可以留言告诉我,不是我干的!😠
写在前面
-
摘要
鬼知道我为了搞明白部署jupyterhub踩了多少坑,先说结论,三个可选,适用人数和安全性、并发啥的从小到大是:the-littlest-jupyterhub、jupyterhub-deploy-docker、zero-to-jupyterhub-k8s。参考文献不要乱看,直接去看官方的github和文档可以省很多事儿。
容器化部署最佳实践
研究了一阵子文档,发现还是直接按官方的样例来跑最舒服,要我说,官方的镜像也太不靠谱了,怎么缺胳膊少腿的。
-
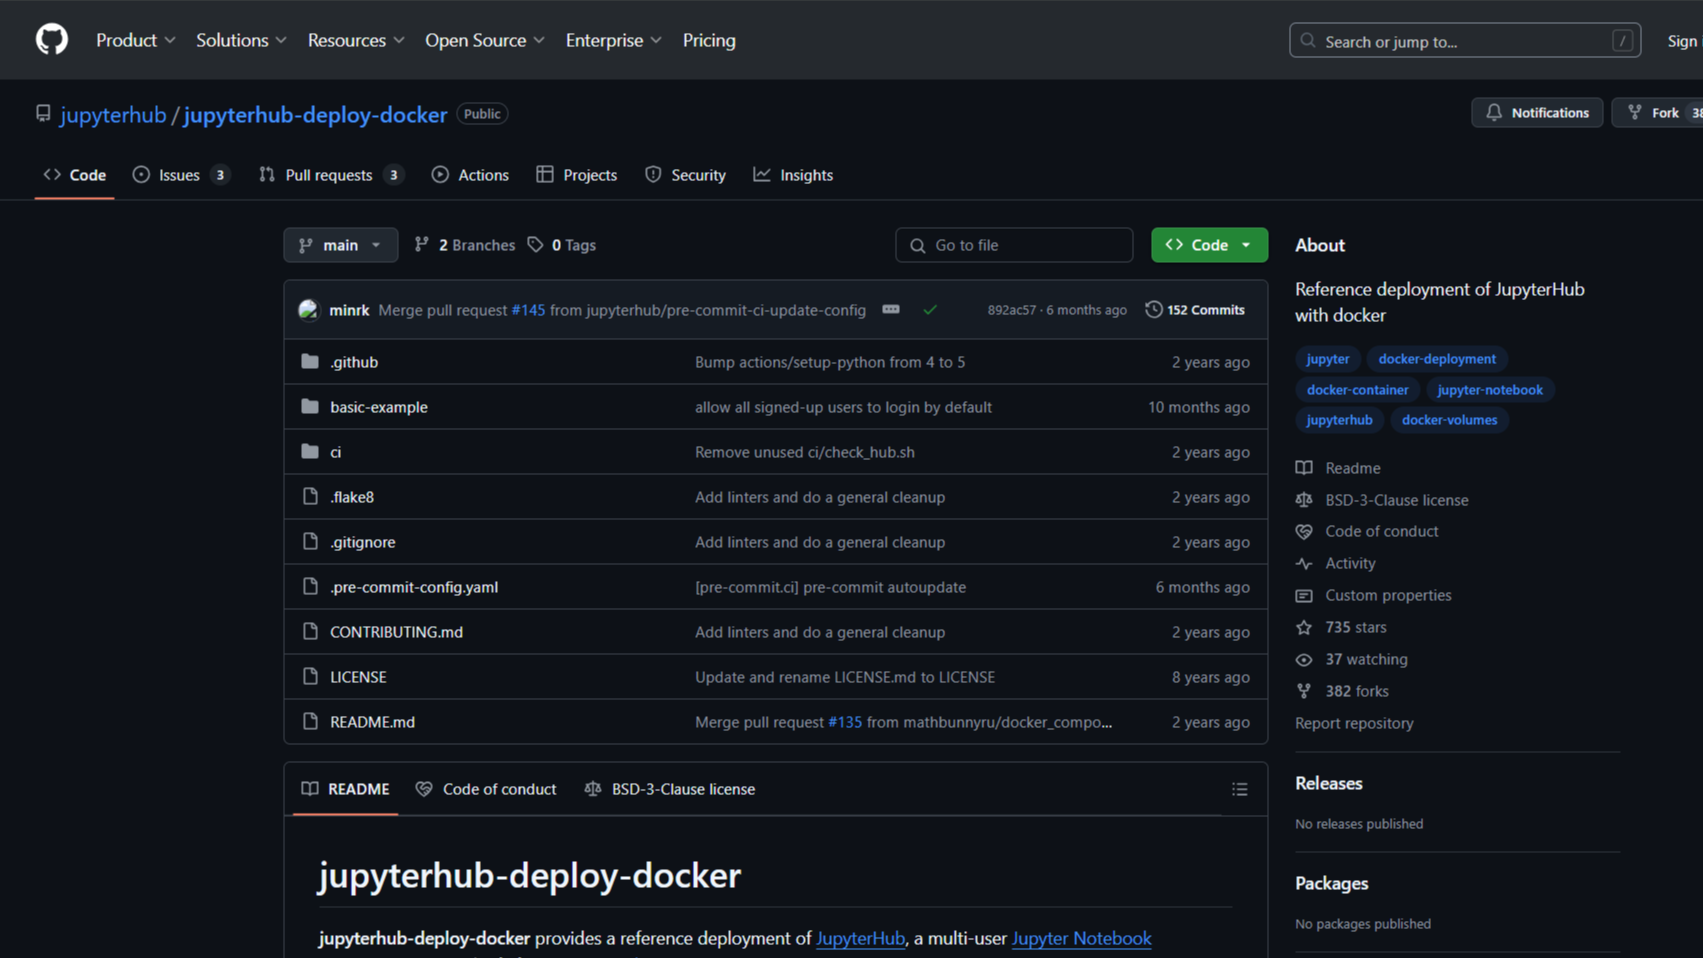
先看jupyterhub的github,好好好,真多啊
![在这里插入图片描述]()
-
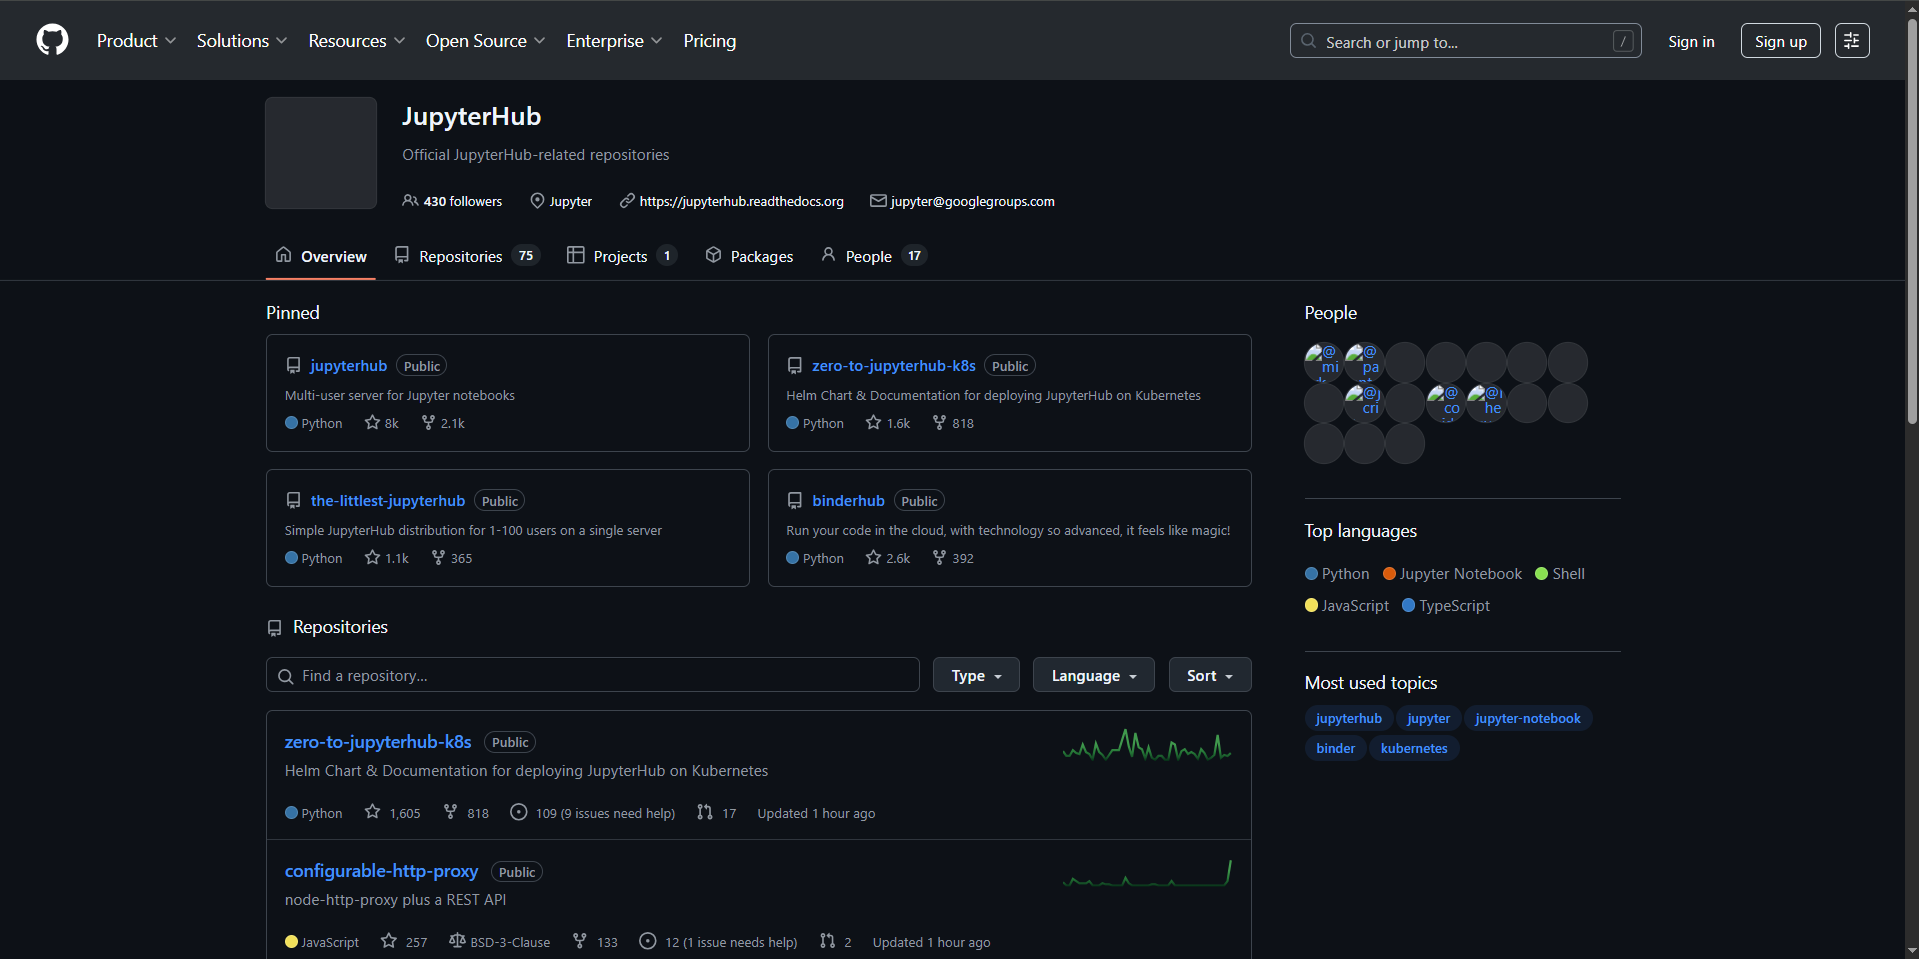
看我大海捞针:jupyterhub/jupyterhub-deploy-docker,鬼知道我是怎么找到这个项目的 🤔
![在这里插入图片描述]()
-
💡 好,这个项目告诉了我们
-
能干什么:jupyterhub-deploy-docker provides a reference deployment of JupyterHub, a multi-user Jupyter Notebook environment, on a single host using Docker.
- Creating a JupyterHub demo environment that you can spin up relatively quickly.
- Providing a multi-user Jupyter Notebook environment for small classes, teams or departments.
-
场景:上面提到了,小团队,小demo,作者不建议用于生产环境,反正我不管,我就要用。那么,生产环境建议用什么呐:
If you are looking for a more robust solution to host JupyterHub, or you require scaling beyond a single host, please check out the excellent zero-to-jupyterhub-k8s project.
-
关键技术:
-
Host: Runs the JupyterHub components in a Docker container on the host.
跑一个容器就好了,真不错,我喜欢
-
Authenticator: Uses Native Authenticator to authenticate users. Any user will be allowed to sign up.
简单的认证,自己注册,自己登录,好耶~
-
Spawner: Uses DockerSpawner to spawn single-user Jupyter Notebook servers in separate Docker containers on the same host.
重点来了,怎么隔离用户啊,每个用户在服务器上有自己的容器,启自己的单用户jupyter服务,好耶。所以,DockerSpawner 这种 class 才是用户隔离的最佳实践!
-
Persistence of Hub data: Persists JupyterHub data in a Docker volume on the host.
宿主机里存hub数据,好耶~
-
Persistence of user notebook directories: Persists user notebook directories in Docker volumes on the host.
宿主机里存用户的notebook数据,好耶~
-
-
我当场宣布,这就是最佳实践!🎉
-
-
干起来干起来,立刻干起来!💪
-
先拉代码吧兄弟:
git clone https://github.com/jupyterhub/jupyterhub-deploy-docker.git -
在
basic-example里面,核心就三个文件,这不把握住了!-
Dockerfile.jupyterhub:好好好,这个破基础镜像还得我自己打包是吧# Copyright (c) Jupyter Development Team. # Distributed under the terms of the Modified BSD License. ARG JUPYTERHUB_VERSION FROM quay.io/jupyterhub/jupyterhub:$JUPYTERHUB_VERSION # Install dockerspawner, nativeauthenticator # hadolint ignore=DL3013 RUN python3 -m pip install --no-cache-dir \ dockerspawner \ jupyterhub-nativeauthenticator CMD ["jupyterhub", "-f", "/srv/jupyterhub/jupyterhub_config.py"]我直接开始改造,跑脚本的环境变量去掉,给我改,镜像还要从外网拉,给我改成自己的,还有
pip install,给我加上清华源-i https://pypi.tuna.tsinghua.edu.cn/simple# Copyright (c) Jupyter Development Team. # Distributed under the terms of the Modified BSD License. # 这里我直接指定版本 # ARG JUPYTERHUB_VERSION # FROM quay.io/jupyterhub/jupyterhub:$JUPYTERHUB_VERSION FROM jupyterhub/jupyterhub:5.3.0 # Install dockerspawner, nativeauthenticator # hadolint ignore=DL3013 RUN python3 -m pip install --no-cache-dir \ dockerspawner \ jupyterhub-nativeauthenticator \ -i https://pypi.tuna.tsinghua.edu.cn/simple CMD ["jupyterhub", "-f", "/srv/jupyterhub/jupyterhub_config.py"]舒服了,什么脚本我不用,镜像我先自己搞出来:
docker build -t docker build -t myjupyterhub:5.3.0 -f Dockerfile.jupyterhub . -
docker-compose.yml:docker-compose的yaml文件来咯,由于镜像我自己打包了,这里的build得删掉,换成我打包好的。同样的,下面配置了notebook的镜像到环境变量里,也给我换成我自己下好的。其他的配置就不用变了。volumes:jupyterhub_config.py配置文件的路径挂载映射,还有一些数据路径的映射environment:给容器设置一些环境变量,给配置文件jupyterhub_config.py调用JUPYTERHUB_ADMIN: admin:默认账号是admin,这就要求你跑起来之后,赶紧新建一个admin的账号,以后这个账号就可以看admin面板,并进行管理了。DOCKER_NETWORK_NAME: jupyterhub-network:容器用的网络名称,为了给配置文件中 notebook 的网关进行关联,与 hub 的网关一致DOCKER_NOTEBOOK_DIR: /home/jovyan/work:每个用户的代码数据放在自己容器的哪个地方
# Copyright (c) Jupyter Development Team. # Distributed under the terms of the Modified BSD License. # JupyterHub docker compose configuration file version: "3" services: hub: # !!!删掉 build 的部分!!! # build: # context: . # dockerfile: Dockerfile.jupyterhub # args: # JUPYTERHUB_VERSION: latest restart: always # !!!换我打包好的镜像!!! # image: jupyterhub image: myjupyterhub:5.3.0 container_name: jupyterhub networks: - jupyterhub-network volumes: # The JupyterHub configuration file - "./jupyterhub_config.py:/srv/jupyterhub/jupyterhub_config.py:ro" # Bind Docker socket on the host so we can connect to the daemon from # within the container - "/var/run/docker.sock:/var/run/docker.sock:rw" # Bind Docker volume on host for JupyterHub database and cookie secrets - "jupyterhub-data:/data" ports: - "8000:8000" environment: # This username will be a JupyterHub admin JUPYTERHUB_ADMIN: admin # All containers will join this network DOCKER_NETWORK_NAME: jupyterhub-network # JupyterHub will spawn this Notebook image for users # !!!notebook的镜像也换!!! # DOCKER_NOTEBOOK_IMAGE: quay.io/jupyter/base-notebook:latest DOCKER_NOTEBOOK_IMAGE: jupyter/base-notebook:latest # Notebook directory inside user image DOCKER_NOTEBOOK_DIR: /home/jovyan/work volumes: jupyterhub-data: networks: jupyterhub-network: name: jupyterhub-network -
jupyterhub_config.py:嗨嗨嗨,配置文件来咯,我是一个没改啊,注释写的很清楚,不需要解释。# Copyright (c) Jupyter Development Team. # Distributed under the terms of the Modified BSD License. # Configuration file for JupyterHub import os c = get_config() # noqa: F821 # We rely on environment variables to configure JupyterHub so that we # avoid having to rebuild the JupyterHub container every time we change a # configuration parameter. # Spawn single-user servers as Docker containers c.JupyterHub.spawner_class = "dockerspawner.DockerSpawner" # Spawn containers from this image c.DockerSpawner.image = os.environ["DOCKER_NOTEBOOK_IMAGE"] # Connect containers to this Docker network network_name = os.environ["DOCKER_NETWORK_NAME"] c.DockerSpawner.use_internal_ip = True c.DockerSpawner.network_name = network_name # Explicitly set notebook directory because we'll be mounting a volume to it. # Most `jupyter/docker-stacks` *-notebook images run the Notebook server as # user `jovyan`, and set the notebook directory to `/home/jovyan/work`. # We follow the same convention. notebook_dir = os.environ.get("DOCKER_NOTEBOOK_DIR", "/home/jovyan/work") c.DockerSpawner.notebook_dir = notebook_dir # Mount the real user's Docker volume on the host to the notebook user's # notebook directory in the container c.DockerSpawner.volumes = {"jupyterhub-user-{username}": notebook_dir} # Remove containers once they are stopped c.DockerSpawner.remove = True # For debugging arguments passed to spawned containers c.DockerSpawner.debug = True # User containers will access hub by container name on the Docker network c.JupyterHub.hub_ip = "jupyterhub" c.JupyterHub.hub_port = 8080 # Persist hub data on volume mounted inside container c.JupyterHub.cookie_secret_file = "/data/jupyterhub_cookie_secret" c.JupyterHub.db_url = "sqlite:////data/jupyterhub.sqlite" # Allow all signed-up users to login c.Authenticator.allow_all = True # Authenticate users with Native Authenticator c.JupyterHub.authenticator_class = "nativeauthenticator.NativeAuthenticator" # Allow anyone to sign-up without approval c.NativeAuthenticator.open_signup = True # Allowed admins admin = os.environ.get("JUPYTERHUB_ADMIN") if admin: c.Authenticator.admin_users = [admin]
-
-
-
完事儿:
-
启动:
docker-compose up -d -
停止:
docker compose down -
访问:
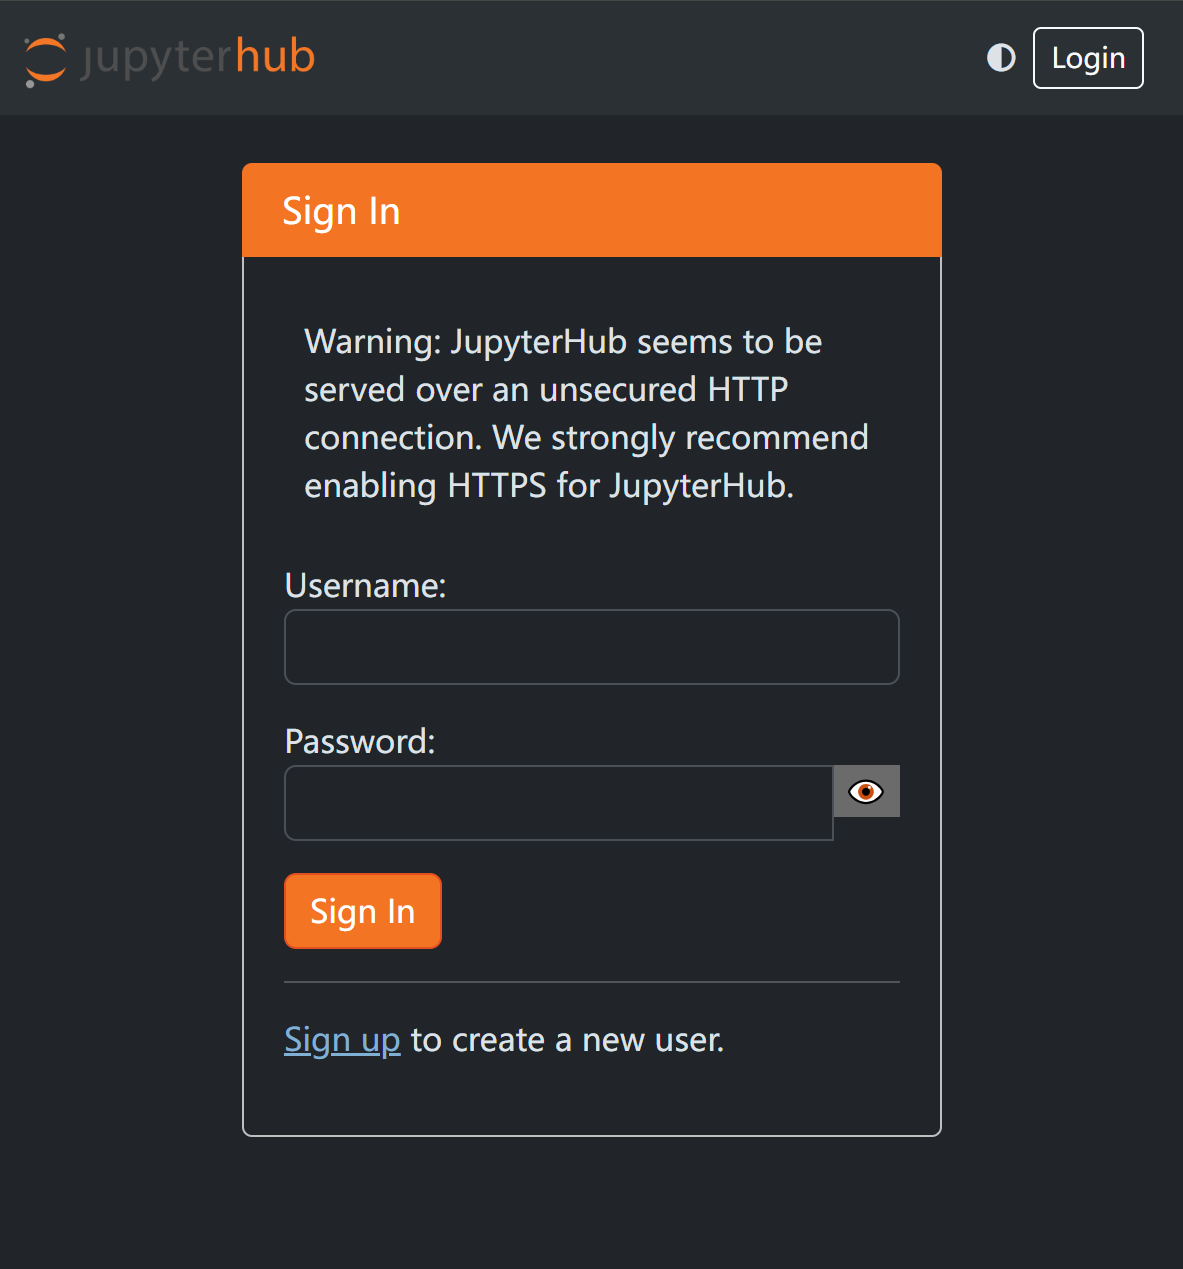
ip:8000就行啦 🎉![在这里插入图片描述]()
-
-
定制化:
You can configure JupyterHub to spawn Notebook servers from any Docker image, as long as the image's
ENTRYPOINTand/orCMDstarts a single-user instance of Jupyter Notebook server that is compatible with JupyterHub.随便定制,好耶。其实就是包装
DOCKER_NOTEBOOK_IMAGE的镜像,不用原版的,比如下点基础的python库啊之类的。 -
查看hub的日志:
docker logs -f jupyterhub -
怎么备份用户的notebook数据
-
宿主机上查看用户们的jupyter容器:
docker ps --format "table {{.ID}}\t{{.Image}}\t{{.Names}}" -
查看用户容器挂载卷的信息,比如用户是jtyberg:
docker inspect -f '{{ .Mounts }}' jupyter-jtyberg -
通过运行一个独立的容器来备份用户的notebook目录,该容器挂载用户的卷并创建该目录的tar包:(当然了,这里的镜像最好下下来)
docker run --rm \
  -u root \
  -v /tmp:/backups \
  -v jtyberg:/notebooks \
  quay.io/jupyter/minimal-notebook \
  tar cvf /backups/jtyberg-backup.tar /notebooks
-
📍 弯路的参考文章:
- jupyterhub docker spawner 部署:写的还行哈,跟官方的差不多,不如官方写的好,略微参考
- 如何使用Docker部署最新版JupyterHub
- Linux部署JupyterHub实现多用户使用Jupyterlab
- 构建多用户的 Jupyter 服务器 —— 利用 JupyterHub
- jupyterhub 安装、安装问题解决、用户验证问题:我的核心参考文档,奶奶滴
- Docker部署JupyterHub问题记录
- JupyterHub多用户平台搭建与管理教程
- jupyterhub-idle-culler:高效管理JupyterHub资源
- 用Docker部署自己的JupyterHub:这个写的很不错啊,都快跟官方文档一样了,自己改镜像,强得很,但是就是把参数写在了镜像中。
🌓 结果是,不如直接看github和官方文档:
🐯 除此之外,官方还给了一个1-100人用的小服务搭建方式:tljh.jupyter.org,其实就是服务共享,好处是,管理员 pip install 可以更新所有人的。
纯docker探索经历(参考)
在发现上述最佳实践之前,我只知道卡卡用镜像,配置是一点不懂啊,可恶啊可恶,参考 https://github.com/jupyterhub/jupyterhub
docker run -p 1328:1328 -d --privileged=true --name jupyterhub-test -v E:/11-container/jupyterhub-test2/:/srv/jupyterhub jupyterhub/jupyterhub:5.3.0 jupyterhub -f=/srv/jupyterhub/jupyterhub_config.py --no-ssl
-
容器启起来:
docker exec -it jupyterhub-test bash -
容器内更新依赖,并安装vim:
apt-get update && apt install vim -y -
在容器里新增配置:
jupyterhub --generate-config -
新增了,会在这个目录下多一个文件,修改配置:
vim /srv/jupyterhub/jupyterhub_config.py -
记得新建文件夹:
mkdir /srv/jupyterhub/work -
增加用户:
adduser test1 -
报错:
No module named jupyterhub_idle_culler- 安装一下就好了
pip install jupyterhub_idle_culler -i https://pypi.tuna.tsinghua.edu.cn/simple/
- 安装一下就好了
-
登录root账户,初始化报错:
Spawn failed...- 管它这儿那儿的,给我装包!
pip3 install notebookpip3 install jupyterlab
-
如果出了权限问题,用户登录后不能创建啊之类的,我直接全部赋权,反正可以解决,可是这样用户就能互相看到每个人创建的notebook了。。。当然了也可以
700呢,反正比较离谱chmod 777 -R /srv/jupyterhub/workchmod 777 -R /home/*
-
备注
jupyterhub_config.py,我东拉西凑组装的,就。。。怪怪的,后面证明了,还是 DockerSpawner 好使啊!# Configuration file for jupyterhub. c = get_config() #noqa # 设置每个用户的 book类型 和 工作目录(创建.ipynb文件自动保存的地方) c.Spawner.notebook_dir = '/home/jupyterhub/work' # 设置工作目录 c.DockerSpawner.volumes = {'jupyterhub-user-{username}': '/home/jupyterhub/work'} c.Spawner.default_url = '/lab' c.Spawner.args = ['--allow-root'] # 允许root用户使用 # 对外登录设置的ip c.JupyterHub.ip = '0.0.0.0' c.JupyterHub.port = 1328 c.PAMAuthenticator.encoding = 'utf8' # 用户名单设置,默认身份验证方式PAM与NUIX系统用户管理层一致,root用户可以添加用户test1,test2等等,非root用户,sudo useradd test1/test2 不起作用,目前我不知道sudo useradd 和 root下 useradd本质区别*(没有特意学过linux,一切只靠用时百度) c.Authenticator.allowed_users = ['test1','test2'] c.Authenticator.admin_users = {'root'} # 管理员用户 c.DummyAuthenticator.password = "xxxxxxxxxxxx" # 管理员是否有权在各自计算机上以其他用户身份登录,以进行调试,此选项通常用于 JupyterHub 的托管部署,以避免在启动服务之前手动创建所有用户 c.JupyterHub.admin_access = True c.PAMAuthenticator.open_sessions = False # 解决多用户同时登录问题。 c.LocalAuthenticator.create_system_users = True # 允许创建其他用户 # 其他设置 cookie file and sqlite file,这个写着了,不写我没试有啥影响 c.JupyterHub.extra_log_file = '/srv/jupyterhub/jupyterhub.log' # 指定额外的日志 c.JupyterHub.pid_file='/srv/jupyterhub/jupyterhub.pid' # 指定pid文件位置 c.JupyterHub.db_url='/srv/jupyterhub/jupyterhub.sqlite' # 指定数据库文件位置 c.JupyterHub.cookie_secret_file='/srv/jupyterhub/jupyterhub_cookie_secret' # 指定cookie_secret文件位置 c.ConfigurableHTTPProxy.pid_file='/srv/jupyterhub/jupyterhub-proxy.pid' # 设置proxy.pid文件位置 ### 如果没有root权限,公司服务器,员工一般都没有,可以先设置下面两句进行测试,允许任何用户和密码登录,若想自己设置身份验证,也可以自己修改 PAMAuthenticator和SimpleLocalProcessSpawner这两个类,这两个类代码特简单,代码放到文章下面 # c.JupyterHub.authenticator_class = 'jupyterhub.auth.DummyAuthenticator' # c.JupyterHub.spawner_class = 'jupyterhub.spawner.SimpleLocalProcessSpawner' # 如上面不好使,请 pip install jupyterhub-dummyauthenticator # pip install jupyterhub-simplelocalprocessspawner # 应该jupyterhub 安装时就自带了这两个类 就在jupyterhub安装目录下,auth.py和spawner.py文件里 # 为jupyterhub 添加额外服务,用于处理闲置用户进程。使用时不好使安装一下:pip install jupyterhub-ilde-culler # 设置用户一小时内无使用则关闭jupyterlab服务 c.JupyterHub.services = [ { 'name': 'idle-culler', 'command': ['python3', '-m', 'jupyterhub_idle_culler', '--timeout=3600'], 'admin': True, # 1.5.0 需要服务管理员权限,去kill 部分闲置的进程notebook, 2.0版本已经改了,可以只赋给 idel-culler 部分特定权限,roles } ] c.JupyterHub.load_roles = [ { "name": "user", "scopes": ["self", "shares!user", "read:users:name", "read:groups:name"], }, ] # c.JupyterHub.load_roles = [ # { # "name": "list-and-cull", # name the role # "services": [ # "idle-culler", # assign the service to this role # ], # "scopes": [ # # declare what permissions the service should have # "list:users", # list users # "read:users:activity", # read user last-activity # "admin:servers", # start/stop servers # ], # } # ]
- ☁️ 我的CSDN:
https://blog.csdn.net/qq_21579045 - ❄️ 我的博客园:
https://www.cnblogs.com/lyjun/ - ☀️ 我的Github:
https://github.com/TinyHandsome - 🌈 我的bilibili:
https://space.bilibili.com/8182822 - 🍅 我的知乎:
https://www.zhihu.com/people/lyjun_ - 🐧 粉丝交流群:1060163543,神秘暗号:为干饭而来
碌碌谋生,谋其所爱。🌊 @李英俊小朋友

 浙公网安备 33010602011771号