CodeIgniter安装和入门使用(一)
CodeIgniter是个轻量级功能也强大的框架,适合做自己做小项目用,本文介绍CodeIgniter的安装和使用。
安装
官网链接http://codeigniter.org.cn/user_guide/installation/downloads.html ,最新的版本为3.0.2,直接git下载下来就ok。安装说明如下:
1,解压压缩包,然后将文件夹的内容全部上传到服务器上的web根目录,如/www/web/.
2,如何是本地的话,可以直接将文件夹改成自己项目的名字,放到自己的web根目录下,如mac上是
/Users/yanzi/Sites/,将解压缩后的文件夹改名为CodeIgniter;
3,找到application/config/config.php,设置网站根目录:(以下都是以部署在本地为例)
$config['base_url'] = 'http://localhost/~yanzi/CodeIgniter/';
如果有数据库的话,找到 application/config/database.php设置相关参数即可。
其他的基本不用设置了,但是由于CI是单入口的,即所有的访问都要先经过网站一级目录下的index.php.有几个参数还是要多注意下,打开根目录下的/Users/yanzi/Sites/CodeIgniter/index.php,找到以下几行:
$system_path = 'system';
$application_folder = 'application';
$view_folder = '';
前两个基本不用动,view_folder是空,但是看以下代码可知:
  // The path to the "views" folder
        if ( ! is_dir($view_folder))
        {
            if ( ! empty($view_folder) && is_dir(APPPATH.$view_folder.DIRECTORY_SEPARATOR))
            {
                $view_folder = APPPATH.$view_folder;
            }
            elseif ( ! is_dir(APPPATH.'views'.DIRECTORY_SEPARATOR))
            {
                header('HTTP/1.1 503 Service Unavailable.', TRUE, 503);
                echo 'Your view folder path does not appear to be set correctly. Please open the following file and correct this: '.SELF;
                exit(3); // EXIT_CONFIG
            }
            else
            {
                $view_folder = APPPATH.'views';
            }
        }
默认的是
$view_folder = APPPATH.'views';
经过上面步骤,浏览器输入:http://localhost/~yanzi/CodeIgniter/ (windows上输入自己对应的根目录即可)看到如下: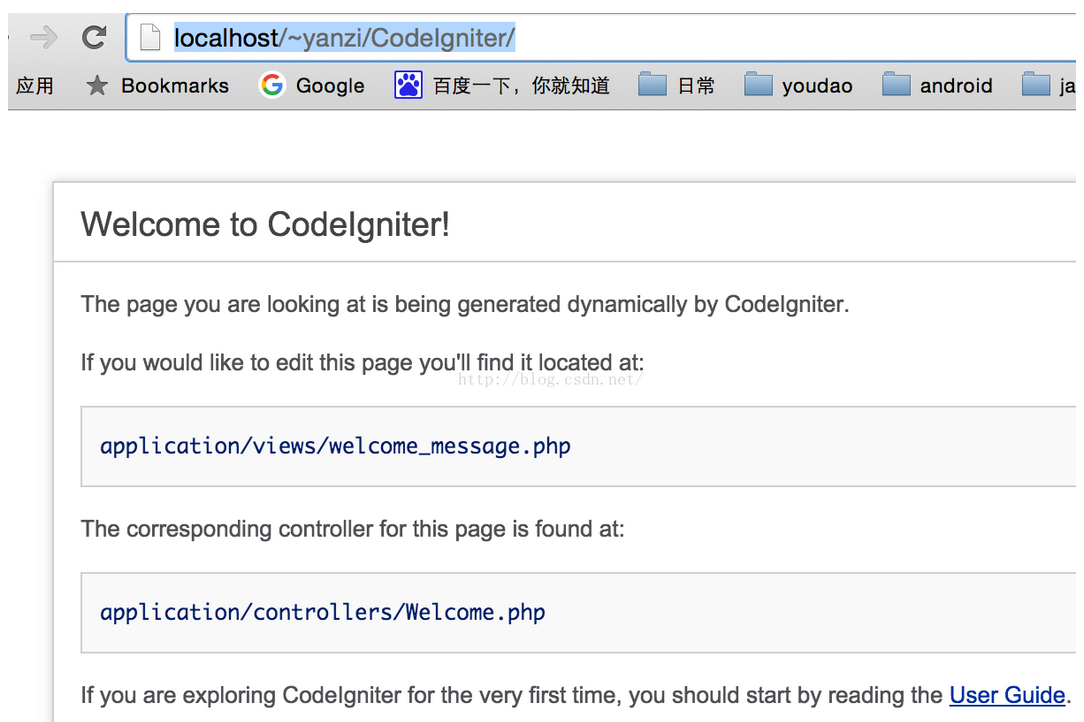
看到上图表示CodeIgniter安装ok。
下面简单看下,为什么会显示这个界面。
找到/Users/yanzi/Sites/CodeIgniter/application/config/routes.php,可以看到如下代码:
   $route['default_controller'] = 'welcome';
    $route['404_override'] = '';
    $route['translate_uri_dashes'] = FALSE;
即默认访问的Controller是welcome,也即/Users/yanzi/Sites/CodeIgniter/application/controllers/Welcome.php,
 <?php
    defined('BASEPATH') OR exit('No direct script access allowed');

    class Welcome extends CI_Controller {

        /**
         * Index Page for this controller.
         *
         * Maps to the following URL
         *         http://example.com/index.php/welcome
         *    - or -
         *         http://example.com/index.php/welcome/index
         *    - or -
         * Since this controller is set as the default controller in
         * config/routes.php, it's displayed at http://example.com/
         *
         * So any other public methods not prefixed with an underscore will
         * map to /index.php/welcome/<method_name>
         * @see http://codeigniter.com/user_guide/general/urls.html
         */
        public function index()
        {
            $this->load->view('welcome_message');
    //        echo "HelloWorld!";
        }
    }
可以看到这个controller加载了welcome_message.php,在view文件夹下。
加载静态页面的demo
对于链接http://example.com/news/latest/10 我们可以猜测访问了news的控制器里的latest的方法,且查询id为10的内容。
即通常URL如下所示:http://example.com/[controller-class]/[controller-method]/[arguments]
下面介绍一个加载静态页面的demo.
1,在application/controllers/新建Pages.php, 这就是一个Controller,继承CI_Controller,代码如下:
<?php

    /**
     * Created by PhpStorm.
     * User: yanzi
     * Date: 15/10/21
     * Time: 下午8:20
     */
    class Pages extends CI_Controller
    {
        public function index($page = 'home')
        {

        }
    }
2,在views文件夹下新建templates文件夹,新建header.php:
    <html>
        <head>
            <title>CodeIgniter Tutorial</title>
        </head>
        <body>

            <h1><?php echo $title; ?></h1>
新建footer.php:
<em>© 2015</em>
</body>
</html>
注意:这两个问题都必须是php,不能是html!这是CI的模版决定的。
在views文件夹下新建pages文件夹,新建home.php about.php,这是具体的界面。
在views文件夹下新建pages文件夹,里面新建home.php about.php,这里就是最终你要访问的界面。依次在界面里写一句话:
<h1>This is Home page</h1>
<h1>This is About page</h1>
3,接着是完善控制器里的view方法。
最终的控制器是:
 class Pages extends CI_Controller
    {
        public function view($page = 'home')
        {
            if(!file_exists(APPPATH. '/views/pages/' . $page . '.php')){
                show_404();
            }else{
                $data['title'] = ucfirst($page); // Capitalize the first letter
                $this->load->view('templates/header', $data);
                $this->load->view('pages/'.$page, $data);
                $this->load->view('templates/footer', $data);
            }
        }
    }
注意:这里将$page参数又赋给了data数组,对应key为title。这样在load->view()传给php时,又去读的$title参数。这个名字必须对应!
经过上述步骤,不需要配置任何东西就可以访问了。浏览器输入:
http://localhost/~yanzi/CodeIgniter/index.php/pages/view
可以看到默认参数为home的界面:
输入http://localhost/~yanzi/CodeIgniter/index.php/pages/view/about 将会看到about的界面。
注意:
1,url = site地址/index.php/控制器名字/方法名字/参数
2,当只输入url = site地址/index.php/控制器名字/默认访问的是控制器的index方法。如果函数名为index,则不用加方法名。但是当你传参数时还是要写上方法名字。
3,可以通过路由规则,简化url。
如找到config文件夹下的router.php,注释掉原来的加上这两句:
$route['default_controller'] = 'pages/view';
$route['(:any)'] = 'pages/view/$1';
则浏览器输入http://localhost/~yanzi/CodeIgniter/index.php/about 直接显示about界面内容,自动使用默认的pages控制器里的view方法,且将参数 作为$1传过去。
有以下几个经典的路由:
a,
$route['product/:num'] = 'catalog/product_lookup';
url 访问example.com/product/1/ 则自动触发的是catalog控制器。
b,
$route['journals'] = 'blogs'; //重定向
c,
$route['blog/joe'] = 'blogs/users/34';
也是重定向。
关于路由这块可以参考:http://codeigniter.org.cn/user_guide/general/routing.html
参考:http://codeigniter.org.cn/user_guide/tutorial/static_pages.html
原文:https://blog.csdn.net/yanzi1225627/article/details/49233281
赞赏码


非学,无以致疑;非问,无以广识

 浙公网安备 33010602011771号