


用IDEA搭建和部署Spring Boot开发环境
一、环境搭建(只说明关键步骤)
1.创建新项目
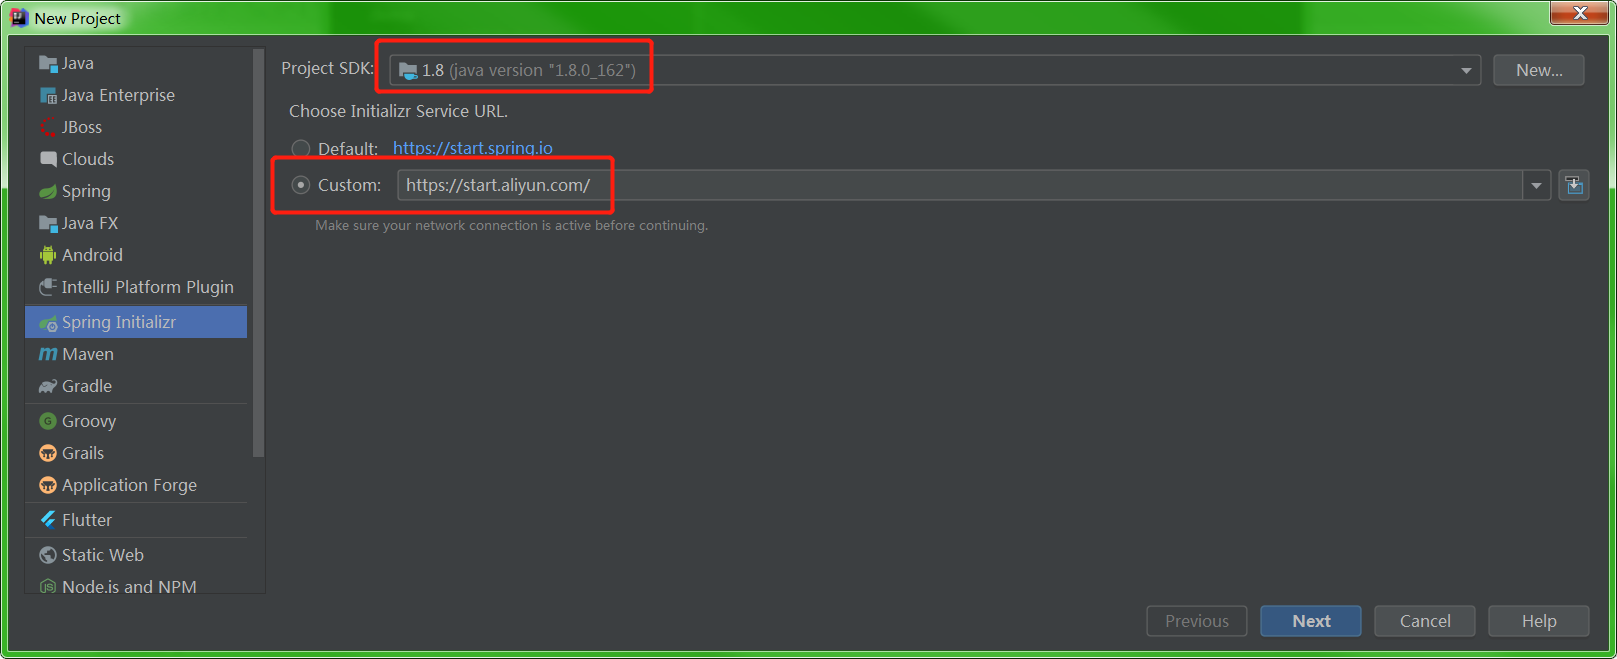
2.使用Spring的初始化器
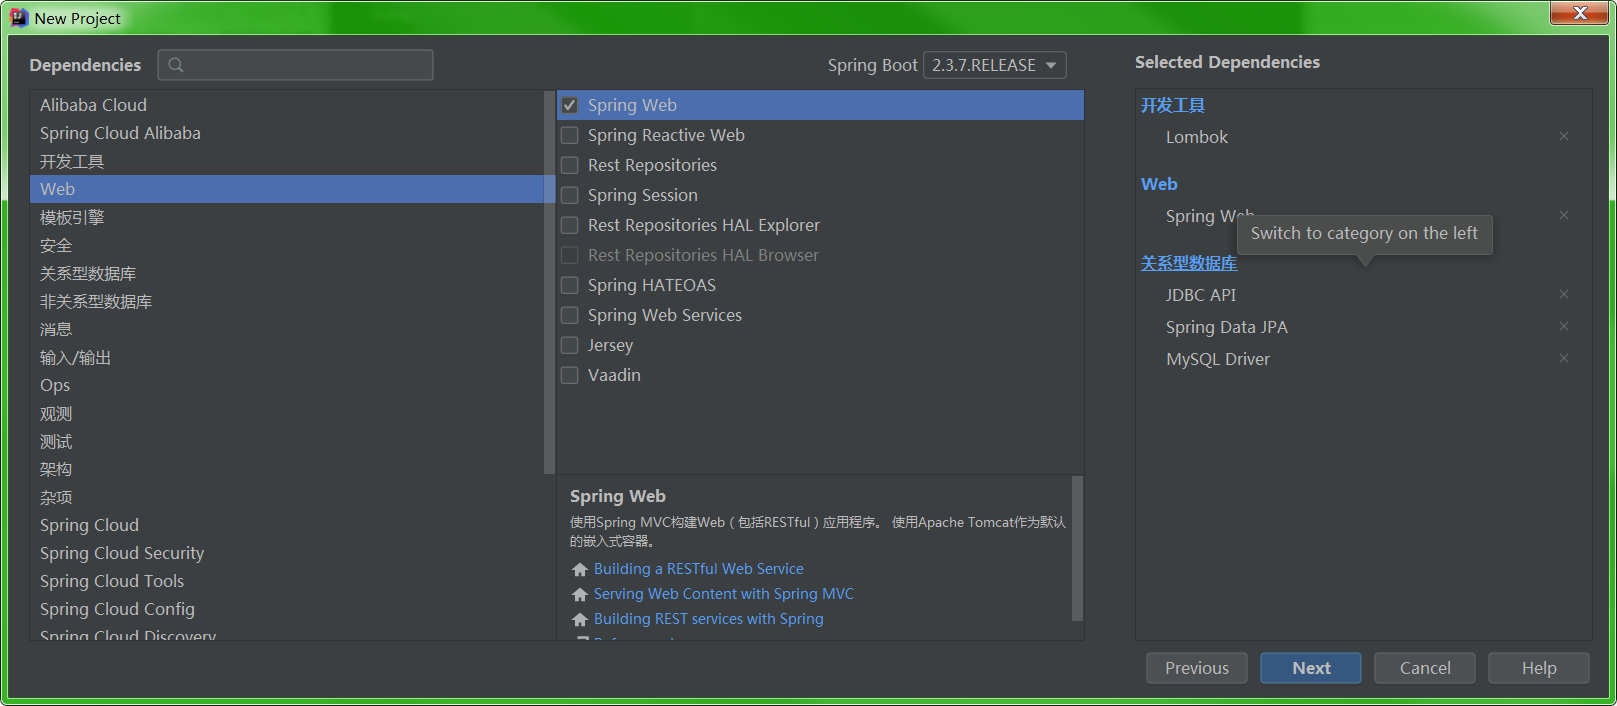
3.点击两次Next,选择如下依赖
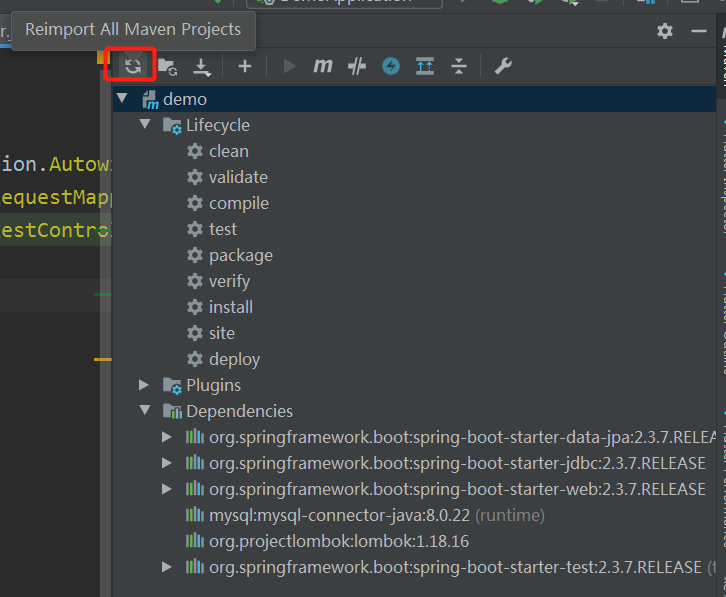
4.点击Next和Finish,进入项目,点击reimport,下载依赖
二、编写简单的后端代码
我有一个MySQL数据库,里面有一个user表,以查询此表为例。
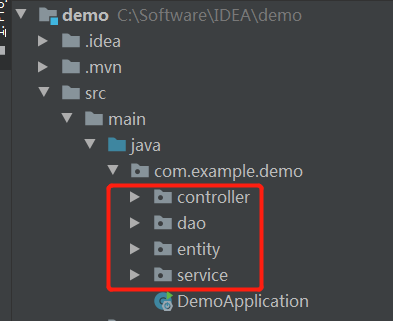
1.在项目中依次创建controller、service、dao、entity包
2.在controller下新建NameController类
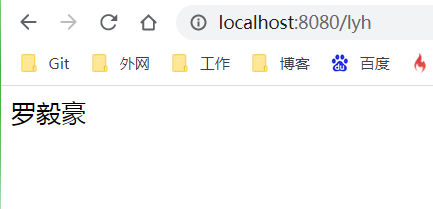
package com.example.demo.controller;

import org.springframework.web.bind.annotation.RequestMapping;
import org.springframework.web.bind.annotation.RestController;

@RestController
public class NameController {
    @RequestMapping("/lyh")
    public String myName(){
        return "罗毅豪";
    }
}
3.修改application.properties为application.yml,里面的内容为:
server:
  port: 8080

spring:
  datasource:
    url: jdbc:mysql://1.15.186.160:3306/luoyihao?useUnicode=true&characterEncoding=utf-8&useSSL=true&serverTimezone=UTC
    username: lyh
    password: lyh
    driver-class-name: com.mysql.cj.jdbc.Driver
  jpa:
    database-platform: org.hibernate.dialect.MySQL5InnoDBDialect
    show-sql: true
其中port是后端程序的端口号,然后是配置数据库的url、用户名和密码,最后是配置jpa。
4.点击运行,输入链接,查看效果。
5.对应数据库的user表,创建UserEntity
package com.example.demo.entity;

import lombok.Data;

import javax.persistence.*;
@Entity
@Table(name = "user")
@Data
public class UserEntity {
    @Id
    @GeneratedValue(strategy = GenerationType.IDENTITY)
    @Column(name = "id")
    private int id;
    @Column(name = "name")
    private String name;
    @Column(name = "pwd")
    private String pwd;
}
其中
@GeneratedValue(strategy = GenerationType.IDENTITY)
是JPA的注解,表示主键由数据库自动生成(主要是自动增长型) 。
6.创建UserDao接口
package com.example.demo.dao;

import com.example.demo.entity.UserEntity;
import org.springframework.data.jpa.repository.JpaRepository;
import org.springframework.data.jpa.repository.JpaSpecificationExecutor;

public interface UserDao extends JpaRepository<UserEntity,String>, JpaSpecificationExecutor<UserEntity> {
    UserEntity getByName(String name);
}
7.创建UserService
package com.example.demo.service;

import com.example.demo.dao.UserDao;
import com.example.demo.entity.UserEntity;
import org.springframework.beans.factory.annotation.Autowired;
import org.springframework.stereotype.Service;

import java.util.List;

@Service
public class UserService {
    @Autowired
    private UserDao userDao;

    public UserEntity getUserEntityByName(String name){
        return userDao.getByName(name);
    }

    public List<UserEntity> getAllUser(){
        return userDao.findAll();
    }
}
8.创建UserController
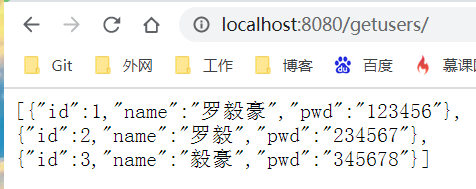
package com.example.demo.controller;

import com.example.demo.service.UserService;
import org.springframework.beans.factory.annotation.Autowired;
import org.springframework.web.bind.annotation.RequestMapping;
import org.springframework.web.bind.annotation.RestController;

@RestController
public class UserController {
    @Autowired
    private UserService userService;

    @RequestMapping("/getusers")
    public Object getUserInfo(){
        return userService.getAllUser();
    }
}
9.运行,查看效果
三、打包部署
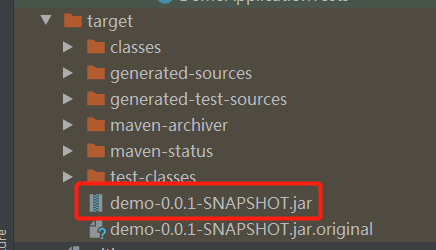
1.先执行maven clean,再执行maven package
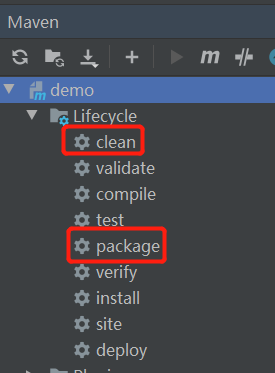
2.在target目录下会生成jar包
3.使用rz命令将jar包上传到Linux服务器上,建议放在/opt文件夹里
4.使用
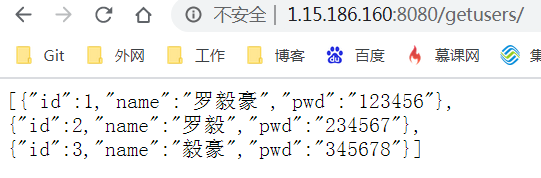
java -jar demo-0.0.1-SNAPSHOT.jar
可在服务器上启动服务。
效果如下:
但是,用ctrl+C就停止了服务,我们想让该服务在后台运行,不中断。
5.使用
nohup java -jar demo-0.0.1-SNAPSHOT.jar>log.out &
命令可在服务器后台不中断运行服务。
其中&表示在当窗口关闭时,程序才会中止运行。
nohup表示不挂断运行命令,当账户退出或终端关闭时,程序仍然运行。
>log.out表示运行日志输出到log.out。
四、反向代理
我开发了前端页面,对接getusers接口。
在nginx中部署前端应用
server{
    listen 8888;
    server_name  localhost;
    location / {
        root   /opt;
        index  index.html index.htm;
    }
}
但是由于后台接口的端口号是8080,8888访问8080出现了跨域问题。
这个时候,我们需要配置反向代理。
即在nginx中加下以下配置,使得用户在访问包含/getusers/的接口时会转移到8080端口上,解决跨域问题。
server{
    listen 8888;
    server_name  localhost;
    location / {
        root   /opt;
        index  index.html index.htm;
    }
    location /getusers/ {
        proxy_pass http://localhost:8080;
    }
}
效果如下:
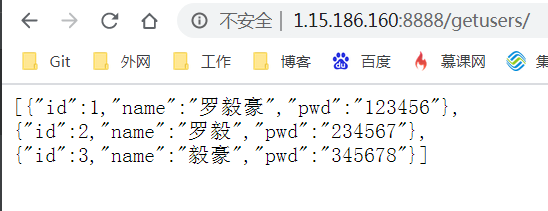
然后将前端页面对接该接口地址,即可。

 浙公网安备 33010602011771号