

vue.js 3 初学经验
Windows 11
x86_64
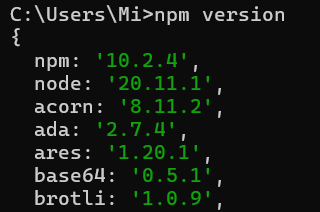
node: '20.11.1'
npm: '10.2.4'
--
cnpm@9.4.0:npm@9.9.2,node@20.11.1
--
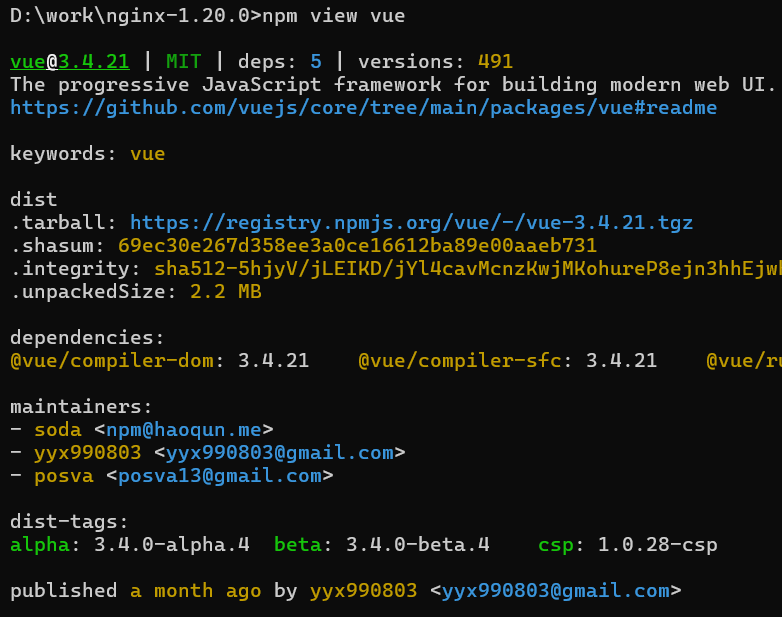
vue@3.4.21
vite@5.2.8
--
nginx-1.20.0 on Windows
--
序章
作者 是 前端开发入门选手,最近在学习 Vue 3,遇到了不少问题,特整理到本文。
如有错漏,还请不吝指正。
教程选择
官方文档
https://cn.vuejs.org/guide/introduction.html
最新版本:
vue@3.4.21。
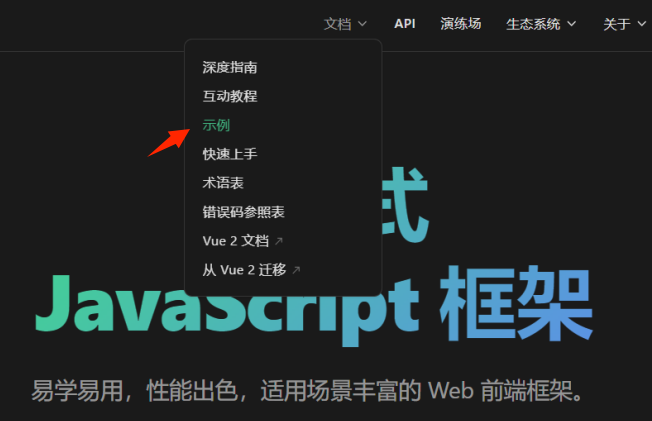
官方文档:示例
https://cn.vuejs.org/examples/
有很多代码可以参考,强烈。
菜鸟教程:Vue3 教程
https://www.runoob.com/vue3/vue3-tutorial.html
本教程基于 Vue 3.0.5 版本测试。
说明,
作者的入门教程。
版本比较旧,教程中的一些内容已经过时了,比如,“Vue3 安装 > 使用图形化界面 > vue ui 命令”。
可以先基于 菜鸟教程 了解基本概念,耗时1天左右。
然后,基于 官方文档做进一步学习 和 实践。
学习前提
基本级
- HTML
- CSS
- JavaScript
入门级
- Node.js(npm、cnpm)
- Webpack
- Vite
专业级
- ECMAScript 6(ES 6)
- TypeScript
- Webpack 高级
- Vite 高级
安装、使用方式
<script> 标签 导入:不建议
将 vue 的 js 文件下载下来,或者,使用 CDN。
示例:
| <script src="https://cdn.staticfile.net/vue/3.0.5/vue.global.js"></script> |
(强烈)不建议。
后续使用会遇到很多问题。
开始是 导入一个 vue 的包,随着开发的进行、需求的增多,就需要导入许许多多的包,一个一个去找,真的累死人。
npm 方法:建议
首先,安装 node.js,安装后,就可以使用 npm 命令了。
npm version 查看 版本信息:
本文使用该方法开发项目。
npm 常用命令
搜索包:npm search vue
![]()
查看包详情:npm view vue
安装包:npm install vue,后面会用到。
更多命令暂未用到。
cnpm 命令
由于 npm 安装速度慢,本教程使用了淘宝的镜像及其命令 cnpm。
安装 cnpm:
|
npm install cnpm -g npm install -g cnpm --registry=https://registry.npmmirror.com |
npmmirror 镜像站
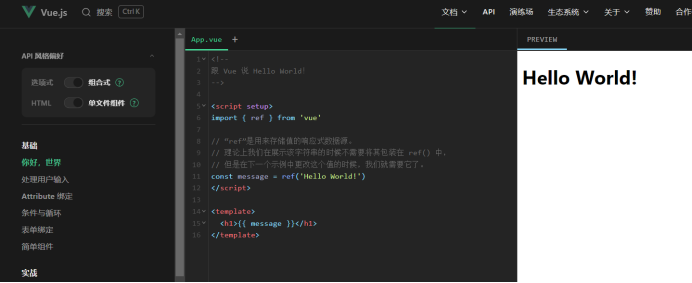
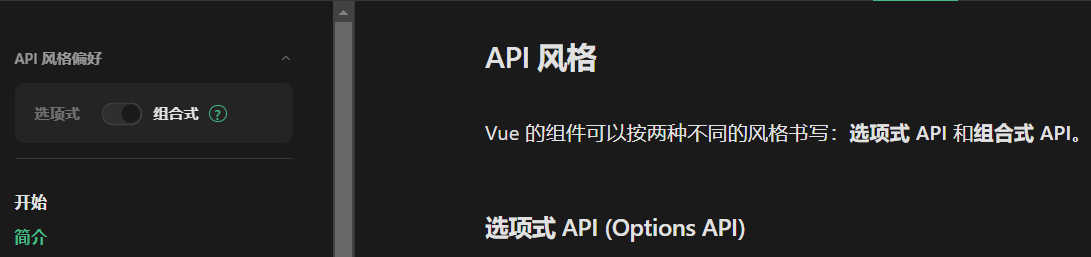
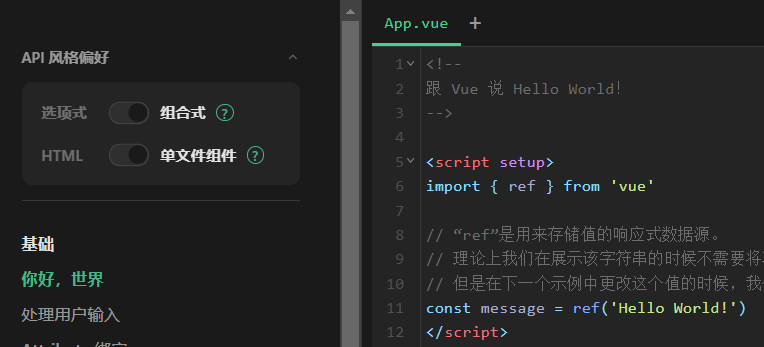
API风格偏好
选项式
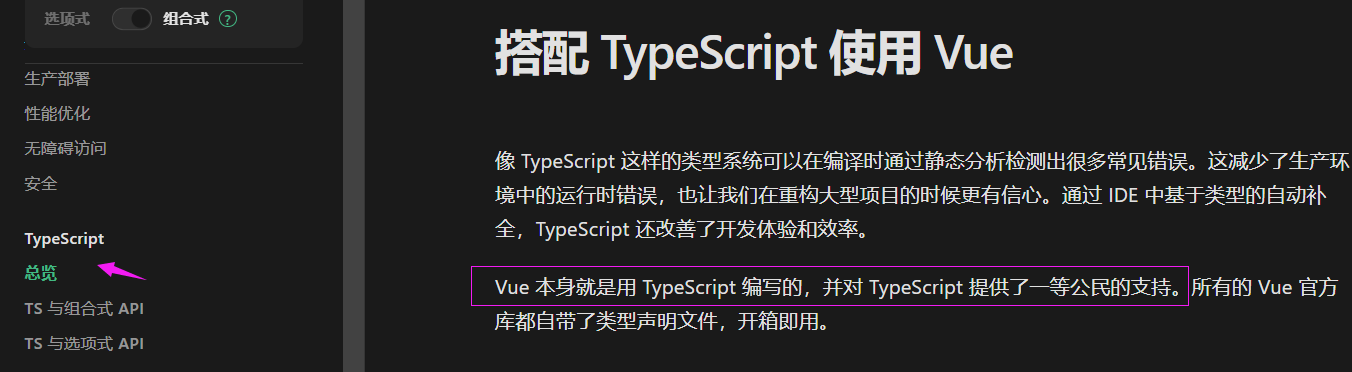
TypeScript 与 选项式 API
组合式
TypeScript 与 组合式 API
X
HTML
单文件组件
……
风格比较
来自 官方文档示例。
| 选项式+HTML | 组合式+HTML | 选项式+单文件组件 | 组合式+单文件组件 |
|
<script type="module"> createApp({ <div id="app"> |
<script type="module"> createApp({ return { <div id="app"> |
<script> <template> |
<script setup> // “ref”是用来存储值的响应式数据源。 <template> |
作者 不懂 TypeScript,就不展示代码了。
在上面四种风格中,作者 推荐使用 组合式+单文件组件。
当然,组合式+HTML 也有其用途,作者未用过。
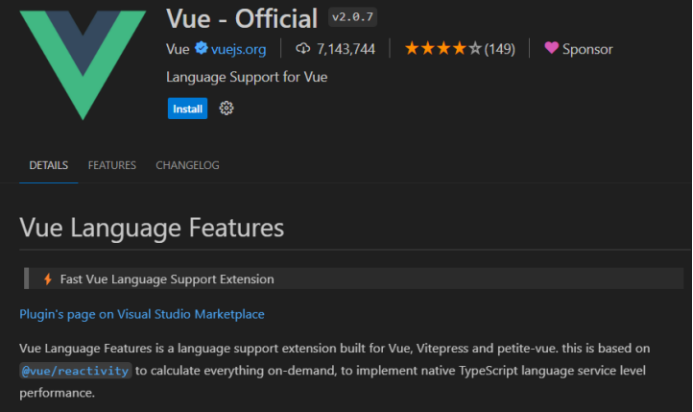
集成开发工具(IDE)
visual studio code
插件:VUE-OFFICIAL
创建 vue.js 3 项目
官方文档:快速上手
https://cn.vuejs.org/guide/quick-start.html
1)进入工作目录
D:\WS\nodejs\day3>
2)npm create vue@latest
做各种选择。
其中,Vue Router、Pinia 可以选择 “是”。
下面的项目都选择 否:
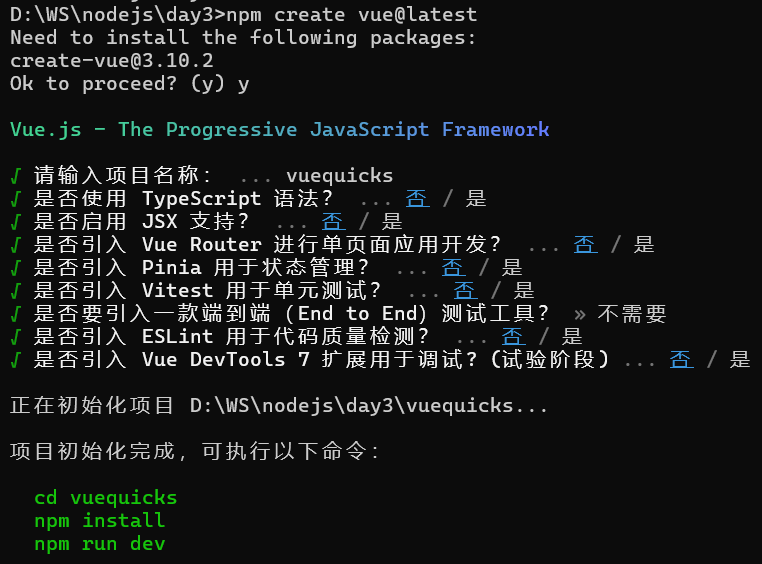
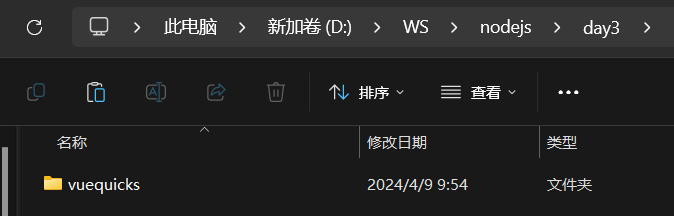
项目创建完成。
新建了 项目文件夹 vuequicks:
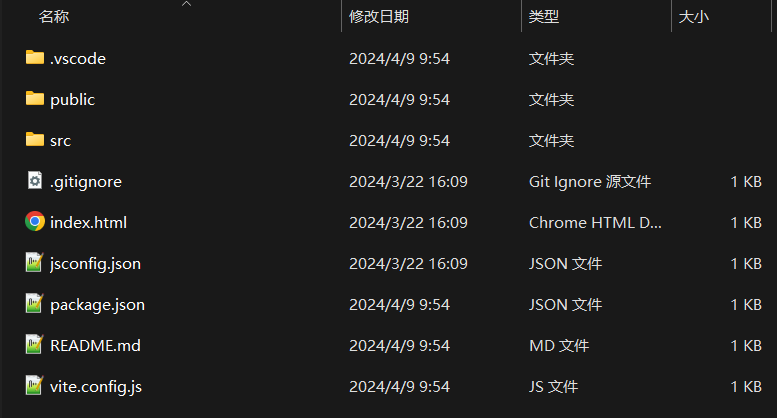
其中,package.json 文件内容如下。
package.json
{
  "name": "vuequicks",
  "version": "0.0.0",
  "private": true,
  "type": "module",
  "scripts": {
    "dev": "vite",
    "build": "vite build",
    "preview": "vite preview"
  },
  "dependencies": {
    "vue": "^3.4.21"
  },
  "devDependencies": {
    "@vitejs/plugin-vue": "^5.0.4",
    "vite": "^5.1.6"
  }
}
3)npm install
安装。
解释:
|
执行命令:npm help install,打开网页。 Install a package。 This command installs a package and any packages that it depends on. If the package has a package-lock, or an npm shrinkwrap file, or a yarn lock file, the installation of dependencies will be driven by that, respecting the following order of precedence: npm-shrinkwrap.json |
执行:
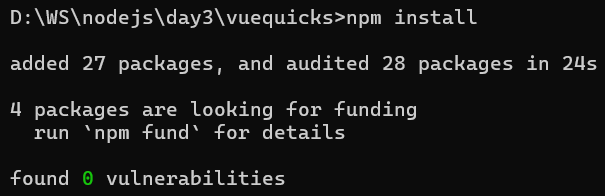
安装成功。
安装后,项目目录下多了:
- node_modules 文件夹
- package-lock.json 文件
4)npm run dev
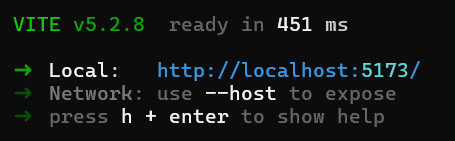
访问 http://localhost:5173 :
访问成功,页面如下。
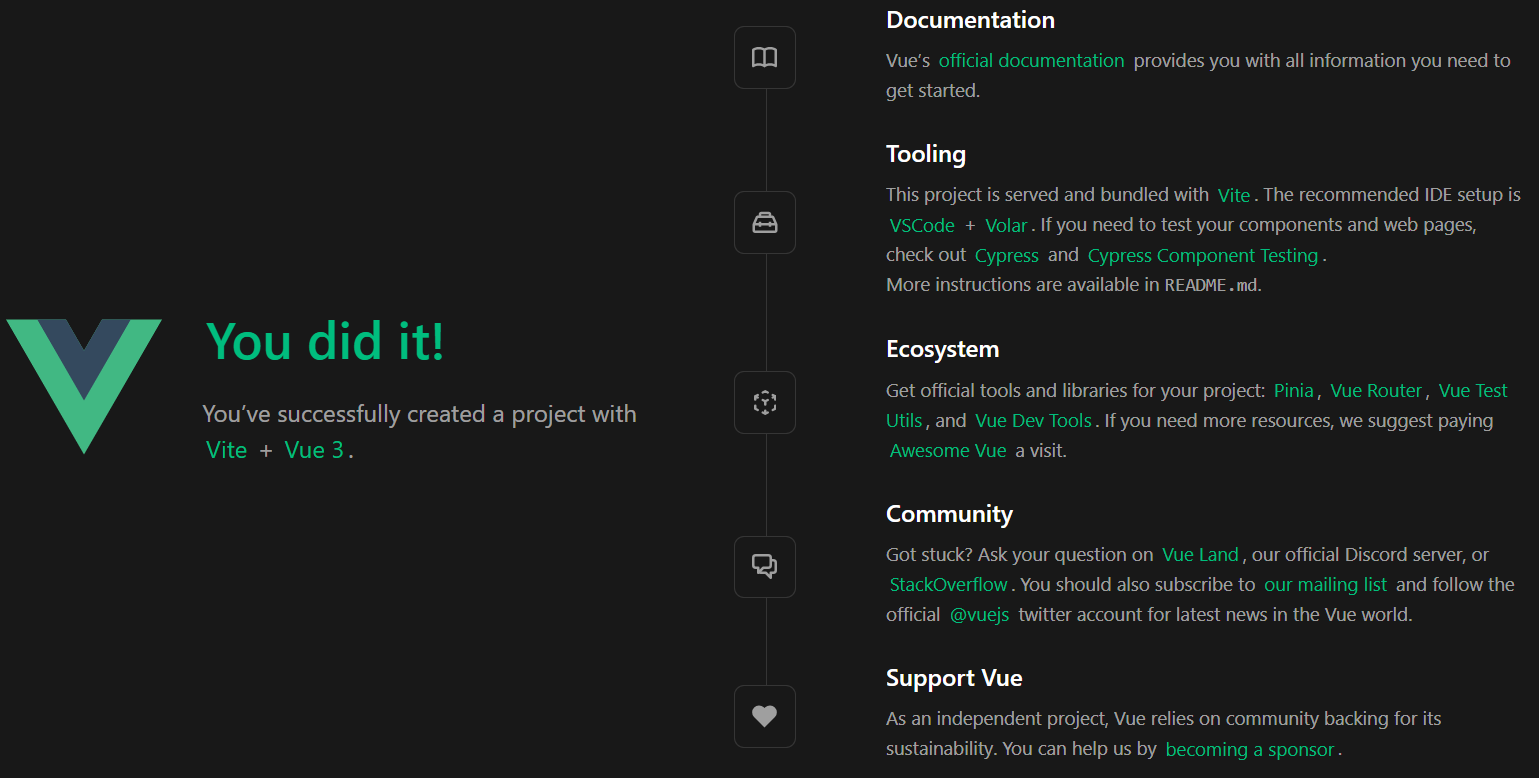
没有更多操作,只是一些外部链接,要是 create 时 选择了 Vue Router,会有更多操作。
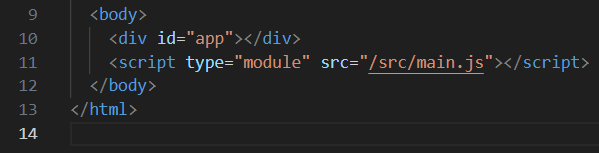
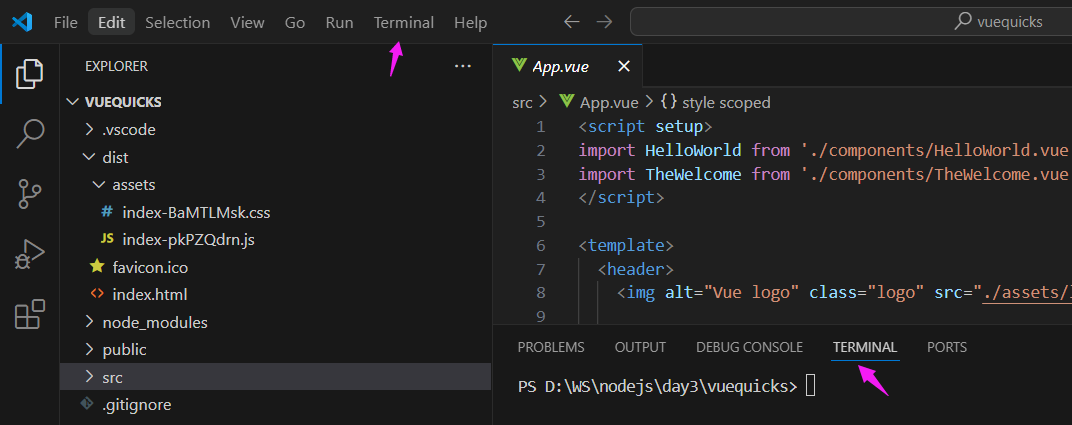
5)VSCODE 打开项目

index.html 页面:
用了
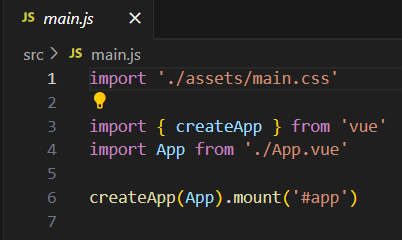
src 下的 main.js:
用了
src 下的 App.vue:
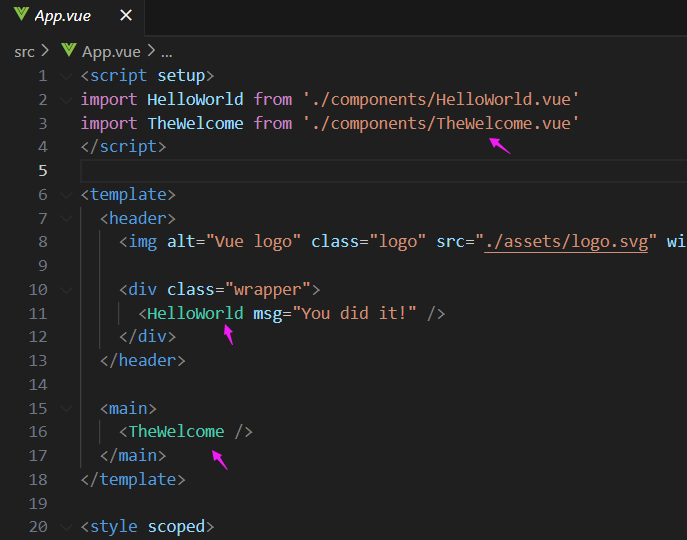
用了
src/components 目录 下的 2个组件(略)。
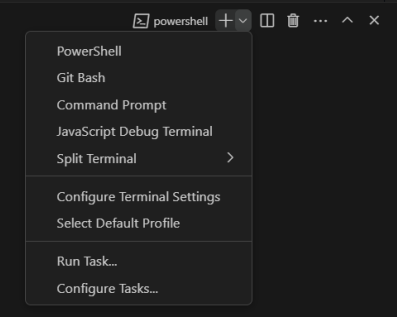
vscode 中的 终端(terminal)
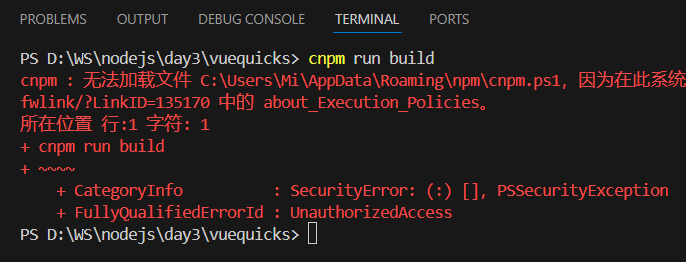
默认终端 时 powershell 的,可以更换为 Command Prompt 的,后者可以执行 cnpm 命令。
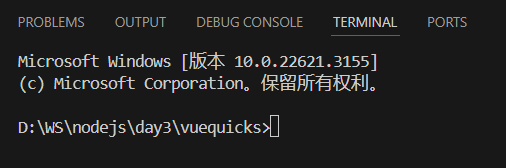
powershell 下执行 cnpm 命令 失败(作者对 powershell 不熟):
部署项目到 nginx
nginx 是 本机 Windows 上的。
1)npm run build
打包项目。
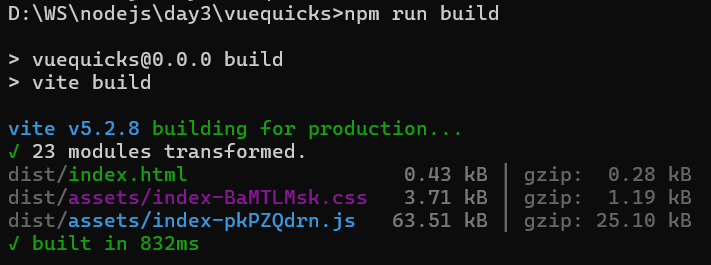
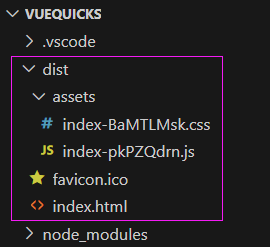
打包后多了个 dist 目录。
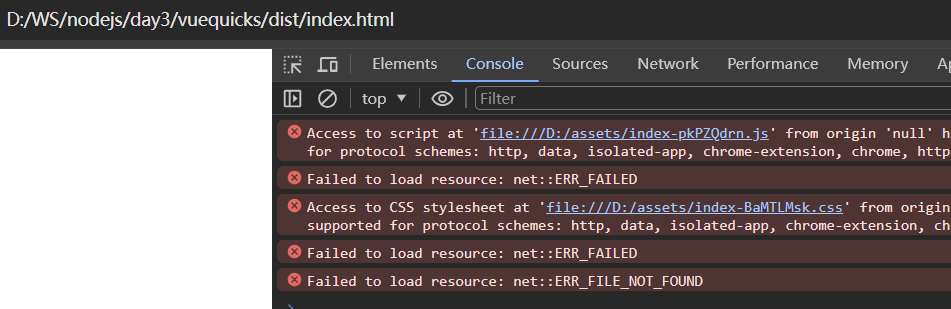
注意,
直接在浏览器打开 这个 index.html,是不对的(需要修改相关assets 文件路径才行——绝对路径改为相对路径)。
2)配置 nginx 指向 dist 目录
server>root 配置为 dist。
| server { listen 80; listen [::]:80; server_name _; # 错误写法:反斜杠 #root D:\WS\nodejs\day3\vuequicks\dist; # 正确写法:斜杠 root D:/WS/nodejs/day3/vuequicks/dist; |
访问:http://localhost,失败。可通过修改配置解决(本文 暂不处理)。
访问:http://localhost/index.html,成功,页面同 npm run dev 时。
说明,
将 vue项目 打包后 部署到云端服务器,可以使用 scp 命令 或 其它方式拷贝过去。
常用软件包
elemen-plus
两个包:elemen-plus 和 element-plus/icons-vue。
和 vue 3.0 配合的 UI。
相关地址:
https://element-plus.org 可能访问较慢,比如,晚间。
https://element-plus.gitee.io 240408 遇到了 访问错误(503 Service Temporarily Unavailable),刷新后一般正常了。
element-plus/icons-vue 是一些图标的使用,在 组合式 风格中使用可以参考下面的代码:
|
// main.js 文件 import ElementPlus from 'element-plus'
import 'element-plus/dist/index.css'
import * as ElementPlusIconVue from '@element-plus/icons-vue'
app.use(ElementPlus)
// 全局注册
for (const [key, component] of Object.entries(ElementPlusIconVue)) {
app.component(key, component)
}
|
参考博文如下:
Vue3引入Element Plus的Icon
帅帅气气的黑猫警长
已于 2022-09-18 17:18:29
https://blog.csdn.net/Hao_ge_666/article/details/126919944
vue-router
可以在 创建时 选择,也可以 创建后安装。
官网:
pinia
两个包:pinia 和 pinia-plugin-persistedstate。
状态管理,比如,登录状态。
状态持久化,比如,存储到浏览器的 localStorage、sessionStorage。
官网:
Promise based HTTP client for the browser and node.js。
Moment.js
官网:
在 JavaScript 中解析、校验、操作、显示日期和时间。
本文涉及命令
- npm search vue
- npm view vue
- npm install vue
- npm install cnpm -g
- npm install -g cnpm --registry=https://registry.npmmirror.com
- npm create vue@latest
- npm install
- npm run dev
- npm run build
---END---
ben发布于博客园
本文链接:
https://www.cnblogs.com/luo630/p/18123020
ben发布于博客园
参考资料
1、Vue3引入Element Plus的Icon
帅帅气气的黑猫警长
已于 2022-09-18 17:18:29
https://blog.csdn.net/Hao_ge_666/article/details/126919944
2、一个登录案例学会 Pinia
2022-10-24
https://developer.aliyun.com/article/1058104
参考之进行了练习,遇到了错误,实例化 存储时异常:文件 store/index.js 导致的。
最终参考官文解决,直接写在 main.js 中。
3、
ben发布于博客园
ben发布于博客园

 浙公网安备 33010602011771号