
【实战】Windows10+YOLOv3实现检测自己的数据集(1)——制作自己的数据集
本文将从以下三个方面介绍如何制作自己的数据集
一、数据标注
在深度学习的目标检测任务中,首先要使用训练集进行模型训练。训练的数据集好坏决定了任务的上限。下面介绍两种常用的图像目标检测标注工具:Labelme和LabelImg。
(1)Labelme
Labelme适用于图像分割任务和目标检测任务的数据集制作,它来自该项目:https://github.com/wkentaro/labelme 。
按照项目中的教程安装完毕后,应用界面如下图所示:

它能够提供多边形、矩形、圆形、直线和点的图像标注,并将结果保存为 JSON 文件。
(2)LabelImg
LabelImg适用于目标检测任务的数据集制作。它来自该项目:https://github.com/tzutalin/labelImg
应用界面如下图所示:
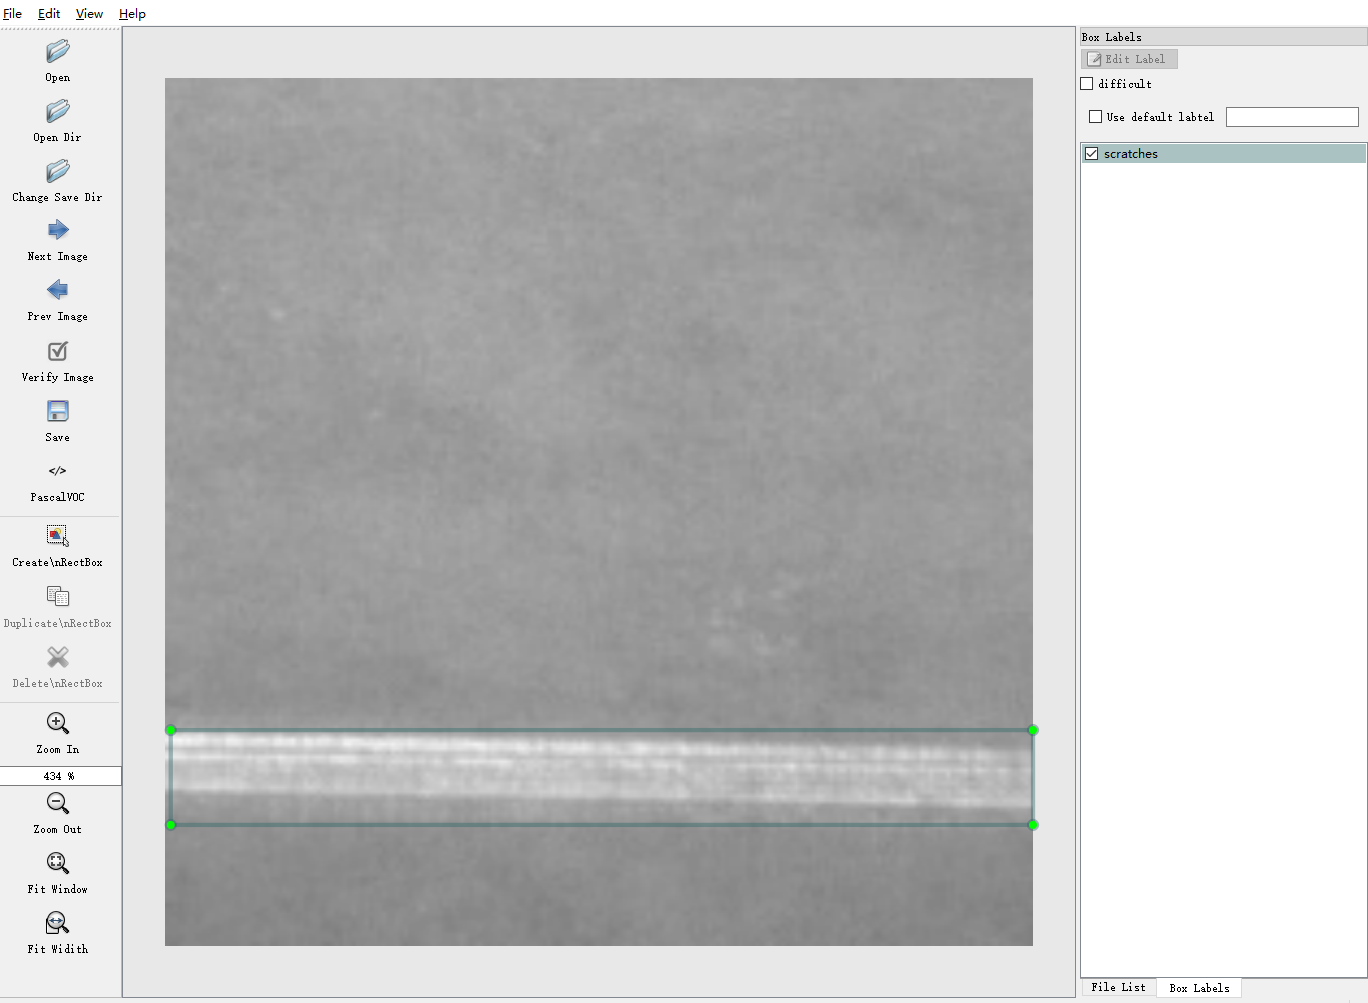
它能够提供矩形的图像标注,并将结果保存为txt(YOLO)或xml(PascalVOC)格式。如果需要修改标签的类别内容,则在主目录data文件夹中的predefined_classes.txt文件中修改。
我使用的就是这一个标注软件,标注结果保存为xml格式,后续还需要进行标注格式的转换。
操作快捷键:
Ctrl + u 加载目录中的所有图像,鼠标点击Open dir同功能Ctrl + r 更改默认注释目标目录(xml文件保存的地址)Ctrl + s 保存Ctrl + d 复制当前标签和矩形框space 将当前图像标记为已验证w 创建一个矩形框d 下一张图片a 上一张图片del 删除选定的矩形框Ctrl++ 放大Ctrl-- 缩小↑→↓← 键盘箭头移动选定的矩形框
二、数据扩增
在某些场景下的目标检测中,样本数量较小,导致检测的效果比较差,这时就需要进行数据扩增。本文介绍常用的6类数据扩增方式,包括裁剪、平移、改变亮度、加入噪声、旋转角度以及镜像。
考虑到篇幅问题,将这一部分单列出来,详细请参考本篇博客:https://www.cnblogs.com/lky-learning/p/11653861.html
三、将数据转换至COCO的json格式
首先让我们明确一下几种格式,参考自【点此处】:
3.1 csv
csv/labels.csvimages/image1.jpgimage2.jpg...
labels.csv 的形式:
/path/to/image,xmin,ymin,xmax,ymax,label
例如:
/mfs/dataset/face/image1.jpg,450,154,754,341,face/mfs/dataset/face/image2.jpg,143,154,344,341,face
3.2 voc
标准的voc数据格式如下:
VOC2007/
Annotations/0d4c5e4f-fc3c-4d5a-906c-105.xml0ddfc5aea-fcdac-421-92dad-144/xml...
ImageSets/Main/train.txttest.txtval.txttrainval.txt
JPEGImages/0d4c5e4f-fc3c-4d5a-906c-105.jpg0ddfc5aea-fcdac-421-92dad-144.jpg...
3.3 COCO
coco/
annotations/instances_train2017.jsoninstances_val2017.json
images/train2017/0d4c5e4f-fc3c-4d5a-906c-105.jpg...
val20170ddfc5aea-fcdac-421-92dad-144.jpg...
Json file 格式: (imageData那一块太长了,不展示了)
{
  "version": "3.6.16",
  "flags": {},
  "shapes": [
    {
      "label": "helmet",
      "line_color": null,
      "fill_color": null,
      "points": [
        [
          131,
          269
        ],
        [
          388,
          457
        ]
      ],
      "shape_type": "rectangle"
    }
  ],
  "lineColor": [
    0,
    255,
    0,
    128
  ],
  "fillColor": [
    255,
    0,
    0,
    128
  ],
  "imagePath": "004ffe6f-c3e2-3602-84a1-ecd5f437b113.jpg",
  "imageData": ""   # too long ,so not show here
  "imageHeight": 1080,
  "imageWidth": 1920
}
在上一节中提到,经过标注后的结果保存为xml格式,我们首先要把这些xml标注文件整合成一个csv文件。
整合代码如下:
import os
import glob
import pandas as pd
import xml.etree.ElementTree as ET

## xml文件的路径
os.chdir('./data/annotations/scratches')
path = 'C:/Users/Admin/Desktop/data/annotations/scratches' # 绝对路径
img_path = 'C:/Users/Admin/Desktop/data/images'

def xml_to_csv(path):
    xml_list = []
    for xml_file in glob.glob(path + '/*.xml'):  #返回所有匹配的文件路径列表。
        tree = ET.parse(xml_file)
        root = tree.getroot()

        for member in root.findall('object'):
#            value = (root.find('filename').text,
#                     int(root.find('size')[0].text),
#                     int(root.find('size')[1].text),
#                     member[0].text,
#                     int(member[4][0].text),
#                     int(member[4][1].text),
#                     int(member[4][2].text),
#                     int(member[4][3].text)
#                     )
            value = (img_path +'/' + root.find('filename').text,
                     int(member[4][0].text),
                     int(member[4][1].text),
                     int(member[4][2].text),
                     int(member[4][3].text),
                     member[0].text
                     )
            xml_list.append(value)
    #column_name = ['filename', 'width', 'height', 'class', 'xmin', 'ymin', 'xmax', 'ymax']
    column_name = ['filename', 'xmin', 'ymin', 'xmax', 'ymax', 'class']
    xml_df = pd.DataFrame(xml_list, columns=column_name)
    return xml_df

if __name__ == '__main__':
    image_path = path
    xml_df = xml_to_csv(image_path)
    ## 修改文件名称
    xml_df.to_csv('scratches.csv', index=None)
    print('Successfully converted xml to csv.')
当显示 Successfully converted xml to csv 后,我们就得到了整理后的标记文件。
在有些模型下,有了图像数据和csv格式的标注文件后,就可以进行训练了。但是在YOLOv3中,标记文件的类型为COCO的json格式,因此我们还得将其转换至json格式。
转换代码:
import os
import json
import numpy as np
import pandas as pd
import glob
import cv2
import shutil
from IPython import embed
from sklearn.model_selection import train_test_split
np.random.seed(41)

# 0为背景
classname_to_id = {"scratches": 1,"inclusion": 2}

class Csv2CoCo:

    def __init__(self,image_dir,total_annos):
        self.images = []
        self.annotations = []
        self.categories = []
        self.img_id = 0
        self.ann_id = 0
        self.image_dir = image_dir
        self.total_annos = total_annos

    def save_coco_json(self, instance, save_path):
        json.dump(instance, open(save_path, 'w'), ensure_ascii=False, indent=2)  # indent=2 更加美观显示

    # 由txt文件构建COCO
    def to_coco(self, keys):
        self._init_categories()
        for key in keys:
            self.images.append(self._image(key))
            shapes = self.total_annos[key]
            for shape in shapes:
                bboxi = []
                for cor in shape[:-1]:
                    bboxi.append(int(cor))
                label = shape[-1]
                annotation = self._annotation(bboxi,label)
                self.annotations.append(annotation)
                self.ann_id += 1
            self.img_id += 1
        instance = {}
        instance['info'] = 'spytensor created'
        instance['license'] = ['license']
        instance['images'] = self.images
        instance['annotations'] = self.annotations
        instance['categories'] = self.categories
        return instance

    # 构建类别
    def _init_categories(self):
        for k, v in classname_to_id.items():
            category = {}
            category['id'] = v
            category['name'] = k
            self.categories.append(category)

    # 构建COCO的image字段
    def _image(self, path):
        image = {}
        img = cv2.imread(self.image_dir + path)
        image['height'] = img.shape[0]
        image['width'] = img.shape[1]
        image['id'] = self.img_id
        image['file_name'] = path
        return image

    # 构建COCO的annotation字段
    def _annotation(self, shape,label):
        # label = shape[-1]
        points = shape[:4]
        annotation = {}
        annotation['id'] = self.ann_id
        annotation['image_id'] = self.img_id
        annotation['category_id'] = int(classname_to_id[label])
        annotation['segmentation'] = self._get_seg(points)
        annotation['bbox'] = self._get_box(points)
        annotation['iscrowd'] = 0
        annotation['area'] = 1.0
        return annotation

    # COCO的格式: [x1,y1,w,h] 对应COCO的bbox格式
    def _get_box(self, points):
        min_x = points[0]
        min_y = points[1]
        max_x = points[2]
        max_y = points[3]
        return [min_x, min_y, max_x - min_x, max_y - min_y]
    # segmentation
    def _get_seg(self, points):
        min_x = points[0]
        min_y = points[1]
        max_x = points[2]
        max_y = points[3]
        h = max_y - min_y
        w = max_x - min_x
        a = []
        a.append([min_x,min_y, min_x,min_y+0.5*h, min_x,max_y, min_x+0.5*w,max_y, max_x,max_y, max_x,max_y-0.5*h, max_x,min_y, max_x-0.5*w,min_y])
        return a


if __name__ == '__main__':

    ## 修改目录
    csv_file = "data/annotations/scratches/scratches.csv"
    image_dir = "data/images/"
    saved_coco_path = "./"
    # 整合csv格式标注文件
    total_csv_annotations = {}
    annotations = pd.read_csv(csv_file,header=None).values
    for annotation in annotations:
        key = annotation[0].split(os.sep)[-1]
        value = np.array([annotation[1:]])
        if key in total_csv_annotations.keys():
            total_csv_annotations[key] = np.concatenate((total_csv_annotations[key],value),axis=0)
        else:
            total_csv_annotations[key] = value
    # 按照键值划分数据
    total_keys = list(total_csv_annotations.keys())
    train_keys, val_keys = train_test_split(total_keys, test_size=0.2)
    print("train_n:", len(train_keys), 'val_n:', len(val_keys))
    ## 创建必须的文件夹
    if not os.path.exists('%ssteel/annotations/'%saved_coco_path):
        os.makedirs('%ssteel/annotations/'%saved_coco_path)
    if not os.path.exists('%ssteel/images/train/'%saved_coco_path):
        os.makedirs('%ssteel/images/train/'%saved_coco_path)
    if not os.path.exists('%ssteel/images/val/'%saved_coco_path):
        os.makedirs('%ssteel/images/val/'%saved_coco_path)
    ## 把训练集转化为COCO的json格式
    l2c_train = Csv2CoCo(image_dir=image_dir,total_annos=total_csv_annotations)
    train_instance = l2c_train.to_coco(train_keys)
    l2c_train.save_coco_json(train_instance, '%ssteel/annotations/instances_train.json'%saved_coco_path)
    for file in train_keys:
        shutil.copy(image_dir+file,"%ssteel/images/train/"%saved_coco_path)
    for file in val_keys:
        shutil.copy(image_dir+file,"%ssteel/images/val/"%saved_coco_path)
    ## 把验证集转化为COCO的json格式
    l2c_val = Csv2CoCo(image_dir=image_dir,total_annos=total_csv_annotations)
    val_instance = l2c_val.to_coco(val_keys)
    l2c_val.save_coco_json(val_instance, '%ssteel/annotations/instances_val.json'%saved_coco_path)
至此,我们的数据预处理工作就做好了
四、参考资料
- https://blog.csdn.net/sty945/article/details/79387054
- https://blog.csdn.net/saltriver/article/details/79680189
- https://www.ctolib.com/topics-44419.html
- https://www.zhihu.com/question/20666664
- https://github.com/spytensor/prepare_detection_dataset#22-voc
- https://blog.csdn.net/chaipp0607/article/details/79036312

 浙公网安备 33010602011771号