


深入解析:Express教程【006】:使用Express写接口
8、使用Express写接口
8.1 创建API路由模块
1️⃣新建routes/apiRouter.js路由模块:
/**
* 路由模块
*/
// 1-导入express
const express = require('express'
)
;
// 2-创建路由对象
const apiRouter = express.Router(
)
;
// 4-向外暴露路由对象
module.exports = apiRouter;
2️⃣注册路由模块:
const express = require('express'
)
;
const app = express(
)
;
// 导入路由模块
const apiRouter = require('./routes/apiRouter'
)
;
// 注册路由模块
app.use(apiRouter)
;
app.listen(80
, (
)=>
{
console.log('express server listening on http://127.0.0.1:80'
)
;
}
)
8.2 编写GET接口
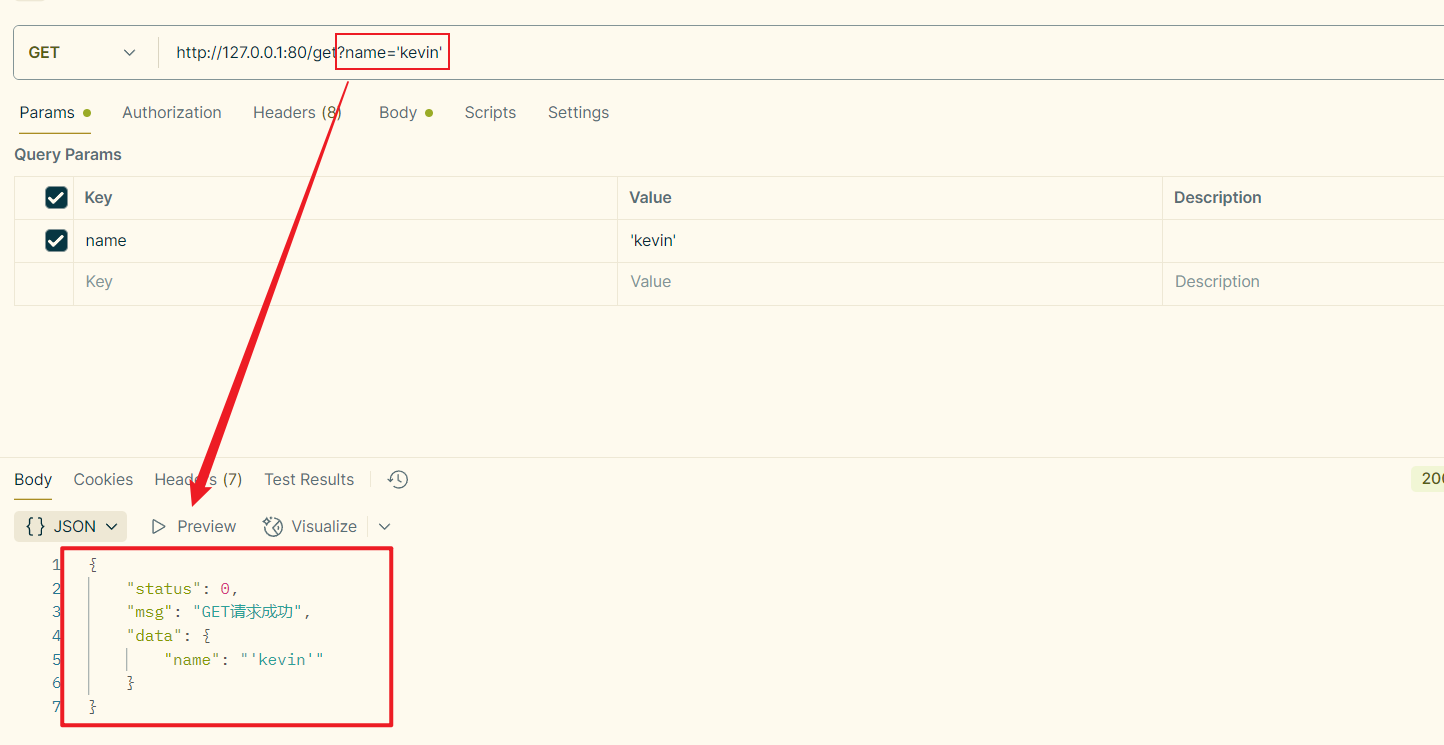
1️⃣编写GET接口:
// 编写GET请求
apiRouter.get("/get"
, (req, res
) =>
{
// 获取客户端通过查询字符串,发送到服务器的数据
const query = req.query;
res.send({
status: 0
,
msg: 'GET请求成功'
,
data: query
}
)
}
)2️⃣使用【postman】测试:
8.3 编写POST接口
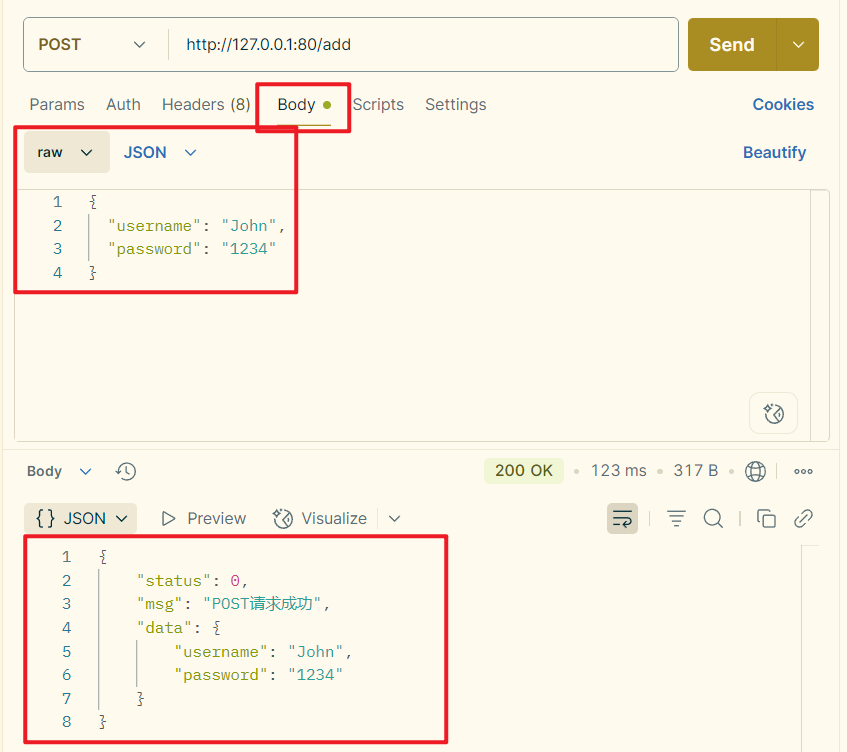
1️⃣编写post请求:
apiRouter.post('/add'
, (req, res
) =>
{
const body = req.body;
res.send({
status: 0
,
msg: 'POST请求成功'
,
data: body,
}
)
}
)
2️⃣配置json数据解析的中间件:
// 配置解析json数据的中间件
app.use(express.json(
)
)
;
3️⃣使用【postman】测试:
测试接口:
http://127.0.0.1:80/add;
测试的json数据:
{
"username": "John"
,
"password": "1234"
}
测试结果:


 浙公网安备 33010602011771号