


spring cloud入门(三、客户端)
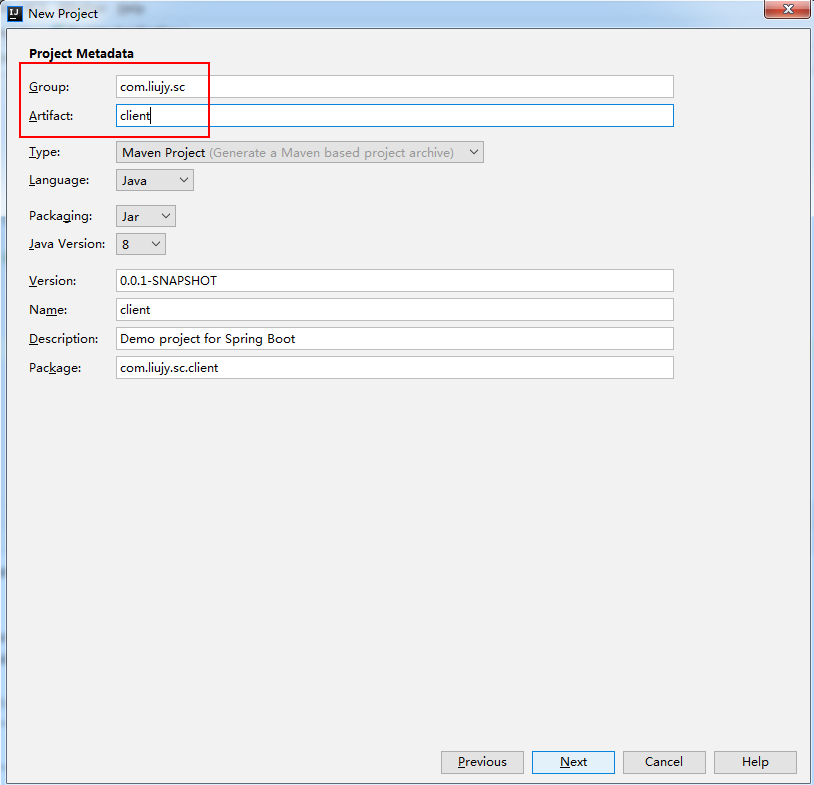
1.新建项目

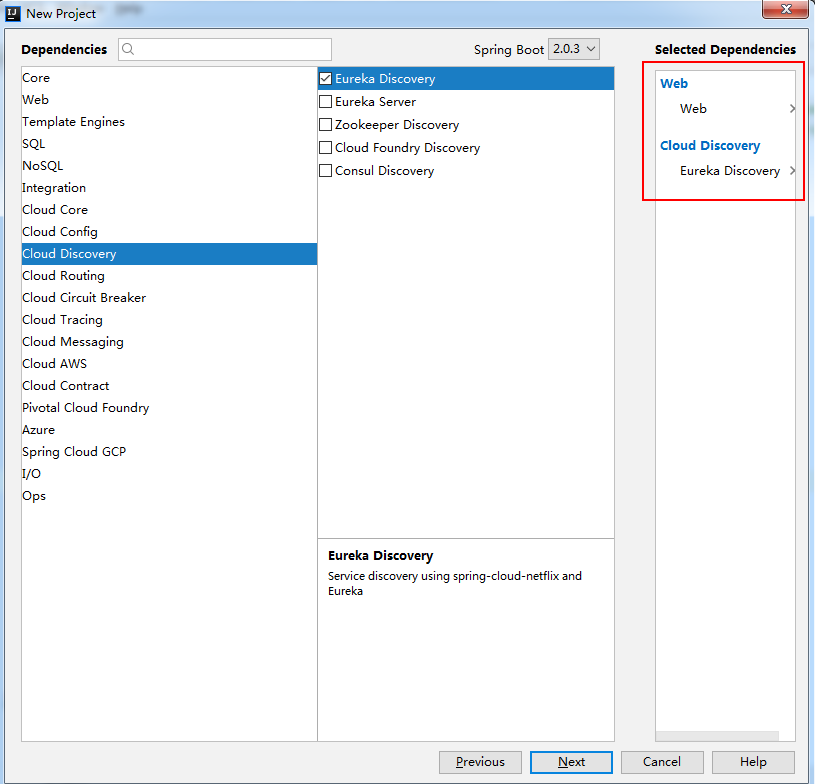
2.下一步
3.下一步
4.下一步,完成。打开pom.xml。修改spring boot版本号。

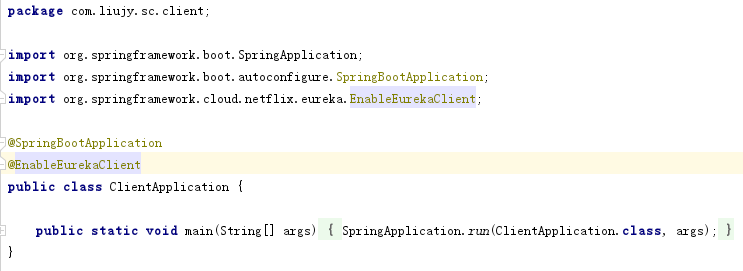
5.打开ClientApplication.java。
6.修改配置,将application.properties配置文件修改为application.yml。添加如下内容:
spring:
  application:
    name: client
eureka:
  client:
    service-url:
      defaultZone: http://localhost:8761/eureka
server:
  port: 8080
7.创建一个接口类client/UserCtrl.java。代码如下:
package com.liujy.sc.client.client;

import org.springframework.beans.factory.annotation.Value;
import org.springframework.web.bind.annotation.RequestMapping;
import org.springframework.web.bind.annotation.RequestMethod;
import org.springframework.web.bind.annotation.RestController;

import java.util.LinkedHashMap;
import java.util.Map;

@RestController
@RequestMapping("/user")
public class UserCtrl {
    @Value("${server.port}")
    private String port;

    @RequestMapping(value = "/info", method = { RequestMethod.GET, RequestMethod.POST })
    public Map info() {
        System.out.println("begin user/info");
        Map map = new LinkedHashMap<String, Object>();
        map.put("name", "liujy");
        map.put("port", port);
        return map;
    }
}
8.启动程序。
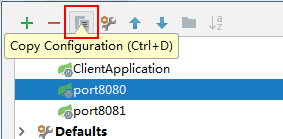
a)编辑启动项
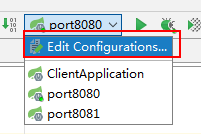
b)进入启动项配置界面,点Copy Configuration,复制两个启动项。
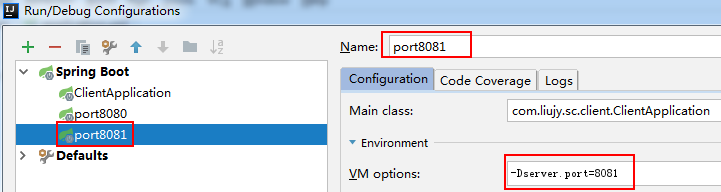
c)修改启动项的参数

d)启动port8080和port8081.
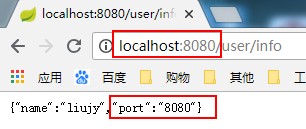
打开浏览器访问http://localhost:8080/user/info
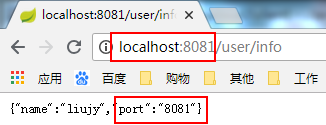
打开浏览器访问http://localhost:8081/user/info
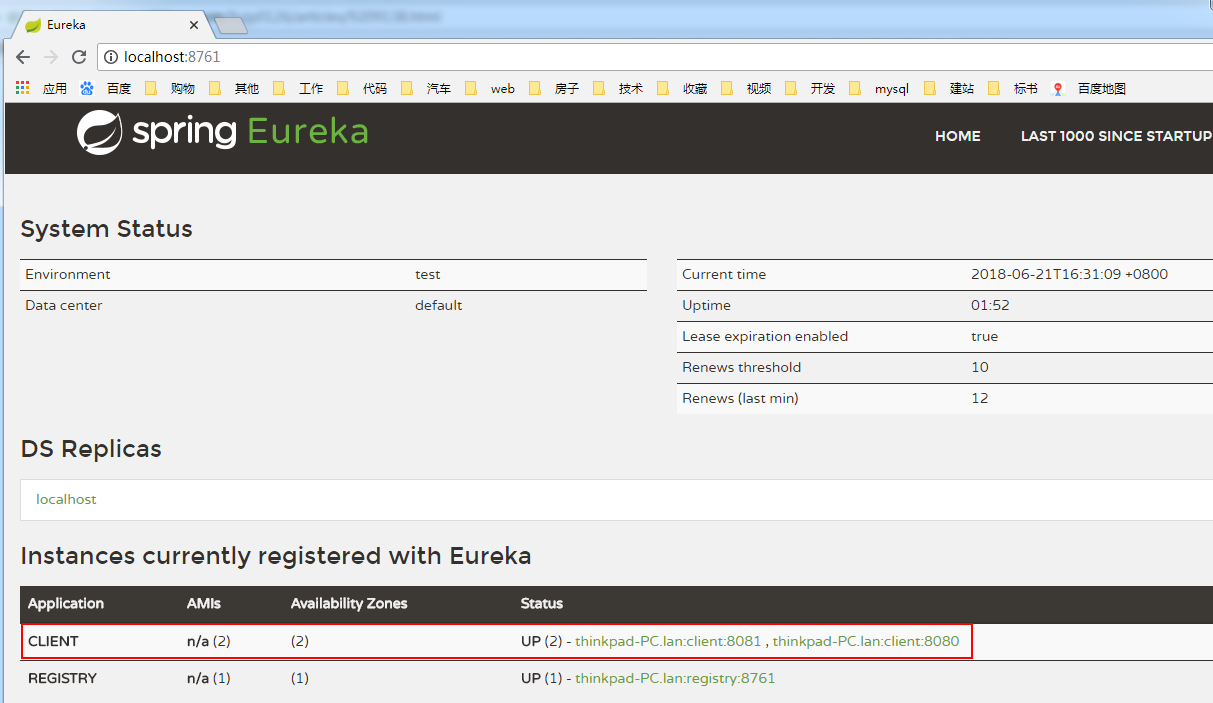
访问http://localhost:8761/。可以看到有两个client实例


 浙公网安备 33010602011771号