
centos7:mysql-5.7.30安装(二进制安装)
mysql有二进制码安装,和源码编译安装(mysql5.5使用cmake安装,mysql5.7需要安装boost依赖安装),因为boost依赖安装麻烦,所以用二进制码安装
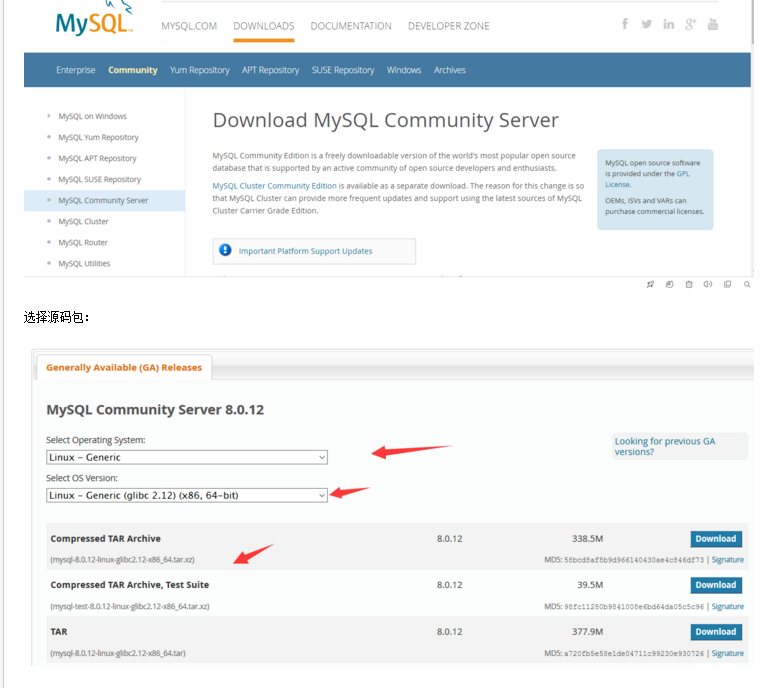
首先,我们可以在mysql官网下载二进制包(https://downloads.mysql.com/archives/get/p/23/file/mysql-5.7.30-linux-glibc2.12-x86_64.tar.gz)
1、 新建/usr/local/src目录,保存下载的各类安装包
|
1
|
mkdir /usr/local/src |
2、切换到/usr/local/src 下
|
1
|
cd /usr/local/src |
3、下载mysql5.7二进制包,解压到当前目录下
|
1
|
tar -zxvf mysql-5.7.23-linux-glibc2.5-x86_64.tar.gz |
4.将解过的mysql5.7包移动到/usr/local/下并改名为mysql
|
1
|
mv mysql-5.7.23-linux-glibc2.5-x86_64 /usr/local/mysql |
5.切换到/usr/local/mysql下
|
1
|
/usr/local/mysql |
6.新增mysql用户,并禁止shell登陆
|
1
2
|
# groupadd mysql#useradd -r -g mysql -s /sbin/nologin mysql |
7.初始化mysql5.7数据库:
确认/data/mysql数据库文件夹是否存在,不存在则创建
mkdir /data/mysql
chown -R mysql.mysql /data/mysq
初始数据库:
|
1
|
# ./bin/mysqld --initialize --user=mysql --datadir=/data/mysql |
a.注意:初始化数据库后生成的临时密码
|
1
|
# ./bin/mysql_ssl_rsa_setup --datadir=/data/mysql |
8.复制配置文件并修改
注意,如果./support-files/my-default.cnf 没有这个文件,可以到网上去收一下这个文件的大致内容。
|
1
2
3
4
5
6
7
8
9
10
11
12
13
14
15
16
17
18
19
20
21
22
23
24
25
26
27
28
29
30
|
# http://dev.mysql.com/doc/refman/5.7/en/server-configuration-defaults.html# *** DO NOT EDIT THIS FILE. It's a template which will be copied to the# *** default location during install, and will be replaced if you# *** upgrade to a newer version of MySQL.[mysqld]# Remove leading # and set to the amount of RAM for the most important data# cache in MySQL. Start at 70% of total RAM for dedicated server, else 10%.# innodb_buffer_pool_size = 128M# Remove leading # to turn on a very important data integrity option: logging# changes to the binary log between backups.# log_bin# These are commonly set, remove the # and set as required.# basedir = .....# datadir = .....# port = .....# server_id = .....# socket = .....# Remove leading # to set options mainly useful for reporting servers.# The server defaults are faster for transactions and fast SELECTs.# Adjust sizes as needed, experiment to find the optimal values.# join_buffer_size = 128M# sort_buffer_size = 2M# read_rnd_buffer_size = 2Msql_mode=NO_ENGINE_SUBSTITUTION,STRICT_TRANS_TABLES |
a.复制主配置文件
|
1
|
# cp ./support-files/my-default.cnf /etc/my.cnf |
b.修改 /etc/my.cnf 配置文件
|
1
2
3
4
5
6
7
|
# vi /etc/my.cnf# These are commonly set, remove the # and set as required.basedir = /usr/local/mysql //指定程序路径datadir = /data/mysql //指定数据存放路径port = 3306 //指定端口号# server_id = .....socket = /tmp/mysql.sock //指定sock文件 |
9.复制启动文件并修改相关参数
a.复制启动脚本文件到init.d下
|
1
|
cp ./support-files/mysql.server /etc/init.d/mysqld |
b.修改启动脚本相关参数
|
1
2
3
|
vi /etc/init.d/mysqldbasedir=/usr/local/mysql //指定程序路径datadir=/data/mysql //指定数据存放路径 |
10.启动mysql服务,并查看服务启动状态
|
1
2
3
4
|
# chkconfig --add mysqld //加入开机启动# /etc/init.d/mysqld start //启动mysql服务# ps aux |grep mysqld // 查看mysql进程# netstat -ntlp | grep 3306 //查看3306端口监听情况 |
11.重置密码
a.使用初始化临时密码登陆
|
1
|
# /usr/local/mysql/bin/mysql -uroot -p'Ed0fem1S(oH/' |
b.修改mysql登陆密码:mysql
|
1
|
mysql> set password = password('mysql'); |
b.继续执行
|
1
|
# ./bin/mysql_ssl_rsa_setup --datadir=/data/mysql |

 浙公网安备 33010602011771号