【桂工微拍小程序】二、登录页面+微信登录
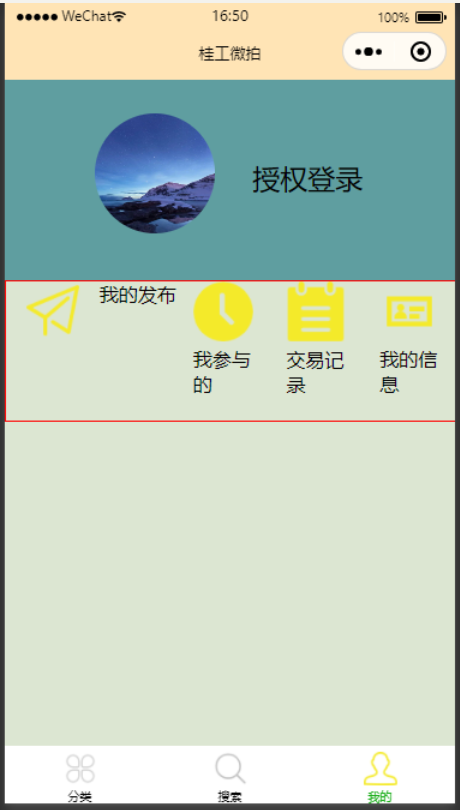
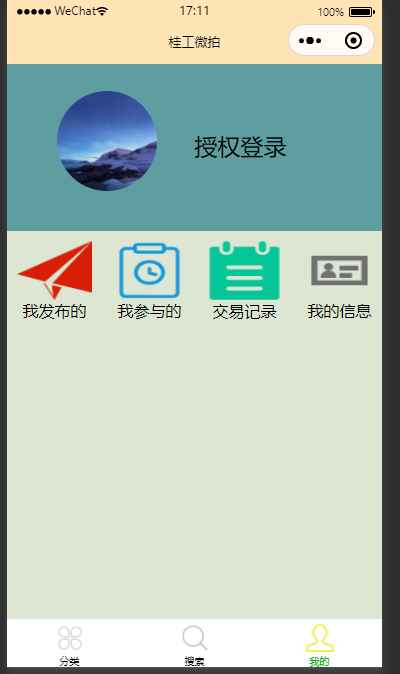
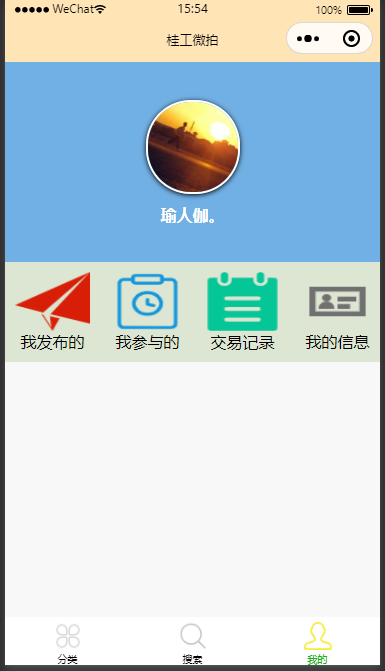
1-6、个人中心页面
1-6-1、整体代码
1、wxml
<!--用户中心-->
<view class="userCenter">
  <!--头像和登录区域-->
  <view class="login">
    <view class="login-pic">
      <image class="icon" src="/image/yejing.jpg"></image>
      <view class="userName">
        授权登录
      </view>
    </view>
  </view>

  <!--内容管理区域-->
  <view class="mainContext">
    <view class="userinfo">
      <view class="picture">
        <image class="userinfo-icon" src="/image/发布.png"></image>
        我发布的
      </view>
      <view class="picture">
        <image class="userinfo-icon" src="/image/倒计时.png"></image>
        我参与的
        </view>
      <view class="picture">
        <image class="userinfo-icon" src="/image/订单.png"></image>
        交易记录
        </view>
      <view class="picture">
        <image class="userinfo-icon" src="/image/个人信息.png"></image>
        我的信息
        </view>
    </view>
  </view>
</view>
2、wxcss
.userCenter{
  position:fixed;
  top: 0;
  right: 0;
  left: 0;
  bottom: 0;
  background-color: burlywood;
}
.login{
  width: 100%;
  height: 30%;
  background-color: cadetblue;
  display: flex;
}
.mainContext{
  width: 100%;
  height: 70%;
  background-color: rgb(220, 230, 210);
}

.icon{
  width: 100px;
  height: 100px;
  border-radius: 50%;
  margin: 18% auto auto 50px;
}
.userName{
  position: fixed;
  left: 50%;
  top:12%;
  font-size: 23px;
}
.userinfo{
  height: 30%;
  width: 100%;
  display: flex;
}
.picture{
  width:160rpx;
  height:160rpx;
  display: flex;
  flex-direction: column;
  align-items: center;
  margin: 10px;

}
.userinfo-icon{
  width: 150rpx;
  height: 150rpx;
}
1-6-2、页面效果
display:flex
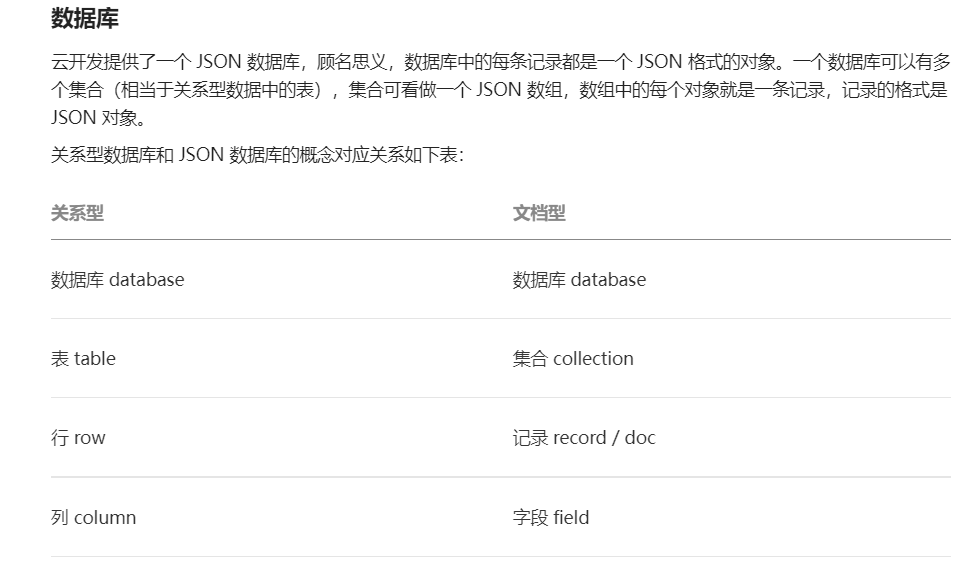
2、云开发
2-1、使用小程序云开发
2-1-1云开发基础知识点
3、实现微信登录
3-1、登录流程

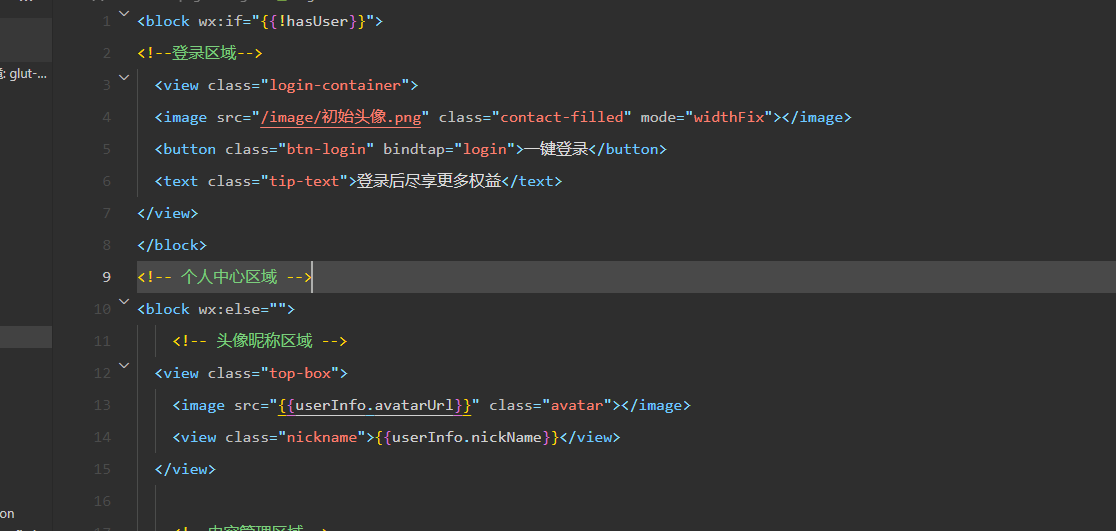
3-2、改进登录页
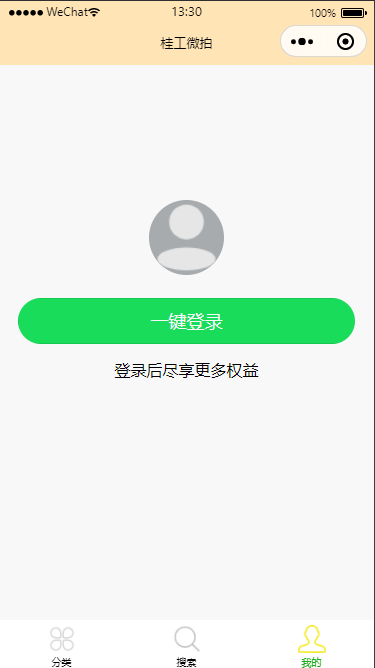
login.wxml:
<view class="login-container">
  <image src="/image/初始头像.png" class="contact-filled" mode="widthFix"></image>
  <button class="btn-login">一键登录</button>
  <text class="tip-text">登录后尽享更多权益</text>
</view>
login.wxcss:
page {
  background-color: #f8f8f8;
}

.login-container {
  height: 900rpx;
  display: flex;
  flex-direction: column;
  align-items: center;
  justify-content: center;
  position: relative;
  overflow: hidden;
}

/* 图标的样式 */
.contact-filled {
  width: 150rpx;
  margin-bottom: 16rpx;
  background-color: rgba(100, 107, 112, 0.548);
  border-radius: 50%;

}

/* 登录按钮的样式 */
.btn-login {
  width: 90%;
  border-radius: 100px;
  margin: 15px 0;
  background-color: #19dd5a;
  color: #f8f8f8;
}

/* 按钮下方提示消息的样式 */
.tips-text {
  font-size: 12px;
  color: gray;
}
3-3、具体登录配置
1、app.js下面配置云开发环境:
// app.js
App({
  onLaunch(){
    wx.cloud.init({
      env: 'glut-auction-7gkhm0vfc61cc184',
      traceUser: true
    })
  }
})
2、新建云函数:
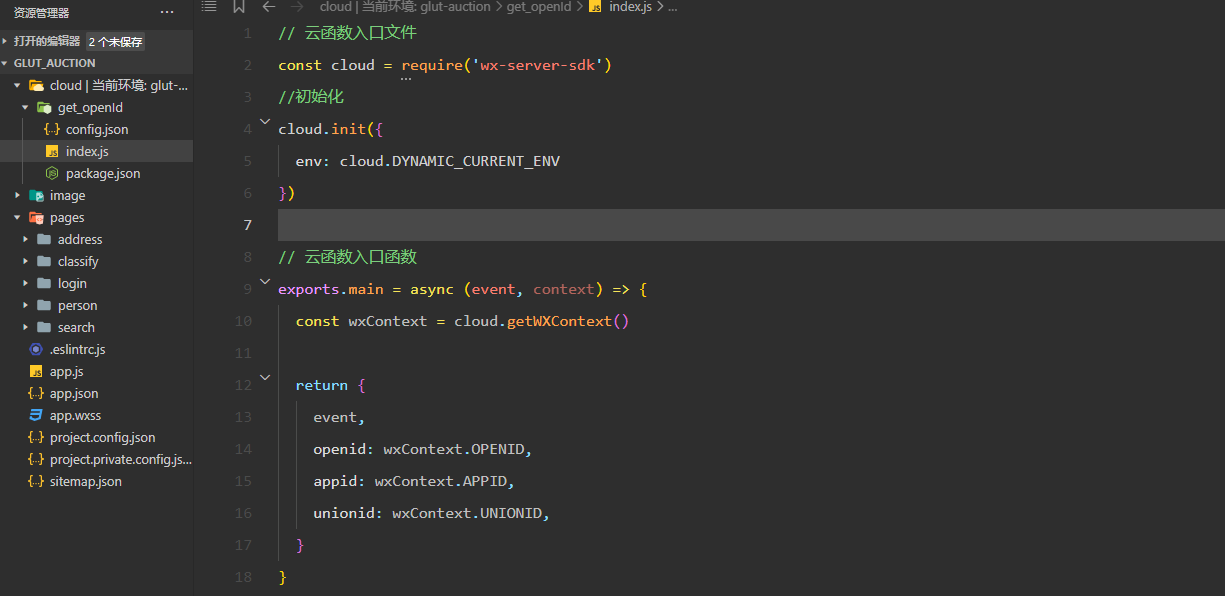
3、调用云函数
// app.js
App({
  onLaunch(){
    wx.cloud.init({
      env: 'glut-auction-7gkhm0vfc61cc184',
      traceUser: true
    }),
      //调用云函数
      wx.cloud.callFunction({
        name: 'get_openId',
        success: res => {
          //获取用户openid
          this.globalData.user_openid = res.result.openid
          console.log(this.globalData.user_openid)
        }
      })
    },
    //全局数据
    globalData:{
      //用户id
      userOpenId:'',
      userInfo:null
    }
})
4、将用户信息加入数据库
// pages/login/login.js
Page({

  data: {
    userInfo: null
  },

  login() {
    wx.getUserProfile({
      desc: '获取用户信息',
      success: res => {
        // console.log(res.userInfo)
        var user = res.userInfo
        //设置全局用户信息
        app.globalData.userInfo = user
        //设置局部用户信息
        this.setData({
          userInfo: user
        })

        //检查之前是否已经授权登录
        wx.cloud.database().collection('userInfo').where({
          _openid: app.globalData.user_openid
        }).get({
          success: res => {
            //原先没有添加,这里添加
            if (!res.data[0]) {
              //将数据添加到数据库
              wx.cloud.database().collection('userInfo').add({
                data: {
                  avatarUrl: user.avatarUrl,
                  nickName: user.nickName
                },
                success: res => {
                  wx.showToast({
                    title: '登录成功',
                    icon: 'none'
                  })
                }
              })
            } else {
              //已经添加过了
              this.setData({
                userInfo: res.data[0]
              })
            }
          }
        })
      }
    })
  }
})
const app = getApp()
5、自动登录
1、查询并保存用户信息:
首先在app.js的onLaunch函数中查找用户是否已经登录过了,若已经登录过,则查找用户信息并保存,app.js代码如下:
// app.js
App({
  onLaunch(){
    wx.cloud.init({
      env: 'glut-auction-7gkhm0vfc61cc184',
      traceUser: true
    }),
      //调用云函数
      wx.cloud.callFunction({
        name: 'get_openId',
        success: res => {
          //获取用户openid
          this.globalData.user_openid = res.result.openid
          console.log(this.globalData.user_openid)
          //查询数据库中openid是否存在用户
          wx.cloud.database().collection('userInfo').where({
            _openid: res.result.openid
          }).get({
            success: res => {
              this.globalData.userInfo = res.result.data[0]
            }
          })
        }

      })
    },
    //全局数据
    globalData:{
      //用户id
      userOpenId:'',
      userInfo: {}
    }
})
2、将用户信息储存到login.js下:
遇到点小bug

解决:app.globaldata.userInfo设置为null,不要设置为{}
wxml:用wx:if 和wx:else 去显示页面
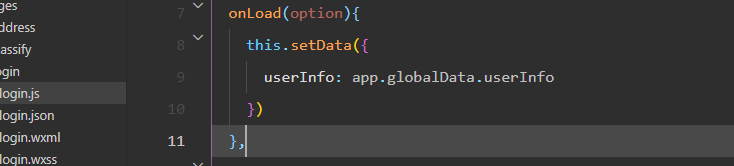
踩坑,登录页面获取app.js的全局数据时,由于onlaunch和onLoad 可能同时执行,从而导致登录页获取的全局用户数据为空。
解决方法:是在login.js的onLoad函数里面再调用一次云函数来判断用户是否已经登录。
微信登录功能已经基本实现,如果用户登陆过小程序,那么下次可以自动登录,主要借助于wxContext里面的openid,用这个id去找数据库对应的用户实现自动登录。
完整login.js代码
// pages/login/login.js
Page({

  data: {
    userInfo: null,
    hasUser: false
  },
  onLoad(option){
      //调用云函数
      wx.cloud.callFunction({
        name: 'get_openId',
        success: res => {
          //获取用户openid
          //查询数据库中openid是否存在用户
          wx.cloud.database().collection('userInfo').where({
            _openid: res.result.openid
          }).get({
            success: res => {
              let user = res.data[0]
              this.setData({
                userInfo: user,
                hasUser: true
              })
              console.log('成功',this.data.userInfo)
            }
          })
        }
      })
      console.log('是否有用户',this.data.hasUser)
  },
  login() {
    wx.getUserProfile({
      desc: '获取用户信息',
      success: res => {
        // console.log(res.userInfo)
        var user = res.userInfo
        //设置全局用户信息
        app.globalData.userInfo = user
        //设置局部用户信息
        this.setData({
          userInfo: user,
          hasUser: true
        })
        //检查之前是否已经授权登录
        wx.cloud.database().collection('userInfo').where({
          _openid: app.globalData.user_openid
        }).get({
          success: res => {
            //原先没有添加,这里添加
            if (!res.data[0]) {
              //将数据添加到数据库
              wx.cloud.database().collection('userInfo').add({
                data: {
                  avatarUrl: user.avatarUrl,
                  nickName: user.nickName
                },
                success: res => {
                  wx.showToast({
                    title: '登录成功',
                    icon: 'none'
                  })
                }
              })
            } else {
              //已经添加过了
              this.setData({
                userInfo: res.data[0],
                hasUser: true
              })
            }
          }
        })
      }
    })
  }
})
const app = getApp()
本文来自博客园,作者:小李不背锅,转载请注明原文链接:https://www.cnblogs.com/lishilin-glut/p/16496275.html

 浙公网安备 33010602011771号