Spring Boot从小白到精通(八)熟悉@EnableScheduling,一秒搞定定时任务
一、使用注解@EnableScheduling
在application启动类忠,加上@EnableScheduling 注解,Spring Boot 会会自动扫描任务类,开启定时任务。
package com.example.demo;

import org.springframework.boot.SpringApplication;
import org.springframework.boot.autoconfigure.SpringBootApplication;
import org.springframework.scheduling.annotation.EnableScheduling;

@SpringBootApplication
//开启定时任务
@EnableScheduling
public class Demo1Application {

    public static void main(String[] args) {
        SpringApplication.run(Demo1Application.class, args);
    }

}
说明:
1、@EnableScheduling 为开启定时任务。
二、创建任务类,定义@Component 组件
创建com.weiz.tasks包,在tasks包里增加TestTask任务类,加上@Component 注解,那么TestTask就会作为组件被容器扫描到。扫描到之后,Spring Boot容器就会根据任务类里面定义的时间,定时执行了。
/**
* @ClassName TestTask
* @Description 定时任务
* @Author Lishipu
* @Date 2025-01-06 15:22
* Version 1.0
**/
package com.example.demo.controller;
import java.text.SimpleDateFormat;
import java.util.Date;
import org.springframework.scheduling.annotation.Scheduled;
import org.springframework.stereotype.Component;
@Component
public class TestTask {
private static final SimpleDateFormat dateFormat = new SimpleDateFormat("HH:mm:ss");
// 定义每过3秒执行任务
@Scheduled(fixedRate = 3000)
// @Scheduled(cron = "4-40 * * * * ?")
public void reportCurrentTime() {
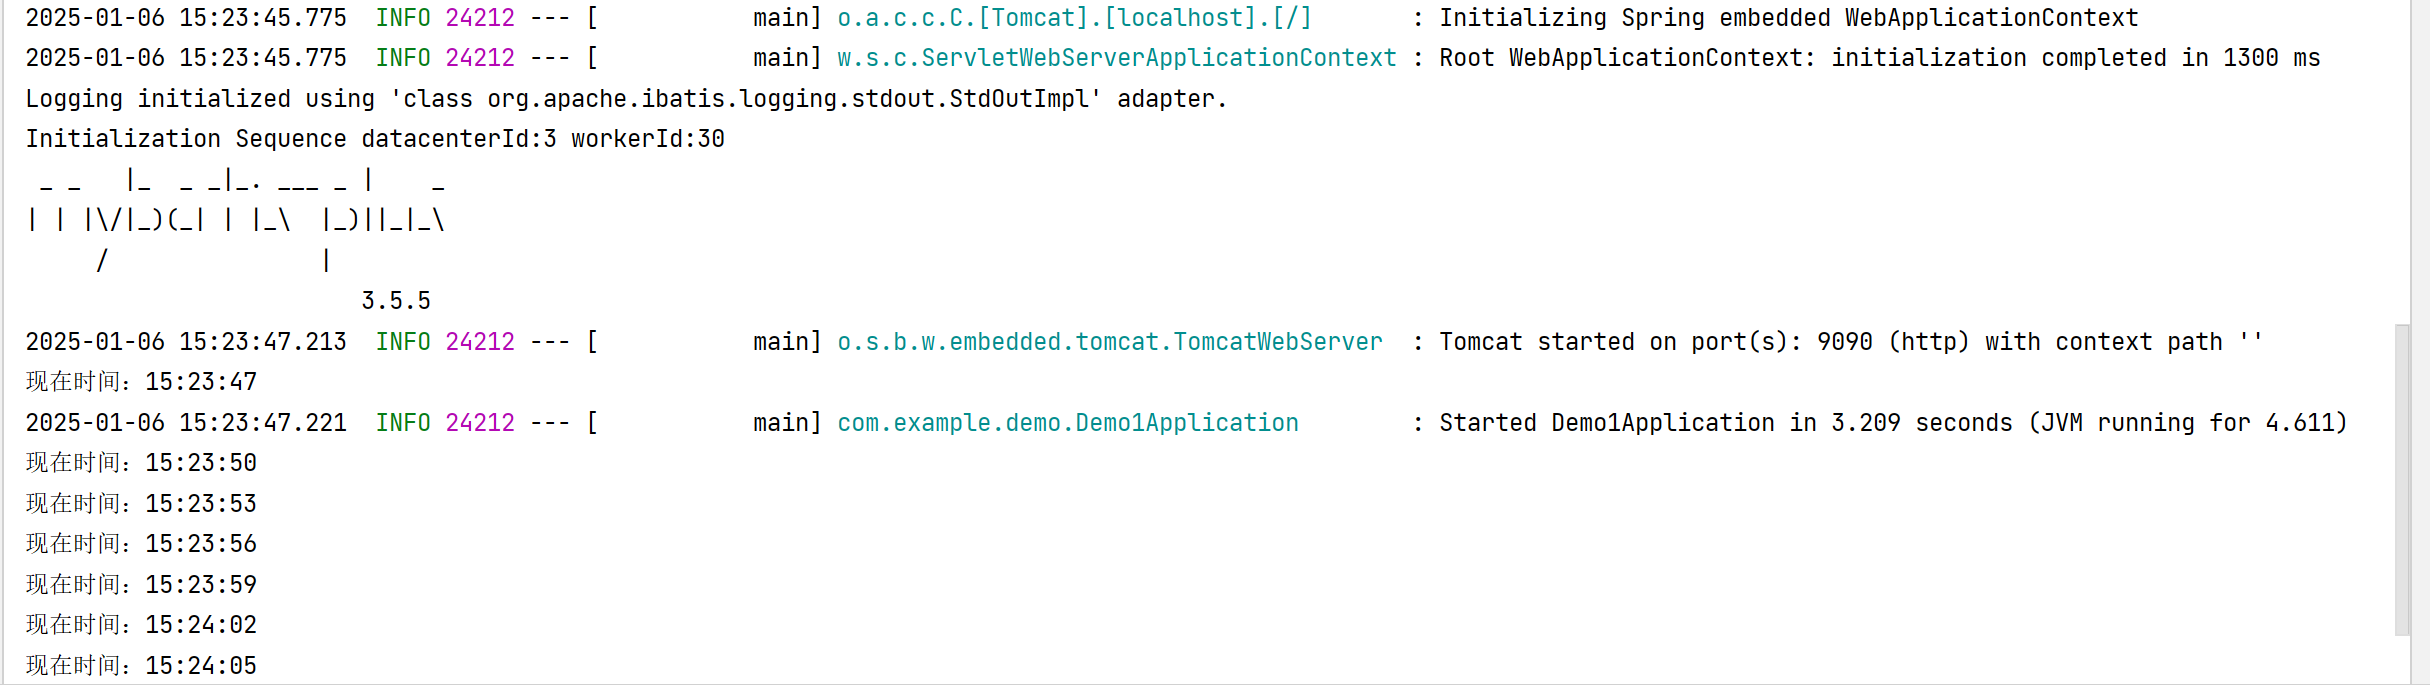
System.out.println("现在时间:" + dateFormat.format(new Date()));
}
}
说明:@Scheduled 是定时任务执行的时间,可以每个一段时间执行,也可以使用cron 表达式定义执行时间。

 浙公网安备 33010602011771号