FastDFS集群搭建
一、架构:
两个tracker负载均衡以VIP对外提供服务,两个storage为一个group做冗余备份和负载均衡
二、环境和版本:
Linux环境:CentOS 7.6
libfastcommon版本:1.0.39
FastDFS版本:V5.11
fastdfs-nginx-module版本:V1.2
nginx版本:1.12.2
二、搭建步骤:
1、搭建FastDFS集群
(1)环境准备(在两台服务器上分别操作)
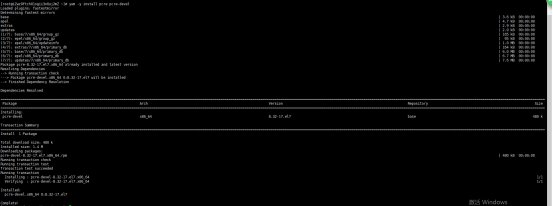
# yum -y install pcre pcre-devel
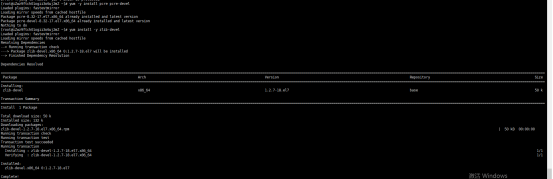
# yum install -y zlib-devel
# mkdir -p /opt/fastdfs /data/fastdfs/tracker /data/fastdfs/storage
/data/fastdfs/client /data/fastdfs/file
为下一步下载源码做准备
# cd /opt/fastdfs
(2)安装libfastcommon(在两台服务器上分别操作)
# wget https://github.com/happyfish100/libfastcommon/archive/V1.0.39.tar.gz
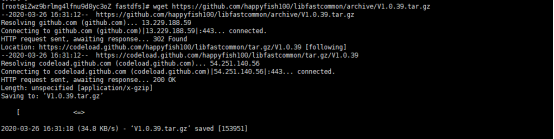

# tar -zxvf V1.0.39.tar.gz

# cd libfastcommon-1.0.39/
# ./make.sh
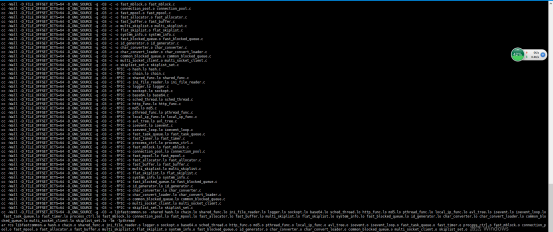
# ./make.sh install

(3)安装FastDFS(在两台服务器上分别操作)
# cd /opt/fastdfs
# wget https://github.com/happyfish100/fastdfs/archive/V5.11.tar.gz
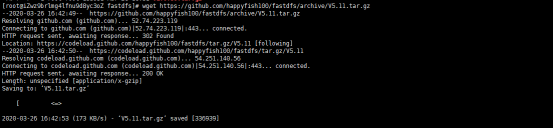
# tar -zxvf V5.11.tar.gz

# cd fastdfs-5.11/
# ./make.sh
# ./make.sh install

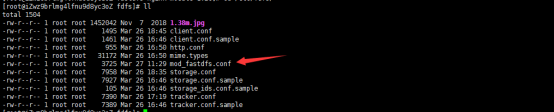
配置文件准备
# cp /etc/fdfs/tracker.conf.sample /etc/fdfs/tracker.conf #tracker节点
# cp /etc/fdfs/storage.conf.sample /etc/fdfs/storage.conf #storage节点
# cp /etc/fdfs/client.conf.sample /etc/fdfs/client.conf #客户端文件,测试用
# cp /opt/fastdfs/fastdfs-5.11/conf/http.conf /etc/fdfs/ #供nginx访问使用
# cp /opt/fastdfs/fastdfs-5.11/conf/mime.types /etc/fdfs/ #供nginx访问使用
tracker server配置:
# vim /etc/fdfs/tracker.conf
需要修改的内容如下
port=22122 # tracker服务器端口(默认22122,一般不修改)
base_path=/data/fastdfs/tracker # 存储日志和数据的根目录
启动服务
# service fdfs_trackerd start
查看服务状态
# netstat -tulnp #查看服务是否启动,端口是否打开

storage server配置:
# vim /etc/fdfs/storage.conf
需要修改的内容如下
port=23000 # storage服务端口(默认23000,一般不修改)
base_path=/data/fastdfs/storage # 数据和日志文件存储根目录
store_path0=/data/fastdfs/file # 第一个存储目录
tracker_server=172.18.183.5:22122 # tracker服务器IP和端口
tracker_server=172.18.183.8:22122 # tracker服务器IP和端口
http.server_port=8888 # http访问文件的端口(默认8888,看情况修改,和nginx中保持一致)
# service fdfs_storaged start
查看服务是否启动,端口是否打开
# netstat -tulnp
查看日志
# journalctl -xe
查看集群状态
# fdfs_monitor /etc/fdfs/storage.conf list
[2020-03-28 09:48:14] DEBUG - base_path=/data/fastdfs/storage, connect_timeout=30, network_timeout=60, tracker_server_count=2, anti_steal_token=0, anti_steal_secret_key length=0, use_connection_pool=0, g_connection_pool_max_idle_time=3600s, use_storage_id=0, storage server id count: 0
server_count=2, server_index=0
tracker server is 172.18.183.5:22122
group count: 1
Group 1:
group name = group1
disk total space = 100662 MB
disk free space = 94194 MB
trunk free space = 0 MB
storage server count = 2
active server count = 2
storage server port = 23000
storage HTTP port = 8888
store path count = 1
subdir count per path = 256
current write server index = 1
current trunk file id = 0
Storage 1:
id = 172.18.183.5
ip_addr = 172.18.183.5 (iZwz9brlmg4lfnu9d8yc3oZ) ACTIVE
http domain =
version = 5.11
join time = 2020-03-26 18:28:28
up time = 2020-03-27 15:04:53
total storage = 100662 MB
free storage = 94194 MB
upload priority = 10
store_path_count = 1
subdir_count_per_path = 256
storage_port = 23000
storage_http_port = 8888
current_write_path = 0
source storage id =
if_trunk_server = 0
connection.alloc_count = 256
connection.current_count = 1
connection.max_count = 2
total_upload_count = 3
success_upload_count = 3
total_append_count = 0
success_append_count = 0
total_modify_count = 0
success_modify_count = 0
total_truncate_count = 0
success_truncate_count = 0
total_set_meta_count = 0
success_set_meta_count = 0
total_delete_count = 0
success_delete_count = 0
total_download_count = 0
success_download_count = 0
total_get_meta_count = 0
success_get_meta_count = 0
total_create_link_count = 0
success_create_link_count = 0
total_delete_link_count = 0
success_delete_link_count = 0
total_upload_bytes = 4356126
success_upload_bytes = 4356126
total_append_bytes = 0
success_append_bytes = 0
total_modify_bytes = 0
success_modify_bytes = 0
stotal_download_bytes = 0
success_download_bytes = 0
total_sync_in_bytes = 0
success_sync_in_bytes = 0
total_sync_out_bytes = 0
success_sync_out_bytes = 0
total_file_open_count = 3
success_file_open_count = 3
total_file_read_count = 0
success_file_read_count = 0
total_file_write_count = 18
success_file_write_count = 18
last_heart_beat_time = 2020-03-28 09:47:55
last_source_update = 2020-03-27 16:15:46
last_sync_update = 1970-01-01 08:00:00
last_synced_timestamp = 1970-01-01 08:00:00
Storage 2:
id = 172.18.183.8
ip_addr = 172.18.183.8 ACTIVE
http domain =
version = 5.11
join time = 2020-03-27 14:27:00
up time = 2020-03-27 15:05:28
total storage = 100662 MB
free storage = 94201 MB
upload priority = 10
store_path_count = 1
subdir_count_per_path = 256
storage_port = 23000
storage_http_port = 8888
current_write_path = 0
source storage id = 172.18.183.5
if_trunk_server = 0
connection.alloc_count = 256
connection.current_count = 1
connection.max_count = 1
total_upload_count = 0
success_upload_count = 0
total_append_count = 0
success_append_count = 0
total_modify_count = 0
success_modify_count = 0
total_truncate_count = 0
success_truncate_count = 0
total_set_meta_count = 0
success_set_meta_count = 0
total_delete_count = 0
success_delete_count = 0
total_download_count = 0
success_download_count = 0
total_get_meta_count = 0
success_get_meta_count = 0
total_create_link_count = 0
success_create_link_count = 0
total_delete_link_count = 0
success_delete_link_count = 0
total_upload_bytes = 0
success_upload_bytes = 0
total_append_bytes = 0
success_append_bytes = 0
total_modify_bytes = 0
success_modify_bytes = 0
stotal_download_bytes = 0
success_download_bytes = 0
total_sync_in_bytes = 5808348
success_sync_in_bytes = 4356126
total_sync_out_bytes = 0
success_sync_out_bytes = 0
total_file_open_count = 3
success_file_open_count = 3
total_file_read_count = 0
success_file_read_count = 0
total_file_write_count = 18
success_file_write_count = 18
last_heart_beat_time = 2020-03-28 09:47:59
last_source_update = 1970-01-01 08:00:00
last_sync_update = 2020-03-27 16:15:52
last_synced_timestamp = 2020-03-27 16:15:46 (0s delay)
Client配置:
# vim /etc/fdfs/client.conf
需要修改的内容如下
base_path=/data/fastdfs/client
tracker_server=172.18.183.5:22122 # tracker服务器IP和端口
tracker_server=172.18.183.8:22122 # tracker服务器IP和端口
保存后测试,随便上传一张图片到服务器,然后在该目录下执行以下命令返回ID表示成功
# fdfs_upload_file /etc/fdfs/client.conf 1.38m.jpg
返回值如下
group1/M00/00/00/rBK3BV58iTKABs-cABYoCsMn6JA740.jpg
(4)安装nginx和fastdfs-nginx-module(在两台服务器上分别操作)
下载nginx module
# cd /opt/fastdfs/
# wget https://github.com/happyfish100/fastdfs-nginx-module/archive/V1.20.tar.gz

# tar -zxvf V1.20.tar.gz

# cp /opt/fastdfs/fastdfs-nginx-module-1.20/src/mod_fastdfs.conf /etc/fdfs
编辑 fastdfs-n/ginx-module-1.20/src/config 文件
# vim /opt/fastdfs/fastdfs-nginx-module-1.20/src/config
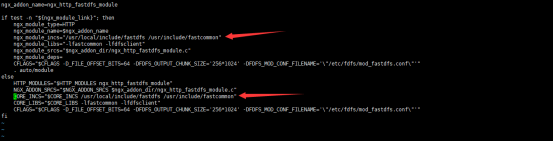
ngx_addon_name=ngx_http_fastdfs_module
if test -n "${ngx_module_link}"; then
ngx_module_type=HTTP
ngx_module_name=$ngx_addon_name
ngx_module_incs="/usr/local/include/fastdfs /usr/include/fastcommon"
ngx_module_libs="-lfastcommon -lfdfsclient"
ngx_module_srcs="$ngx_addon_dir/ngx_http_fastdfs_module.c"
ngx_module_deps=
CFLAGS="$CFLAGS -D_FILE_OFFSET_BITS=64 -DFDFS_OUTPUT_CHUNK_SIZE='256*1024' -DFDFS_MOD_CONF_FILENAME='\"/etc/fdfs/mod_fastdfs.conf\"'"
. auto/module
else
HTTP_MODULES="$HTTP_MODULES ngx_http_fastdfs_module"
NGX_ADDON_SRCS="$NGX_ADDON_SRCS $ngx_addon_dir/ngx_http_fastdfs_module.c"
CORE_INCS="$CORE_INCS /usr/local/include/fastdfs /usr/include/fastcommon"
CORE_LIBS="$CORE_LIBS -lfastcommon -lfdfsclient"
CFLAGS="$CFLAGS -D_FILE_OFFSET_BITS=64 -DFDFS_OUTPUT_CHUNK_SIZE='256*1024' -DFDFS_MOD_CONF_FILENAME='\"/etc/fdfs/mod_fastdfs.conf\"'"
fi
安装nginx,并且添加nginx module
# cd /opt/fastdfs/
# wget http://nginx.org/download/nginx-1.12.2.tar.gz

# tar -zxvf nginx-1.12.2.tar.gz
# cd nginx-1.12.2/
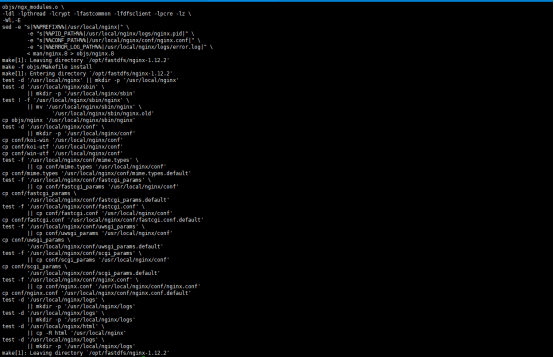
# ./configure --prefix=/usr/local/nginx --add-module=/opt/fastdfs/fastdfs-nginx-module-1.20/src
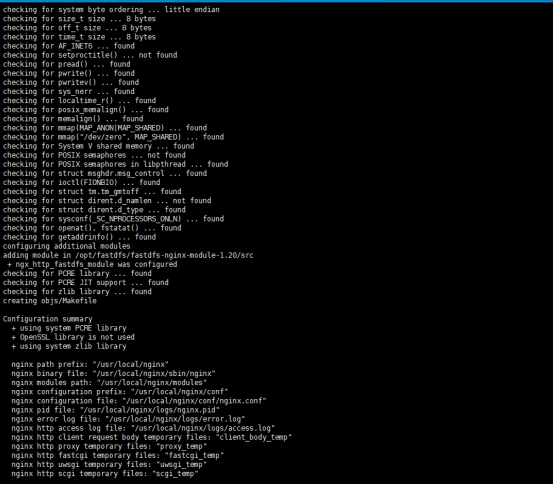
# make && make install
配置nginx访问
# vim /etc/fdfs/mod_fastdfs.conf
connect_timeout=10
base_path=/data/fastdfs/file
tracker_server=172.18.183.5:22122 # tracker服务器IP和端口
tracker_server=172.18.183.8:22122 #tracker服务器IP2和端口
group_name=group1 #当前服务器的group名
url_have_group_name=true #url中包含group名称
store_path0=/data/fastdfs/file #存储路径
配置nginx.config
# vim /usr/local/nginx/conf/nginx.conf
#增加或者修改如下内容
worker_processes 4;#进程数
worker_cpu_affinity 1000 0100 0010 0001;#每个进程绑定一个CPU
error_log logs/error.log;#配置日志文件
server {
listen 8888; ## 该端口为storage.conf中的http.server_port相同
server_name localhost;
location ~/group([0-9])/M00 {
ngx_fastdfs_module;
}
error_page 500 502 503 504 /50x.html;
location = /50x.html {
root html;
}
}
测试下载,用外部浏览器访问刚才已传过的文件,172.18.183.5的外网ip是47.106.244.127,172.18.183.8的外网ip是119.23.191.71用返回的ID访问
http://47.106.244.127:8888/group1/M00/00/00/rBK3BV58iTKABs-cABYoCsMn6JA740.jpg
http://119.23.191.71:8888/group1/M00/00/00/rBK3CF5-rqKAUNK6ABYoCsMn6JA408.jpg
三、参考资料:
FastDFS集群搭建参考
https://www.cnblogs.com/sunnydou/p/49b92d511047f4f9da6cd727cfd415d5.html

 浙公网安备 33010602011771号