
环境准备
1、部署KVM
yum -y install qemu-kvm qemu-kvm-tools virt-install bridge-utils novnc libvirt
systemctl start libvirtd && systemctl status libvirtd && systemctl enable libvirtd
2、部署docker, 这里采用docker 部署
3、下载镜像
docker pull unws/webvirtmgr
4、创建用户
[root@bogon ~]# groupadd -g 1010 webvirtmgr
[root@bogon ~]# useradd -u 1010 -g webvirtmgr -s /sbin/nologin -d /data/vm webvirtmgr
[root@bogon ~]# chown -R webvirtmgr:webvirtmgr /data/vm
5、docker 启动镜像
docker run -d -p 80:8080 -p 6080:6080 --name webvirtmgr -v /data/vm:/data/vm --restart=always primiano/docker-webvirtmgr
6、配置文件
cat > /etc/default/libvirt-bin << EOF
start_libvirtd="yes"
libvirtd_opts="-d -l"
EOF


cat > /etc/libvirt/libvirt.conf << EOF
listen_tls = 0
listen_tcp = 1
listen_addr = "0.0.0.0"
unix_sock_group = "libvirtd"
unix_sock_ro_perms = "0777"
unix_sock_rw_perms = "0770"
auth_unix_ro = "none"
auth_unix_rw = "none"
auth_tcp = "none"
auth_tls = "none"
EOF

cat > /etc/libvirt/qemu.conf <<EOF
vnc_tls = 0
EOF

systemctl restart libvirtd
7、容器内配置
docker exec -it webvirtmgr bash
#配置IP
sed -i 's/172.17.42.1/0.0.0.0/g' /webvirtmgr/vrtManager/create.py

root@e1aa179fcb86:/# cd /webvirtmgr/ && python manage.py changepassword admin
Changing password for user 'admin'
Password:
Password (again):
Password changed successfully for user 'admin'

#切换用户
su - webvirtmgr -s /bin/bash

#认证密钥

webvirtmgr@e1aa179fcb86:~$ ssh-keygen -q -P '' -t rsa -f /data/vm//.ssh/id_rsa
webvirtmgr@e1aa179fcb86:~$ touch ~/.ssh/config && echo -e "StrictHostKeyChecking=no\nUserKnownHostsFile=/dev/null" >> ~/.ssh/config
webvirtmgr@e1aa179fcb86:~$ chmod 0600 ~/.ssh/config

#发送密钥
ssh-copy-id root@172.168.228.1
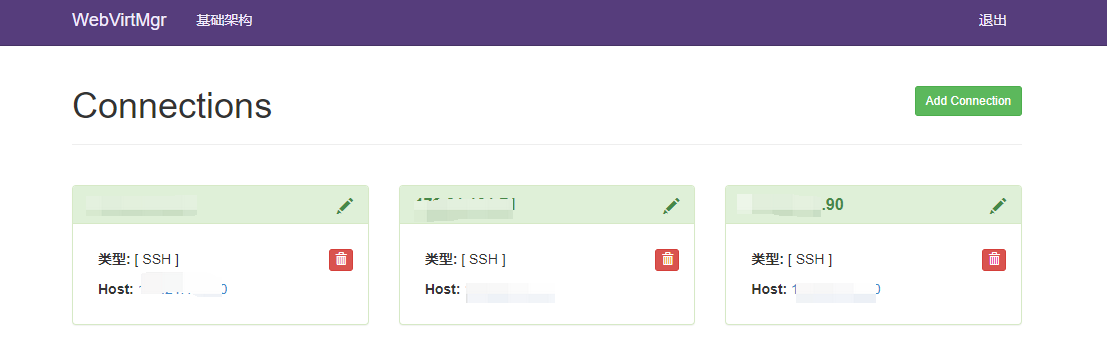
添加密钥后完成对多个KVM宿主机管理

 浙公网安备 33010602011771号