[深度学习] Win10安装Detectron2
一、安装VS2019
Detectron2的编译需要利用的VS环境,这里采用2019版本。
下载VS2019:https://visualstudio.microsoft.com/zh-hans/vs/
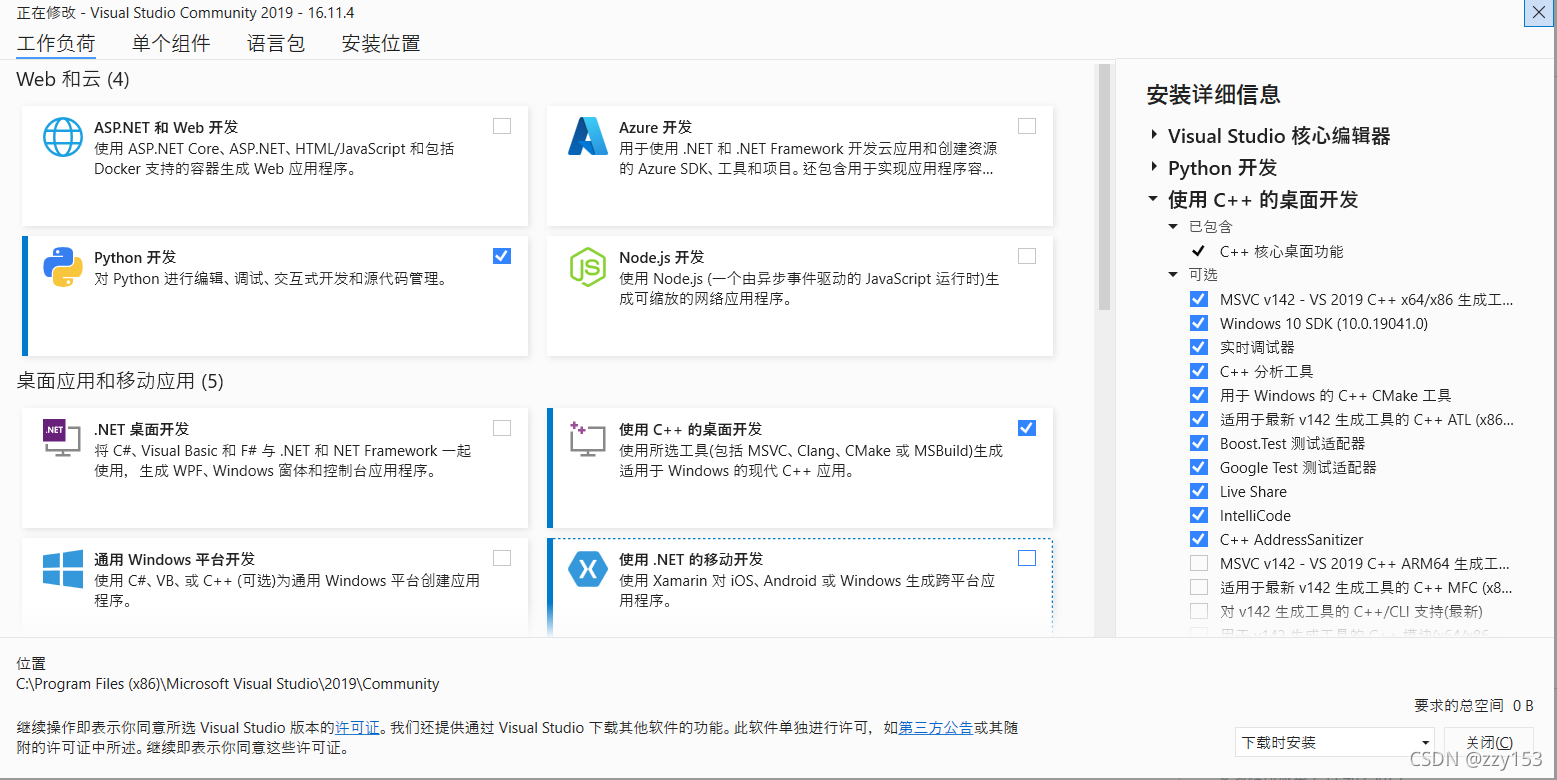
安装时选择:
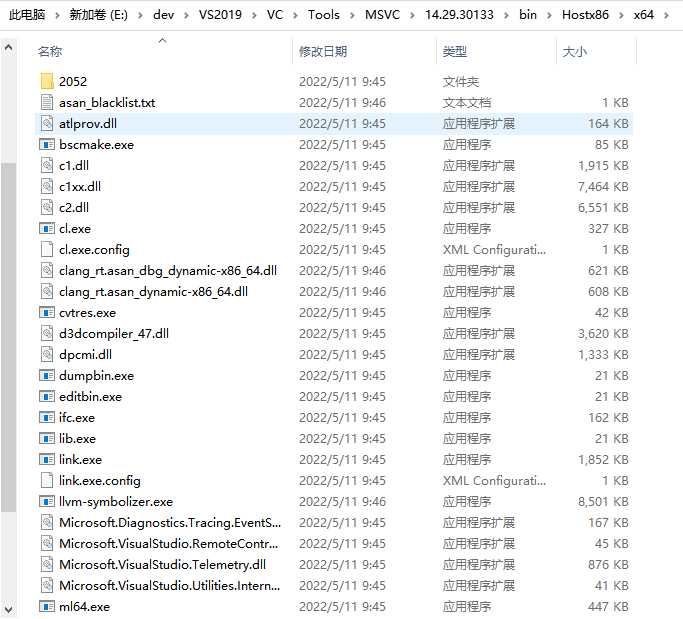
安装完毕后,检查一下目录,确保没有问题:
二、安装Cuda和Pytorch
1.安装依赖
安装Pytorch的时候可以先创建一个虚拟环境:
conda create -n d2 python==3.7.0
activate d2
先安装一堆依赖包:
pip install cython opecv-python matplotlib termcolor cloudpickle tabulate tensorboard tqdm yacs mock pydot wheel future scipy -i https://mirrors.aliyun.com/pypi/simple/
Cuda和pytorch安装参考:
三、安装cocoapi、fvcore、ninja
1.安装cocoapi
下载cocoapi工程源码:https://github.com/philferriere/cocoapi
cd e:\coco\PythonAPI
python setup.py build_ext --inplace
python setup.py build_ext install
2.安装fvcore
使用pip安装:
pip install fvcore -i https://mirrors.aliyun.com/pypi/simple/
也可以使用源码安装:
点击https://github.com/facebookresearch/fvcore下载,切换到setup.py所在目录,然后执行指令。
python setup.py build --force develop
3.安装ninja
pip install ninja -i https://mirrors.aliyun.com/pypi/simple/
四、安装Detectron2 0.6版本
1.下载源码
下载Detectron2,链接:https://github.com/facebookresearch/detectron2
2.修改Detectron2中的源码:
2.1 修改e:\detectron2\detectron2\layers\csrc\ROIAlignRotated\ROIAlignRotated_cuda.cu将其中的ceil全部替换为ceilf(注意其中有函数名中包含ceil,不要直接全文替换)
将其中的floor全部替换为floorf
#修改第487行
// localtime_r(&rawtime, &local_time);
localtime_s(&local_time, *rawtime);
3.修改虚拟环境下torch中的代码
3.1 修改Anaconda安装路径\envs\torch\Lib\site-packages\torch\utils\cpp_extension.py# 第283行 // match = re.search(r'(\d+)\.(\d+)\.(\d+)', compiler_info.decode().strip()) match = re.search(r'(\d+)\.(\d+)\.(\d+)', compiler_info.decode(' gbk').strip())
# 第160行
// static constexpr size_t ARG_SPEC_DEPTH_LIMIT = 128;
static const size_t ARG_SPEC_DEPTH_LIMIT = 128;
# 第1538行
// explicit operator type&() { return *(static_cast<type *>(this->value)); }
explicit operator type&() { return ((type)this->value); }
4.编译安装Detectron2
# 进入detectron2源码目录
python setup.py build develop
当发现报错:
subprocess.CalledProcessError: Command '['ninja', '-v']' returned non-zero exit status 1.
不要去修改为['ninja','--version'],否则会掩盖其他错误。
需要特别关注编译过程中 红色Failed 后的错误信息。
如果要重新编译,需要清除:
python setup.py clean --all
补充:
如果需要直接将detectron2安装到虚拟环境中的Lib/site-packages中,如下图所示:
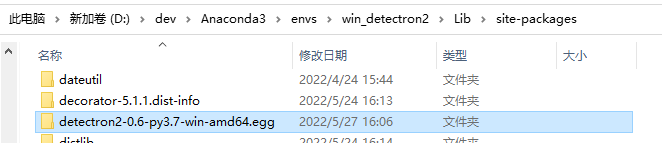
则在源码目录安装时,直接使用以下命令:
python setup.py install
= =
保持学习,否则迟早要被淘汰*(^ 。 ^ )***

 浙公网安备 33010602011771号