zabbix介绍和服务端部署+web界面安装
zabbix介绍
zabbix简介
zabbix是一个基于WEB界面的提供分布式系统监视以及网络监视功能的企业级的开源解决方案。
zabbix能监视各种网络参数,保证服务器系统的安全运营;并提供灵活的通知机制以让系统管理员快速定位/解决存在的各种问题。
zabbix由2部分构成,zabbix server与可选组件zabbix agent。
zabbix server可以通过SNMP,zabbix agent,ping,端口监视等方法提供对远程服务器/网络状态的监视,数据收集等功能,它可以运行在Linux,Ubuntu,Solaris,HP-UX,AIX,Free BSD,Open BSD,OS X等平台上。
zabbix agent需要安装在被监视的目标服务器上,它主要完成对硬件信息或与操作系统有关的内存,CPU等信息的收集。
zabbix server可以单独监视远程服务器的服务状态;同时也可以与zabbix agent配合,可以轮询zabbix agent主动接收监视数据(agent方式),同时还可被动接收zabbix agent发送的数据(trapping方式)。
另外zabbix server还支持SNMP (v1,v2),可以与SNMP软件(例如:net-snmp)等配合使用。
zabbix特点
zabbix的主要特点:
- 安装与配置简单,学习成本低
- 支持多语言(包括中文)
- 免费开源
- 自动发现服务器与网络设备
- 分布式监视以及WEB集中管理功能
- 可以无agent监视
- 用户安全认证和柔软的授权方式
- 通过WEB界面设置或查看监视结果
- email等通知功能
Zabbix主要功能:
- CPU负荷
- 内存使用
- 磁盘使用
- 网络状况
- 端口监视
- 日志监视
zabbix配置文件
zabbix配置文件有两种:
- 服务器端配置文件(/usr/local/etc/zabbix_server.conf)
- 客户端配置文件(/usr/local/etc/zabbix_agentd.conf)
- zabbix代理配置文件(/usr/local/etc/zabbix_proxy.conf)
服务器端配置文件zabbix_server.conf常用配置参数:
| 参数 | 作用 |
|---|---|
| LogFile | 设置服务端日志文件存放路径 |
| ListenIP | 设置服务端监听IP |
| ListenPort | 设置服务端监听的端口号 |
| PidFile | 设置服务端进程号文件存放路径 |
| DBHost | 指定zabbix的数据库服务器IP |
| DBName | 指定zabbix使用的数据库库名 |
| DBUser | 指定zabbix数据库登录用户 |
| DBPassword | 指定zabbix数据库登录密码 |
| DBPort | 指定zabbix数据库端口号 |
| User | 设置zabbix以什么用户的身份运行 |
| AlertScriptsPath | 设置告警脚本存放路径 |
| ExternalScripts | 外部脚本存放路径 |
客户端配置文件zabbix_agentd.conf常用配置参数:
| 参数 | 作用 |
|---|---|
| Server | 指定zabbix服务器的IP或域名 |
| ServerActive | 指定zabbix服务器的IP或域名 |
| Hostname | 指定本机的主机名,此项必须与web界面配置项一致 |
| UnsafeUserParameters | 是否启用自定义监控项,可选值为 |
| UserParameter | 指定自定义监控脚本参数 |
| LogFile | 设置客户端日志文件存放路径 |
zabbix服务端部署
zabbix下载
访问网站zabbix官网--->点击下载
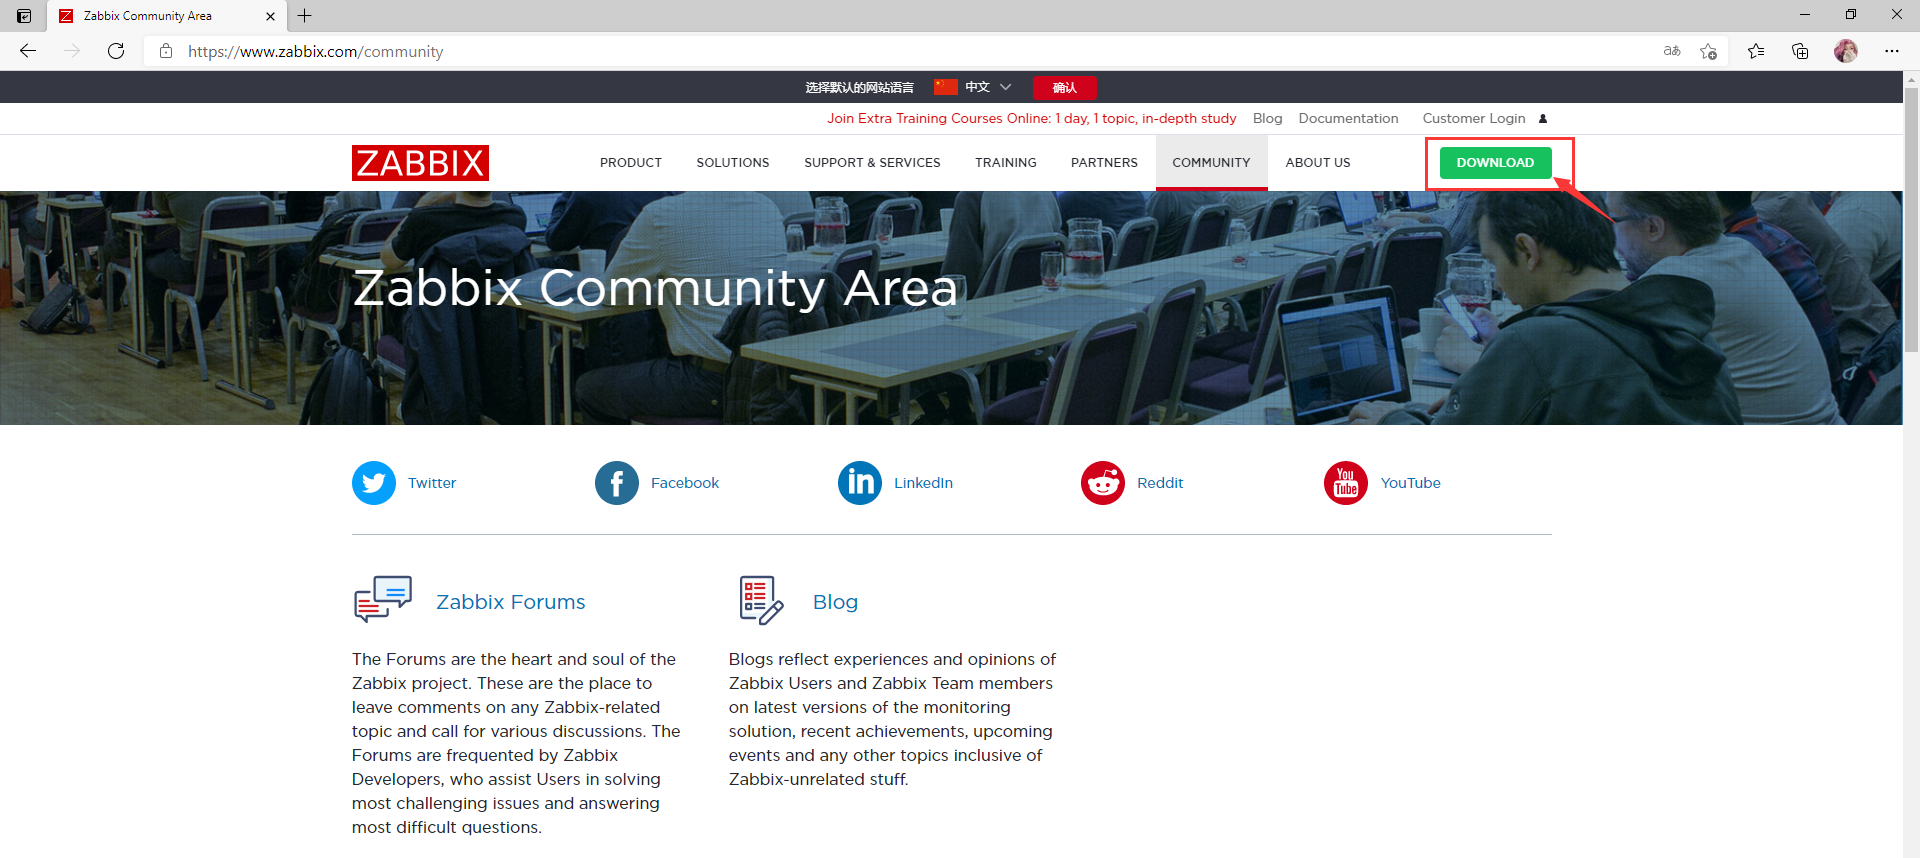
选择Sources--->点击下载

使用xftp传到本机

zabbix服务端安装
zabbix官方帮助文档:https://www.zabbix.com/manuals
环境说明:
| 环境 | IP | 要安装的应用 |
|---|---|---|
| 服务端 | 192.168.110.30 | lamp架构 zabbix_server zabbix_agent |
因为zabbix是用php语言开发的,所以必须先部署lamp架构,使其能够支持运行php网页
LAMP部署方法和介绍详情请见:利用shell脚本实现lamp部署 + LAMP介绍和部署流程
开始部署
//安装依赖包
[root@localhost ~]# yum -y install net-snmp-devel libevent-devel libxml2 libxml2-devel curl-devel

//可以使用wget下载zabbix,也可以通过上面的方法使用xftp传到当前目录
[root@localhost ~]# cd /usr/src/
[root@localhost src]# wget https://cdn.zabbix.com/zabbix/sources/stable/5.2/zabbix-5.2.6.tar.gz

//解压zabbix安装包
[root@localhost src]# tar xf zabbix-5.2.6.tar.gz

//创建zabbix用户和组
[root@localhost src]# useradd -r -M -s /sbin/nologin zabbix
[root@localhost src]# id zabbix
uid=991(zabbix) gid=988(zabbix) groups=988(zabbix)

//配置zabbix数据库
#设置环境变量
[root@localhost ~]# echo 'export PATH=/usr/local/mysql/bin:$PATH' > /etc/profile.d/mysql.sh
[root@localhost ~]# source /etc/profile.d/mysql.sh

#连接数据库
[root@localhost src]# mysql -uroot -p
Enter password: (这里输入的是设置的密码123456)
Welcome to the MySQL monitor.  Commands end with ; or \g.
Your MySQL connection id is 3
Server version: 5.7.31 MySQL Community Server (GPL)

Copyright (c) 2000, 2020, Oracle and/or its affiliates. All rights reserved.

Oracle is a registered trademark of Oracle Corporation and/or its
affiliates. Other names may be trademarks of their respective
owners.

Type 'help;' or '\h' for help. Type '\c' to clear the current input statement.

mysql> create database zabbix character set utf8 collate utf8_bin;
Query OK, 1 row affected (0.00 sec)

mysql> grant all privileges on zabbix.* to zabbix@192.168.110.30 identified by 'zabbiix123!';
Query OK, 0 rows affected, 1 warning (0.01 sec)

mysql> grant all privileges on zabbix.* to zabbix@localhost identified by 'zabbix123!
!';
Query OK, 0 rows affected, 2 warnings (0.00 sec)

mysql> flush privileges;
Query OK, 0 rows affected (0.00 sec)

mysql> quit
Bye

//导入文件到数据库
[root@localhost src]# cd /usr/src/zabbix-5.2.6/database/mysql/
[root@localhost mysql]# ls
data.sql  double.sql  images.sql  Makefile.am  Makefile.in  schema.sql
#导入sql数据表
[root@localhost mysql]# mysql -uzabbix -pzabbix123! zabbix < schema.sql
mysql: [Warning] Using a password on the command line interface can be insecure.
[root@localhost mysql]# mysql -uzabbix -pzabbix123! zabbix < images.sql
mysql: [Warning] Using a password on the command line interface can be insecure.
[root@localhost mysql]# mysql -uzabbix -pzabbix123! zabbix < data.sql
mysql: [Warning] Using a password on the command line interface can be insecure.

//连接数据库,验证
[root@localhost mysql]# mysql -uroot -p
Enter password: (输入123456)
Welcome to the MySQL monitor.  Commands end with ; or \g.
Your MySQL connection id is 7
Server version: 5.7.31 MySQL Community Server (GPL)

Copyright (c) 2000, 2020, Oracle and/or its affiliates. All rights reserved.

Oracle is a registered trademark of Oracle Corporation and/or its
affiliates. Other names may be trademarks of their respective
owners.

Type 'help;' or '\h' for help. Type '\c' to clear the current input statement.

mysql> show databases;
+--------------------+
| Database           |
+--------------------+
| information_schema |
| mysql              |
| performance_schema |
| sys                |
| zabbix             |
+--------------------+
5 rows in set (0.00 sec)

mysql> use zabbix;
Reading table information for completion of table and column names
You can turn off this feature to get a quicker startup with -A

Database changed
mysql> show tables;
+----------------------------+
| Tables_in_zabbix           |
+----------------------------+
| acknowledges               |
| actions                    |
| alerts                     |
.....
.....
| usrgrp                     |
| valuemaps                  |
| widget                     |
| widget_field               |
+----------------------------+
170 rows in set (0.00 sec)

mysql> quit
Bye

//编译安装zabbix
[root@localhost ~]# cd /usr/src/zabbix-5.2.6
[root@localhost zabbix-5.2.6]# ./configure --enable-server \
> --enable-agent \
> --with-mysql \
> --with-net-snmp \
> --with-libcurl \
> --with-libxml2
#成功界面如下
***********************************************************
*            Now run 'make install'                       *
*                                                         *
*            Thank you for using Zabbix!                  *
*              <http://www.zabbix.com>                    *
***********************************************************
[root@localhost zabbix-5.2.6]# make install
zabbix服务端配置
//查看日志文件
[root@localhost ~]# ls /usr/local/etc/
zabbix_agentd.conf  zabbix_agentd.conf.d  zabbix_server.conf  zabbix_server.conf.d

//修改服务端配置文件
#设置数据库信息
[root@localhost ~]# vim /usr/local/etc/zabbix_server.conf

### Option: DBPassword
#       Database password.
#       Comment this line if no password is used.
#
# Mandatory: no
# Default:
# DBPassword=
 DBPassword=zabbix123! //添加这一行,设置zabbix数据库连接密码

#启动服务端server和客户端agentd
[root@localhost ~]# zabbix_server
zabbix_server: error while loading shared libraries: libmysqlclient.so.20: cannot open shared object file: No such file or directory
#执行时报错,解决报错
[root@localhost ~]# ln -s /usr/local/mysql/lib/libmysqlclient.so.20 /usr/lib64
#启动
[root@localhost ~]# zabbix_server
[root@localhost ~]# zabbix_agentd
#10050和10051端口已经起来了
[root@localhost ~]# ss -antl
State     Recv-Q    Send-Q         Local Address:Port          Peer Address:Port
LISTEN    0         128                  0.0.0.0:22                 0.0.0.0:*
LISTEN    0         128                  0.0.0.0:10050              0.0.0.0:*
LISTEN    0         128                  0.0.0.0:10051              0.0.0.0:*
LISTEN    0         128                  0.0.0.0:9000               0.0.0.0:*
LISTEN    0         128                  0.0.0.0:80                 0.0.0.0:*
LISTEN    0         128                     [::]:22                    [::]:*
LISTEN    0         80                         *:3306                     *:*
zabbix web界面安装与配置
zabbix web界面安装前配置
//修改/etc/php.ini的配置并重启php-fpm
[root@localhost ~]# sed -ri 's/(post_max_size =).*/\1 16M/g' /etc/php.ini
[root@localhost ~]# sed -ri 's/(max_execution_time =).*/\1 300/g' /etc/php.ini
[root@localhost ~]# sed -ri 's/(max_input_time =).*/\1 300/g' /etc/php.ini
[root@localhost ~]# sed -i '/;date.timezone/a date.timezone = Asia/Shanghai' /etc/php.ini
[root@localhost ~]# systemctl restart php-fpm

//把ui里的文件拷贝到新创建的zabbix目录下
[root@localhost ~]# mkdir /usr/local/apache/htdocs/zabbix
[root@localhost ~]# cp -a /usr/src/zabbix-5.2.6/ui/* /usr/local/apache/htdocs/zabbix/
[root@localhost ~]# chown -R apache.apache /usr/local/apache/htdocs

//配置apache虚拟主机
[root@localhost ~]# vim /usr/local/apache/conf/extra/vhosts.conf

<VirtualHost *:80>
    DocumentRoot "/usr/local/apache/htdocs/zabbix"
    ServerName www.leidazhuang.com
    ProxyRequests Off
    ProxyPassMatch ^/(.*\.php)$ fcgi://127.0.0.1:9000/usr/local/apache/htdocs/zabbix/$1
    <Directory "/usr/local/apache/htdocs/zabbix">
        Options none
        AllowOverride none
        Require all granted
    </Directory>
</VirtualHost>

//设置zabbix/conf目录的权限,让zabbix有权限生成配置文件zabbix.conf.php
[root@localhost ~]# chmod 777 /usr/local/apache/htdocs/zabbix/conf
[root@localhost ~]# ll -d /usr/local/apache/htdocs/zabbix/conf
drwxrwxrwx. 3 apache apache 94 Mar 29 17:21 /usr/local/apache/htdocs/zabbix/conf

//重启apache服务
[root@localhost ~]# /usr/local/apache/bin/apachectl -t
Syntax OK
[root@localhost ~]# /usr/local/apache/bin/apachectl restart
[root@localhost ~]# ss -antl
State     Recv-Q    Send-Q         Local Address:Port          Peer Address:Port
LISTEN    0         128                  0.0.0.0:22                 0.0.0.0:*
LISTEN    0         128                  0.0.0.0:10050              0.0.0.0:*
LISTEN    0         128                  0.0.0.0:10051              0.0.0.0:*
LISTEN    0         128                  0.0.0.0:9000               0.0.0.0:*
LISTEN    0         128                  0.0.0.0:80                 0.0.0.0:*
LISTEN    0         128                     [::]:22                    [::]:*
LISTEN    0         80                         *:3306                     *:*
开始安装zabbix web界面
- 在windows主机上修改/etc/hosts文件,添加域名与IP的映射
- 在浏览器上访问域名,本文设置的域名为zabbix.example.com,你需要修改成你自己的域名
- 恢复zabbix/conf目录的权限为755
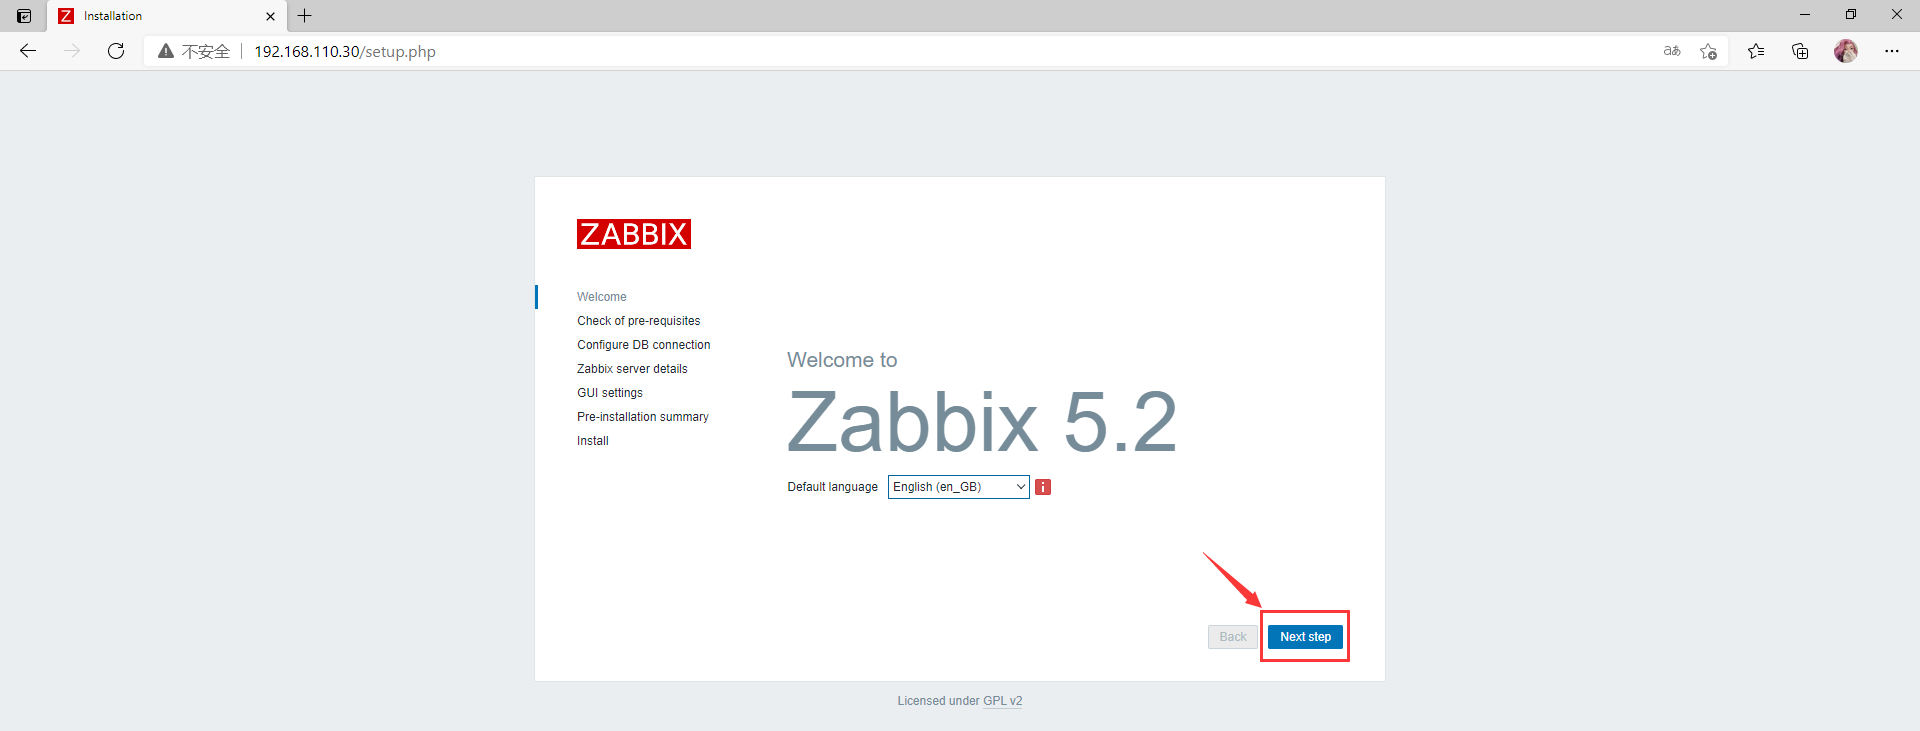
访问ip 192.168.110.30 进入安装页面 ---> 点击next下一步
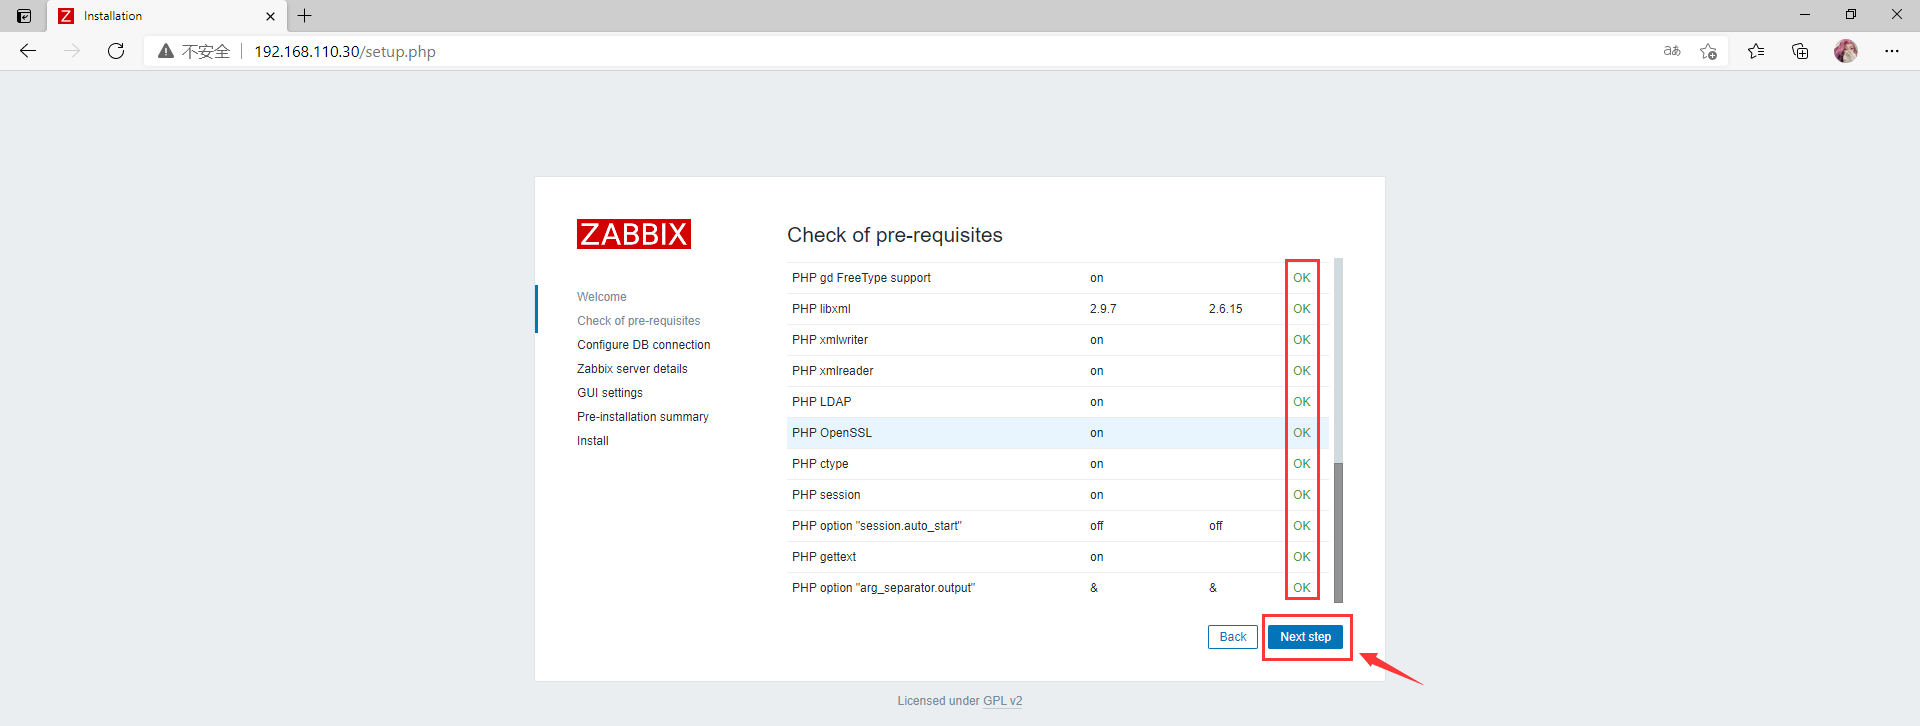
检测是否都是ok ---> 点击next下一步
输入—授权的ip地址—数据库名字(zabbix)—用户(默认:zabbix)—密码(zabbix123!) ---> 点击next下一步
注意: 如果连接不上,那么可能是selinx没有关闭(setenforce 0)

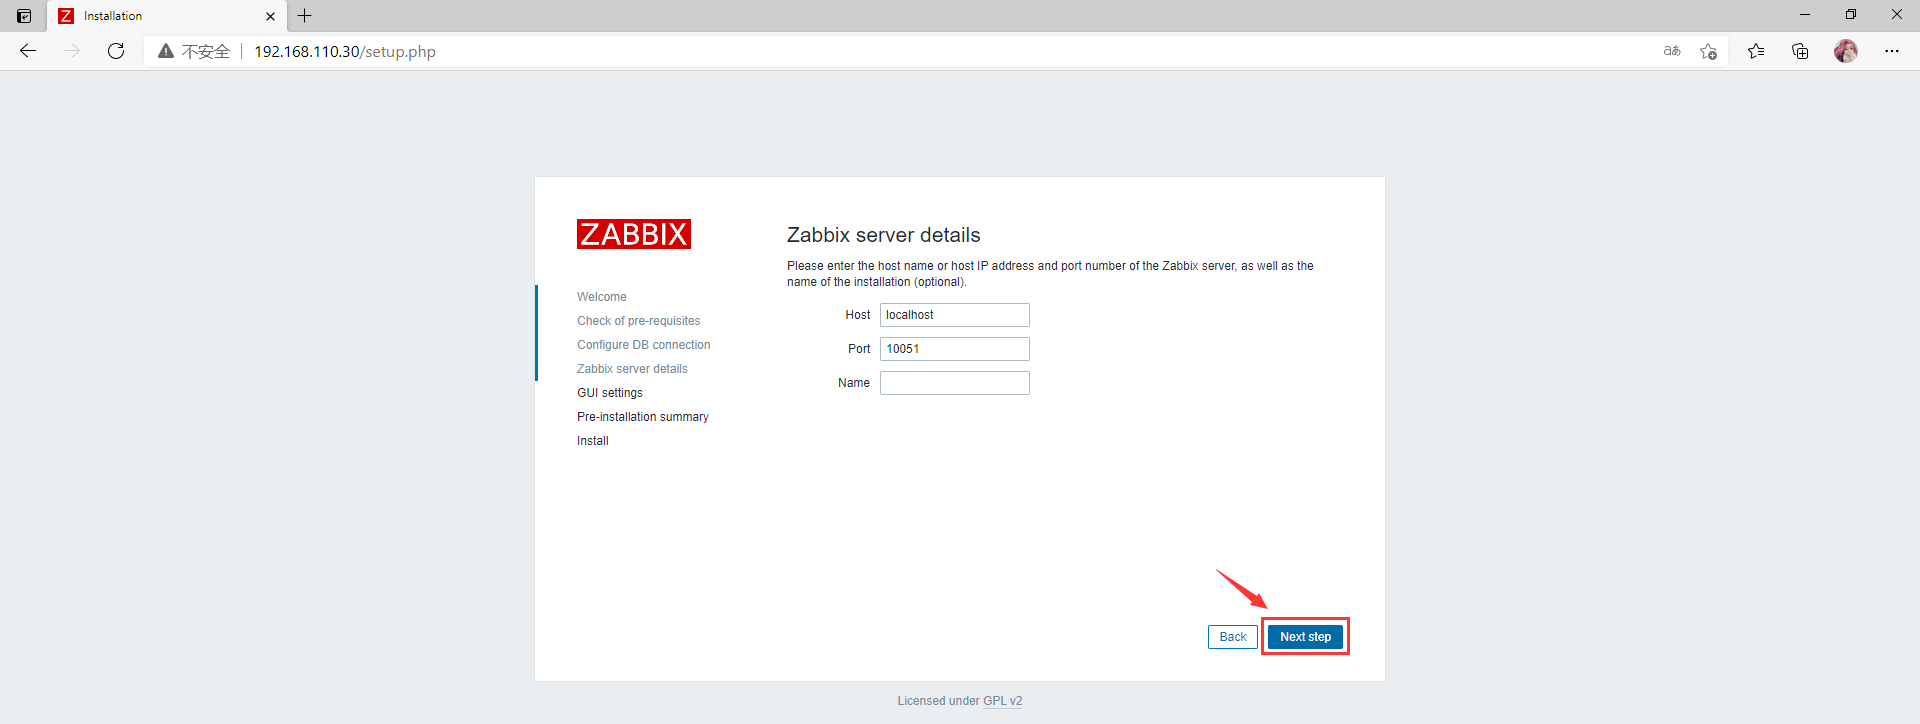
输入Host Port ---> 点击next下一步
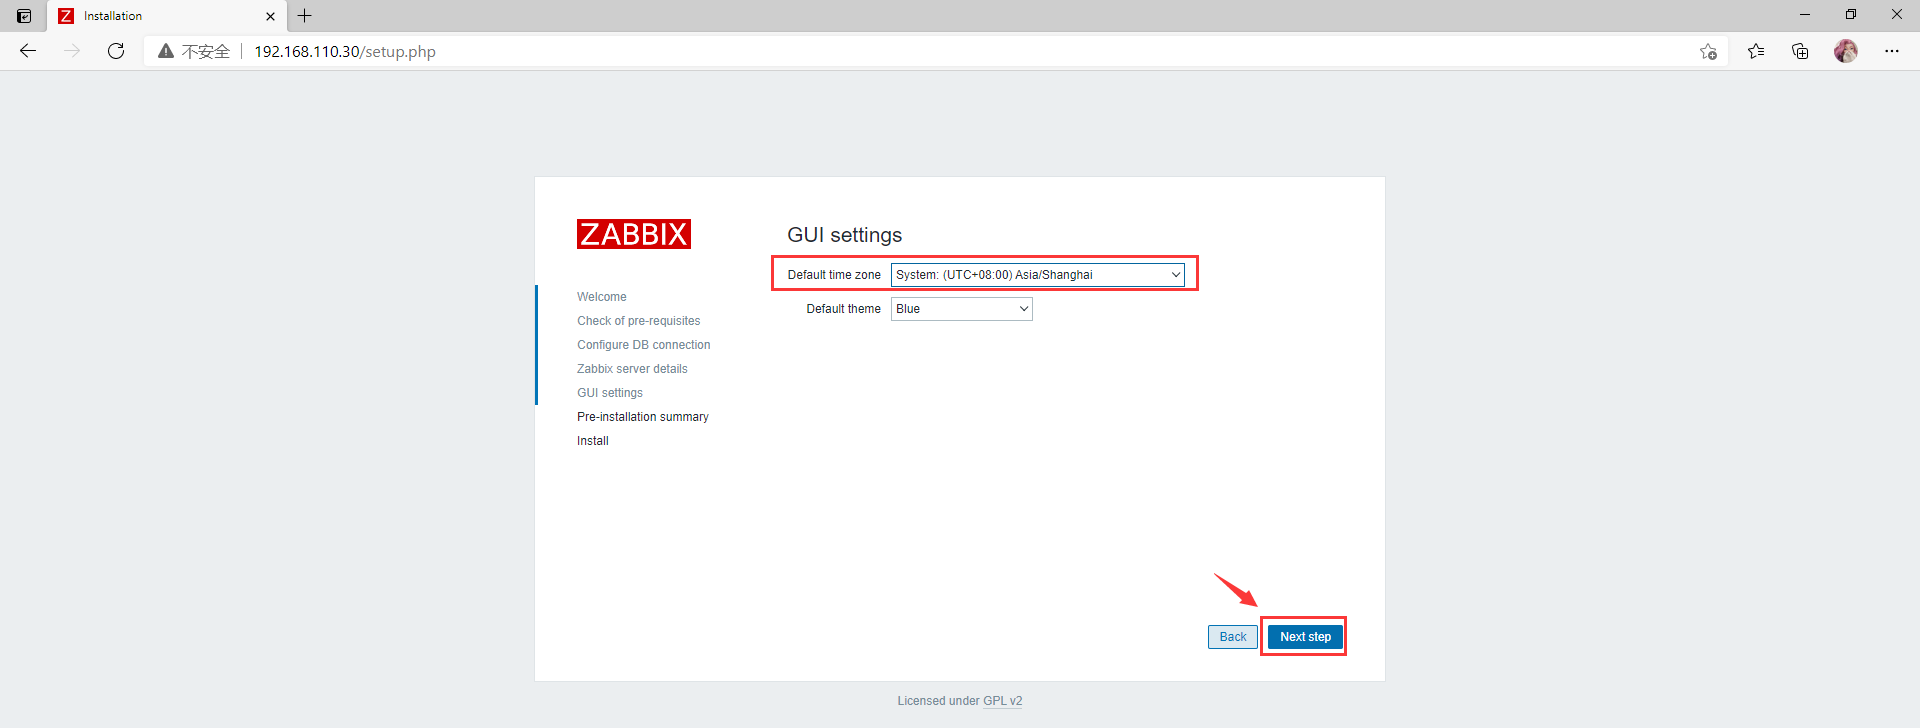
设置时区样式 ---> 点击next下一步
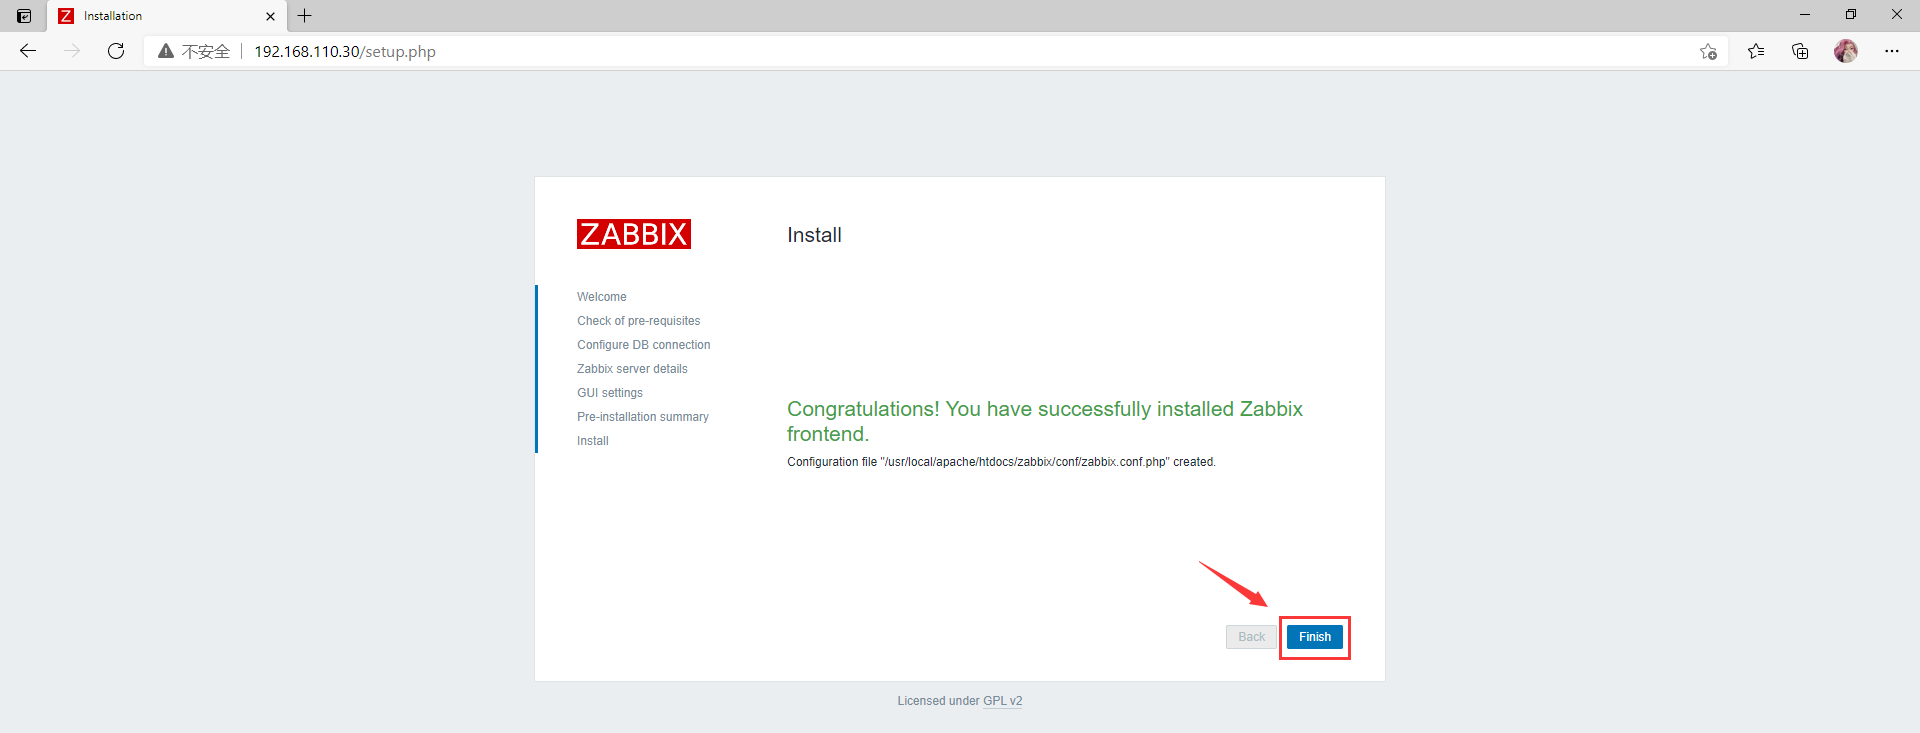
开始安装 ---> 安装完成后 ---> 点击Finishi完成
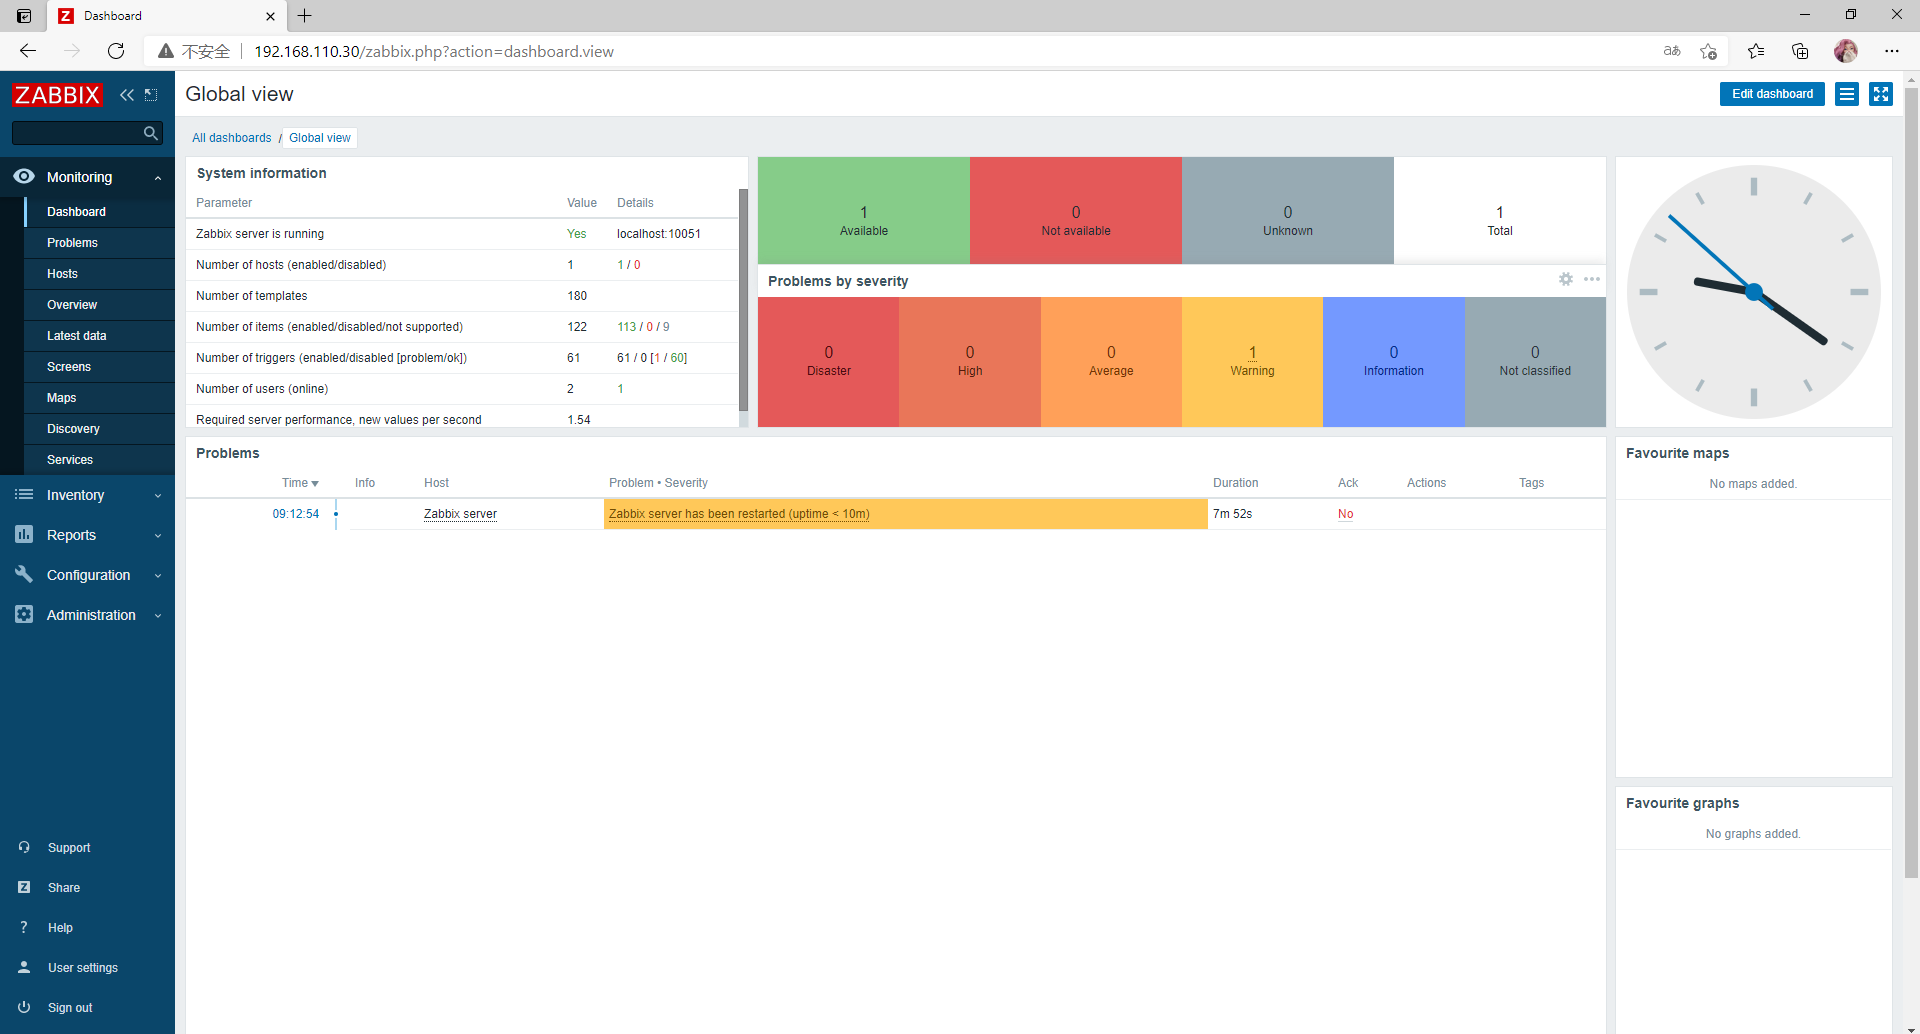
自动跳转用户登录界面

恢复zabbix/conf目录的权限为755
[root@localhost ~]# chmod 755 /usr/local/apache/htdocs/zabbix/conf
[root@localhost ~]# ll -d /usr/local/apache/htdocs/zabbix/conf
drwxr-xr-x. 3 apache apache 117 Apr  7 23:46 /usr/local/apache/htdocs/zabbix/conf
登录zabbix
zabbix默认登录用户名和密码:
| 用户名 | 密码 |
|---|---|
| Admin | zabbix |
输入用户名和密码登录zabbix
注意:输入密码的时候一定要仔细哦,注意大写!!!

登录成功

设置zabbix开机自启
zabbix的源码提供了系统服务脚本,在/usr/src/zabbix-5.2.6/misc/init.d/目录下,我的系统是RedHat的,所以选择fedora下的脚本复制到/etc/init.d下
[root@localhost ~]# cd /usr/src/zabbix-5.2.6/misc/init.d/fedora/core5/
[root@localhost core5]# ls
zabbix_agentd  zabbix_server
[root@localhost core5]# cp -a zabbix_server /etc/init.d/
[root@localhost core5]# cp -a zabbix_agentd /etc/init.d/

//添加到开启自启动文件
#服务端
[root@localhost core5]# chkconfig --add zabbix_server
[root@localhost core5]# chkconfig zabbix_server on
[root@localhost core5]# chkconfig --list|grep zabbix_server

Note: This output shows SysV services only and does not include native
      systemd services. SysV configuration data might be overridden by native
      systemd configuration.

      If you want to list systemd services use 'systemctl list-unit-files'.
      To see services enabled on particular target use
      'systemctl list-dependencies [target]'.

zabbix_server  	0:off	1:off	2:on	3:on	4:on	5:on	6:off

#客户端
[root@localhost core5]# chkconfig --add zabbix_agentd
[root@localhost core5]# chkconfig zabbix_agentd on
[root@localhost core5]# chkconfig --list|grep zabbix_agentd

Note: This output shows SysV services only and does not include native
      systemd services. SysV configuration data might be overridden by native
      systemd configuration.

      If you want to list systemd services use 'systemctl list-unit-files'.
      To see services enabled on particular target use
      'systemctl list-dependencies [target]'.

zabbix_agentd  	0:off	1:off	2:on	3:on	4:on	5:on	6:off

//重启测试一下
#重启
[root@localhost ~]# reboot

#关闭selinx和防火墙
[root@localhost ~]# systemctl stop firewalld
[root@localhost ~]# setenforce 0

#启动apache
[root@localhost ~]# /usr/local/apache/bin/apachectl start

#查看端口
[root@localhost ~]# ss -antl
State     Recv-Q    Send-Q         Local Address:Port          Peer Address:Port
LISTEN    0         128                  0.0.0.0:22                 0.0.0.0:*
LISTEN    0         128                  0.0.0.0:10050              0.0.0.0:*
LISTEN    0         128                  0.0.0.0:10051              0.0.0.0:*
LISTEN    0         128                  0.0.0.0:9000               0.0.0.0:*
LISTEN    0         128                        *:80                       *:*
LISTEN    0         128                     [::]:22                    [::]:*
LISTEN    0         80                         *:3306                     *:*
通过网页测试

 浙公网安备 33010602011771号