Maven学习总结
一、简介
Maven是apache官方推出的一款项目自动构建工具。这款工具可以方便我们项目依赖的维护,构建,测试,发布。
Maven使用约定优于配置的原则,大家尽可能的遵守这样的目录结构。如下所示:
|
目录 |
目的 |
|---|---|
|
${basedir} |
存放pom.xml和所有的子目录 |
|
${basedir}/src/main/java |
项目的java源代码 |
|
${basedir}/src/main/resources |
项目的资源,比如说property文件,springmvc.xml |
|
${basedir}/src/main/profiles/staging(local/server) |
指定项目编译时的不同环境下的配置文件,可以理解为对通用配置文件resources目录下针对不同环境对配置文件的补充。 |
|
${basedir}/src/test/java |
项目的测试类,比如说Junit代码 |
|
${basedir}/src/test/resources |
测试用的资源 |
|
${basedir}/src/main/webapp/WEB-INF |
web应用文件目录,web项目的信息,比如存放web.xml、本地图片、jsp视图页面 |
|
${basedir}/target |
打包输出目录。如果使用的仅是compile命令,target目录下仅包含target/classes。如果使用的是package命令,除了compile的项目编译生成的target/classes,还生成了项目打包后的war(jar)包以及war包解压后的项目总路径,target/project-final-name/WEB-INF/classes。 |
|
${basedir}/target/classes |
编译输出目录,包含了上面${basedir}/src/main/java 中编译后的Java字节码文件(class),也包括了resources和profiles中的配置文件。 |
|
${basedir}/target/test-classes |
测试编译输出目录 |
|
Test.java |
Maven只会自动运行符合该命名规则的测试类 |
|
~/.m2/repository |
Maven默认的本地仓库目录位置 |
二、Maven 常用命令
-
compile命令完成了项目编译,将Java 源程序编译成 class 字节码文件,并输出到${basedir}/target/classes目录下。
-
package命令完成了项目编译、单元测试、打包功能,但没有把打好的可执行jar包(war包或其它形式的包)布署到本地maven仓库和远程maven私服仓库
-
install命令完成了项目编译、单元测试、打包功能,同时把打好的可执行jar包(war包或其它形式的包)布署到本地maven仓库(以便别的模块调用),但没有布署到远程maven私服仓库
-
deploy命令完成了项目编译、单元测试、打包功能,同时把打好的可执行jar包(war包或其它形式的包)布署到本地maven仓库和远程maven私服仓库
-
clean命令清除编译结果,也就是把编译生成的target文件夹删掉。
|
参数 |
描述 |
|---|---|
|
-D |
指定参数。例如:-Dmaven.test.skip=true 跳过单元测试 |
|
-P |
指定profile配置,可以用于区分环境 |
|
-e |
显示maven运行出错的信息 |
|
-o |
离线执行命令,即不去远程仓库更新包 |
|
-X |
显示maven允许的debug信息 |
|
-U |
强制去远程更新snapshot的插件或依赖,默认每天只更新一次 |
|
启动jetty |
mvn jetty:run |
Web项目本地编译、运行web服务器测试常用的maven命令:
mvn clean compile -Plocal -Dmaven.test.skip=true jetty:run
三、POM.xml
网上有关pom.xml这块的介绍比较散,这里以一个pom.xml举例来介绍
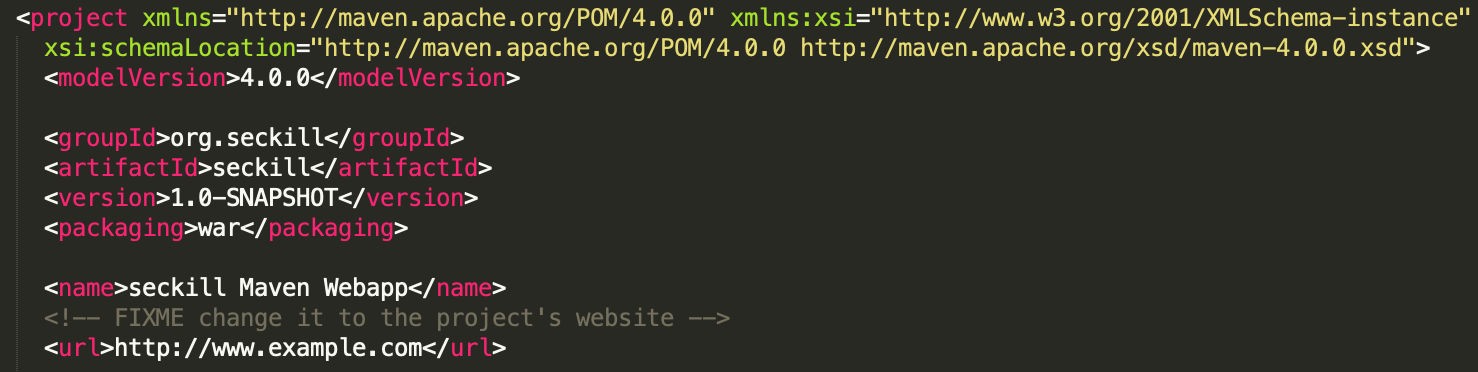
<project xmlns="http://maven.apache.org/POM/4.0.0" xmlns:xsi="http://www.w3.org/2001/XMLSchema-instance"
  xsi:schemaLocation="http://maven.apache.org/POM/4.0.0 http://maven.apache.org/xsd/maven-4.0.0.xsd">
  <modelVersion>4.0.0</modelVersion>

  <groupId>org.seckill</groupId>
  <artifactId>seckill</artifactId>
  <version>1.0-SNAPSHOT</version>
  <packaging>war</packaging>

  <name>seckill Maven Webapp</name>
  <!-- FIXME change it to the project's website -->
  <url>http://www.example.com</url>


  <dependencies>
    <dependency>
      <groupId>junit</groupId>
      <artifactId>junit</artifactId>
      <version>4.11</version>
      <scope>test</scope>
    </dependency>

    <dependency>
      <groupId>org.slf4j</groupId>
      <artifactId>slf4j-api</artifactId>
      <version>1.7.12</version>
    </dependency>
    <dependency>
      <groupId>ch.qos.logback</groupId>
      <artifactId>logback-core</artifactId>
      <version>1.1.1</version>
    </dependency>
    <!--实现slf4j接口并整合-->
    <dependency>
      <groupId>ch.qos.logback</groupId>
      <artifactId>logback-classic</artifactId>
      <version>1.1.1</version>
    </dependency>
    ...
    ...
    ...
  </dependencies>

  <build>
    <finalName>seckill</finalName>
      <plugins>
        <!-- jetty插件 -->
        <!-- jdk8适用的jetty插件 -->
        <plugin>
          <groupId>org.eclipse.jetty</groupId>
          <artifactId>jetty-maven-plugin</artifactId>
          <version>9.4.9.v20180320</version>
          <configuration>
            <scanIntervalSeconds>10</scanIntervalSeconds>
            <httpConnector>
              <port>8080</port>
            </httpConnector>
            <webApp>
              <contextPath>/</contextPath>
            </webApp>
          </configuration>
        </plugin>
      </plugins>
      <resources>
        <resource>
          <directory>src/main/resources</directory>
            <includes>
              <include>**/*.properties</include>
              <include>**/*.ini</include>
              <include>**/*.xml</include>
            </includes>
        </resource>
      </resources>
      <testResources>
        <testResource>
          <directory>src/main/profiles/local</directory>
            <includes>
              <include>**/*.properties</include>
              <include>**/*.xml</include>
            </includes>
        </testResource>
      </testResources>
  </build>

  <profiles>
    <profile>
      <id>server</id>
      <build>
        <resources>
          <resource>
            <directory>src/main/profiles/server</directory>
          </resource>
        </resources>
      </build>
    </profile>
    <profile>
      <id>local</id>
      <build>
        <resources>
          <resource>
            <directory>src/main/profiles/local</directory>
          </resource>
        </resources>
      </build>
    </profile>
  </profiles>

</project>
1 基本信息
这部分主要包含了项目的基本信息<groupID>、<artifactID>可以理解为项目的坐标,groupID是整个系统的名称,artifactID是子项目的名称
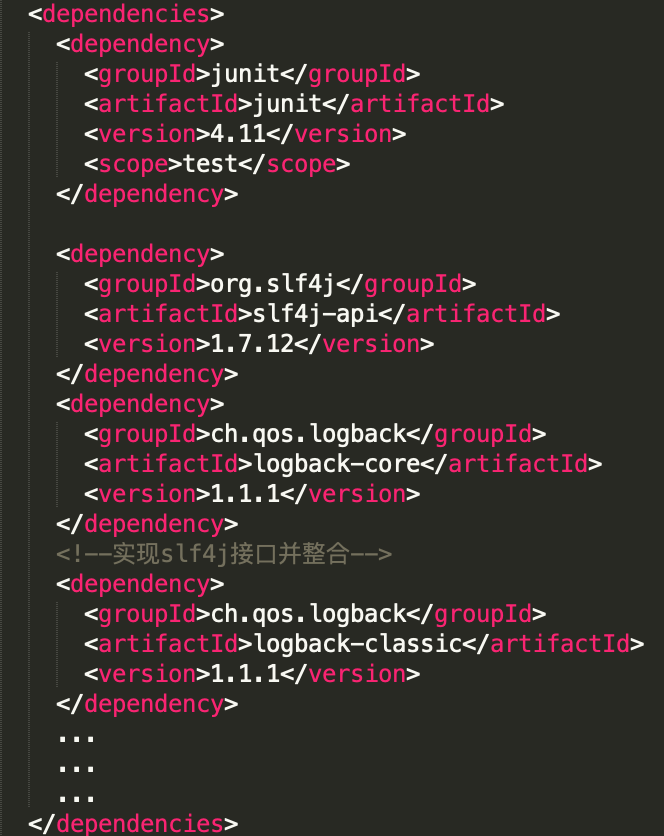
2 dependencies 依赖
这也是pom.xml中最主要的部分,主要描述了该项目依赖了哪写包
有时候会遇到这样一个问题:我们的项目有两个依赖项:A & B,而且A和B同时依赖了C,但不是同一个版本。这个时候就需要添加检测插件,然后在某个dependency中去除(<exclusions>)某个依赖项,这个具体碰到了再分析。
<dependencies></dependencies>
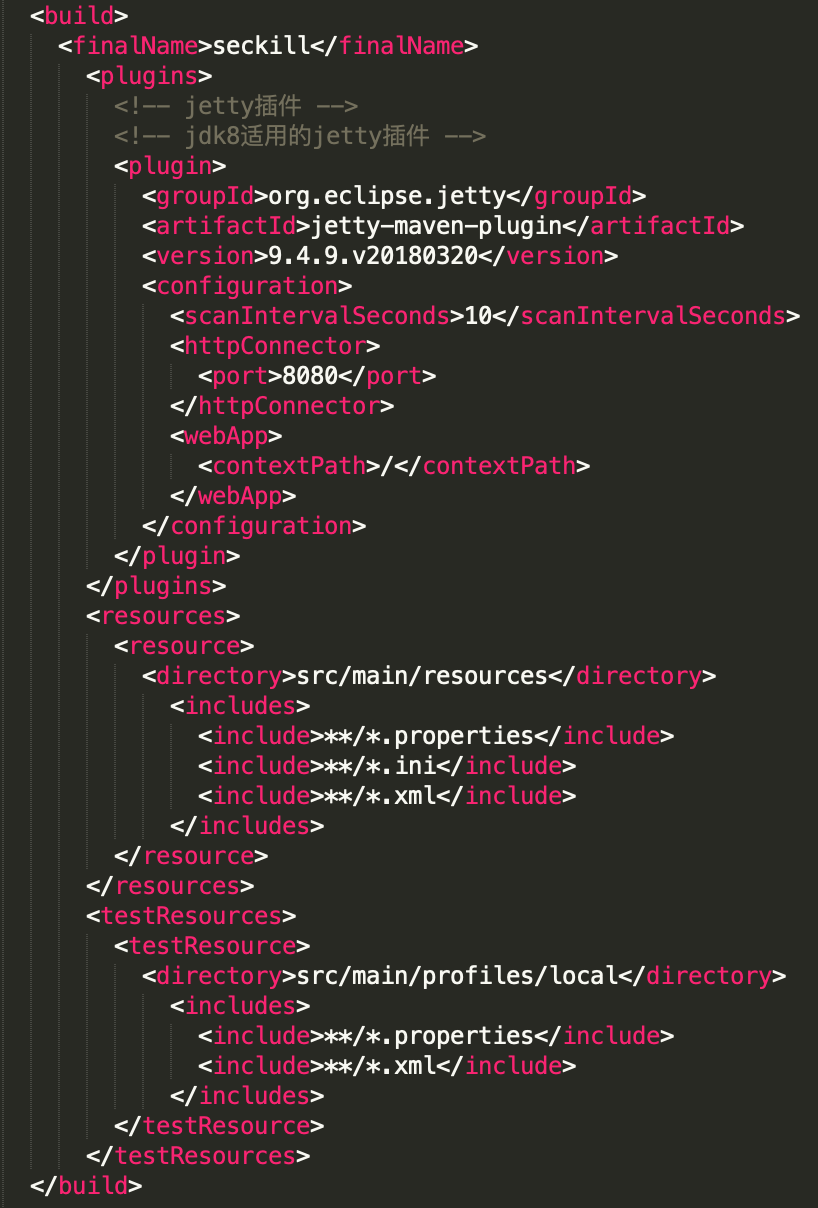
3 build 项目构建
这里主要放项目构建需要的插件<plugins>包括jetty等。以及配置文件resources。
其实这里不声明resources和testResources,而是在IDEA快捷键command+;的项目结构中手动标记出resources的目录,maven编译的时候也会把文件夹中的配置文件编译到target/classes下。
但是这种写法更规范些,而且能够灵活使用<include>/<exclude>标记哪写文件需要/不需要当成配置文件。
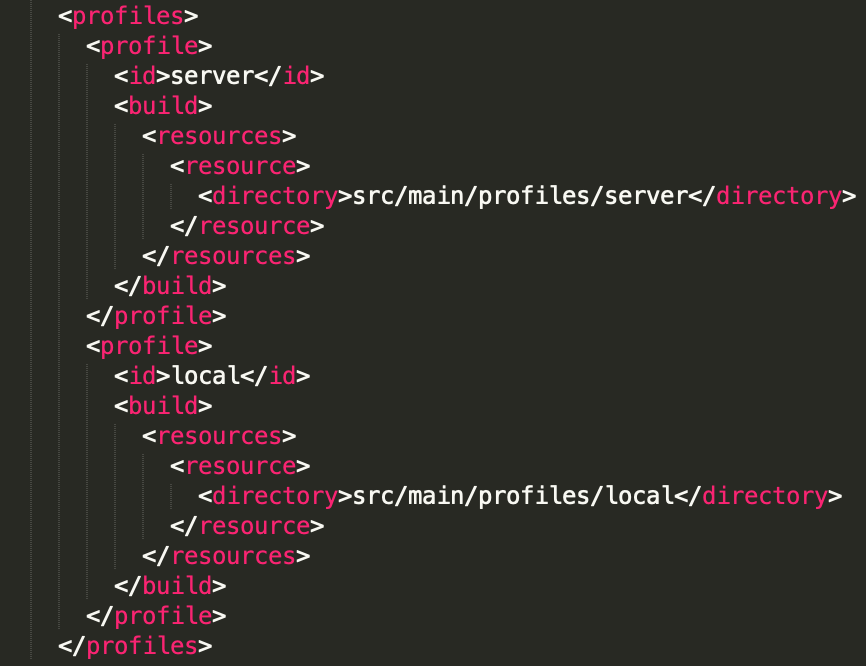
4 profile
maven的profile可用于配置多个环境(local、server、test)等,可通过compile或package时-Pserver切换环境从而应用不同环境的不同配置文件。
一般src/main/resources下放一些通用的配置文件。
src/main/profiles/local(server、test) 下放一些不同环境特有的配置文件。
四、Reference
https://www.jianshu.com/p/6f57c322e50e
https://www.cnblogs.com/sharpest/p/5969566.html

 浙公网安备 33010602011771号