使用sinopia搭建npm私有仓库
1、安装 Node 环境
a、官网下载 tar 包
b、解压设置环境变量

PATH=/usr/local/node/bin:$PATH
2、安装 sinopia
npm install -g sinopia
3、初次手动启动服务生成配置文件
$ sinopia
Sinopia doesn't need superuser privileges. Don't run it under root.
 warn  --- config file  - /root/.config/sinopia/config.yaml
 warn  --- http address - http://0.0.0.0:4873/
4、修改配置文件
vim /root/.config/sinopia/config.yaml
grep -v "^$" config.yaml | grep -v "^\s*#"
storage: /home/sinopia/storage

auth:
  htpasswd:
    file: /home/sinopia/htpasswd
    max_users: -1

uplinks:
  npmjs:
    url: http://registry.npm.taobao.org

packages:
  '@*/*':
    access: $all
    publish: $authenticated
    proxy: npmjs
  '*':
    access: $all
    publish: $authenticated
    proxy: npmjs

logs:
  - {type: stdout, format: pretty, level: http}
  - {type: file, path: /home/sinopia/logs/sinopia.log, level: info}

listen: 0.0.0.0:4873   # 默认没有,只能本机localhost访问,添加后可以通过外网访问
max_body_size: 50mb
5、安装 pm2 用于后台启动
npm install -g pm2
6、使用 pm2 启动 sinopia
pm2 start `which sinopia`
pm2 ls
7、安装 nrm 用于管理镜像站点
npm install -g nrm
nrm ls
nrm add cloudpath http://172.20.47.76:4873
nrm use cloudpath
8、添加用户
npm adduser --registry http://172.20.47.76:4873
9、尝试发布一个包
mkdir test
cd test
npm init -y
npm publish
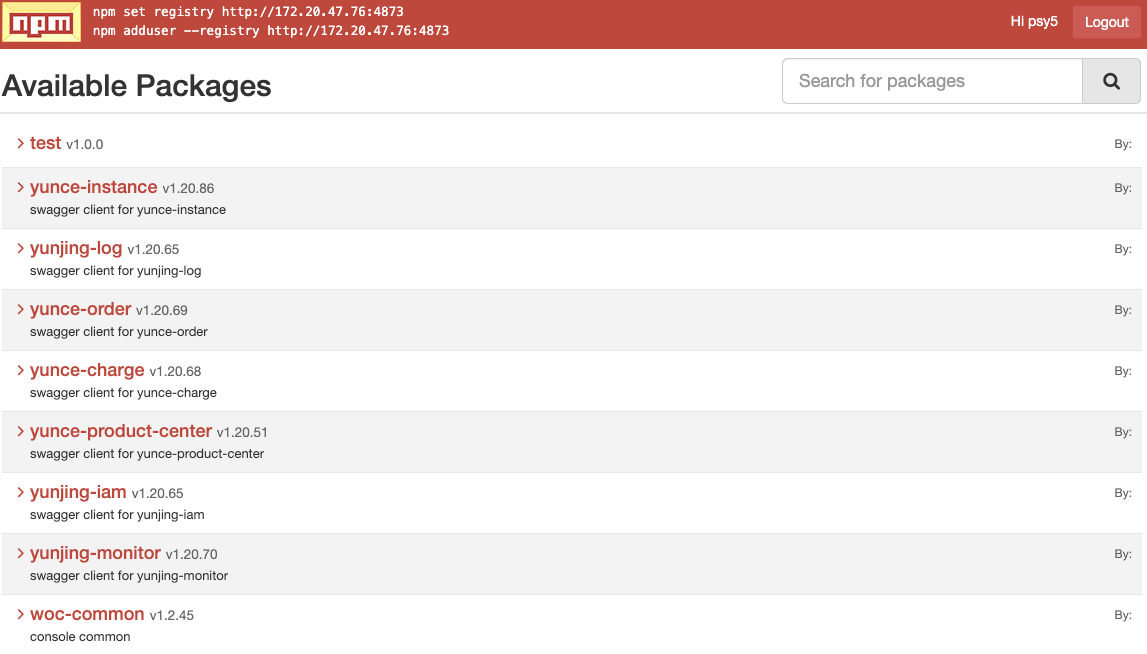
10、打开页面查看
http://172.20.47.76:4873/
效果如下:
同类产品还有 verdaccio
参考:

 浙公网安备 33010602011771号