【第三课】WEBIX 入门自学-Hello World
在看官网教程时,入门的例子就是dataTable这个空间。So,遵循官网,一起来看一下入门的DataTable组件;
WEB使用时固然是先引入相应的库文件;
代码如下
<html>
<head>
    <title>Quick start with DataTable</title>
    <script src="../codebase/webix.js" type="text/javascript" charset="utf-8"></script>
    <link rel="stylesheet" href="../codebase/webix.css" type="text/css" charset="utf-8">
</head>
<body>
    <script>
        //here you will place your JavaScript code
    </script>
</body>
</html>
来一个小栗子吧
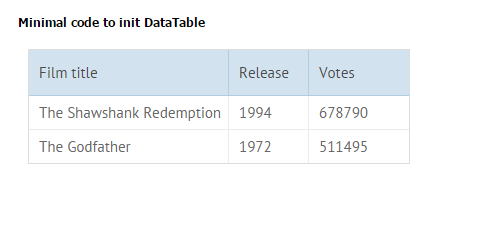
包含表头的3X3的表格
<!DOCTYPE html>
<html>
    <head>
        <title>Quick start with DataTable</title>
        <link rel="stylesheet" href="../../../codebase/webix.css" type="text/css" charset="utf-8">
        <script src="../../../codebase/webix.js" type="text/javascript" charset="utf-8"></script>
    </head>
    <body>
        <div class='header_comment'>Minimal code to init DataTable</div>
        <div id="testA"></div>

    <script>
    var dtable = webix.ui({
            container:"testA",//定义内部表格ID(html)
            view:"datatable",//声明为datatable组件
            columns:[
                { id:"title",   header:"Film title",    width:200},//表头
                { id:"year",    header:"Release year" , width:80},
                { id:"votes",   header:"Votes",         width:100}
            ],
            autowidth:true,//自动宽度
            autoheight:true,//自动高度
            data:[//表格数据
                { id:1, title:"The Shawshank Redemption", year:1994, votes:678790},
                { id:2, title:"The Godfather",            year:1972, votes:511495}
            ]
    });
    </script>
</body>
</html>
上效果图~
代码简洁到爆 只需要制定js代码 框架库自动生成相应组件~~~
好了 这一课就先到这了

 浙公网安备 33010602011771号