


STM32闪烁灯(2023/7/19)

1.添加Delay库文件,新建文件夹,增加Delay的.c和.h文件

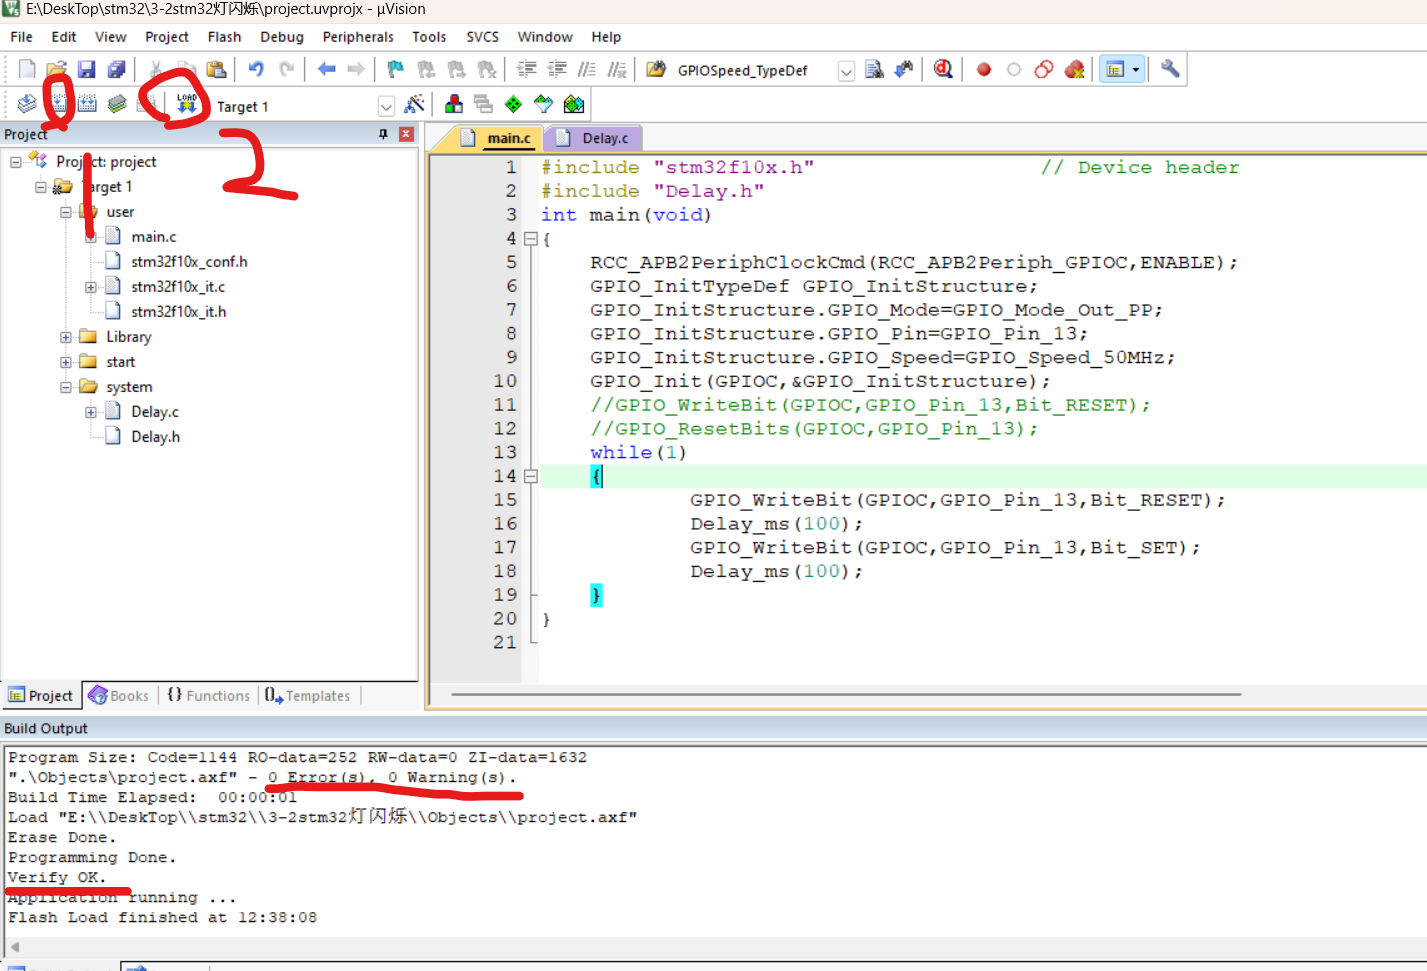
2.编写代码
#include "stm32f10x.h" // Device header
#include "Delay.h"
int main(void)
{
RCC_APB2PeriphClockCmd(RCC_APB2Periph_GPIOC,ENABLE);
GPIO_InitTypeDef GPIO_InitStructure;
GPIO_InitStructure.GPIO_Mode=GPIO_Mode_Out_PP;
GPIO_InitStructure.GPIO_Pin=GPIO_Pin_13;
GPIO_InitStructure.GPIO_Speed=GPIO_Speed_50MHz;
GPIO_Init(GPIOC,&GPIO_InitStructure);
//GPIO_WriteBit(GPIOC,GPIO_Pin_13,Bit_RESET);
//GPIO_ResetBits(GPIOC,GPIO_Pin_13);
while(1)
{
GPIO_WriteBit(GPIOC,GPIO_Pin_13,Bit_RESET);
//如果想要通过写0、1来赋值高低电平,可以通过GPIO_WriteBit(GPIOC,GPIO_Pin_13,(BitAction)0);强制类型转换
//GPIO_ResetBits(GPIOC,GPIO_Pin_13);这种写法同样可以达到赋值低电平的效果
Delay_ms(100);
GPIO_WriteBit(GPIOC,GPIO_Pin_13,Bit_SET);
//GPIO_WriteBit(GPIOC,GPIO_Pin_13,(BitAction)1);强制类型转换
//GPIO_setBits(GPIOC,GPIO_Pin_13);
Delay_ms(100);
}
}

3.烧录程序

 浙公网安备 33010602011771号