
linux 之日志管理rsyslog综合演练
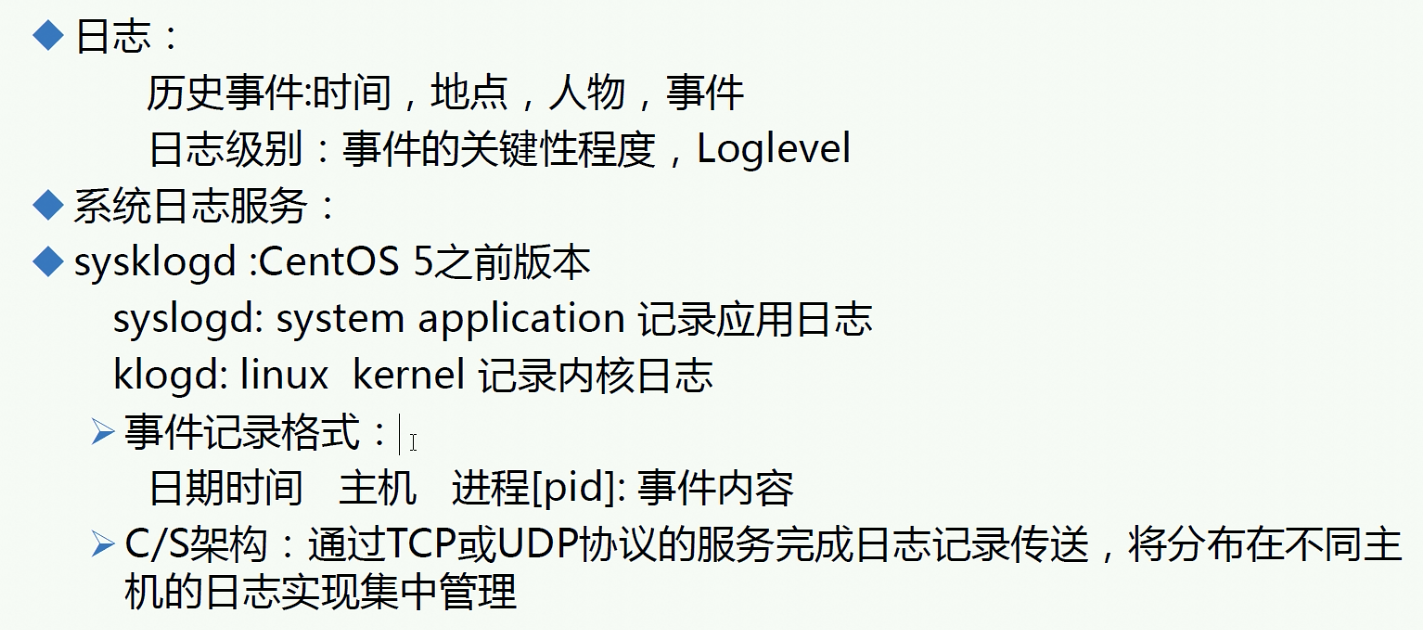
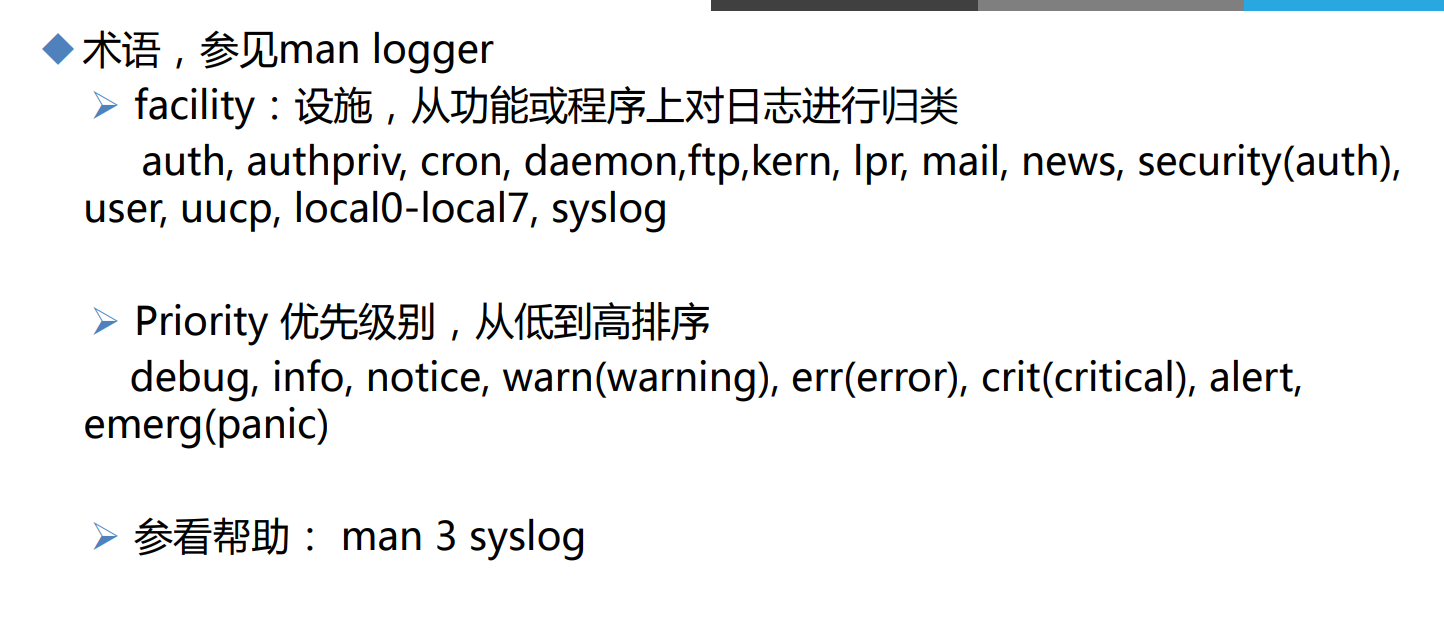
日志介绍
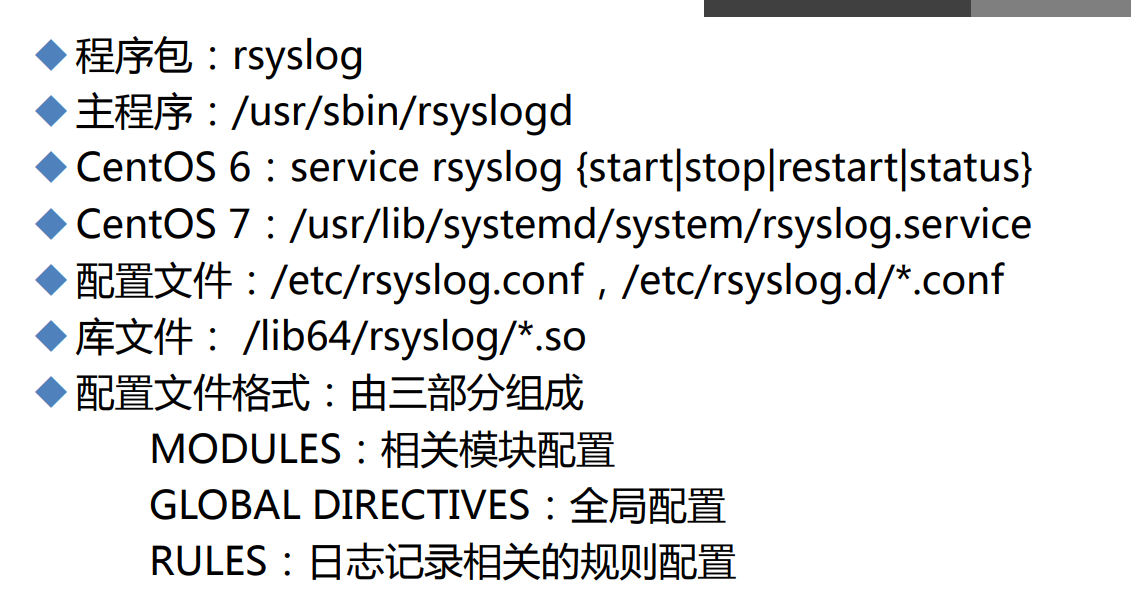
rsyslog
rsyslog
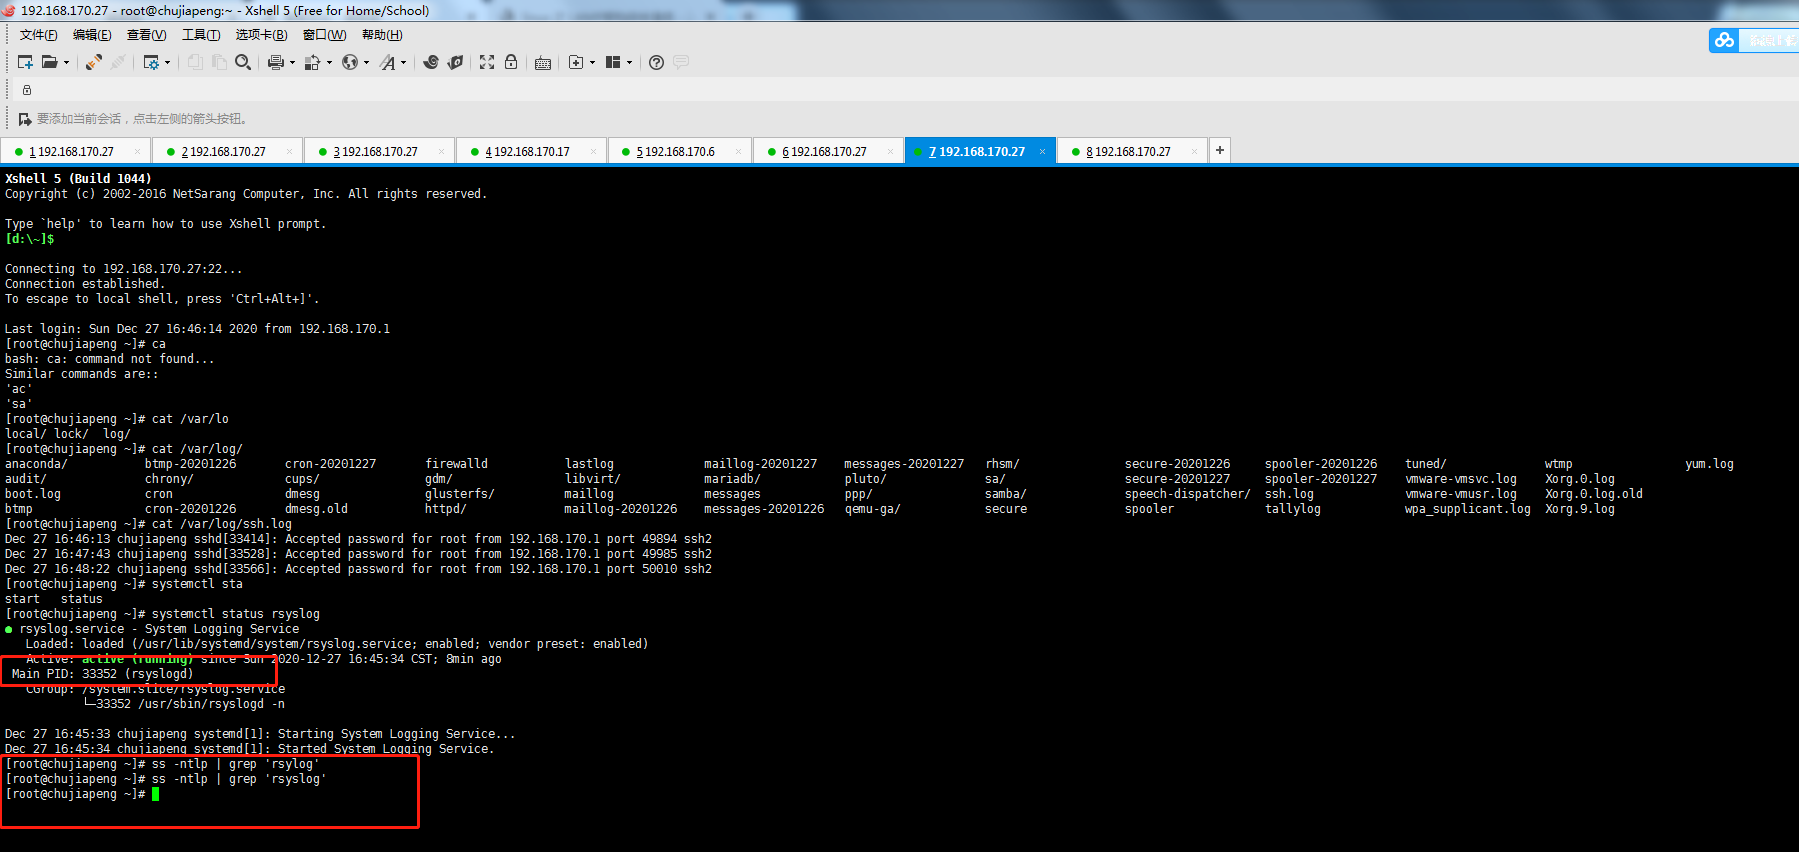
实验一日志配置演示,
通过下边命令rsysylog服务默认是独立的不是基于网络的
 应用程序定制日志演示
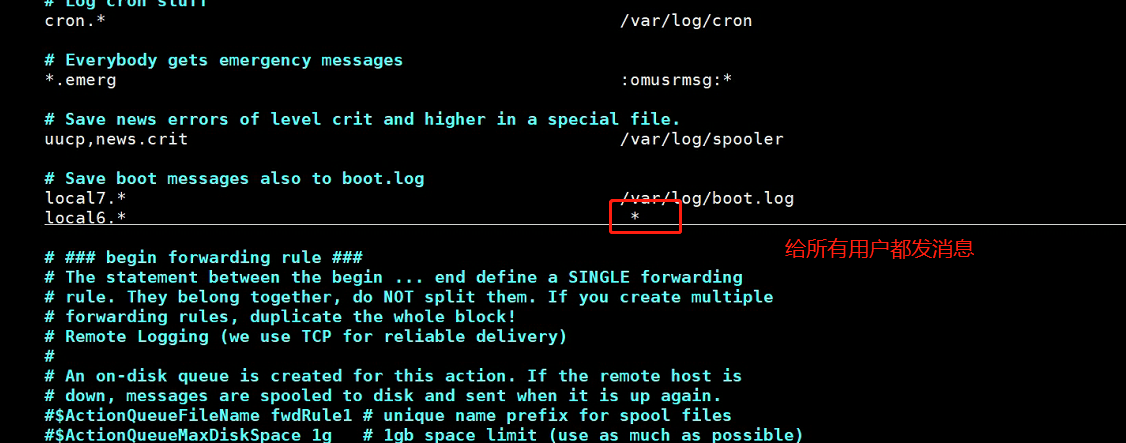
[root@chujiapeng ~]# vim /etc/rsyslog.conf


# Save boot messages0 also to boot.log
local7.*                                                /var/log/boot.log
local6.*                                                /var/log/myssh.log
[root@chujiapeng ~]# vim /etc/ssh/sshd_config
SyslogFacility local6
[root@chujiapeng ~]# systemctl restart sshd rsyslog
[root@chujiapeng ~]#
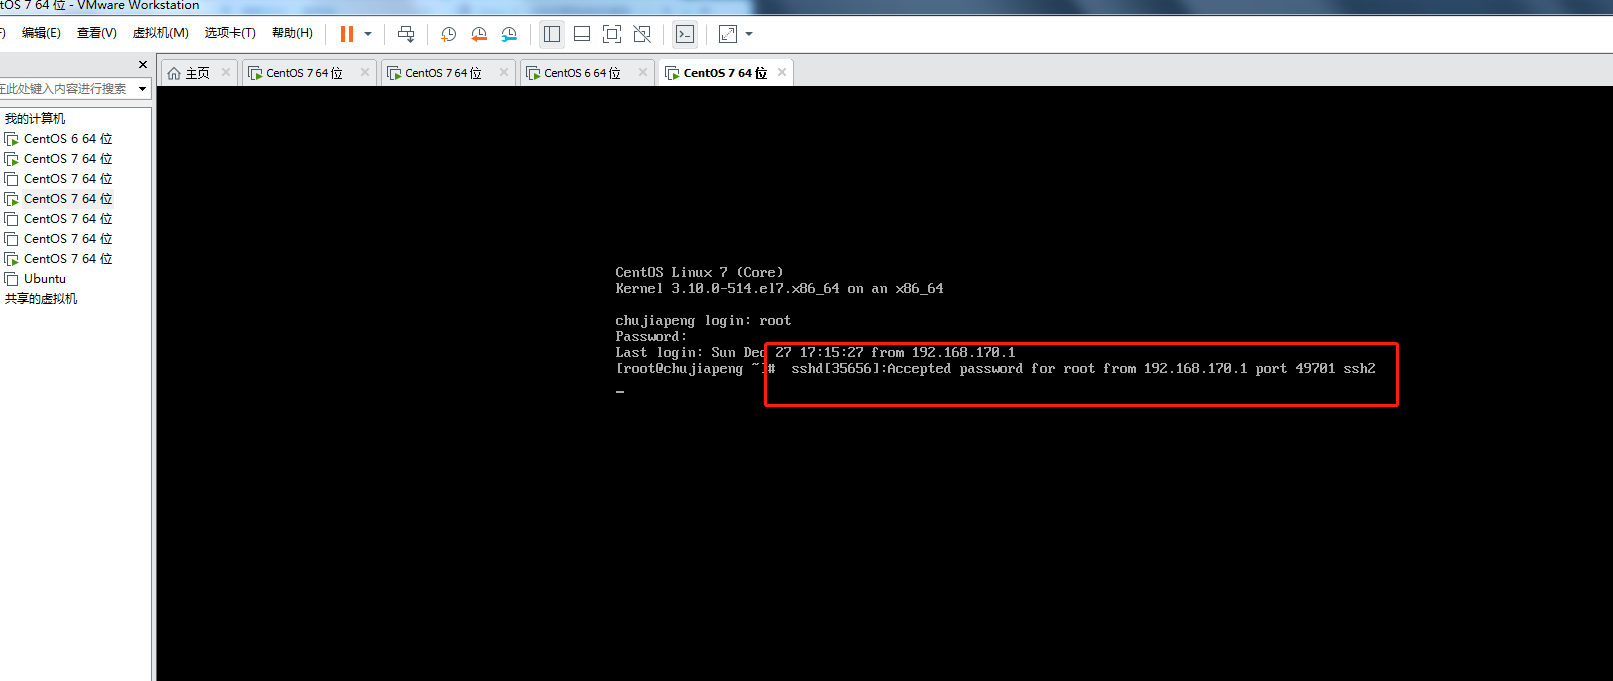
截图查看效果
[root@chujiapeng ~]# tail /var/log/m
maillog maillog-20201226 maillog-20201227 mariadb/ messages messages-20201226 messages-20201227 myssh.log
[root@chujiapeng ~]# tail /var/log/m
maillog maillog-20201226 maillog-20201227 mariadb/ messages messages-20201226 messages-20201227 myssh.log
[root@chujiapeng ~]# tail /var/log/myssh.log
Dec 27 17:12:07 chujiapeng sshd[34281]: Server listening on 0.0.0.0 port 22.
Dec 27 17:12:07 chujiapeng sshd[34281]: Server listening on :: port 22.
Dec 27 17:12:14 chujiapeng sshd[34281]: Received signal 15; terminating.
Dec 27 17:12:14 chujiapeng sshd[34298]: Server listening on 0.0.0.0 port 22.
Dec 27 17:12:14 chujiapeng sshd[34298]: Server listening on :: port 22.
Dec 27 17:15:27 chujiapeng sshd[34346]: Accepted password for root from 192.168.170.1 port 49968 ssh2
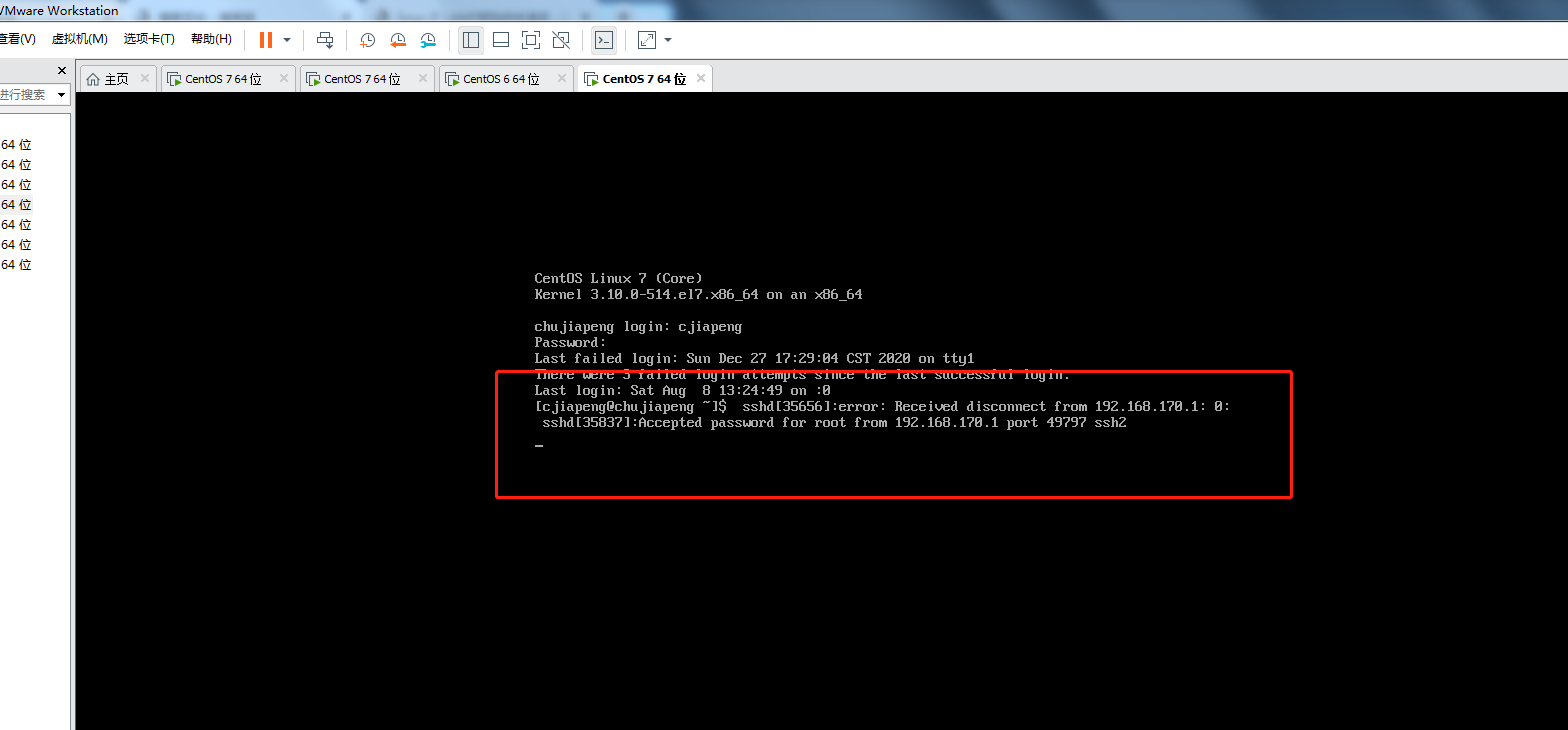
修改给用户发、
[root@chujiapeng ~]# vim /etc/rsyslog.conf
local6.* root,chujiapeng
[root@chujiapeng ~]# systemctl restart rsyslog

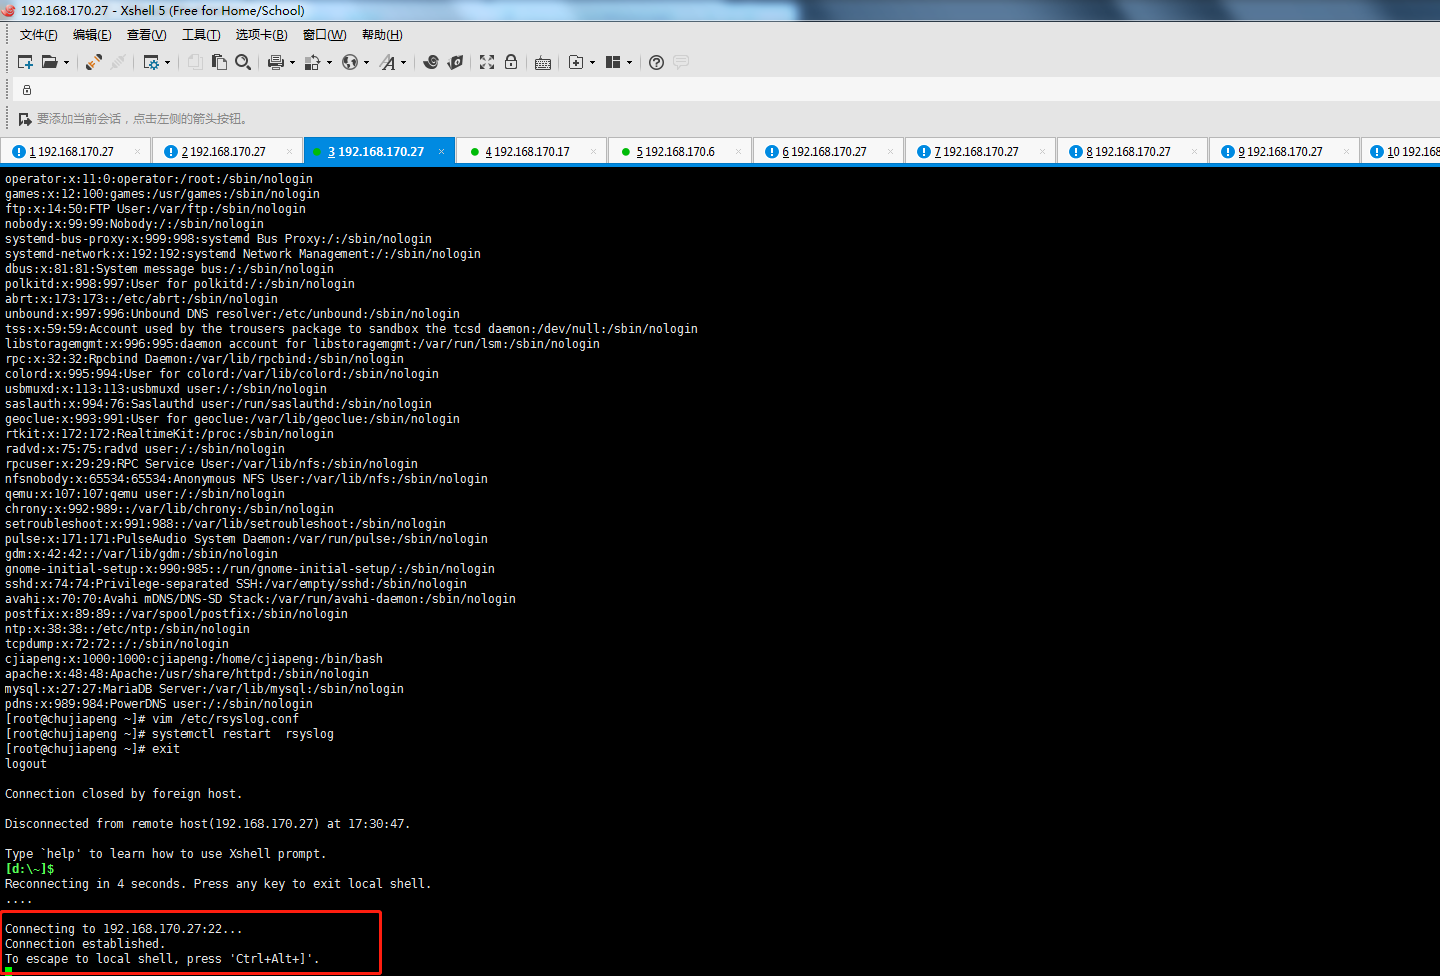
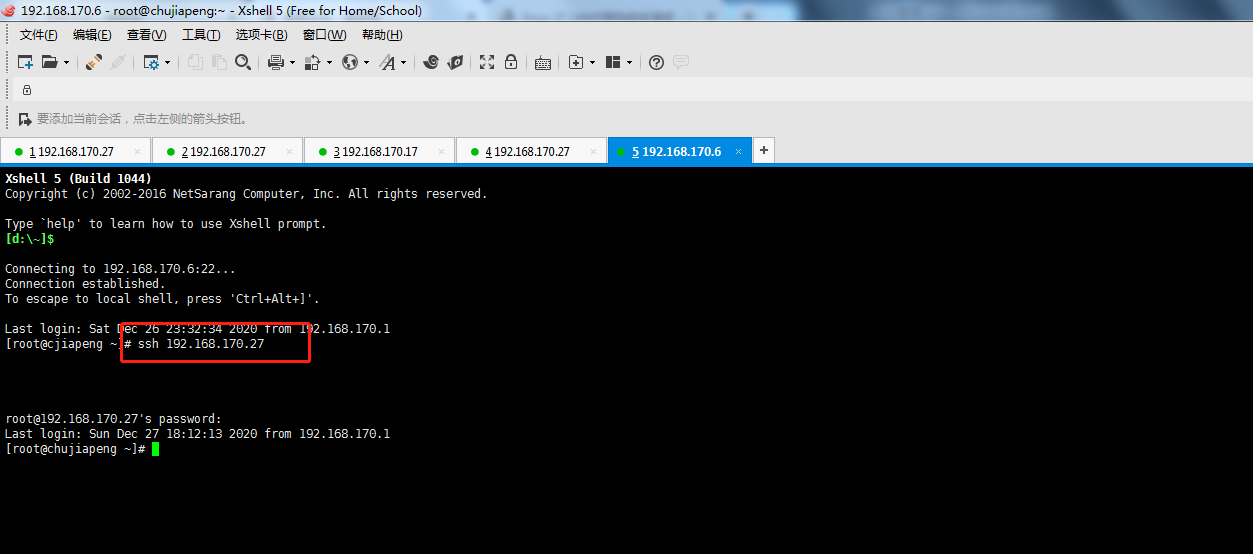
给远程机器发,基于网络演示
192.168.170.27的日志发送给192.168.170.17
1.首先开启17的端口 服务,来接受和存放日志路径
vim /etc/rsyslog.conf
$ModLoad imudp
$UDPServerRun 514
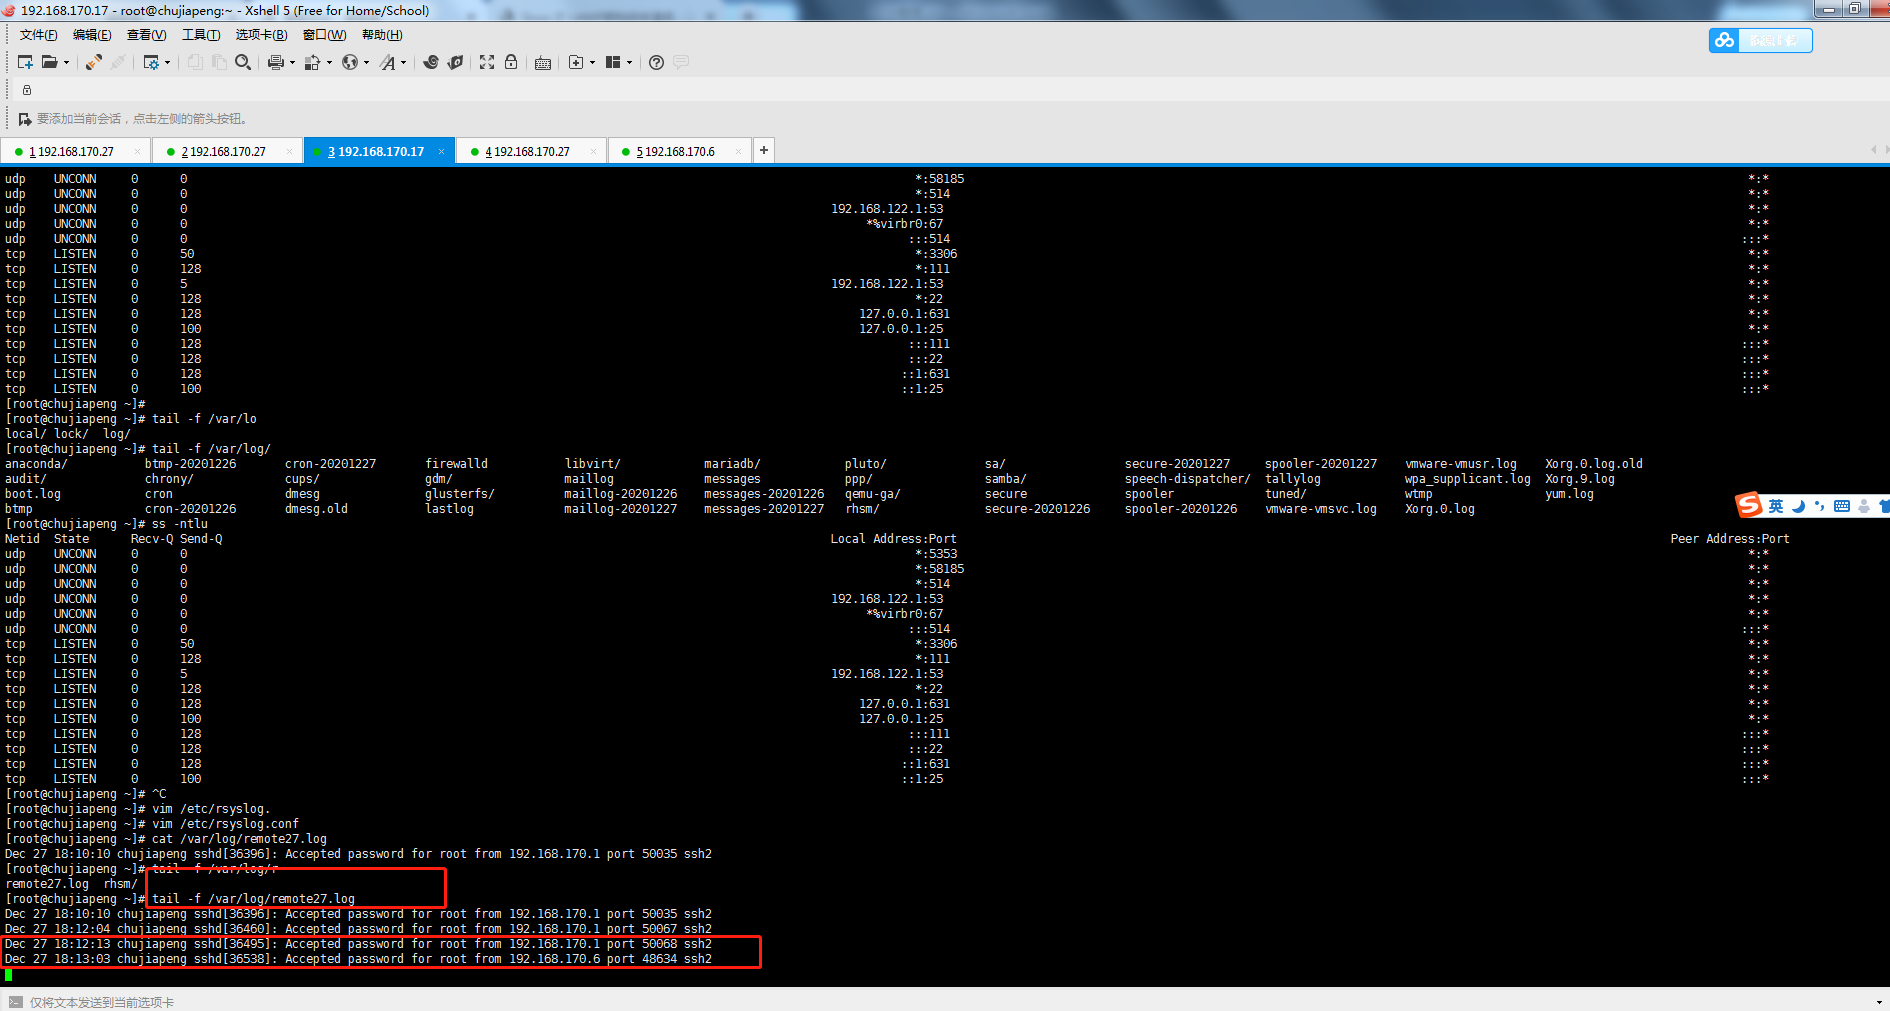
local6.* /var/log/remote27.log
[root@chujiapeng ~]# systemctl restart rsyslog
[root@chujiapeng ~]# ss -ntul
State Recv-Q Send-Q Local Address:Port Peer Address:Port
UNCONN 0 0 *:5353 *:*
UNCONN 0 0 *:57747 *:*
UNCONN 0 0 *:514 *:*
UNCONN 0 0 :::514 :::*
[root@chujiapeng ~]#
2.然后在发送日志主机修改配置文件
vim /etc/rsyslog.conf
local6.*                                                @192.168.170.17
重启服务
[root@chujiapeng ~]# systemctl restart rsyslog
测试过程详见截图
到此演示结束
实验二收集apache访问日志,并实现web图形化展示。
实验环境
192.168.170.27,web日志服务应用
192.168.170.17,数据库服务器
27上安装包
1.yum install rsyslog-mysql -y
[root@chujiapeng ~]# rpm -ql rsyslog-mysql
/usr/lib64/rsyslog/ommysql.so
/usr/share/doc/rsyslog-8.24.0/mysql-createDB.sql
ll /usr/lib46/sryslog
得出结论ommysql.so 是rsyslog的一个子模块而已
2.拷贝数据库表文件到数据库服务器的/data目录下
[root@chujiapeng ~]# scp /usr/share/doc/rsyslog-8.24.0/mysql-createDB.sql 192.168.170.17:/data
The authenticity of host '192.168.170.17 (192.168.170.17)' can't be established.
ECDSA key fingerprint is 95:74:a7:2c:31:d5:4d:c1:4b:65:73:fd:87:fd:82:c0.
Are you sure you want to continue connecting (yes/no)? yes
Warning: Permanently added '192.168.170.17' (ECDSA) to the list of known hosts.
root@192.168.170.17's password:
mysql-createDB.sql
17上装表[root@chujiapeng ~]# ll /data/
total 4
-rw-r--r-- 1 root root 1046 Dec 27 18:37 mysql-createDB.sql
[root@chujiapeng ~]# mysql -p111111< /data/mysql-createDB.sql
[root@chujiapeng ~]# systemctl restart mariadb
MariaDB [Syslog]> show tables;
+------------------------+
| Tables_in_Syslog |
+------------------------+
| SystemEvents |
| SystemEventsProperties |
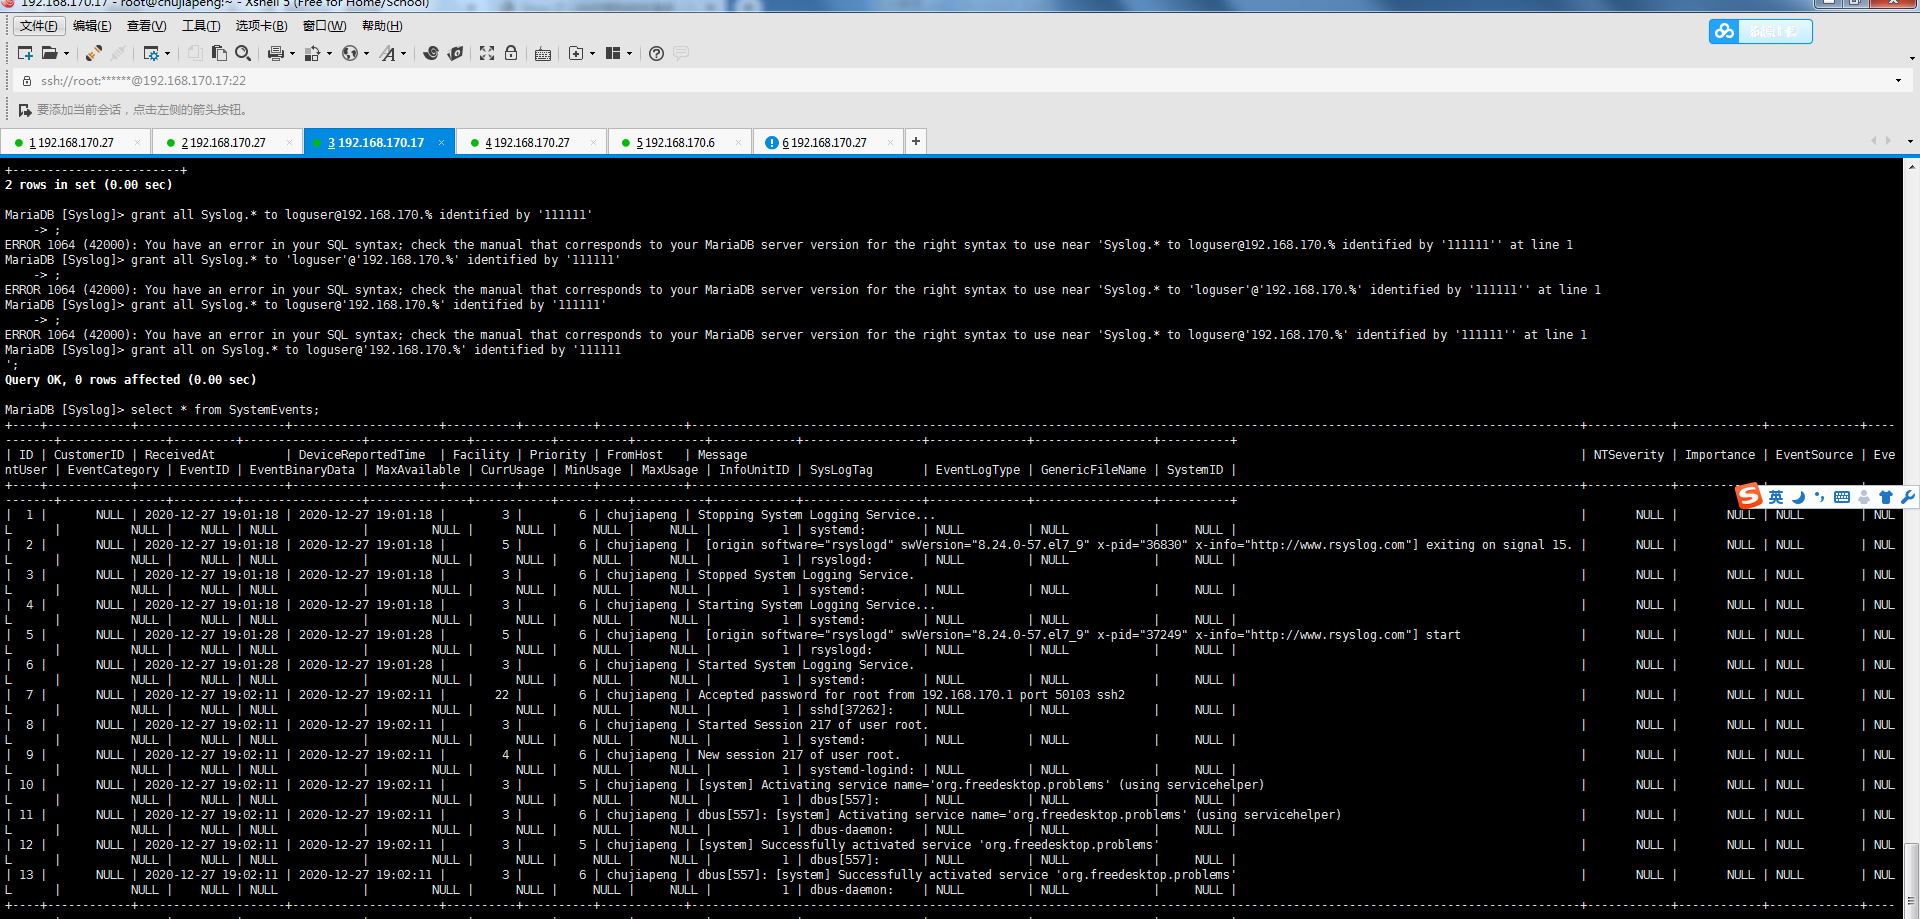
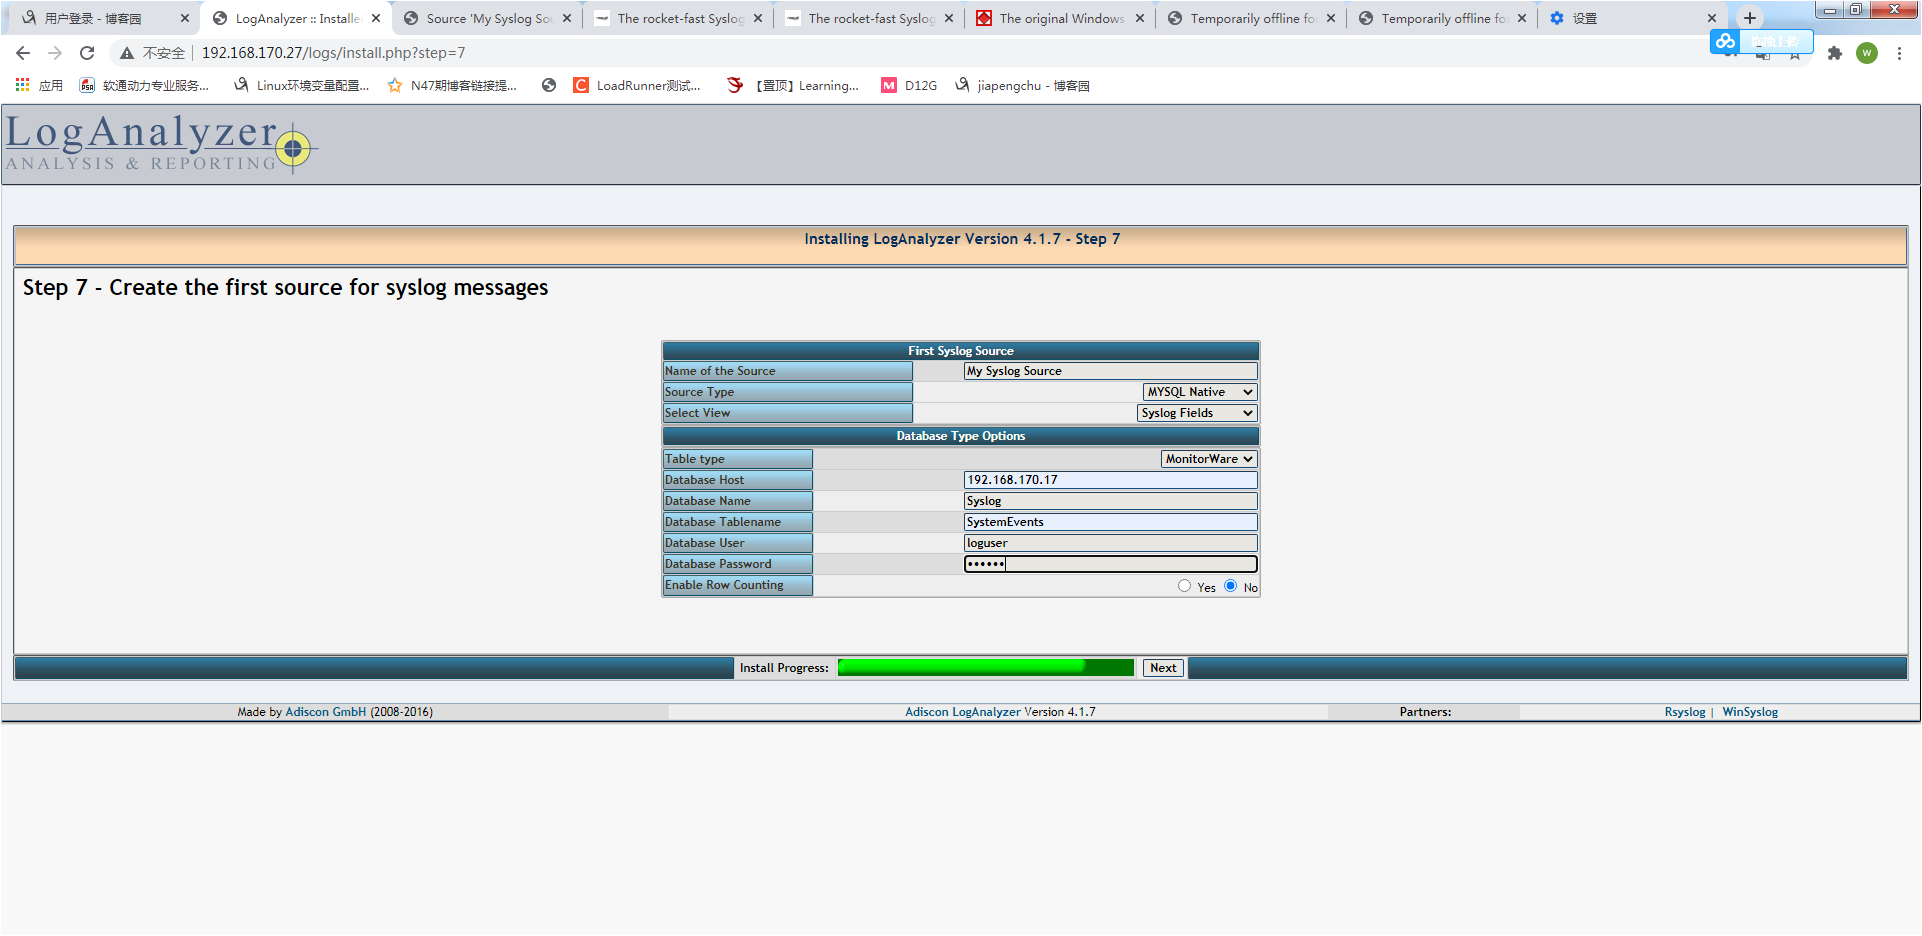
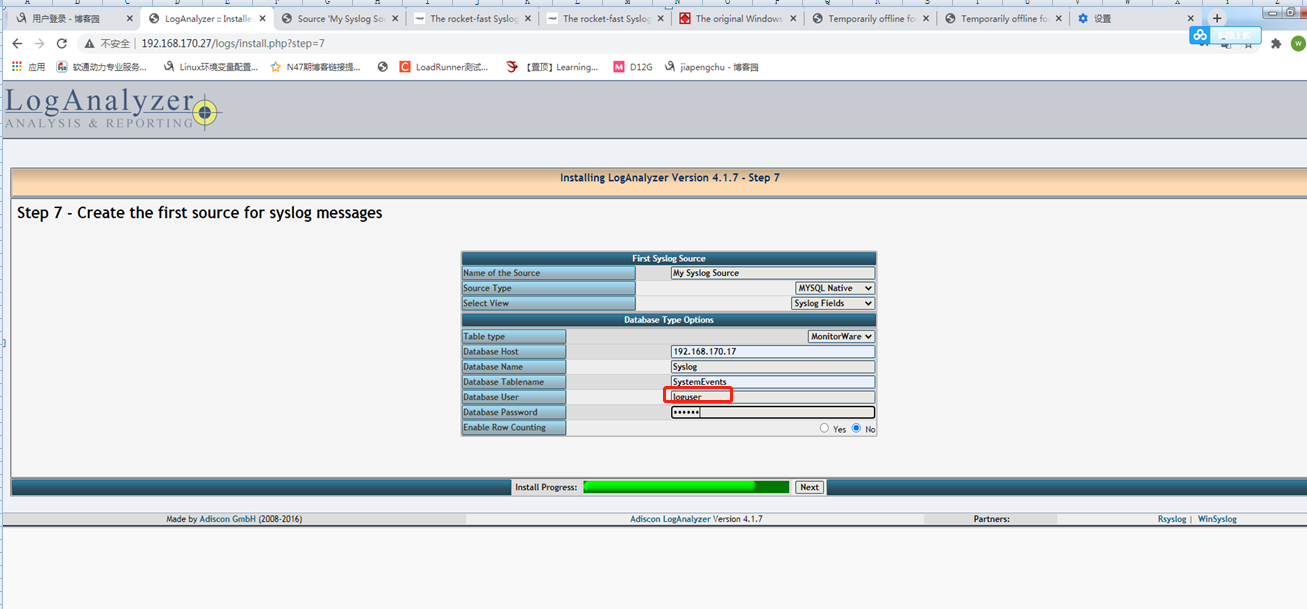
为 syslog 数据库创建授权访问账户
MariaDB [Syslog]> grant all on Syslog.* to loguser@'192.168.170.%' identified by '111111';
27上准备配置文件,启动模块和配置支持数据库
[root@chujiapeng ~]# vim /etc/rsyslog.conf
$ModLoad  ommysql

*.info;mail.none;authpriv.none;cron.none                :ommysql:192.168.170.17,Syslog,loguser,111111
重启服务
[root@chujiapeng ~]# systemctl restart rsyslog
测试下,看是否成功,如下截图,日志已经存入数据库了
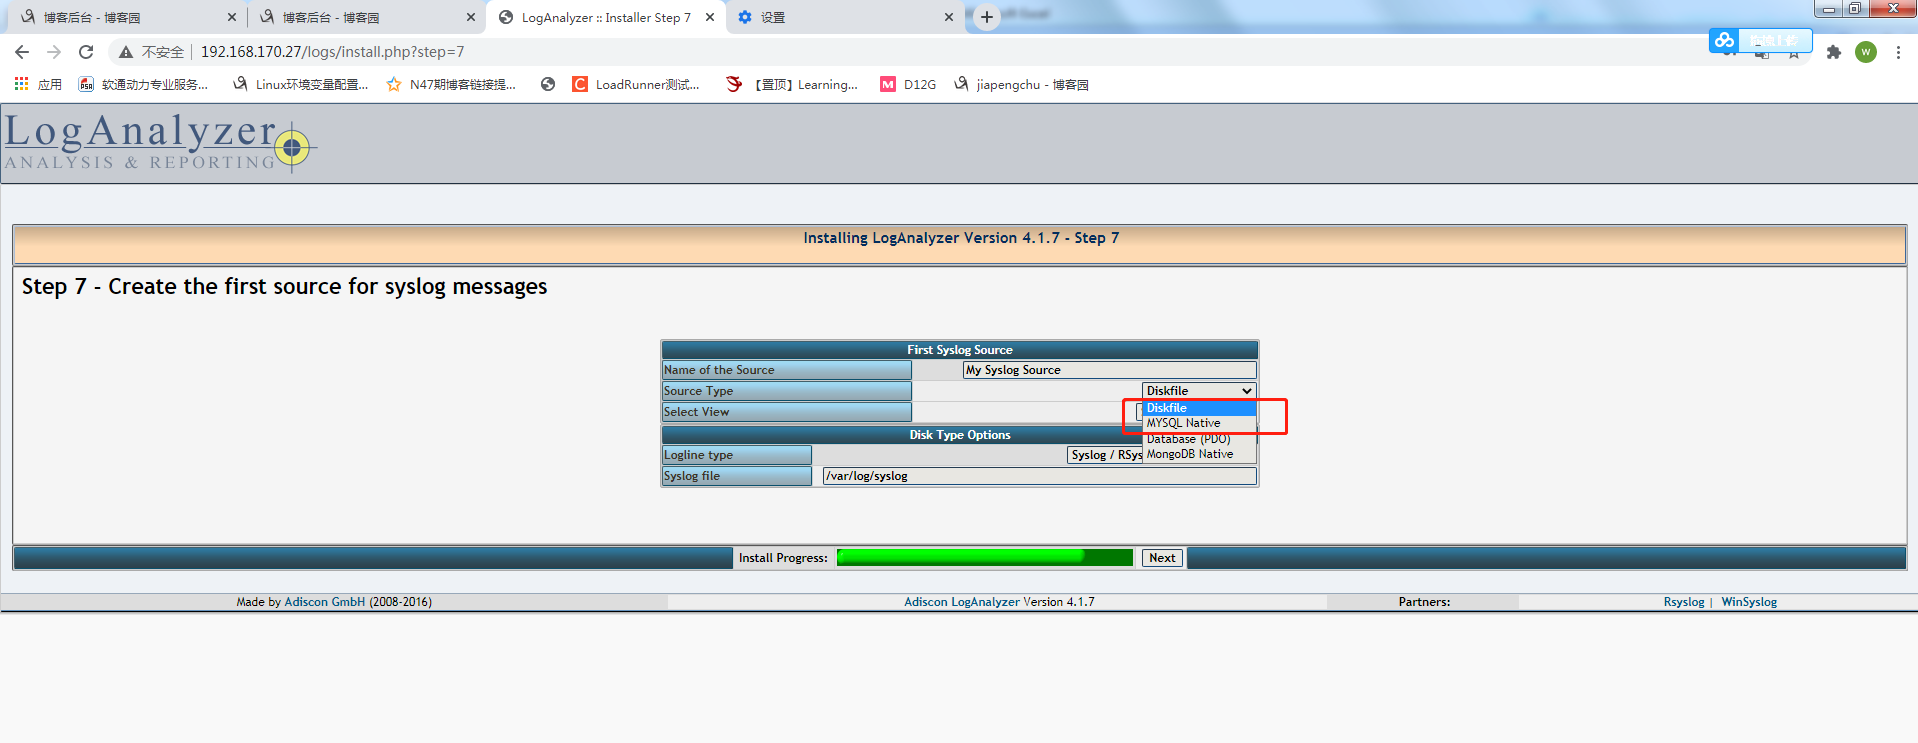
下边我们开始实现web管理我们要借助 adison loganalyzer
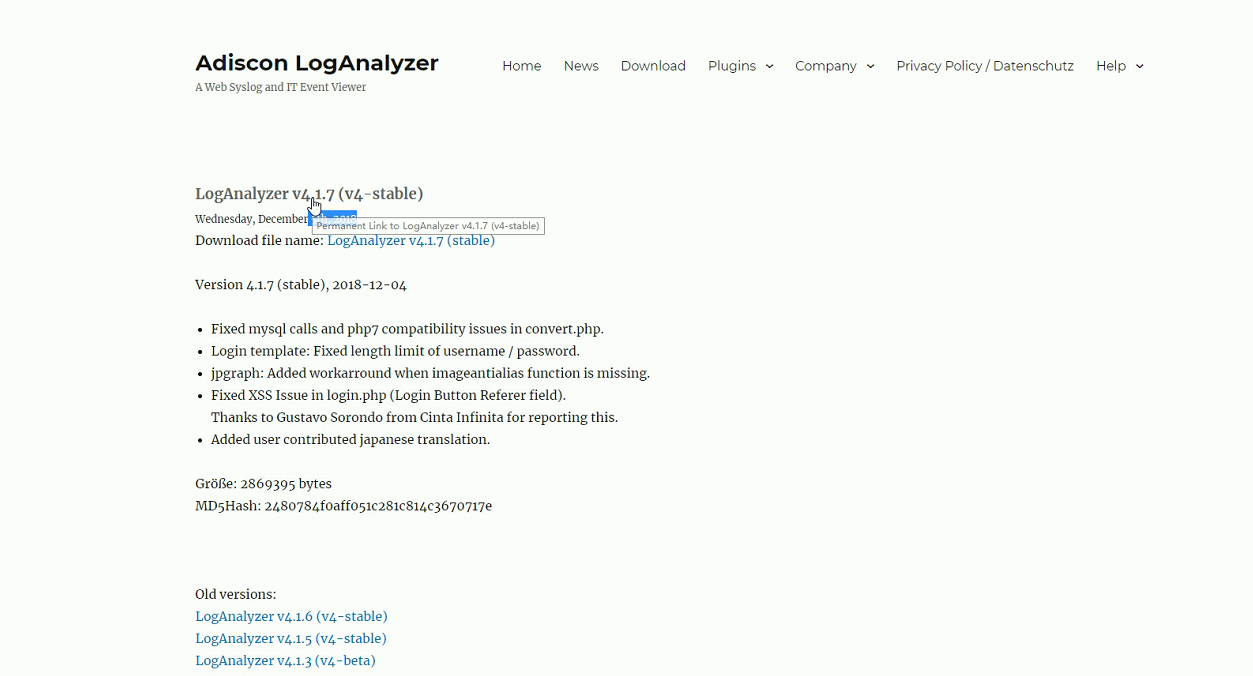
软件版本 27上
loganalyzer-4.1.7.tar.gz
453 tar -xf loganalyzer-4.1.7.tar.gz -C /var/www/html/
454 cd /var/www/html/
455 ll
456 mv loganalyzer-4.1.7/ log
461 mv src/ ../logs
重启服务
systemctl restart httpd
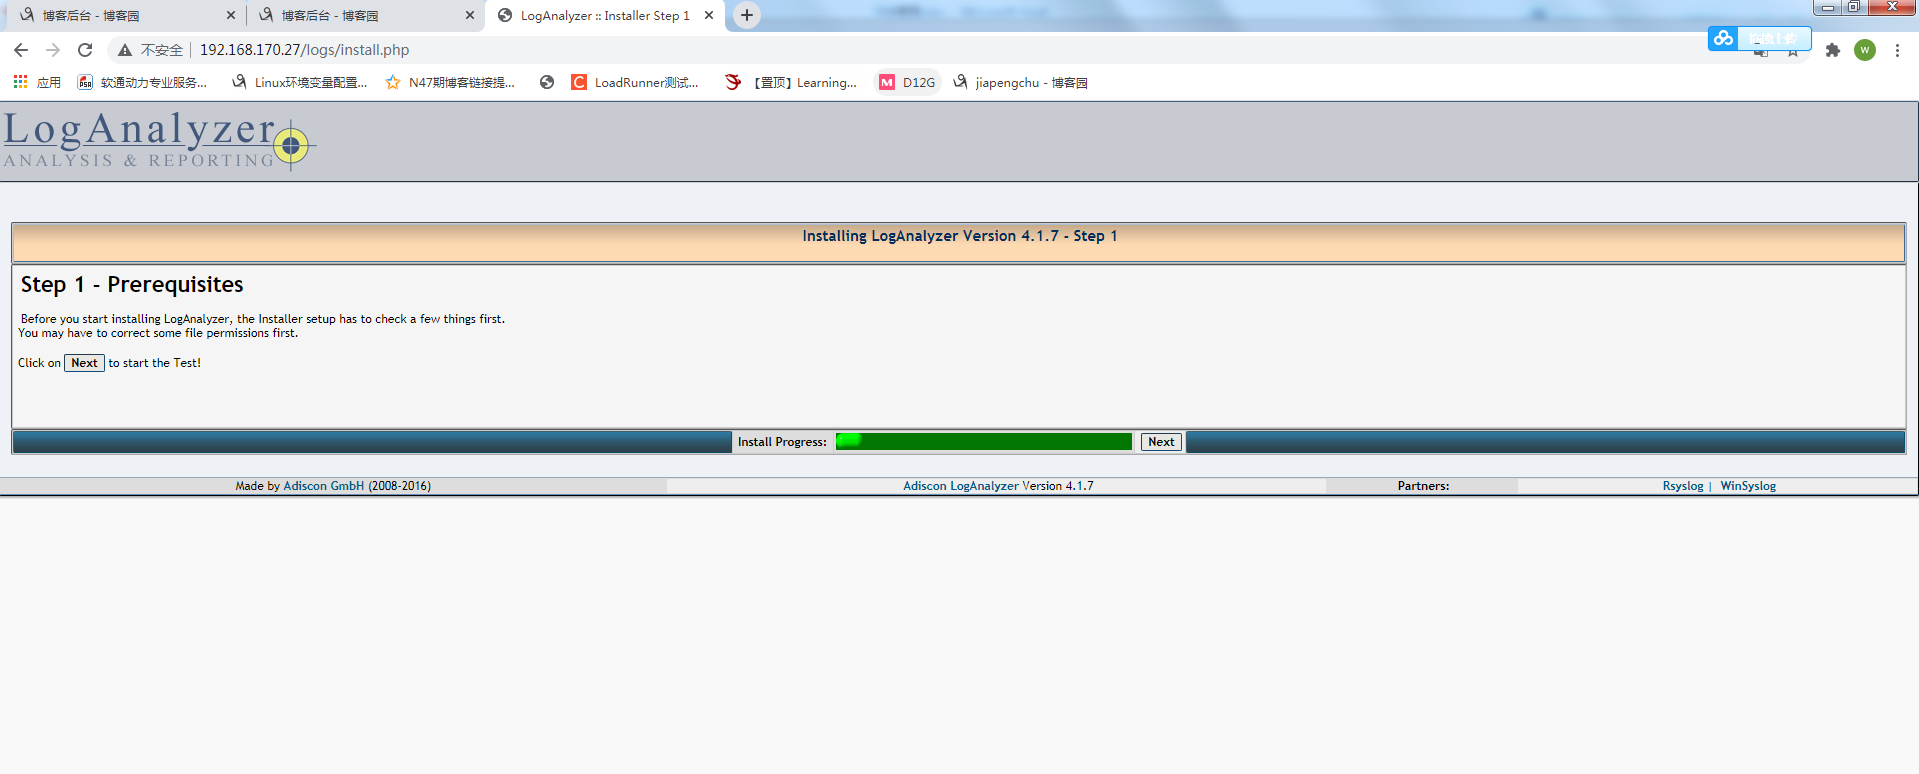
接下来在浏览器上安装即可
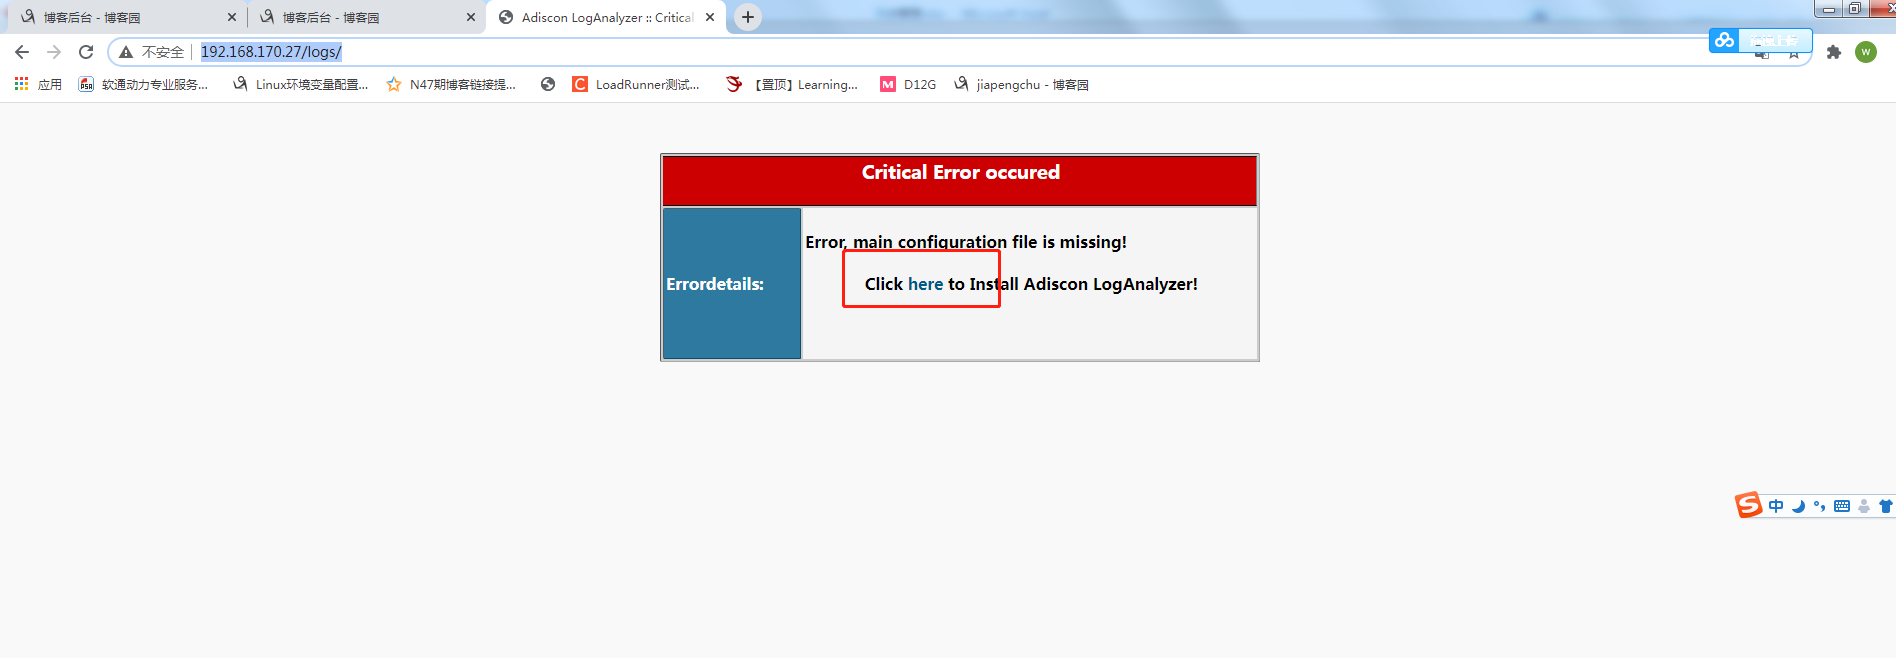
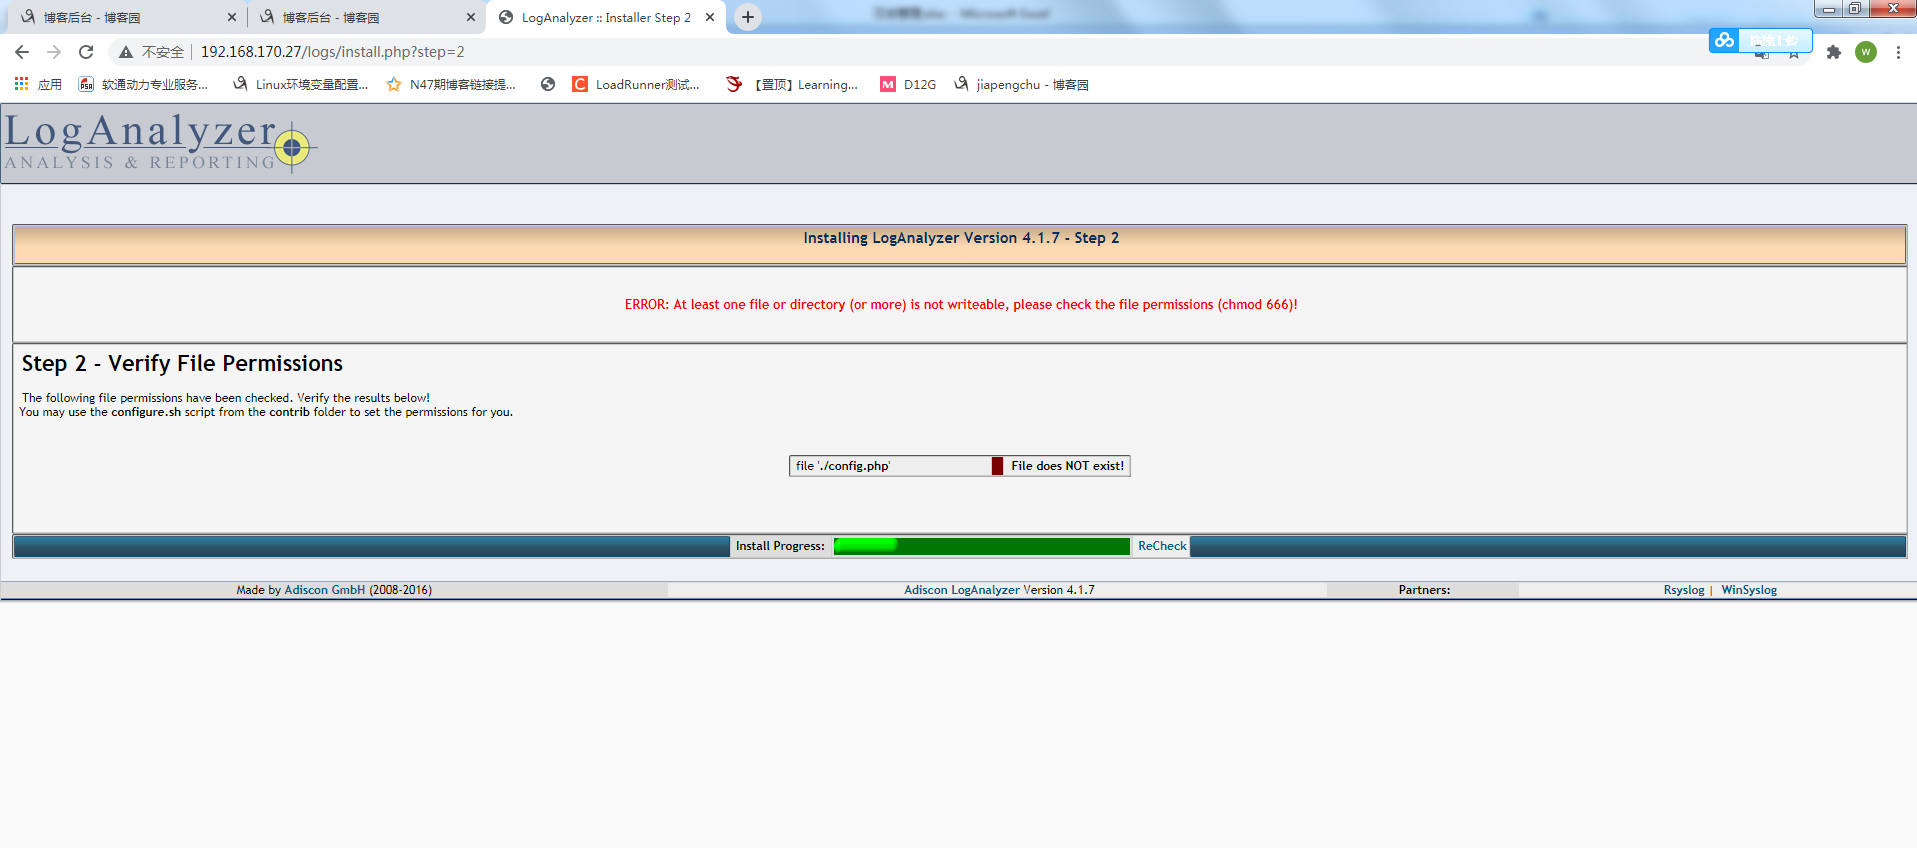
[root@chujiapeng html]# cat log/contrib/configure.sh
#!/bin/sh

touch config.php
chmod 666 config.php
[root@chujiapeng html]# cat log/
ChangeLog  contrib/   COPYING    doc/       INSTALL
[root@chujiapeng html]# cat log/contrib/secure.sh
#!/bin/sh
chmod 644 config.php
[root@chujiapeng html]# cd logs/
[root@chujiapeng logs]# touch config.php
[root@chujiapeng logs]# chmod 666 config.php
[root@chujiapeng logs]#
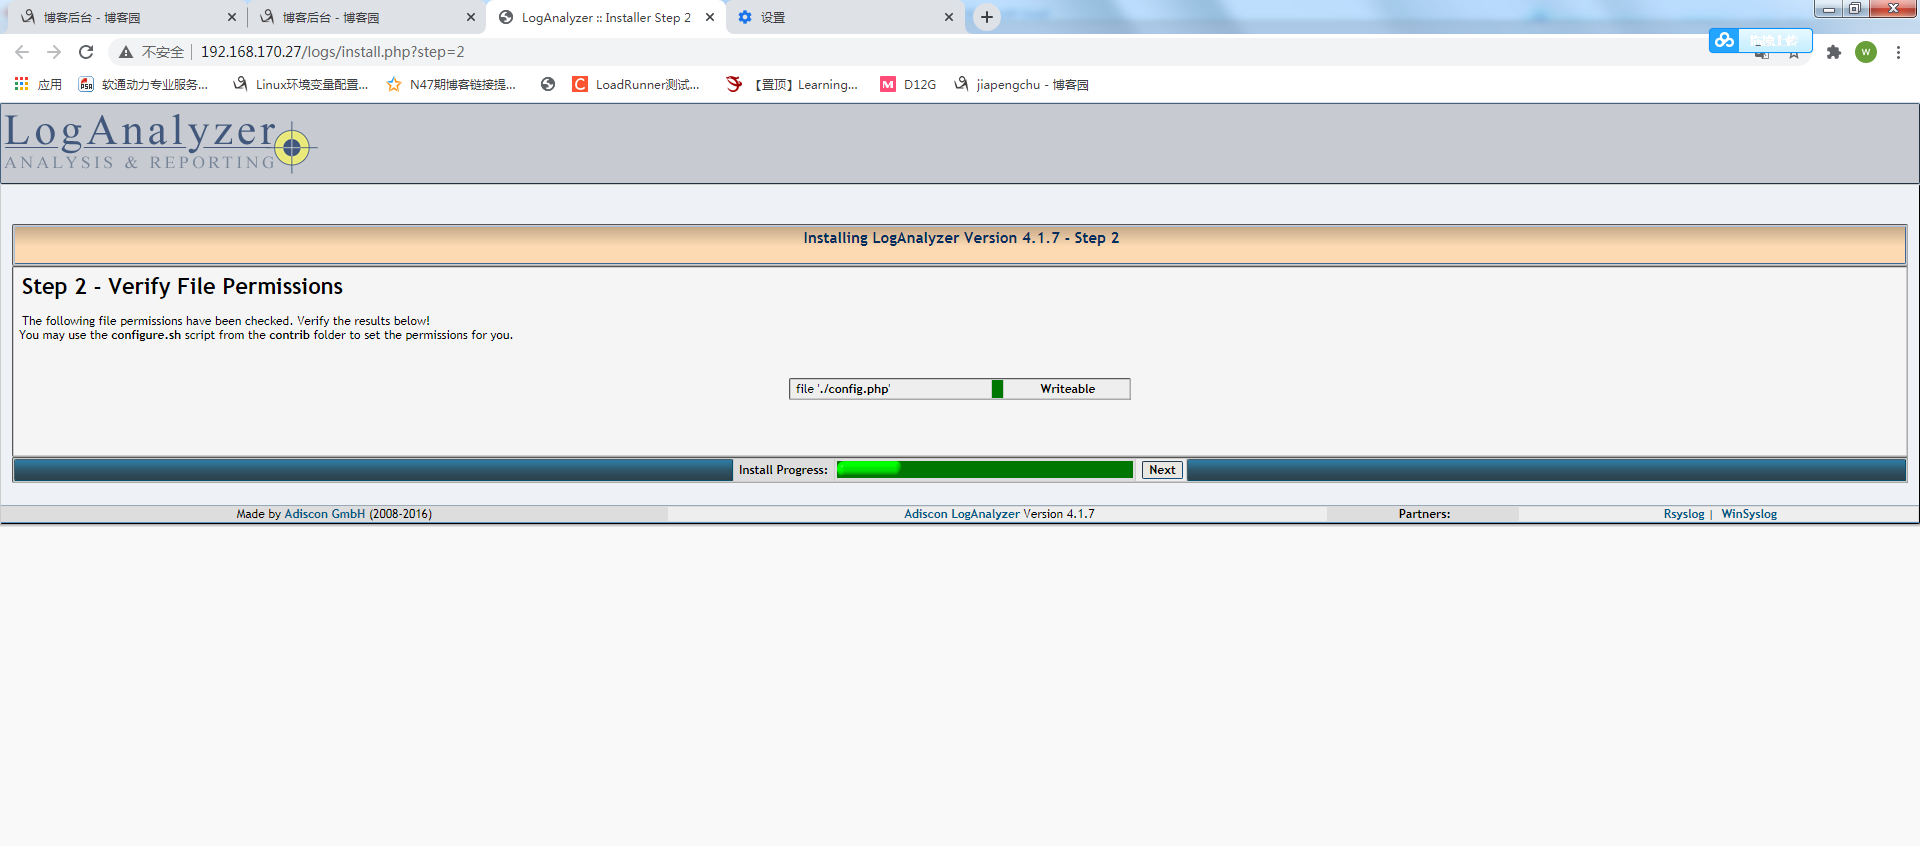
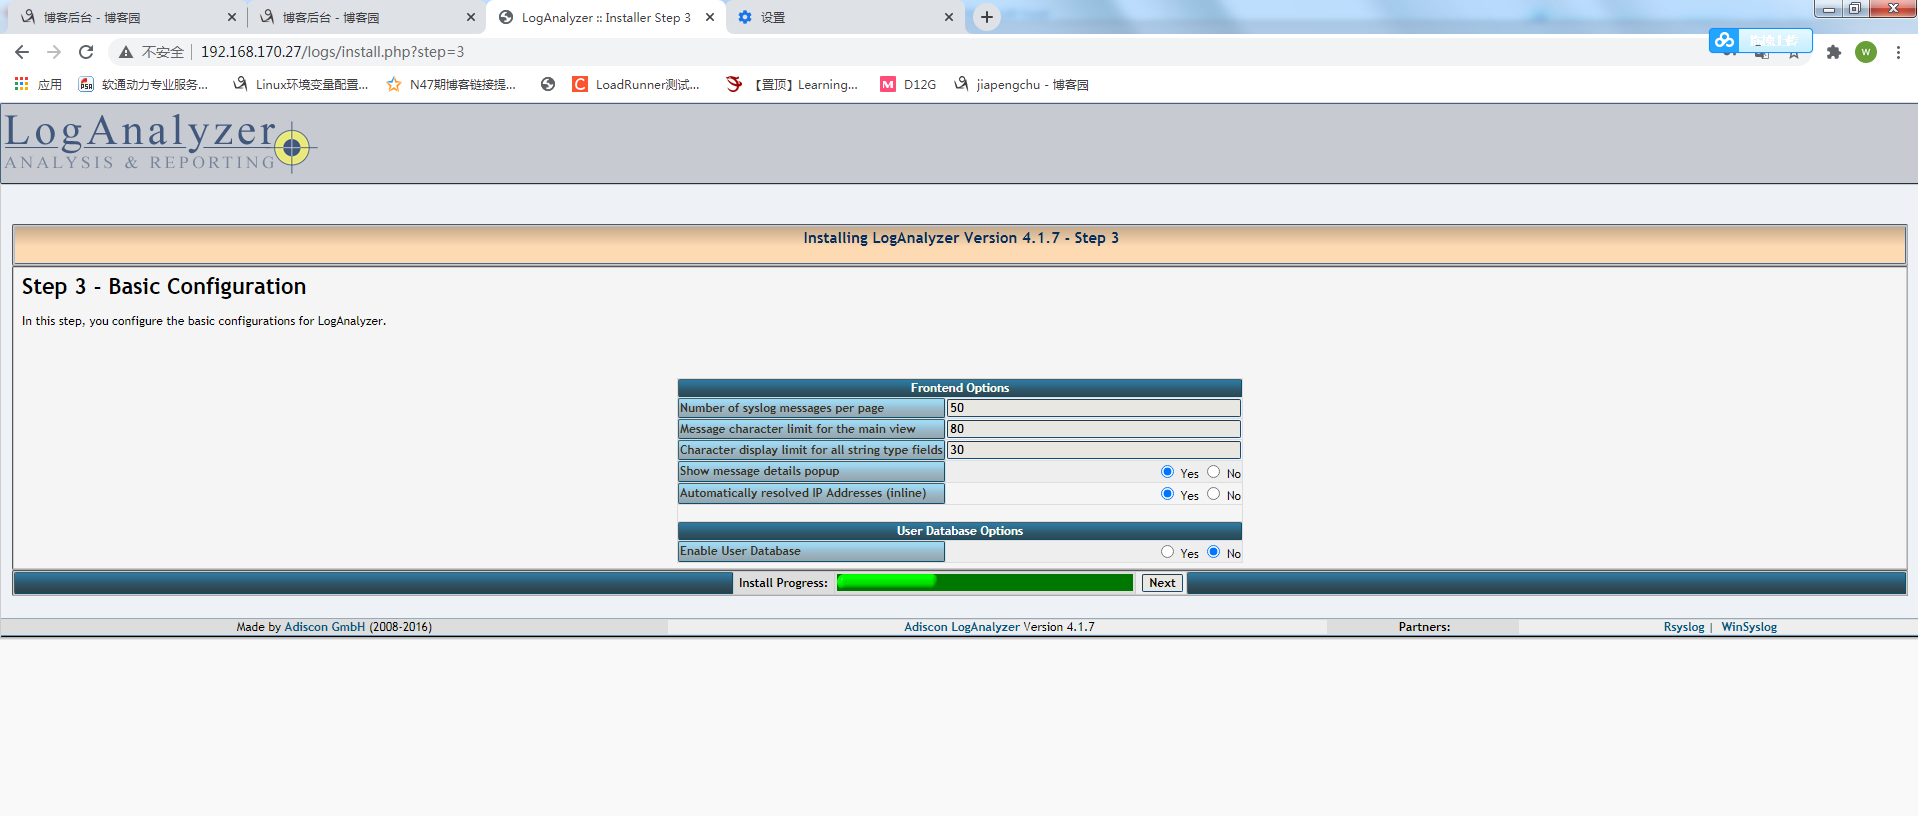
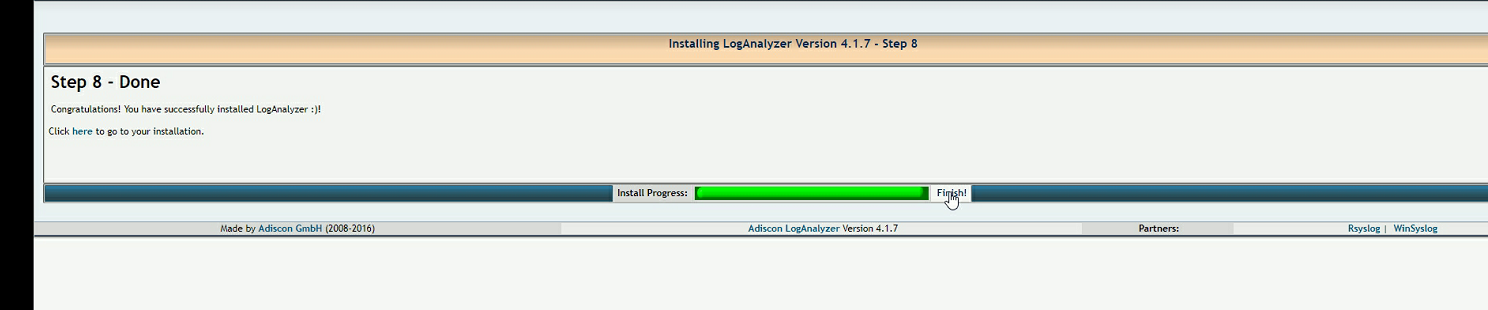

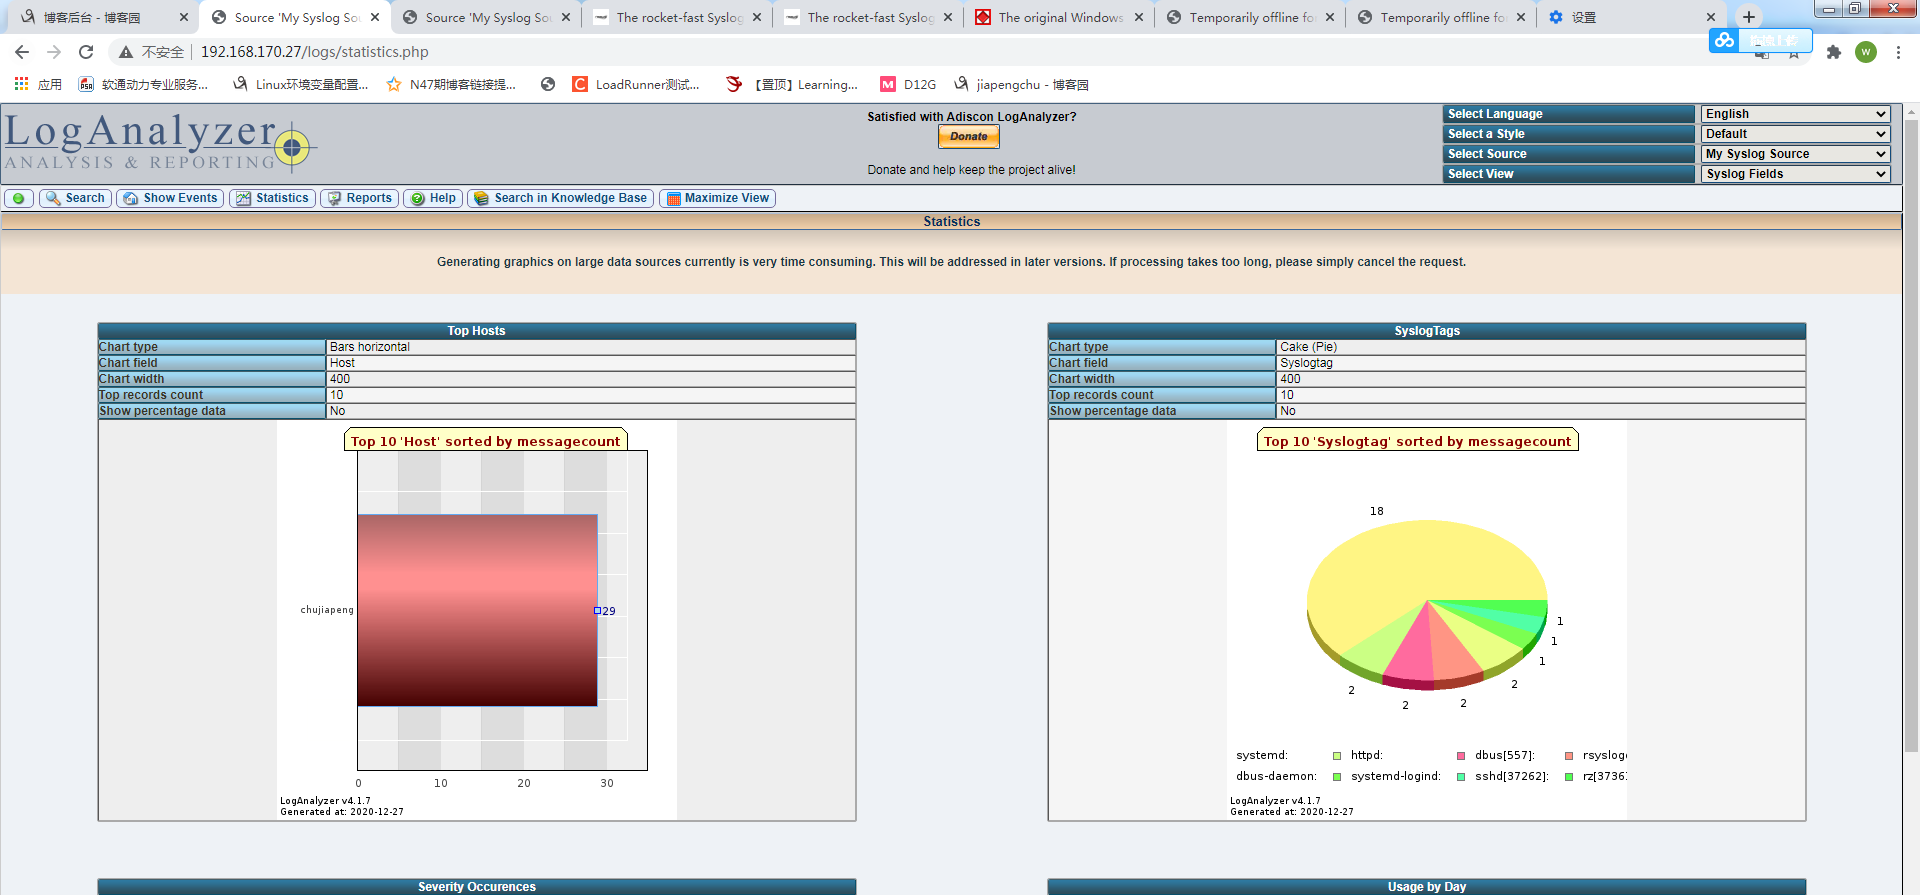
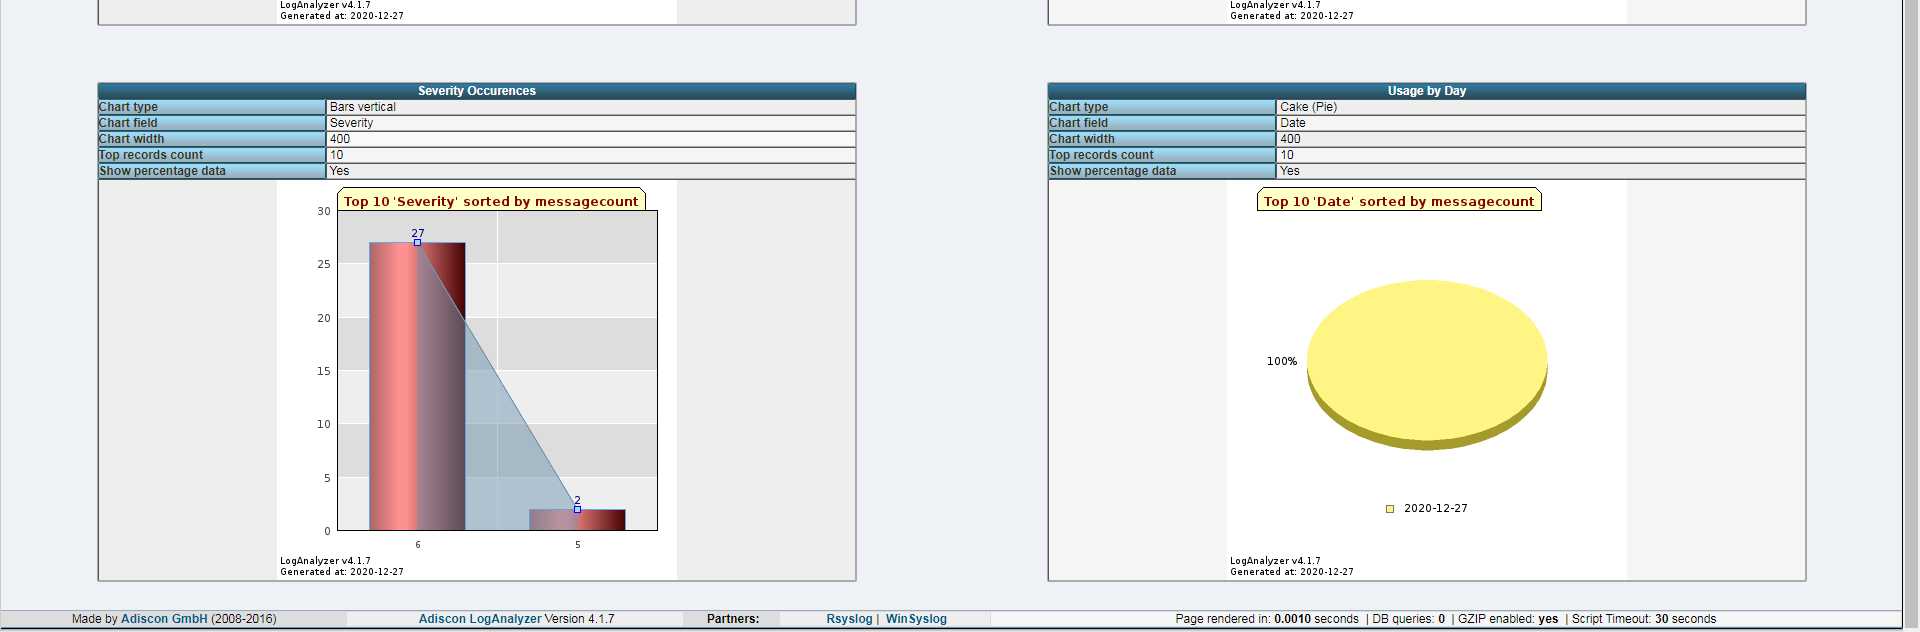
到此实验结束,可以看到漂亮的web页面
posted on 2020-12-27 18:21 jiapengchu 阅读(363) 评论(0) 收藏 举报


 浙公网安备 33010602011771号