Vue-cli3.0打包部署到Nginx
Vue-cli3.0相比于Vue-cli2.0,仅从根目录来看,最大的区别就是Vue-cli3.0少了build和config文件夹,前者用于项目构建(webpack)相关代码,后者用于项目开发环境配置。取而代之的是vue.config.js这个文件,看起来目录简洁不少。
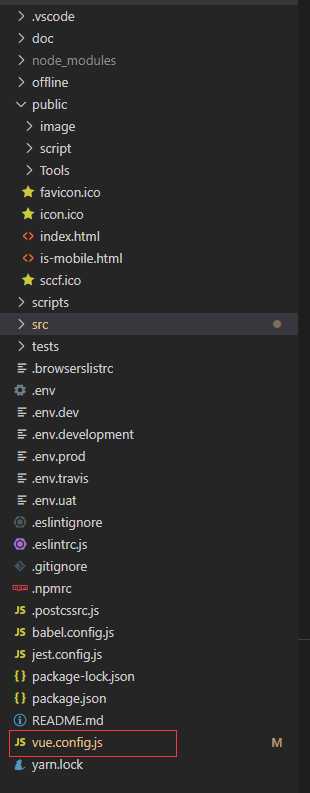
图1 vue-cli3.0根目录
打开vue.config.js文件,大致的配置如下:
module.exports = {
  // 基本路径
  publicPath:"./",
  // 输出文件目录
  outputDir: 'dist',
  lintOnSave: true,
  devServer: {
    proxy: {
      '/OAuth': {
        target: 'http://192.168.137.1:21000/oauth2-online-sv/',//OAuth认证服务
        changeOrigin: true,
        secure:false,
        pathRewrite: {
            '^/OAuth': ''//通配符
        }
      },
      '/PF': {
        target: 'http://192.168.137.1:21000/oauth2-mgm-sv/',//授权中心后台服务
        changeOrigin: true,
        secure:false,
        pathRewrite: {
          '^/PF': ''//通配符
        }
      },
      '/PC': {
        target: 'http://192.168.137.1:21000/scpc-mgm-sv/',//产品中心后台服务
        changeOrigin: true,
        secure:false,
        pathRewrite: {
          '^/PC': ''//通配符
        }
      }
    }
  },
}
这里我配置了三个后台服务(OAuth、PC、PF)的代理转发路径,打包的时候需要注意,vue-cli3.0(vue-cli3.3+以上)已经用publicPath取代了baseUrl,如果继续使用baseUrl,会报警告,如图2所示,打好的包也不能用,静态文件全部失效,如图3所示。

图2 如果使用baseUrl打包文件,控制台会报警告,让你用publicPath替代baseUrl
图3 使用baseUrl打包文件,加载的页面静态文件全部失效
这是因为webpack会在静态文件路径前面添加publicPath的值,即项目中的静态资源,它们的路径对应的是项目根目录下的位置,但是我们打包的文件里找不到这个路径,所以加载不了对应的静态资源。所以我们需要设置publicPath,将其引到打包生成文件dist下的相对路径,打包之后加载不了静态资源很多情况下都是因为publicPath没设置好。
vue.config.js设置好之后,npm run build,打包成功大致如图4所示。
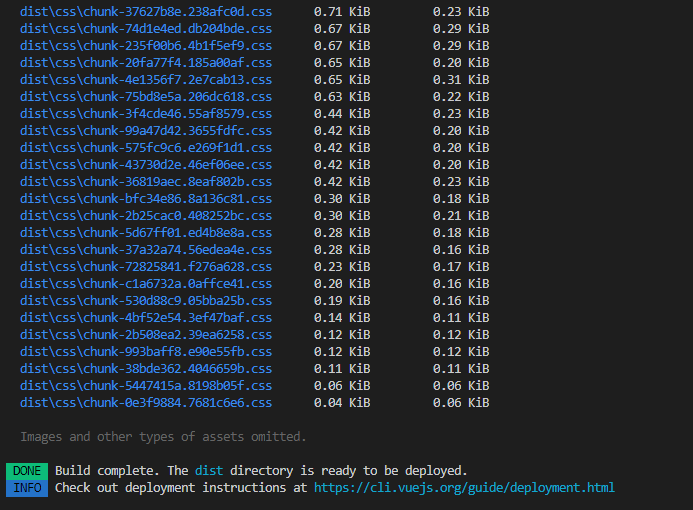
图4 打包成功
然后这个时候项目根目录下就会生成一个dist文件,可以先点开这个dist文件下的index.html文件,看它在浏览器上是否能正常显示。如果能,则包是正确的;反之,如果静态资源(特别是图片)没有加载出来,如图3所示,控制台里祖国山河一片红,就要回去好好找找原因了。
然后我们打开已经下载好解压的Nginx文件夹,将dist拷贝进去,我是放在html文件夹下,打开conf>nginx.conf,修改默认的配置文件。
worker_processes  1;

#error_log  logs/error.log;
#error_log  logs/error.log  notice;
#error_log  logs/error.log  info;

#pid        logs/nginx.pid;


events {
    worker_connections  1024;
}


http {
    include       mime.types;
    default_type  application/octet-stream;

    #log_format  main  '$remote_addr - $remote_user [$time_local] "$request" '
    #                  '$status $body_bytes_sent "$http_referer" '
    #                  '"$http_user_agent" "$http_x_forwarded_for"';

    #access_log  logs/access.log  main;

    sendfile        on;
    #tcp_nopush     on;

    #keepalive_timeout  0;
    keepalive_timeout  65;

    #gzip  on;

    server {
        listen       81;  #nginx监听端口
        server_name  localhost;

        #charset koi8-r;

        #access_log  logs/host.access.log  main;

        location / {
            root   C:/Users/zbc/Desktop/nginx-PC/nginx-1.16.1/html/dist;    #打包文件dist所在的路径
            index  index.html index.htm;
            autoindex on;       #开启nginx目录浏览功能
            autoindex_exact_size off;   #文件大小从KB开始显示
            charset utf-8;          #显示中文
            add_header 'Access-Control-Allow-Origin' '*'; #允许来自所有的访问地址
            add_header 'Access-Control-Allow-Credentials' 'true';
            add_header 'Access-Control-Allow-Methods' 'GET, PUT, POST, DELETE, OPTIONS'; #支持请求方式
            add_header 'Access-Control-Allow-Headers' 'Content-Type,*';
        }

        #error_page  404              /404.html;

        # redirect server error pages to the static page /50x.html
        #
        error_page   500 502 503 504  /50x.html;
        location = /50x.html {
            root   html;
        }

        #开始配置我们的反向代理
        location /OAuth{
           include uwsgi_params;
           proxy_set_header   Host             $host;
           proxy_set_header   x-forwarded-for  $remote_addr;
           proxy_set_header   X-Real-IP        $remote_addr;
           proxy_pass  http://127.0.0.1:21000/oauth2-online-sv;
        }
        #反向代理2
        location /PC{
           include uwsgi_params;
           proxy_set_header   Host             $host;
           proxy_set_header   x-forwarded-for  $remote_addr;
           proxy_set_header   X-Real-IP        $remote_addr;
           proxy_pass  http://127.0.0.1:21000/scpc-mgm-sv;
        }

        #反向代理3
        location /PF{
           include uwsgi_params;
           proxy_set_header   Host             $host;
           proxy_set_header   x-forwarded-for  $remote_addr;
           proxy_set_header   X-Real-IP        $remote_addr;
           proxy_pass  http://127.0.0.1:21000/oauth2-mgm-sv;
        }
        # proxy the PHP scripts to Apache listening on 127.0.0.1:80
        #
        #location ~ \.php$ {
        #    proxy_pass   http://127.0.0.1;
        #}

        # pass the PHP scripts to FastCGI server listening on 127.0.0.1:9000
        #
        #location ~ \.php$ {
        #    root           html;
        #    fastcgi_pass   127.0.0.1:9000;
        #    fastcgi_index  index.php;
        #    fastcgi_param  SCRIPT_FILENAME  /scripts$fastcgi_script_name;
        #    include        fastcgi_params;
        #}

        # deny access to .htaccess files, if Apache's document root
        # concurs with nginx's one
        #
        #location ~ /\.ht {
        #    deny  all;
        #}
    }


    # another virtual host using mix of IP-, name-, and port-based configuration
    #
    #server {
    #    listen       8000;
    #    listen       somename:8080;
    #    server_name  somename  alias  another.alias;

    #    location / {
    #        root   html;
    #        index  index.html index.htm;
    #    }
    #}


    # HTTPS server
    #
    #server {
    #    listen       443 ssl;
    #    server_name  localhost;

    #    ssl_certificate      cert.pem;
    #    ssl_certificate_key  cert.key;

    #    ssl_session_cache    shared:SSL:1m;
    #    ssl_session_timeout  5m;

    #    ssl_ciphers  HIGH:!aNULL:!MD5;
    #    ssl_prefer_server_ciphers  on;

    #    location / {
    #        root   html;
    #        index  index.html index.htm;
    #    }
    #}

}
需要注意的是listen配置的是Nginx监听端口,root放的是打包文件dist的所在路径,如果是一个Nginx布置了两个前端项目的话,得用alias,如下所示:
 location /ProductCenter {
            alias  html/dist; #应用1打包文件所在路径
            index  index.html index.htm;
}
 location /ProfileCenter {
            alias  html/dist2; #应用2打包文件所在路径
            index  index.html index.htm;
}
还有就是配置代理转发的proxy_pass,可与上文vue.config.js里的转发配置比较也很清楚,就不详述了,其他的设置(浏览器协商缓存等)也就不在此处展开了。
然后,启动Nginx,双击nginx.exe,命令行一闪而过,打开浏览器,输入http://localhost:81,即可看到你布置在Nginx上的页面了。
windows下常用Nginx命令行(cd进入Nginx所在路径后使用):
start nginx //启动nginx
nginx -s reload //重载配置
nginx -s stop //快速停止
nginx -s quit //完整有序停止
Linux下常用Nginx命令行(cd进入Nginx所在路径后使用):
./nginx //启动nginx
./nginx -s reload //重载配置
./nginx -s stop //快速停止
./nginx -s quit //完整有序停止
2020/05/11更新:
如果公司有配置F5+gateway的情况下,此篇nginx配置代理转发就不是很合适了,虽然也能用,但是浪费效率和性能,如果愿意折腾的,原因和具体做法请参考此文:https://www.cnblogs.com/jdWu-d/p/12687396.html

 浙公网安备 33010602011771号