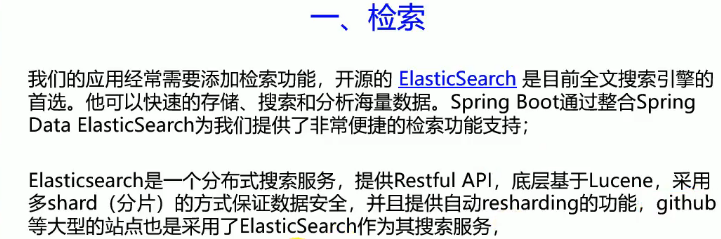
spring-boot-learning- Elasticsearch
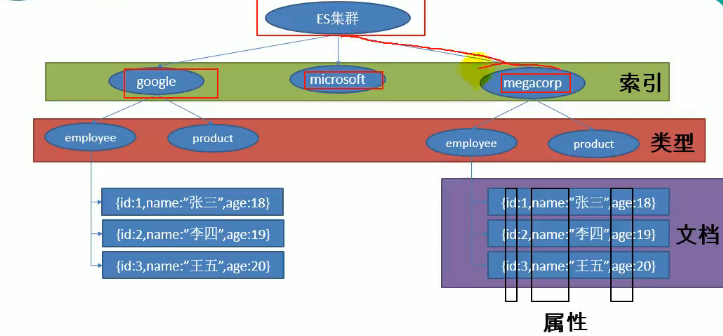
索引==数据库
类型==表
文档==表里面的记录
属性==表里面的列
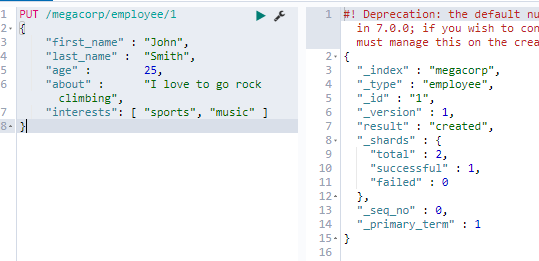
使用RestFul风格elasticSearch进行操作
添加一个索引为megacorp,类型为employee,——id为1的文档
获得一个索引:
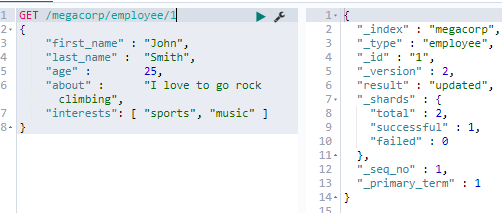
跟新文档,实际上也是用PUT
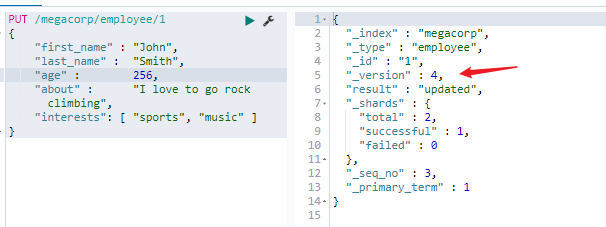
注意箭头的地方,每次对文档进行任何操作都会改变版本数
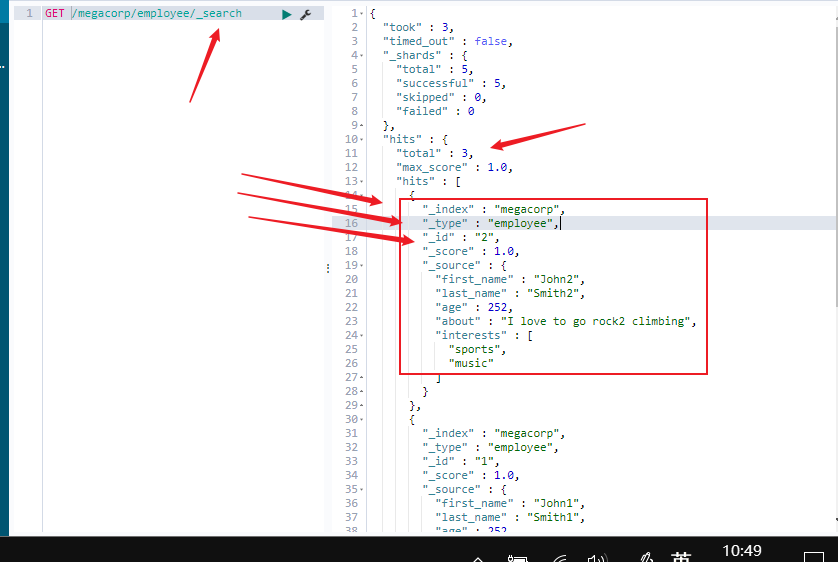
轻量级搜索
_search代替id进行搜索所有

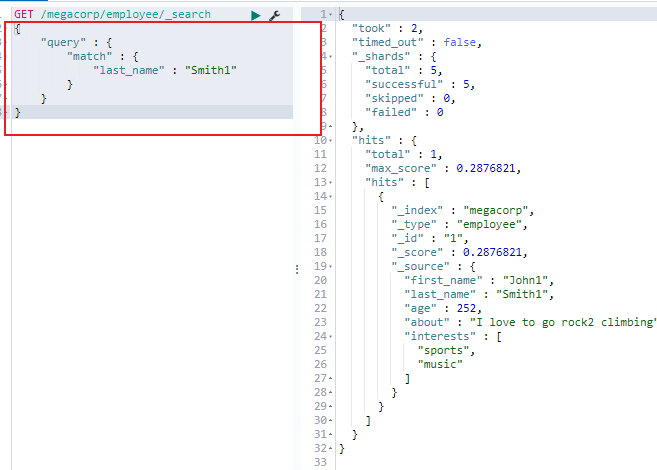
使用查询表达式json格式进行查询
S
Springboot整合ES
先看看我们springboot为我们自动配置了什么
在org.springframework.boot.autoconfigure 自动配置包下的
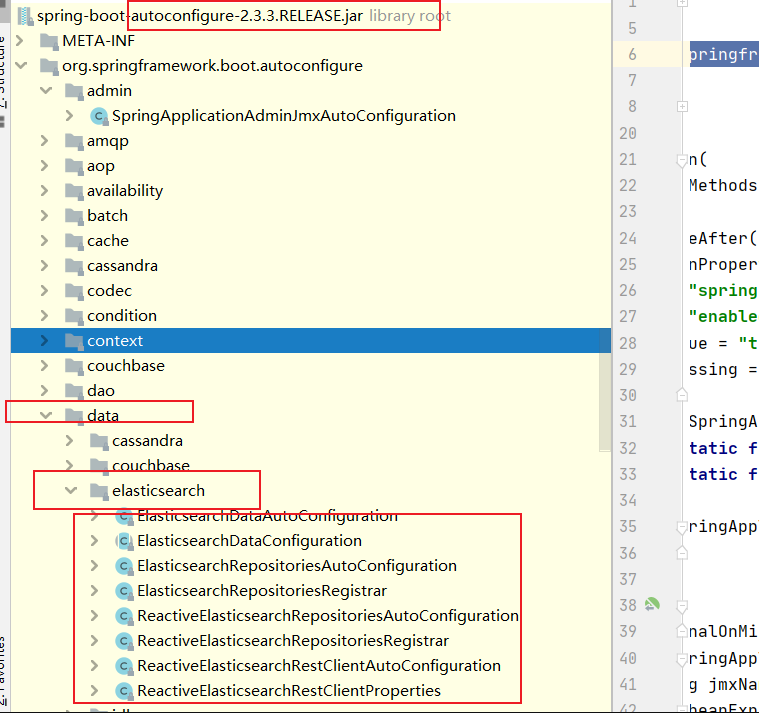
往下面看一下,会有另外一个elasticsearch的目录,里面:
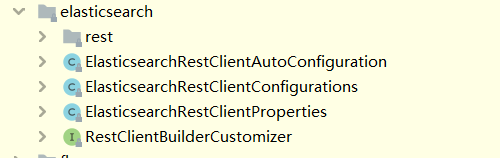
注:这是另外一种和ES进行交互的工具
#######################################################################################
加入依赖:
 <dependency>
            <groupId>org.springframework.boot</groupId>
            <artifactId>spring-boot-starter-data-elasticsearch</artifactId>
        </dependency>
实体类对应elasticsearch的文档:
@Data @Document(indexName = "company",type = "employees",shards = 5,replicas = 1) /** * indexName: 索引库名称 * type: 类型 * shards: 分片数:默认为5个 * replicas: 副本数:默认为1个 */ public class Employe implements Serializable { /** *用来将对象中id和ES中_id映射 */ @Id private Long id; /** * `@Field`: 用来指定ES中的字段对应Mapping,相当于数据库中的列属性 * `type`: 用来指定ES中存储类型 */ @Field(type = FieldType.Text) private String name; @Field(type = FieldType.Text) private String password; @Override public String toString() { return "Employee{" + "id='" + id + '\'' + ", name='" + name + '\'' + ", password='" + password + '\'' + '}'; } }
获得操作接口:
/**
 * 直接继承 ElasticsearchRepository接口就可以了,里面已经帮我们实现了
 *
 */
@Repository
public  interface EmployeRepository extends ElasticsearchRepository<Employe,Long> {

}
增删改查
@SpringBootTest
class EsdApplicationTests {


    @Autowired
    private  EmployeRepository employeRepository;

    /**
     * 插入数据:
     */
    @Test
    void testEmploye(){
        Employe employee = new Employe();
        employee.setId(5L);
        employee.setName("zhi");
        employee.setPassword("789");
        employeRepository.save(employee);

    }

    /**
     * 查询数据
     */
    @Test
    void testEmployeGet(){
        Optional<Employe> employe =  employeRepository.findById(2L);
        System.out.println(employe);
    }

    /**
     * 删除数据
     */
    @Test
    void delEmployeDel(){
        employeRepository.deleteById(2L);
    }

    /**
     * 修改数据,实际就是保存数据
     */
    @Test
    void updEmployeUp(){
        Employe employee = new Employe();
        employee.setId(5L);
        employee.setName("zhi");
        employee.setPassword("78955555");
        employeRepository.save(employee);
    }

}
如何取学习一个新的东西:找官方文档:
https://www.elastic.co/guide/index.html
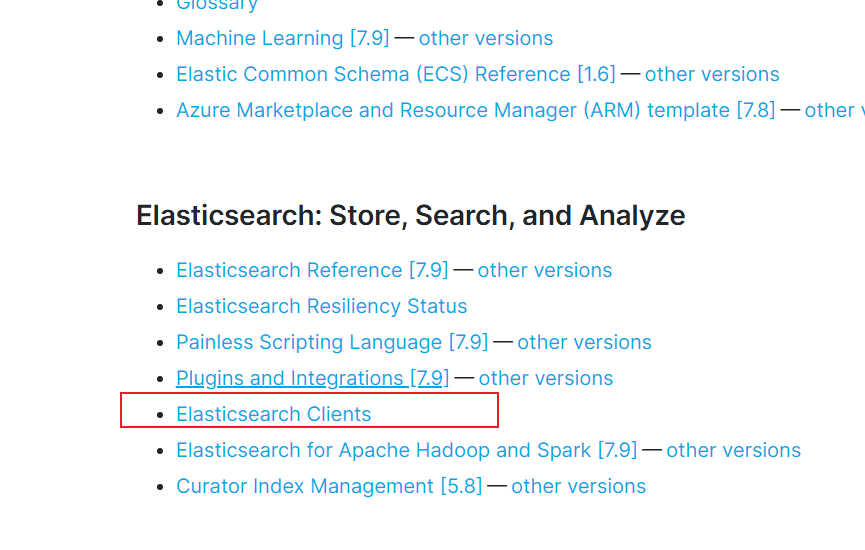
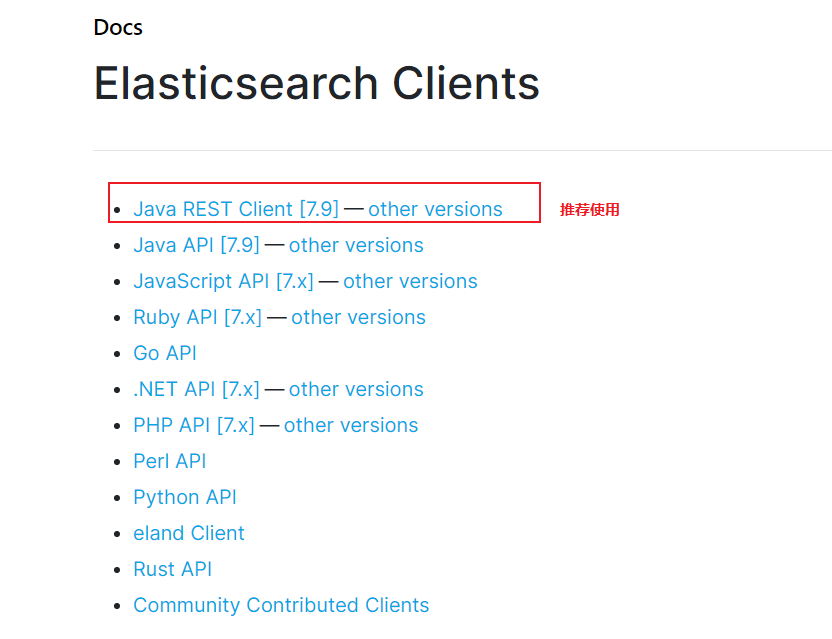
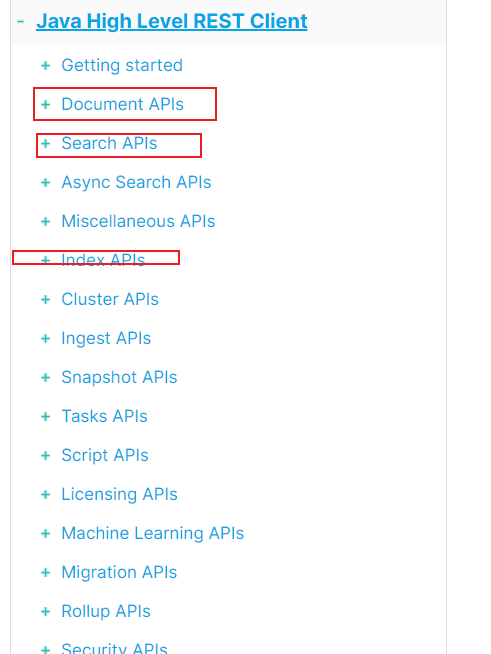
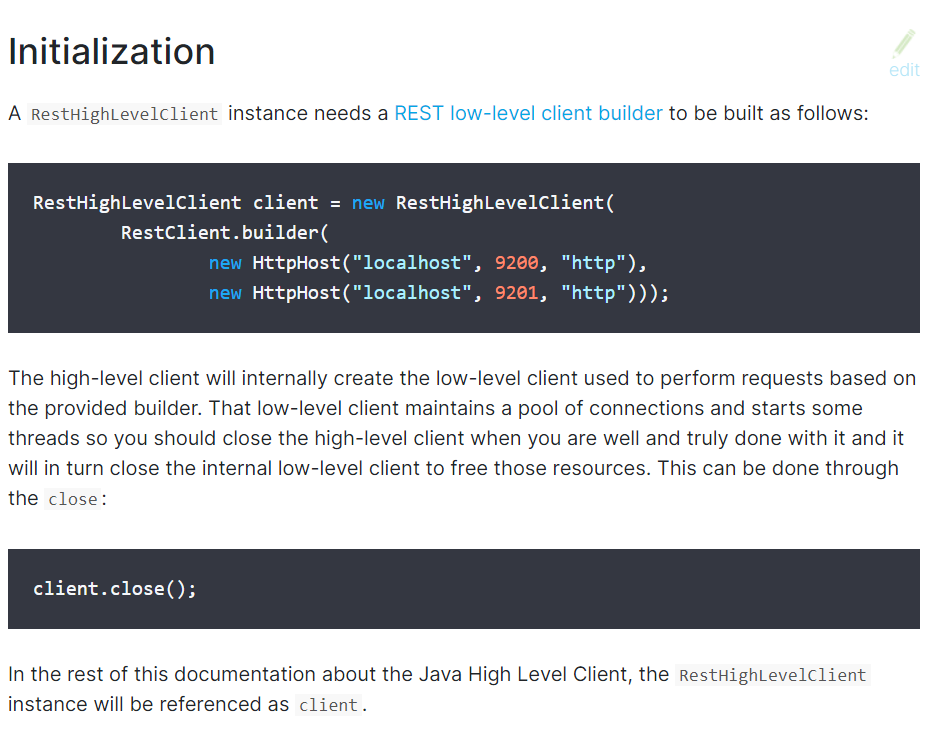
点进去,我们一半使用高级客户端
里面会有详细介绍怎么用:
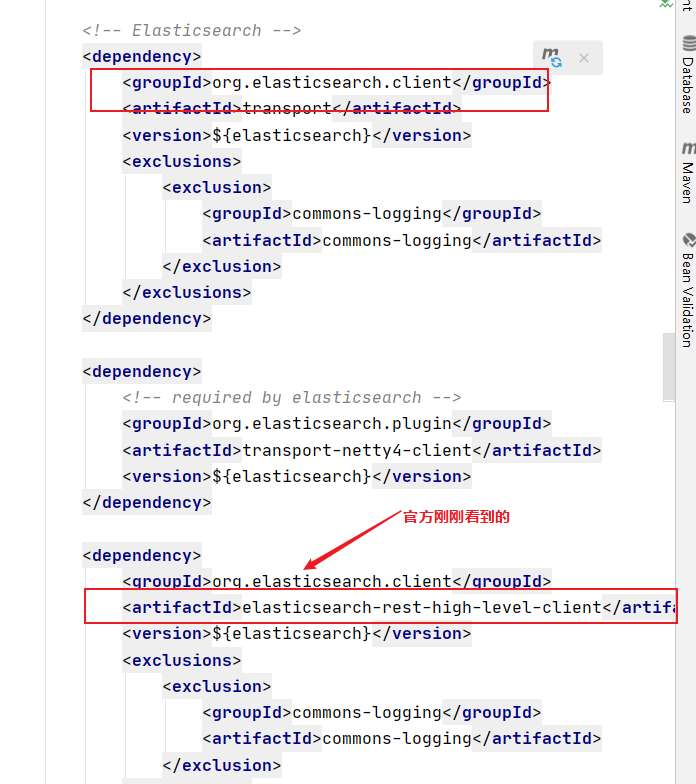
1 找到原生的依赖:
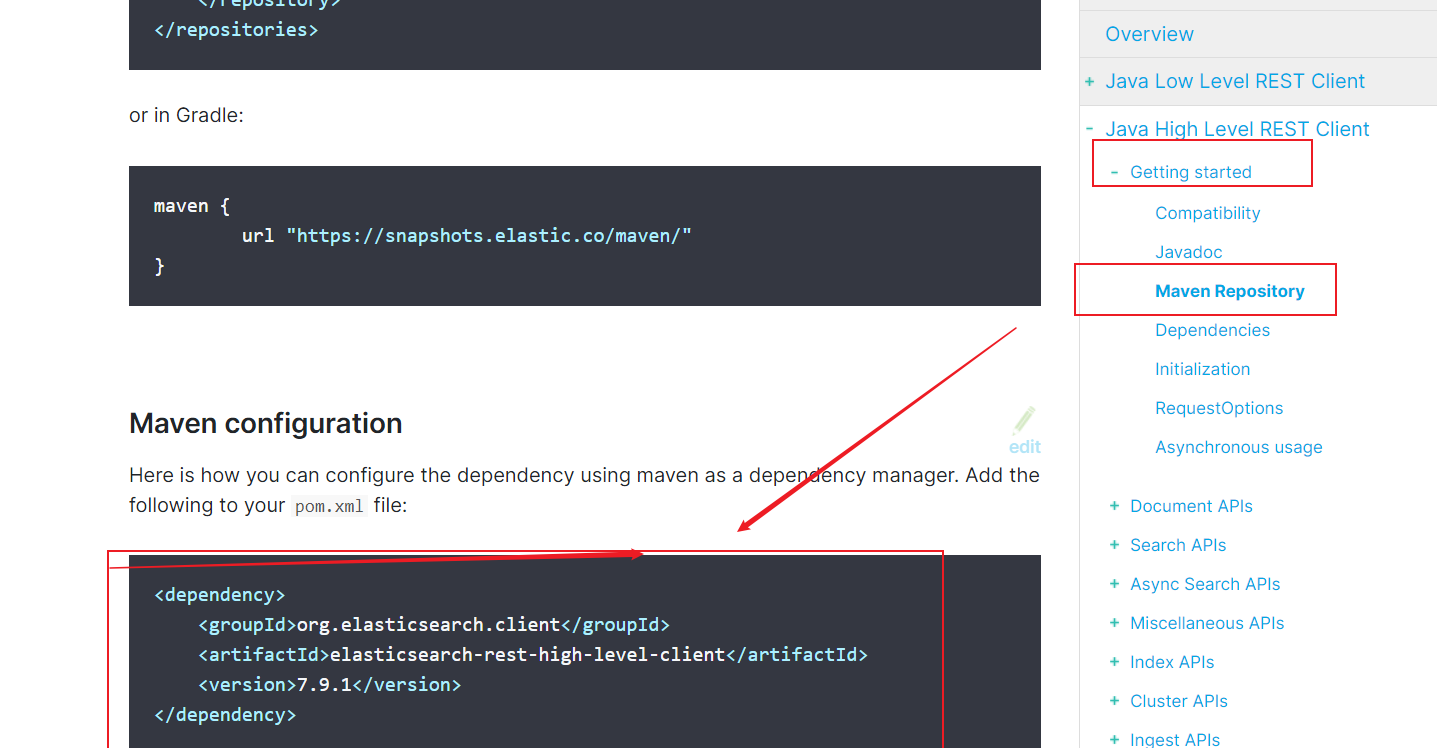
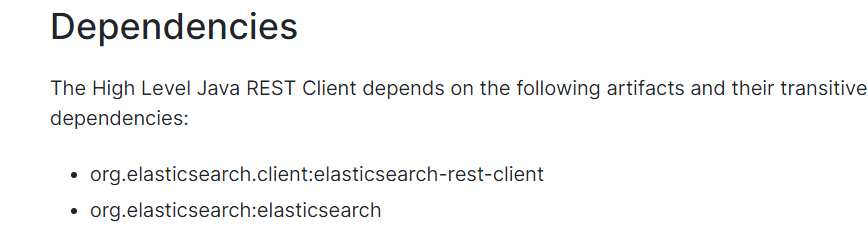
依赖的其他包:
2 找对象
3分析类当中的方法
我新建一个工程:
导入依赖:
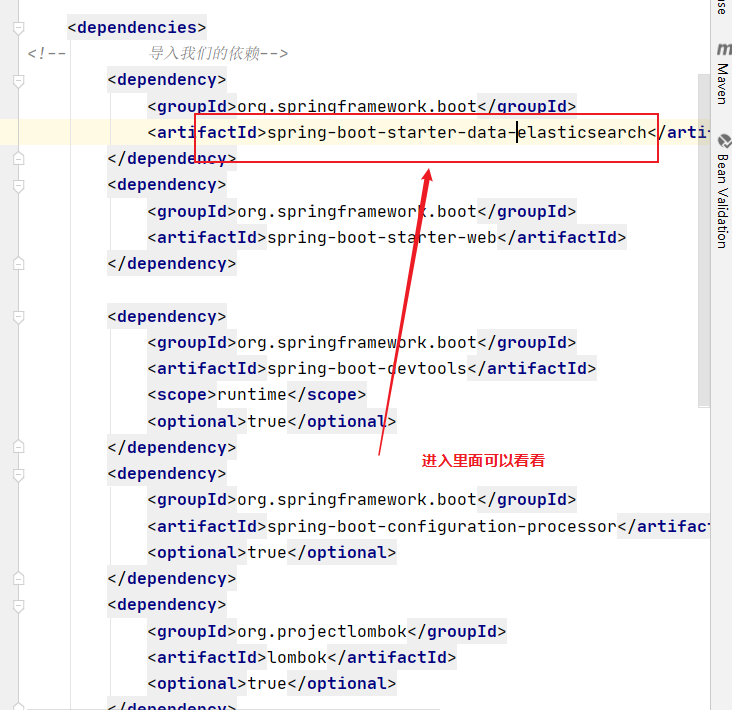
可以看到:

再进入spring-data里面:
查看默认的版本:
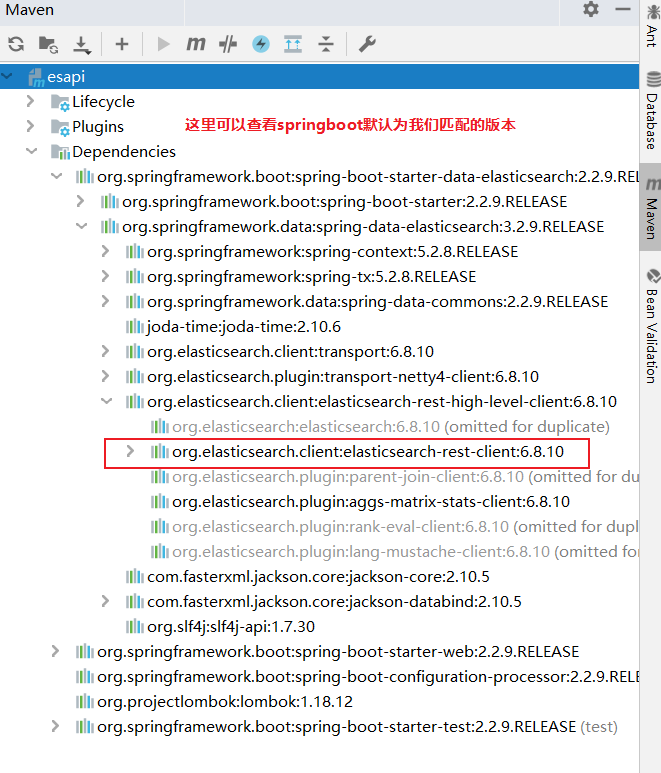
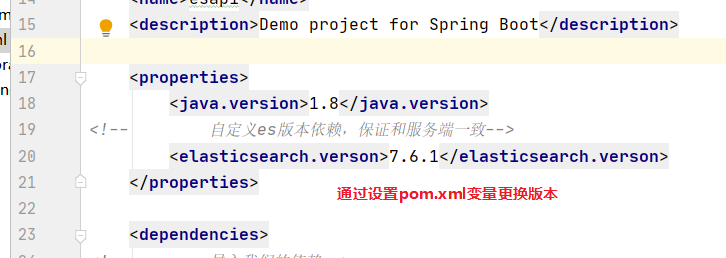
注意:我们导入的依赖必须和我们es的版本一致
自定义版本依赖
可以先点进去父pom里面看看
<artifactId>spring-boot-starter-parent</artifactId>
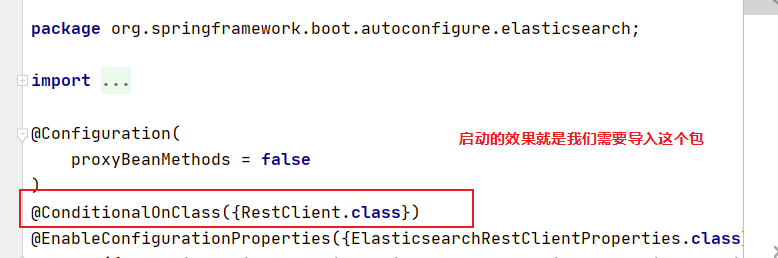
查看一下源码:
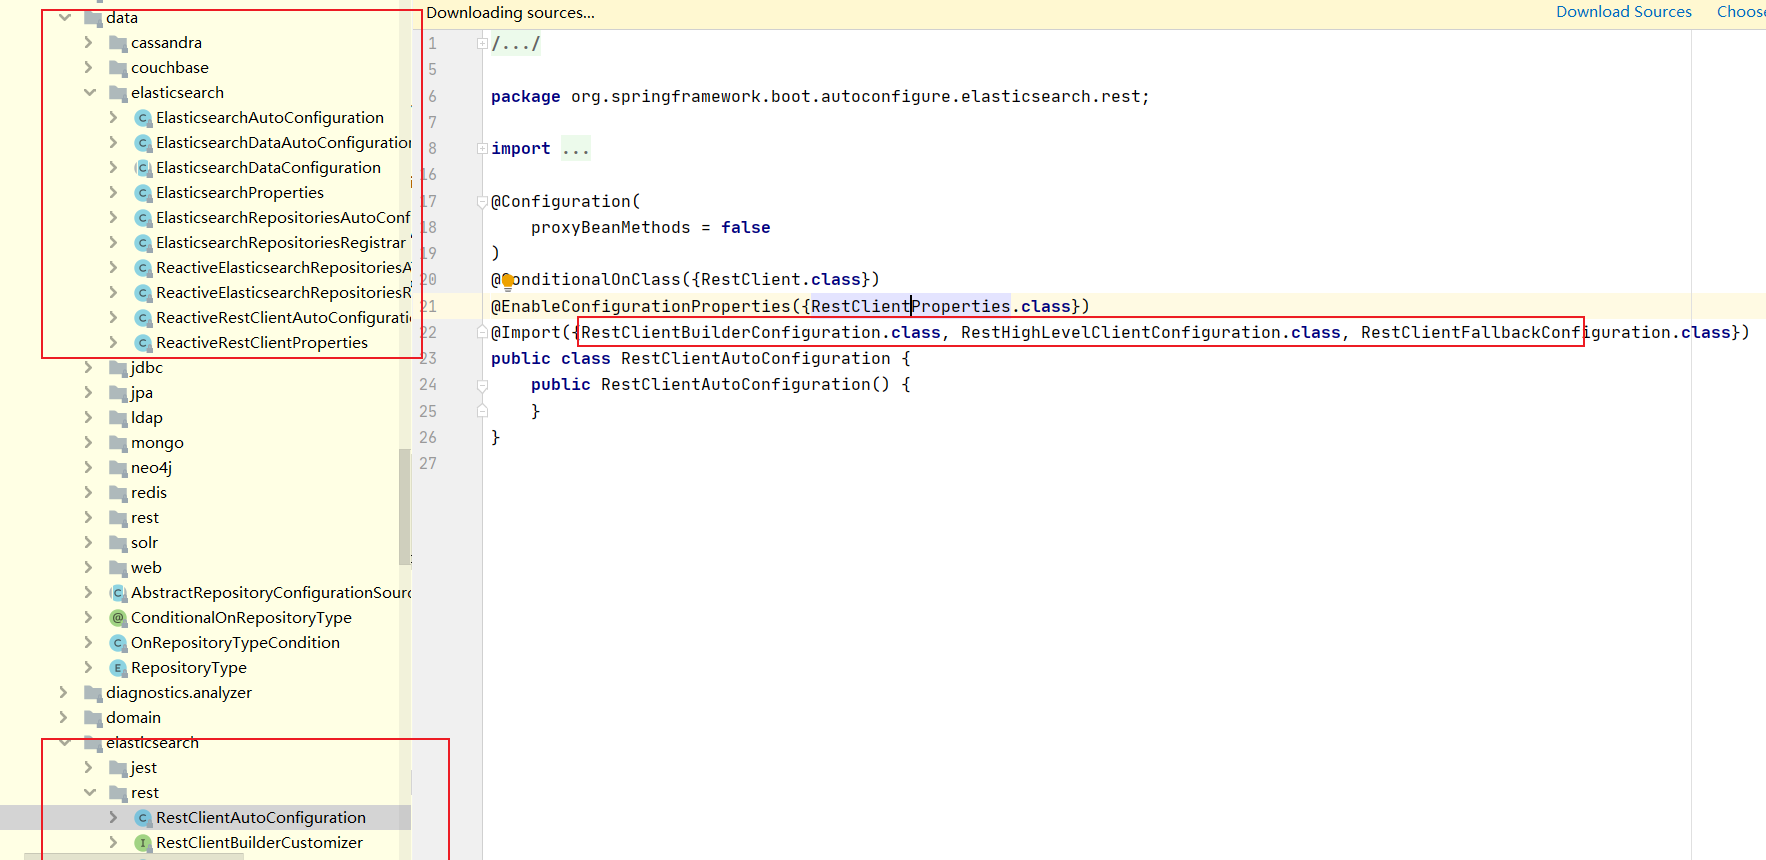
加入了这三个类
RestClientConfigurations.RestClientBuilderConfiguration.class,
        RestClientConfigurations.RestHighLevelClientConfiguration.class,
        RestClientConfigurations.RestClientFallbackConfiguration.class
都是静态内部类
其中关键的类就是RestClientBuilderConfiguration
class RestClientConfigurations {

    @Configuration(proxyBeanMethods = false)
    static class RestClientBuilderConfiguration {

        @Bean
        @ConditionalOnMissingBean
        RestClientBuilder elasticsearchRestClientBuilder(RestClientProperties properties,
                ObjectProvider<RestClientBuilderCustomizer> builderCustomizers) {
            HttpHost[] hosts = properties.getUris().stream().map(HttpHost::create).toArray(HttpHost[]::new);
            RestClientBuilder builder = RestClient.builder(hosts);
            PropertyMapper map = PropertyMapper.get();
            map.from(properties::getUsername).whenHasText().to((username) -> {
                CredentialsProvider credentialsProvider = new BasicCredentialsProvider();
                Credentials credentials = new UsernamePasswordCredentials(properties.getUsername(),
                        properties.getPassword());
                credentialsProvider.setCredentials(AuthScope.ANY, credentials);
                builder.setHttpClientConfigCallback(
                        (httpClientBuilder) -> httpClientBuilder.setDefaultCredentialsProvider(credentialsProvider));
            });
            builder.setRequestConfigCallback((requestConfigBuilder) -> {
                map.from(properties::getConnectionTimeout).whenNonNull().asInt(Duration::toMillis)
                        .to(requestConfigBuilder::setConnectTimeout);
                map.from(properties::getReadTimeout).whenNonNull().asInt(Duration::toMillis)
                        .to(requestConfigBuilder::setSocketTimeout);
                return requestConfigBuilder;
            });
            builderCustomizers.orderedStream().forEach((customizer) -> customizer.customize(builder));
            return builder;
        }

    }

    @Configuration(proxyBeanMethods = false)
    @ConditionalOnClass(RestHighLevelClient.class)
    static class RestHighLevelClientConfiguration {

        @Bean
        @ConditionalOnMissingBean
        RestHighLevelClient elasticsearchRestHighLevelClient(RestClientBuilder restClientBuilder) {
            return new RestHighLevelClient(restClientBuilder);
        }

        @Bean
        @ConditionalOnMissingBean
        RestClient elasticsearchRestClient(RestClientBuilder builder,
                ObjectProvider<RestHighLevelClient> restHighLevelClient) {
            RestHighLevelClient client = restHighLevelClient.getIfUnique();
            if (client != null) {
                return client.getLowLevelClient();
            }
            return builder.build();
        }

    }

    @Configuration(proxyBeanMethods = false)
    static class RestClientFallbackConfiguration {

        @Bean
        @ConditionalOnMissingBean
        RestClient elasticsearchRestClient(RestClientBuilder builder) {
            return builder.build();
        }

    }

}

 浙公网安备 33010602011771号