
Latex tutorial 1
Oh, The article just records my code in Latex.
Basic
\documentclass{article}

\title{My first document}
\date{2022/9/15}
\author{Jack Lee}

\begin{document}
    \pagenumbering{gobble}  %From gobble to arabic the page between them will remove the page number.
    \maketitle
    \newpage
    \pagenumbering{arabic}

    Hello World!
\end{document}
Tips for pagenumbering
- Useful settings for pagenumbering:
- gobble – no numbers
- arabic – arabic numbers
- roman – roman numbers
Section
\documentclass{article}
\usepackage{amsmath}
\title{My first document}
\date{2022/9/15}
\author{Jack Lee}
\begin{document}
\pagenumbering{gobble}
\maketitle
\newpage
\pagenumbering{arabic}
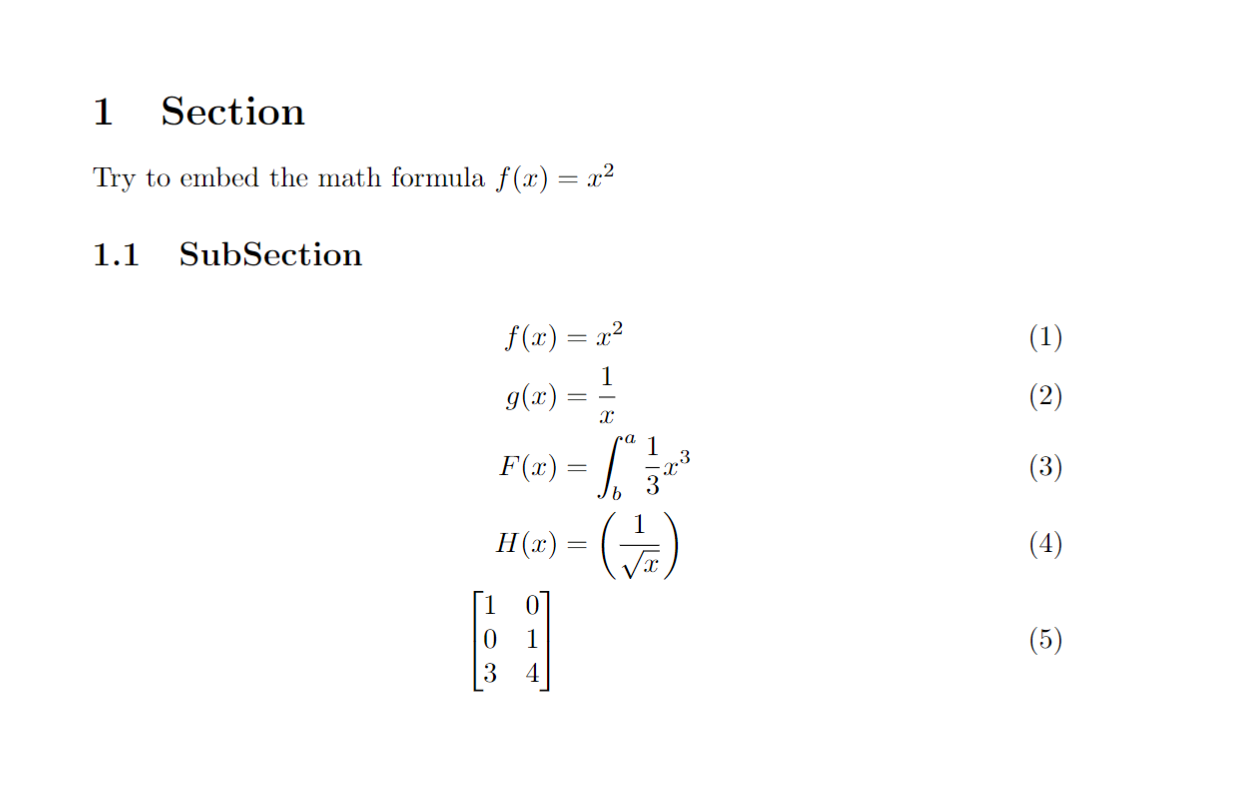
\section{Section}
Try to embed the math formula $f(x) = x^2$
\subsection{SubSection}
\begin{align}
f(x) &= x^2 \\
g(x) &= \frac{1}{x} \\
F(x) &= \int^a_b \frac{1}{3}x^3 \\
H(x) &= \left(\frac{1}{\sqrt{x}}\right)\\
\left[
\begin{matrix}
1 & 0\\
0 & 1\\
3 & 4
\end{matrix}
\right]
\end{align}
\end{document}
- Tips
- The align environment will align formulas at the ampersand & symbol
- Single formulas must be seperated with two backslashes \
- Scale parentheses with \left( \right) automatically
- \int^a_b for integral symbol, \frac{u}{v} for fractions, \sqrt{x} for square roots
- Characters for the greek alphabet and other mathematical symbols such as \lambda
    \begin{figure}[h!]
        \includegraphics[]{boat.png}
        \caption{A boat.}
        \label{fig:boat1}
    \end{figure}
    \subsection{No title}
    Figure \ref{fig:boat1} shows a boat.     % for the command \ref{fig:boat1}, latex numbers the picture in the bracket automatically, and \ref{,,} will show that.
Figure
Show the picture in latex file.
By default, the picture will show in the top of the current page, if you wanna other position to
show the file.
To latex, it's probable that the picture will show in the next page which has a sufficient length
to show the file.
The float package (\usepackage{float}) allows to set the option to [H], which is even stricter
than [h!].
- Some argument for float value.
- h (here) – same location
- t (top) – top of page
- b (bottom) – bottom of page
- p (page) – on an extra page
- ! (override) – will force the specified location
Sub-Figure
    \section{Section 2}
    \begin{figure}[h!]
        \centering
        \begin{subfigure}[b]{0.4\linewidth}
            \includegraphics[width=\linewidth]{2.jpg}
            \caption{An animation girl.}
        \end{subfigure}
        \begin{subfigure}[b]{0.4\linewidth}
           \includegraphics[width=\linewidth]{2.jpg}
           \caption{More antimation girls}
        \end{subfigure}
        \caption{The same animation girls, Two times.}
        \label{fig:girls}
    \end{figure}
    Figure \ref{fig:girls} shows two animation girls.

    \section{Section 2}
    \begin{figure}[h!]
        \centering
        \begin{subfigure}[b]{0.2\linewidth}
            \includegraphics[width=\linewidth]{2.jpg}
            \caption{An animation girl.}
        \end{subfigure}
        \begin{subfigure}[b]{0.2\linewidth}
           \includegraphics[width=\linewidth]{2.jpg}
           \caption{More antimation girls}
        \end{subfigure}
        \begin{subfigure}[b]{0.2\linewidth}
           \includegraphics[width=\linewidth]{2.jpg}
           \caption{More and more}
        \end{subfigure}
        \begin{subfigure}[b]{0.5\linewidth}
           \includegraphics[width=\linewidth]{2.jpg}
           \caption{Too much girls!}
        \end{subfigure}
        \caption{The same animation girls. Four times.}
        \label{fig:girls}
    \end{figure}
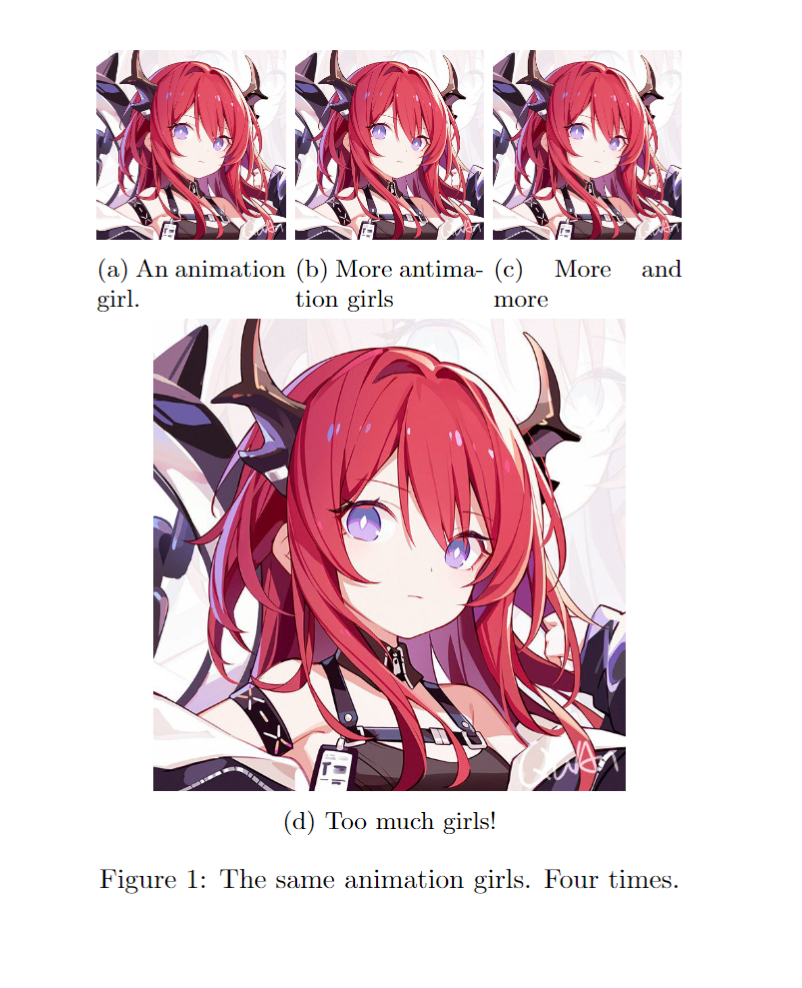
- Tips:
- Use the graphicx package and figure environment to embed pictures
- Pictures will be numbered automatically
- Change the width of your image by using \includegraphics[width=\linewidth]{}
- Set the position of your image by adding a float option such as [h!]
- If you want to show multiple figures next to each other, use the subcaption package and the subfigure environment
Table
\documentclass{article}
\title{My first Latex file}
\author{Jack Lee}
\date{2022/9/15}
\begin{document}
\maketitle
\newpage
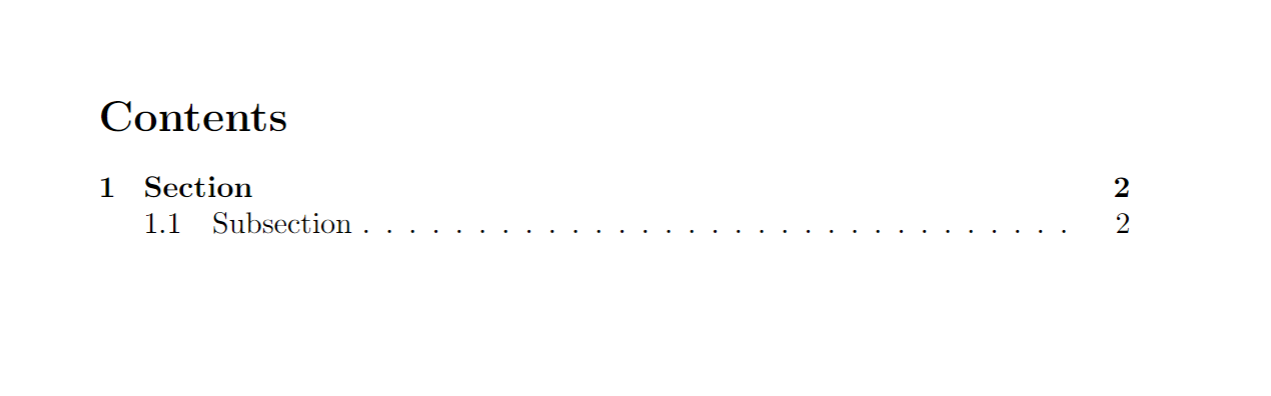
\tableofcontents
\section{Section}
Dummmy text
\subsection{Subsection}
Dummmy text
\end{document}
List of tables and figures
Latex supports to list the figures and tables to appendix, so your talbes and figures is easy to
manager or look the whole figures and tables your essay using.
\begin{document}
    \begin{figure}
    \caption{Dummy figure}
    \end{figure}
    \begin{table}
    \caption{Dummy table}
    \end{table}

    \begin{appendix}
    \listoffigures
    \listoftables
    \end{appendix}
\end{document}

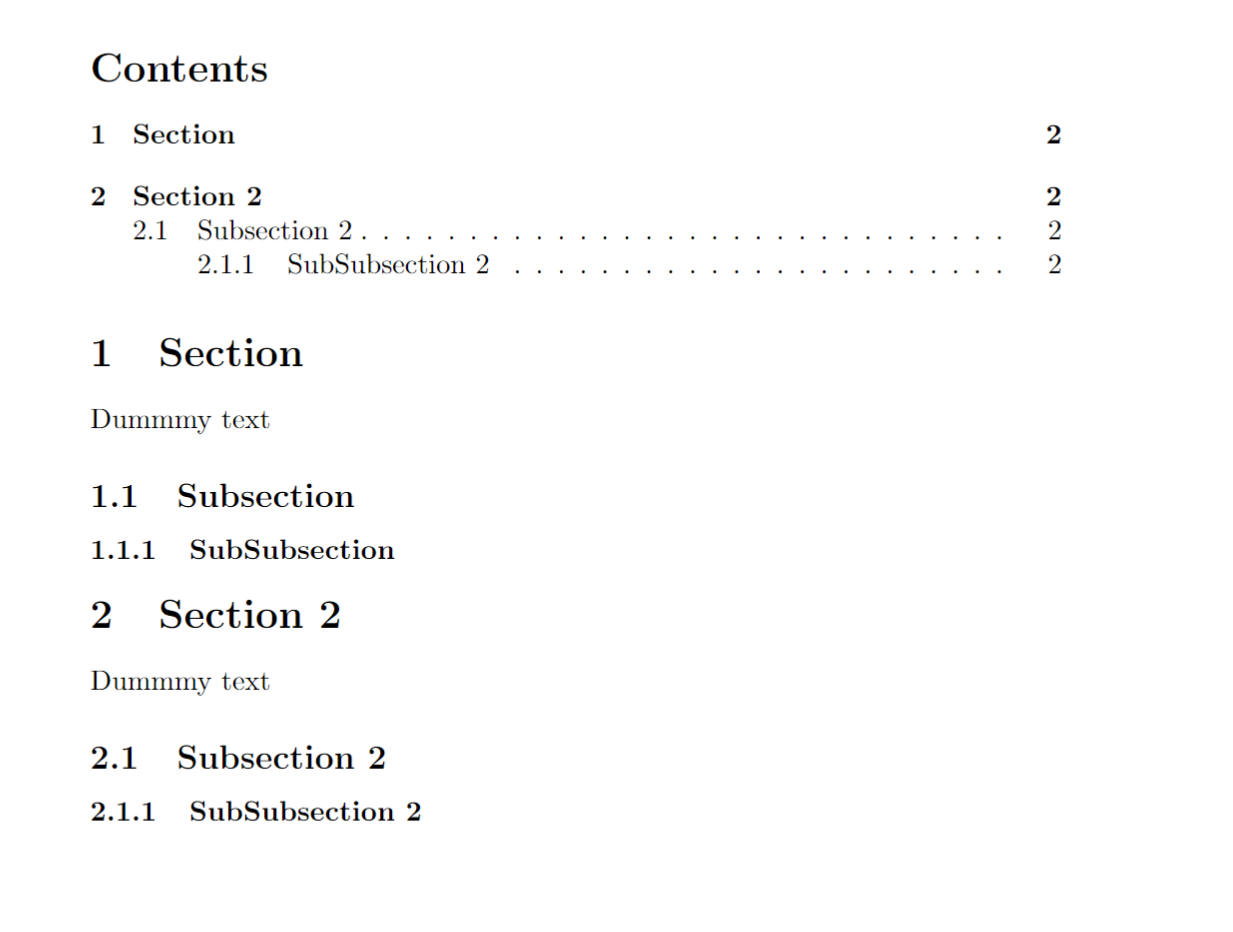
Depth
\documentclass{article}

\title{My first Latex file}
\author{Jack Lee}
\date{2022/9/15}
\setcounter{tocdepth}{1}


\begin{document}
\maketitle
\newpage
    \tableofcontents
    \section{Section}
    Dummmy text

    \subsection{Subsection}

    \subsubsection{SubSubsection}

    \section{Section 2}

    Dummmy text

    \subsection{Subsection 2}
    \subsubsection{SubSubsection 2}
\end{document}
It will set the whole table of contents, and add it in the preamble of document.
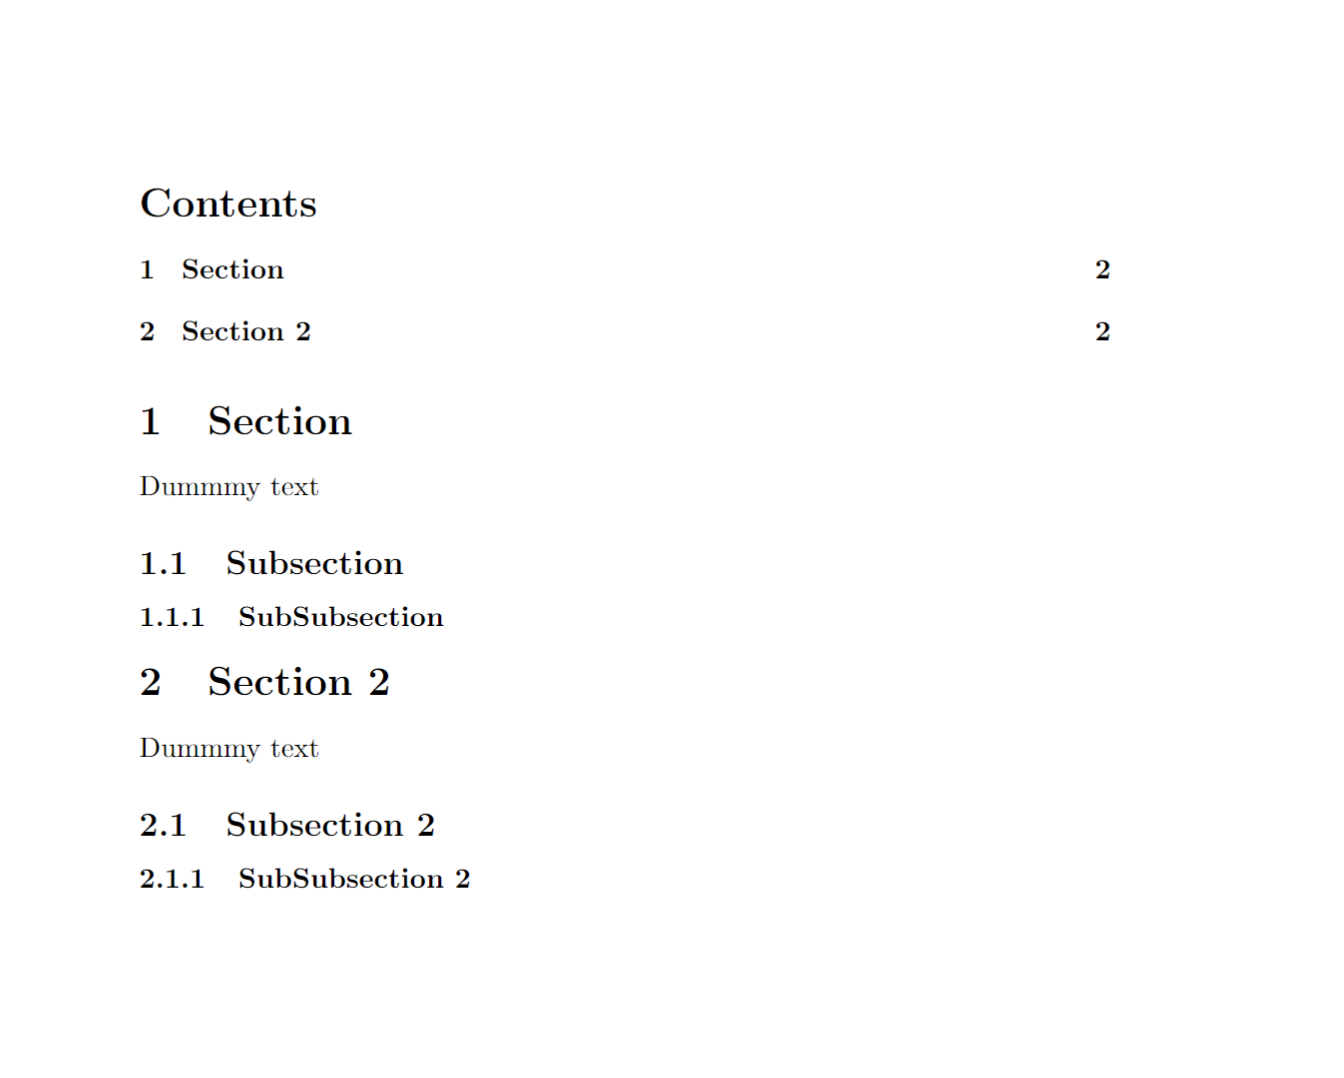
If you don't wanna change the depth of all sections, you can adjust the tocdepth for all sections individually
In this case you don’t have to set the tocdepth before the section which should have more or less depth
\begin{document}
\maketitle
\newpage
    \tableofcontents
    \section{Section}
    \addtocontents{toc}{\setcounter{tocdepth}{1}}
    Dummmy text
    \subsection{Subsection}

    \subsubsection{SubSubsection}

    \section{Section 2}
   \addtocontents{toc}{\setcounter{tocdepth}{3}}
    Dummmy text

    \subsection{Subsection 2}
    \subsubsection{SubSubsection 2}
\end{document}
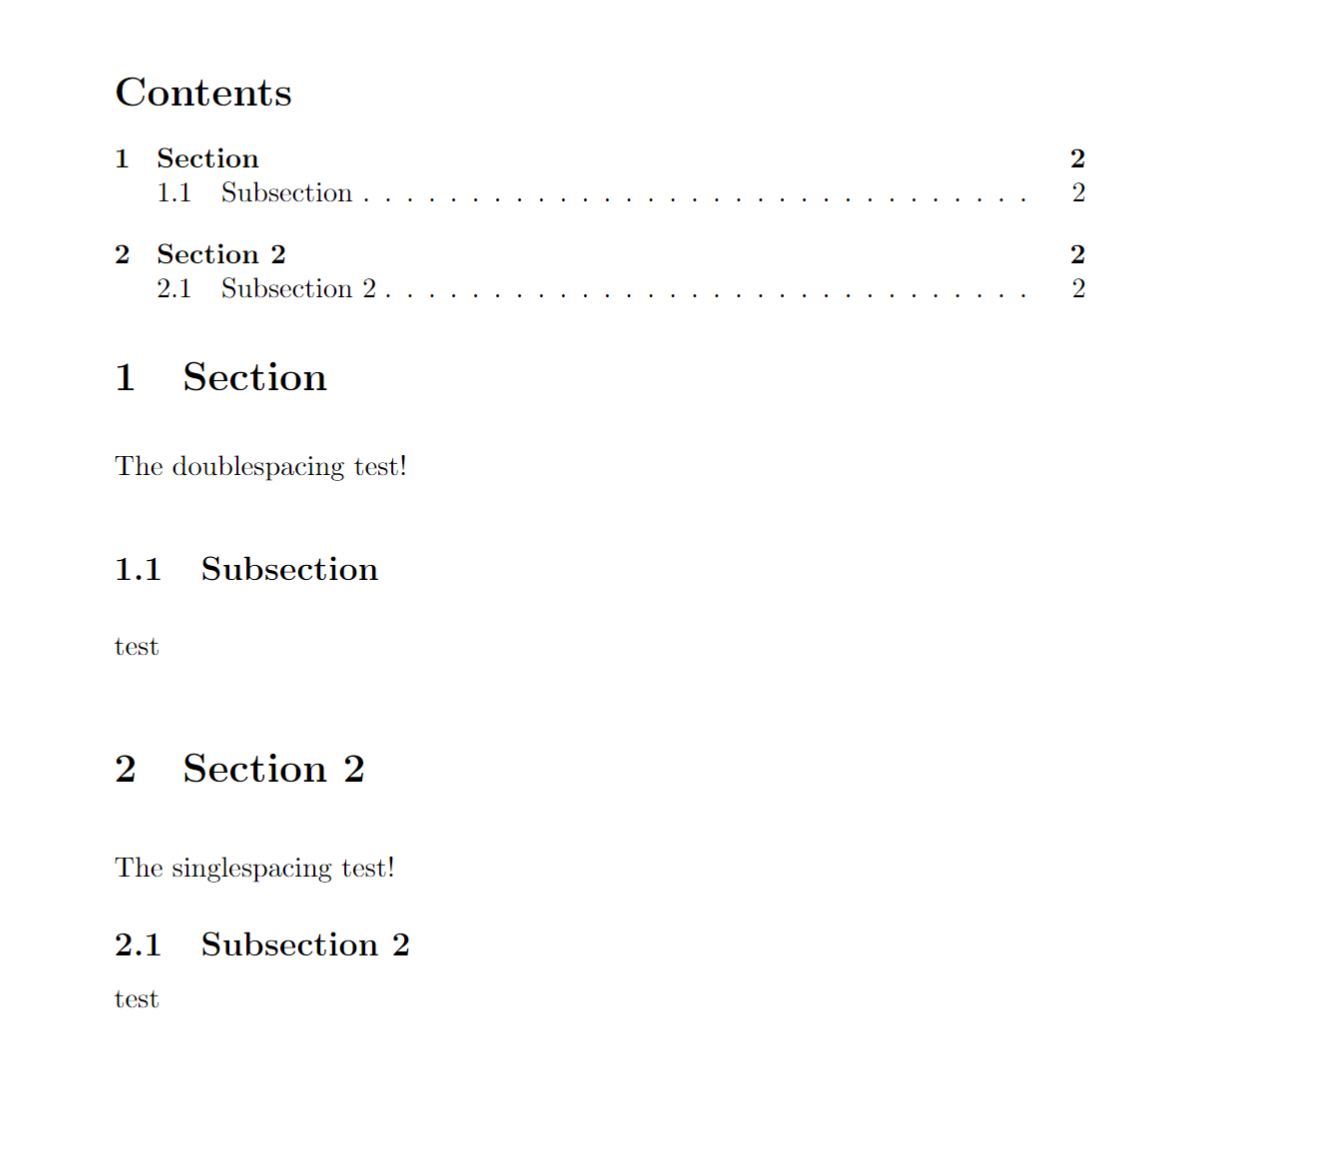
Spacing
To set the spacing number, you should use \usepackage{setspace}
    \section{Section}
    \doublespacing
    The doublespacing test!
    \subsection{Subsection}
    test
    \section{Section 2}
    \singlespacing
    The singlespacing test!
    \subsection{Subsection 2}
    test
- Tips:
- Autogenerate a table of content using \tableofcontents.
- Create lists of your figures and tables with \listoffigures and listoftables.
- Always compile twice to see the change.
- Globally change the depth with \setcounter{tocdepth}{X}; X =
- For single sections use \addtocontents{toc}{\setcounter{tocdepth}{X}} instead.
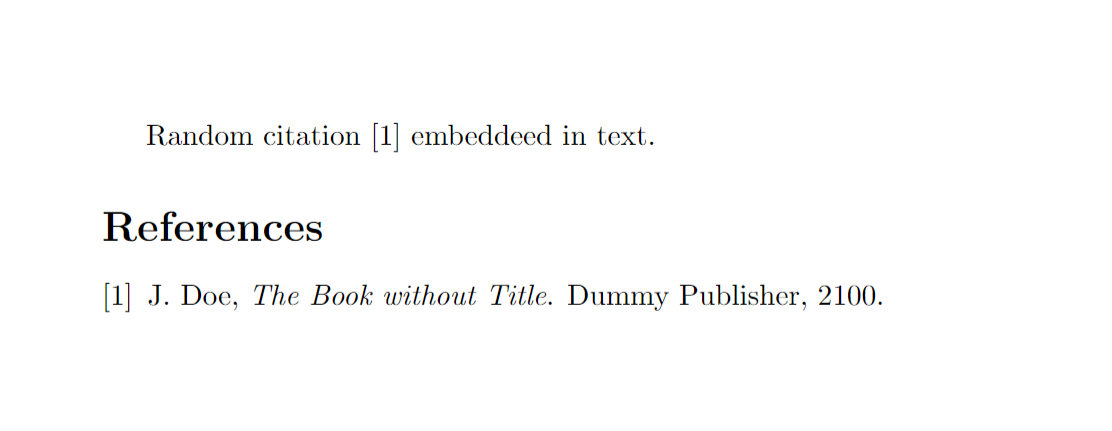
Bibliography
\begin{document}
    Random citation \cite{DUMMY:1} embeddeed in text.
    \bibliography{lesson7a1}
    \bibliographystyle{ieeetr}
\end{document}
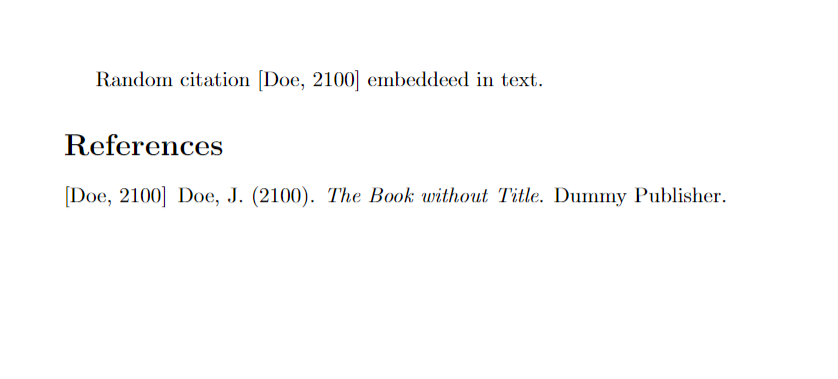
I named my .bib file lesson7a1.bib, note that I did not enter the .bib extension. For the style, I’ve choosen the ieeetr style, which is very common for my subject, but there are many more styles available. Which will change the way our references look like. The ieeetr style will mark citations with successive numbers such as [1] in this example.
If I choose the style to apalike instead, i will get the following result:
Execute the command of Bibtex in your promt, if you are using terminal to span pdf file of latex.
pdflatex lesson7a1.tex
bibtex lesson7a1
pdflatex lesson7a1.tex
pdflatex lesson7a1.tex
Footnote
Use the command \autocite and \printbibliography to create foot note, and set the page arguemnt.
It's crucial to move the \bibliography{lesson7a1} statement to the preamble of our document.
\documentclass{article}

\usepackage[backend=bibtex,style=verbose-trad2]{biblatex}
\bibliography{lesson7a1}

\begin{document}
    Random citation \autocite[3]{DUMMY:1} embeddeed in text.
    \newpage
    \printbibliography
\end{document}
The \autocite command generates the footnotes and we can enter a page number in the brackets \autocite[1]{DUMMY:1} will generate a footnote like this:


 浙公网安备 33010602011771号