windows obs直播RTMP协议推流到Nginx流媒体服务器到VUE使用HLS直播


worker_processes  1;   #Nginx进程数,建议设置为等于CPU总核数

events {
    worker_connections  1024;  #工作模式与连接数上限
}

rtmp_auto_push on;


#RTMP服务
rtmp{
    server{
        listen 1935;        #服务端口
        chunk_size 4096;    #数据传输块的大小

        application vod{
            play ./vod;   #视频文件存放位置
        }
        application live{
            live on;                     #开启直播
            hls on;                      #开启hls直播。这个参数把直播服务器改造成实时回放服务器
            #wait_key on;                #对视频切片进行保护,这样就不会产生马赛克了
            hls_path ./m3u8File;         #切片视频文件存放位置(HLS,m3u8文件存放位置)
            hls_fragment 2s;             #每个视频切片的时长
            hls_playlist_length 16s;
            recorder myRecord {
                record_path /rec;
                record all manual;
                #record_suffix _.flv;
                record_suffix -%Y-%m-%d-%H_%M_%S.flv;
                #record_path ./rec;    #指定录制的flv文件存放目录
            }
            hls_continuous on;          #连续模式
            hls_cleanup on;             #对多余的切片进行删除
            hls_nested on;              #嵌套模式
        }
    }
}


#HTTP服务
http {
    include       mime.types;
    default_type  application/octet-stream;
    sendfile        on;
    keepalive_timeout  65;

    server {
        listen       80;
        server_name  localhost;

        location / {
            root   html;
            index  index.html index.htm;
        }

        location /live{
            types{
                #m3u8 type设置
                application/vnd.apple.mpegurl m3u8;
                #ts分片文件设置
                video/mp2t ts;
            }
              #访问权限开启,否则访问这个地址会报403
                        autoindex on;

            #指向访问m3u8文件目录
            alias ./m3u8File;
            expires -1;
            add_header Cache-Control no-cache;
            #防止跨域问题
            add_header 'Access-Control-Allow-Origin' '*';
            add_header 'Access-Control-Allow-Credentials' 'true';
            add_header 'Access-Control-Allow-Methods' 'GET, POST, OPTIONS';
            add_header 'Access-Control-Allow-Headers' 'DNT,X-CustomHeader,Keep-Alive,User-Agent,X-Requested-With,If-Modified-Since,Cache-Control,Content-Type';
        }

        location /control{
            rtmp_control all;
        }

        location /stat{
            rtmp_stat all;
            rtmp_stat_stylesheet stat.xsl;
        }
        location /stat.xsl{
            root ./nginx-rtmp-module;
        }

        # redirect server error pages to the static page /50x.html
        #
        error_page   500 502 503 504  /50x.html;
        location = /50x.html {
            root   html;
        }
    }
}
1. 下载支持流媒体服务器的Nginx版本:nginx 1.7.11.3 Gryphon
2. 更改Nginx配置,参考顶部
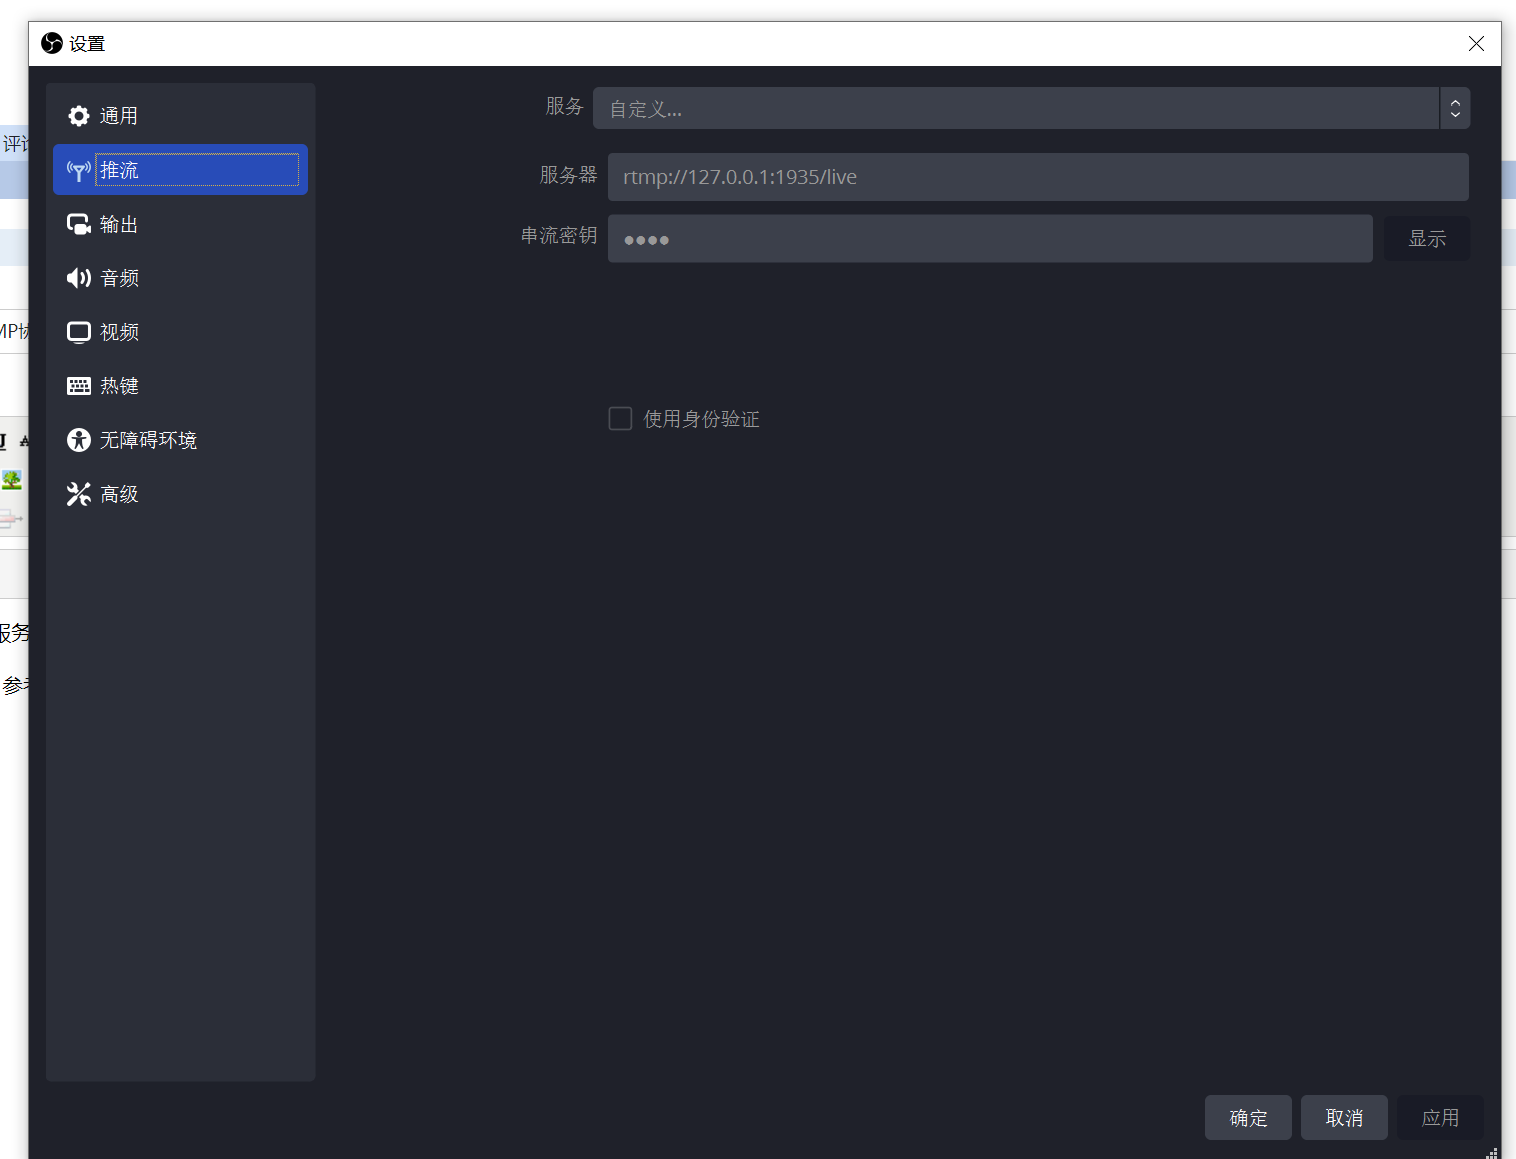
3. OBS直播推流设置,推流地址设置为 :
服务器rtmp:127.0.0.1:1935/live,这里的服务器端口对应到nginx里面rtmp节点下的server节点下的listen 1935; ,live是application live{的这个live
串流密钥是test,随便写什么都可以,英文数字即可
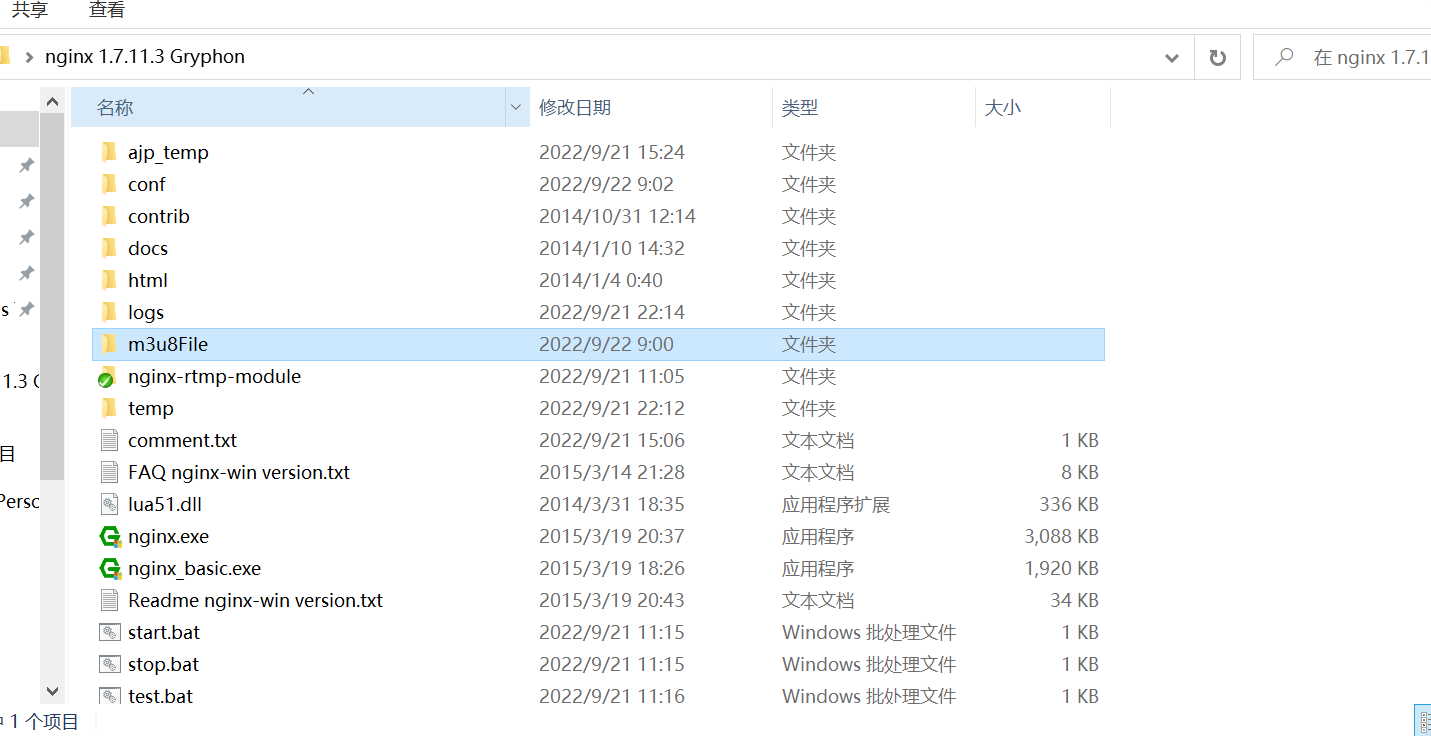
4. 付一个Nginx的截图
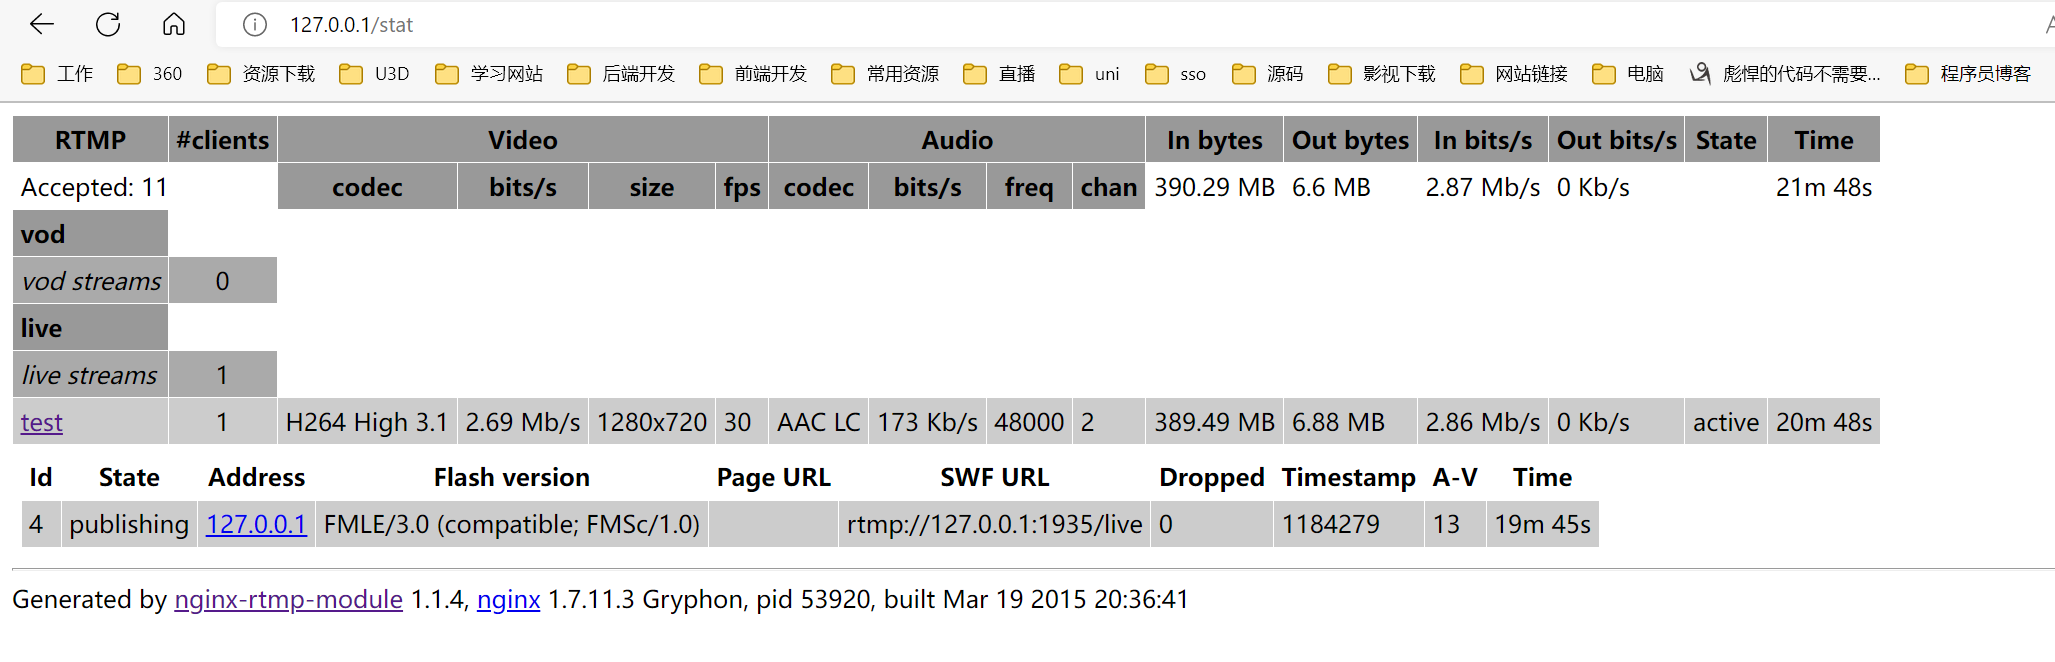
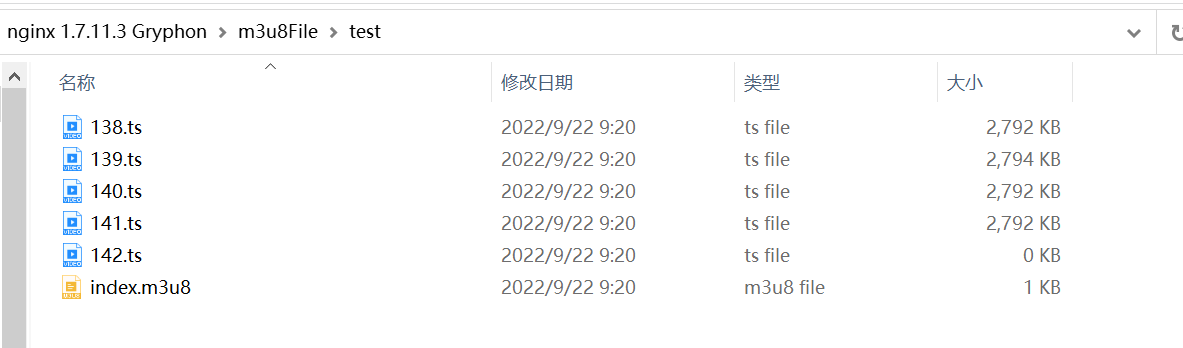
这个m3u8File是我手动创建的文件夹,里面保存的是m3u8格式+*.ts的文件,nginx-rtmp-module文件夹是从git上面下载的,直接下载整个git地址的项目拷贝过来即可,用于查看直播状态等信息浏览器输入127.0.0.1/stat即可查看,这里的/stat对应到nginx配置http节点下的server节点下的 location /stat{以及 location /stat.xsl{俩段配置
5. web端拉流地址配置为:http://127.0.0.1/live/test/index.m3u8即可
6. 如果是vcl,使用rtmp拉流可以使用:rtmp://127.0.0.1:1935/live/test即可
彪悍的人生不需要解释,彪悍的代码不需要注释。

 浙公网安备 33010602011771号