
编译安装nginx,实现多域名 https
一、编译安装nginx
1.1 获取源码包
[root@cetnos7 ~]#wget -O /usr/local/src/nginx-1.18.0.tar.gz http://nginx.org/download/nginx-1.18.0.tar.gz
[root@cetnos7 ~]#cd /usr/local/src/
[root@cetnos7 src]#tar xvf nginx-1.18.0.tar.gz
1.2 准备工作
[root@cetnos7 ~]#yum -y install gcc pcre-devel openssl-devel zlib-devel
[root@cetnos7 ~]#useradd -s /sbin/nologin nginx
1.3 进行编译
[root@cetnos7 ~]#cd nginx-1.18.0
[root@cetnos7 nginx-1.18.0]#./configure --prefix=/apps/nginx \
 --user=nginx \
 --group=nginx \
 --with-http_ssl_module \
 --with-http_v2_module \
 --with-http_realip_module \
 --with-http_stub_status_module \
 --with-http_gzip_static_module \
 --with-pcre \
 --with-stream \
 --with-stream_ssl_module \
 --with-stream_realip_module
[root@cetnos7 nginx-1.18.0]#make -j 4 && make install
[root@cetnos7 nginx-1.18.0]#chown -R nginx.nginx /apps/nginx
[root@cetnos7 nginx-1.18.0]#ll /apps/nginx/
total 0
drwxr-xr-x 2 nginx nginx 333 Nov 28 13:37 conf
drwxr-xr-x 2 nginx nginx  40 Nov 28 13:37 html
drwxr-xr-x 2 nginx nginx   6 Nov 28 13:37 logs
drwxr-xr-x 2 nginx nginx  19 Nov 28 13:37 sbin
1.4 创建server文件
[root@centos7 ~]#vim /usr/lib/systemd/system/nginx.service
[Unit]
Description=nginx - high performance web server
Documentation=http://nginx.org/en/docs/
After=network-online.target remote-fs.target nss-lookup.target
Wants=network-online.target

[Service]
Type=forking
PIDFile=/apps/nginx/run/nginx.pid
ExecStart=/apps/nginx/sbin/nginx -c /apps/nginx/conf/nginx.conf
ExecReload=/bin/kill -s HUP $MAINPID
ExecStop=/bin/kill -s TERM $MAINPID

[Install]
WantedBy=multi-user.target


[root@centos7 ~]#mkdir /apps/nginx/run/    #创建pid目录
[root@centos7 ~]#vim /apps/nginx/conf/nginx.conf
pid /apps/nginx/run/nginx.pid;
1.5 启动nginx
[root@cetnos7 ~]# ln -s /apps/nginx/sbin/nginx /usr/sbin/
[root@cetnos7 ~]#nginx -v
nginx version: nginx/1.18.0
[root@cetnos7 ~]#systemctl enable --now nginx
[root@cetnos7 ~]#ll /apps/nginx/run/
total 4
-rw-r--r-- 1 root root 5 Nov 28 13:57 nginx.pid
二、实现多域名
2.1 声明子配置文件
[root@cetnos7 ~]#vim /apps/nginx/conf/nginx.conf
http {
  include         /apps/nginx/conf.d/*.conf;  #在http语句块添加此行
}
[root@cetnos7 ~]#mkdir /apps/nginx/conf.d -v
[root@cetnos7 ~]#touch /apps/nginx/conf.d/test{1..3}.conf #创建子配置文件
2.2 子配置文件配置
[root@cetnos7 ~]#cd /apps/nginx/conf.d
[root@cetnos7 ~]#cat test1.conf
server  {
    listen          80;
    server_name     www.pc.test1.org;
    location / {
        root        /data/nginx/html/test1;
        index	    index.html;
    }
}

[root@cetnos7 ~]#cat test2.conf
server  {
    listen          80;
    server_name     www.pc.test2.org;
    location / {
        root        /data/nginx/html/test2;
        index	    index.html;
    }
}

[root@cetnos7 ~]#cat test3.conf
server  {
    listen          80;
    server_name     www.pc.test3.org;
    location / {
        root        /data/nginx/html/test3;
        index	    index.html;
    }
}
2.3 创建web目录
[root@cetnos7 conf.d]#mkdir /data/nginx/html/test{1..3} -p
[root@cetnos7 conf.d]#echo "<h1>pc.test1<h1>" > test1/index.html
[root@cetnos7 conf.d]#echo "<h1>pc.test2<h1>" > test2/index.html
[root@cetnos7 conf.d]#echo "<h1>pc.test3<h1>" > test3/index.html
2.4 重启nginx
[root@cetnos7 ~]#nginx -t  #检查配置语法是否正确
nginx: the configuration file /apps/nginx/conf/nginx.conf syntax is ok
nginx: configuration file /apps/nginx/conf/nginx.conf test is successful
[root@cetnos7 ~]#nginx -s reload
2.5 测试
[root@client ~]#cat /etc/hosts
10.0.0.7    test1.org test2.org test3.org  #添加本地域名解析
[root@client ~]#curl www.pc.test1.org  www.pc.test2.org www.pc.test3.org
<h1>pc.test1<h1>
<h1>pc.test2<h1>
<h1>pc.test3<h1>
三、实现https
3.1 生成自签名证书
[root@centos7 ~]#openssl req -newkey rsa:4096 -nodes -sha256 -keyout ca.key -x509 -days 3650 -out ca.crt
Generating a 4096 bit RSA private key
...++
..............................................................................................................................................................................................................................................................................................................................................................................................................................................++
writing new private key to 'ca.key'
-----
You are about to be asked to enter information that will be incorporated
into your certificate request.
What you are about to enter is what is called a Distinguished Name or a DN.
There are quite a few fields but you can leave some blank
For some fields there will be a default value,
If you enter '.', the field will be left blank.
-----
Country Name (2 letter code) [XX]:CN
State or Province Name (full name) []:Shanghai
Locality Name (eg, city) [Default City]:Shanghai
Organization Name (eg, company) [Default Company Ltd]:test.org
Organizational Unit Name (eg, section) []:test
Common Name (eg, your name or your server's hostname) []:ca.test.org
Email Address []:admin@123.org

[root@7-1 certs]#ll
total 8
-rw-r--r-- 1 root root 2102 Nov 28 15:39 ca.crt
-rw-r--r-- 1 root root 3272 Nov 28 15:39 ca.key
3.2自制key和csr文件
[root@7-1 certs]#openssl req -newkey rsa:4096 -nodes -sha256 -keyout www.test1.org.key -out www.test1.org.csr  #重复此步骤,生成test2,test3的相关文件
-----
Country Name (2 letter code) [XX]:CN
State or Province Name (full name) []:Beijing
Locality Name (eg, city) [Default City]:Beijing
Organization Name (eg, company) [Default Company Ltd]:test.org
Organizational Unit Name (eg, section) []:nginx
Common Name (eg, your name or your server's hostname) []:www.pc.test1.org
Email Address []:root@test1.org
Please enter the following 'extra' attributes
to be sent with your certificate request
A challenge password []:
An optional company name []:
##注意国家,省,公司这个三个参数要与CA的对应##

#签发证书
[root@7-1 certs]#openssl x509 -req -days 3650 -in www.pc.test1.org.csr -CA ca.crt -CAkey ca.key -CAcreateserial -out www.pc.test1.org.crt
[root@7-1 certs]#openssl x509 -req -days 3650 -in www.pc.test2.org.csr -CA ca.crt -CAkey ca.key -CAcreateserial -out www.pc.test2.org.crt
[root@7-1 certs]#openssl x509 -req -days 3650 -in www.pc.test3.org.csr -CA ca.crt -CAkey ca.key -CAcreateserial -out www.pc.test3.org.crt

#合并证书文件
[root@7-1 certs]#cat www.pc.test1.org.crt  ca.crt > www.test1.org.pem
[root@7-1 certs]#cat www.pc.test2.org.crt  ca.crt > www.test2.org.pem
[root@7-1 certs]#cat www.pc.test3.org.crt  ca.crt > www.test3.org.pem

#证书文件目录如下
total 60
-rw-r--r-- 1 root root 1103 Nov 28 16:07 ca.crt
-rw------- 1 root root 1708 Nov 28 16:07 ca.key
-rw-r--r-- 1 root root 1046 Nov 28 15:46 www.pc.test1.org.crt
-rw-r--r-- 1 root root  968 Nov 28 15:46 www.pc.test1.org.csr
-rw------- 1 root root 1708 Nov 28 15:46 www.pc.test1.org.key
-rw-r--r-- 1 root root 2149 Nov 28 15:48 www.pc.test1.org.pem
-rw-r--r-- 1 root root 1046 Nov 28 16:07 www.pc.test2.org.crt
-rw-r--r-- 1 root root  968 Nov 28 16:07 www.pc.test2.org.csr
-rw------- 1 root root 1708 Nov 28 16:07 www.pc.test2.org.key
-rw-r--r-- 1 root root 2149 Nov 28 16:07 www.pc.test2.org.pem
-rw-r--r-- 1 root root 1046 Nov 28 16:01 www.pc.test3.org.crt
-rw-r--r-- 1 root root  968 Nov 28 16:01 www.pc.test3.org.csr
-rw------- 1 root root 1704 Nov 28 16:01 www.pc.test3.org.key
-rw-r--r-- 1 root root 2149 Nov 28 16:02 www.pc.test3.org.pem
3.3 修改配置文件
##在各子配置文件的sever语句块添加,如下内容以test1为例:

server  {
    listen          80;
    listen 	    443 ssl;
    server_name     www.pc.test1.org;
    ssl_certificate /apps/nginx/certs/www.test1.org.pem;
    ssl_certificate_key /apps/nginx/certs/www.test1.org.key;
    ssl_session_cache shared:sslcache:20m;
    ssl_session_timeout 10m;
    location / {
        root        /data/nginx/html/test1;
        index        index.html;
    }
}

[root@cetnos7 ~]#nginx -t
[root@cetnos7 ~]#nginx -s reload
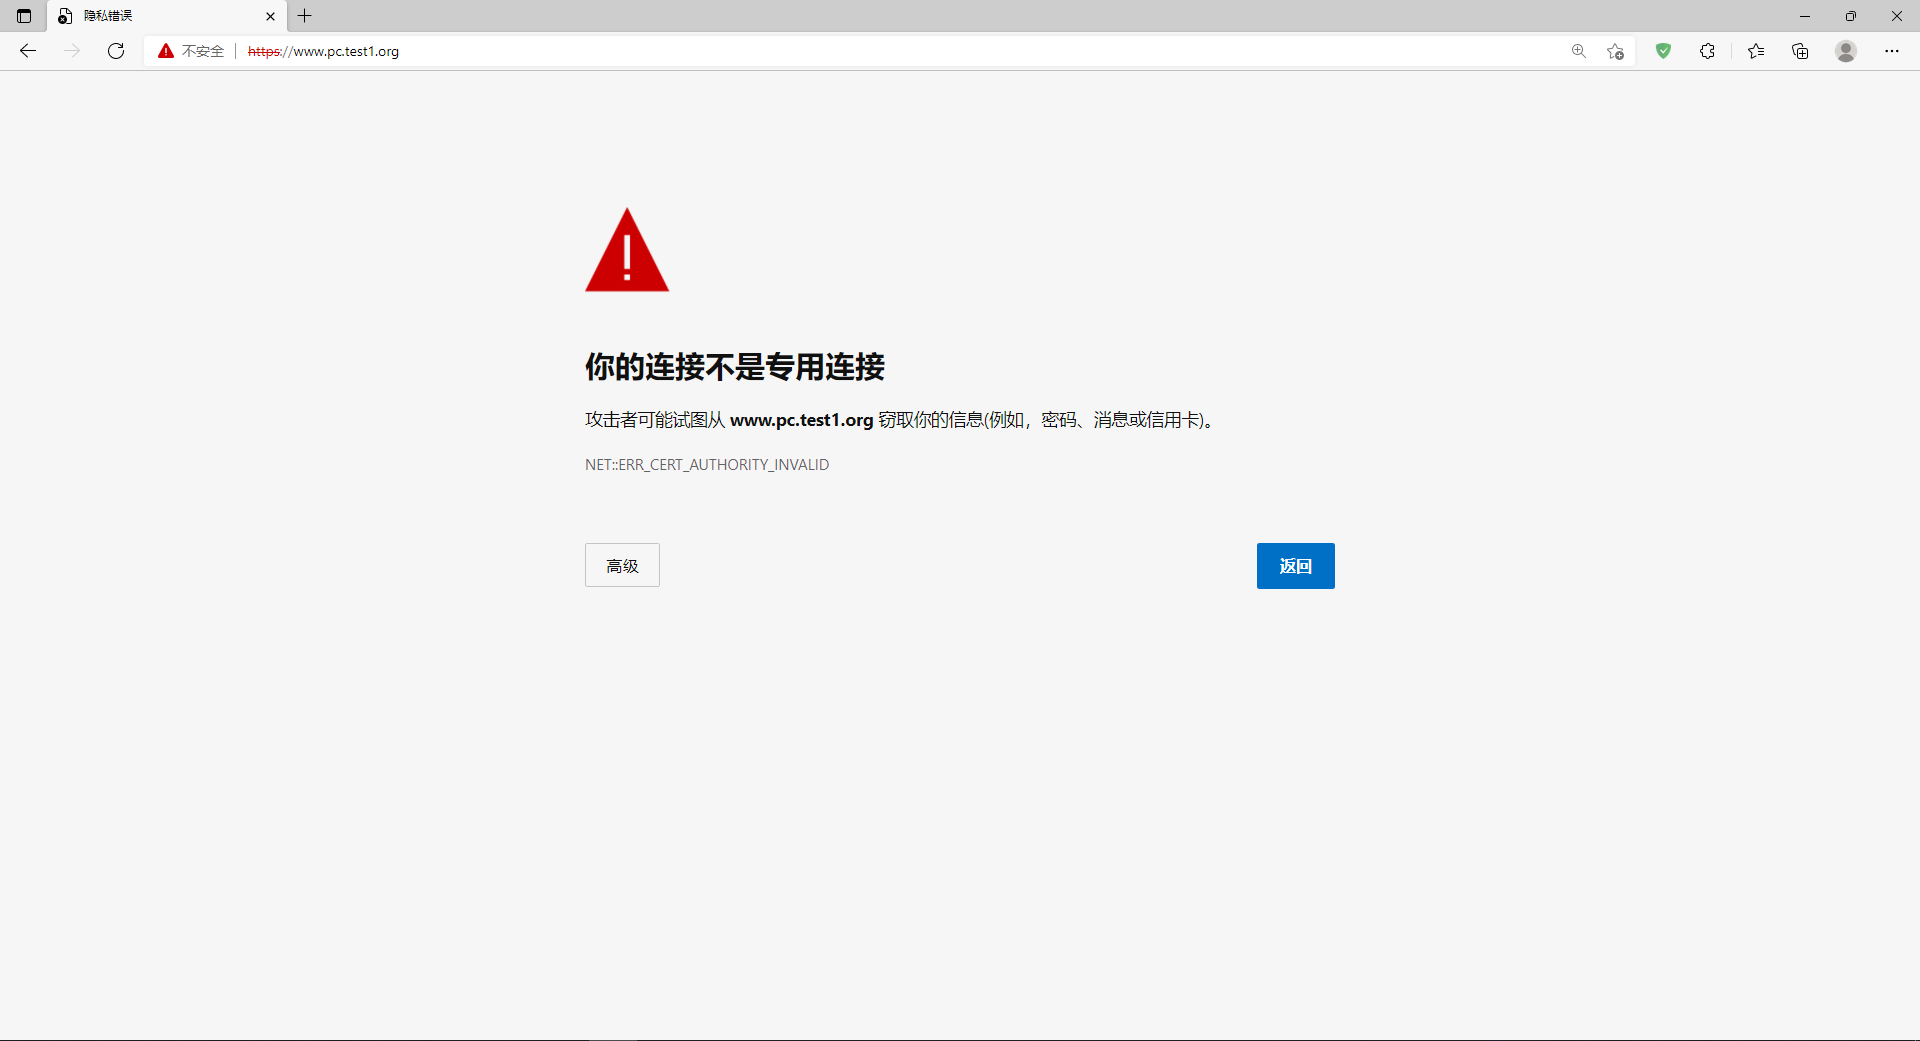
3.4 访问测试
[root@client ~]#curl https://www.pc.test1.org -k
<h1>pc.test1<h1>
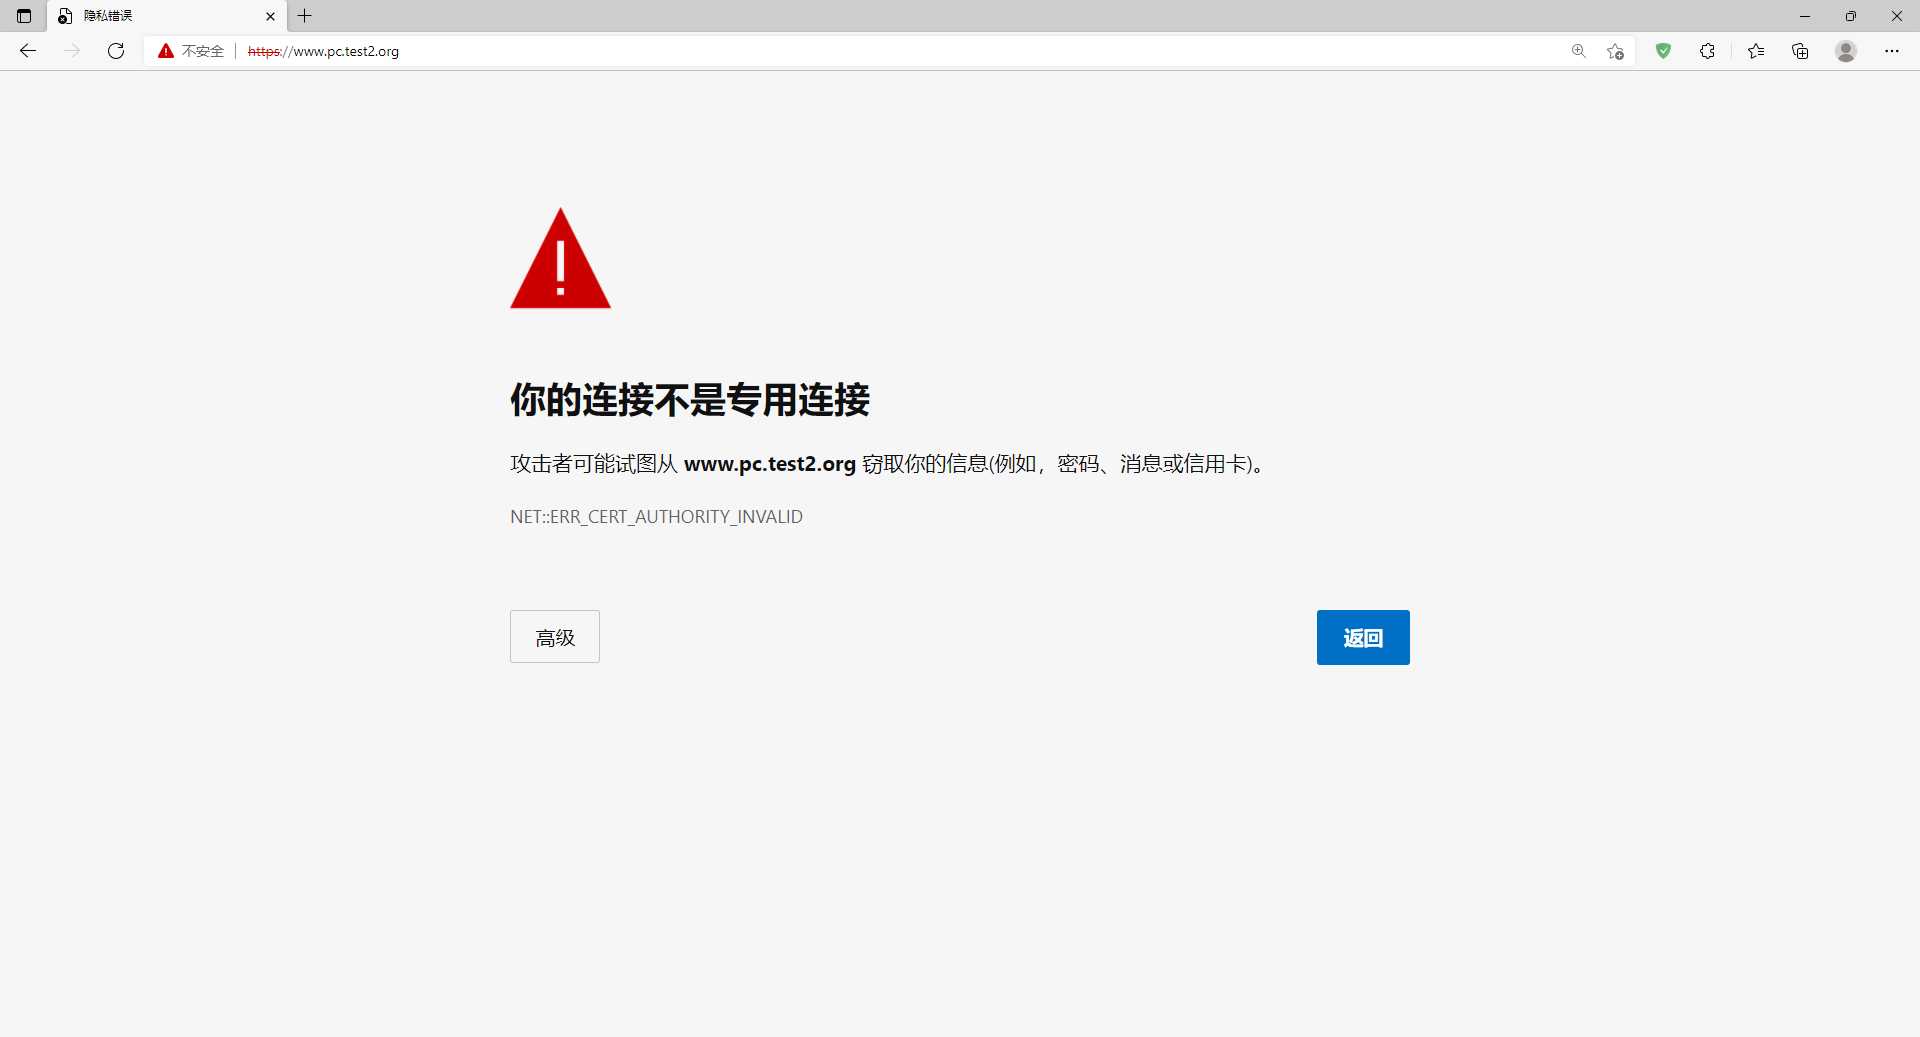
[root@client ~]#curl https://www.pc.test2.org -k
<h1>pc.test2<h1>
[root@client ~]#curl https://www.pc.test3.org -k
<h1>pc.test3<h1>


 浙公网安备 33010602011771号